
In brief: The most common mistakes are choosing a location that is too damp or windy, pointing nozzles in the wrong direction, using spray intervals that are too short or running the system continuously, letting nozzles get clogged with limescale, and using an unsuitable water supply. First check the wind direction and humidity, aim the mist into open air and clean the system regularly.
A patio misting system can make outdoor seating more comfortable on hot days. But it only works efficiently when the water is finely atomised, the air can absorb the mist and the nozzles cover the right area. Many avoidable patio misting mistakes happen during installation or the first test run. If you’re planning a garden misting system, consider wind, humidity, water supply and maintenance together.
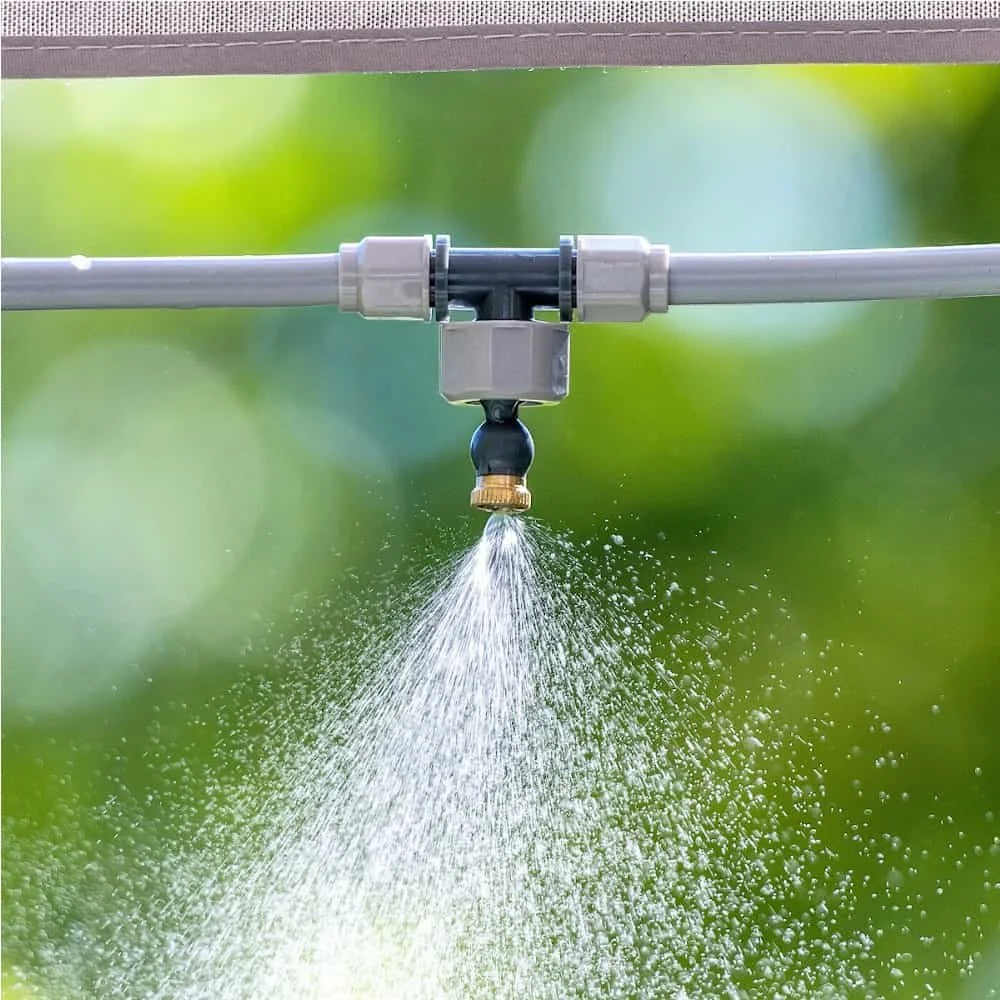
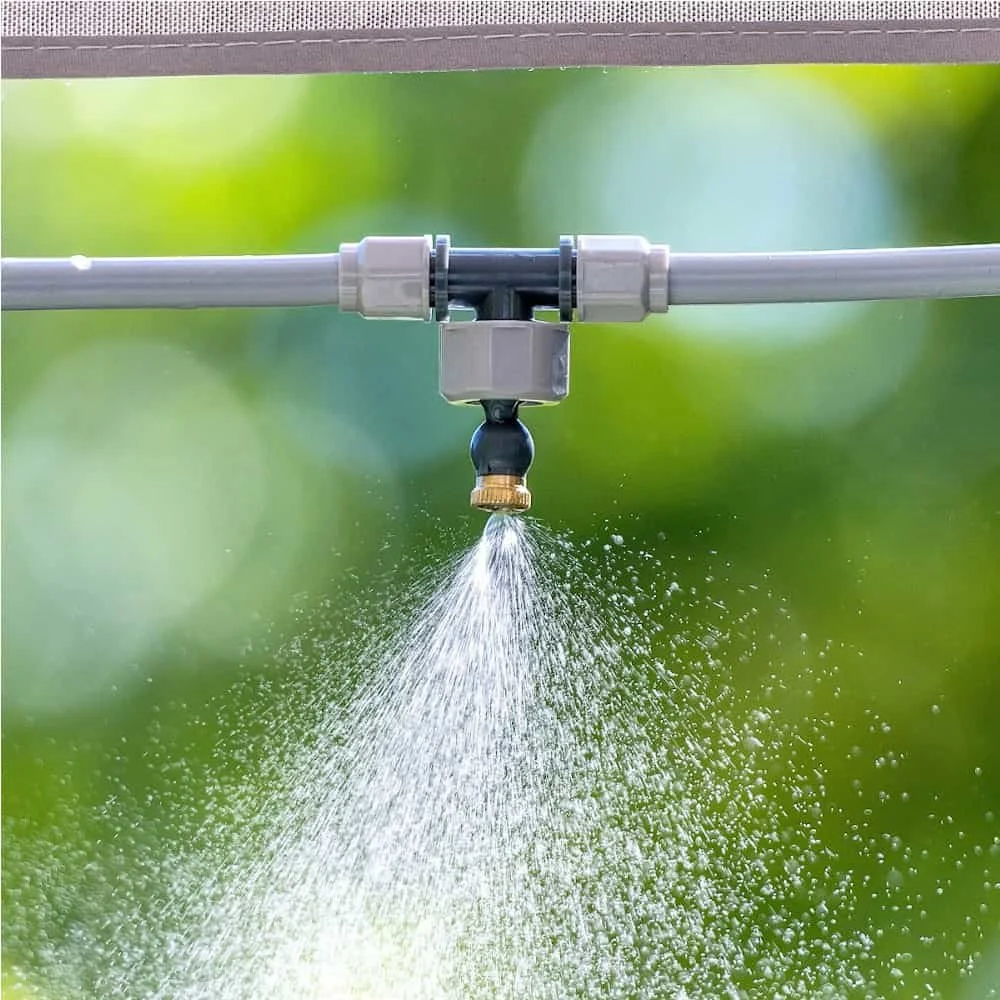
For longer patio areas, the is an option: a misting system with a 15 m hose, priced at 47,18 euros and listed as in stock according to the product information. Position it so the fine mist evaporates in the air instead of landing directly on people, cushions or the ground. A shorter alternative is the with 7,5 m of hose.
Why does the mist barely cool the area even when the system is running?
Mistake 1: Expecting cooling in every type of weather
A patio misting system reduces the perceived heat mainly when the fine water droplets can evaporate. This is easier in dry air. When the air is already humid, more water remains as visible mist or settles on surfaces. The system may be running without you feeling much cooler.
So check the conditions instead of simply increasing the run time. Watch to see whether the mist disappears quickly or hangs in the air as a damp haze. Also pay attention to the wind: a breeze can carry the mist away from the seating area, while still, humid air makes evaporation harder. Both affect how well the system works.
How to test evaporation
On a warm day, start with short spray intervals. Stand at the edge of the area and watch whether the mist disappears into the air. Then feel the seating and ground with your hand. If they stay dry, the system is probably aimed well. If they feel damp, adjust the spray direction or interval first.
- In warm, dry air, a longer interval may work well.
- In muggy weather, shorten the run time and check whether water is settling on furniture.
- In stronger winds, reposition the nozzles or choose a more sheltered area.
The number of nozzles isn’t the only factor that affects performance. The surroundings matter too. A shaded patio with some airflow behaves differently from a windless corner between high walls. If you’re also reorganising your watering setup, browse the garden irrigation category for suitable components. Even so, tailor the cooling to the specific area where you spend time.
“If the mist is visibly landing on a cushion, the system needs to be aimed differently or run at shorter intervals.”
Why are the nozzles pointing the wrong way or spaced too closely?
Mistake 2: Spraying directly onto seating and walkways
The nozzles should release mist into the air. If one points directly at chairs, a table, planters or the patio floor, it creates wet surfaces instead of evaporative cooling. This can keep cushions and wood damp for a long time. Water pooling on smooth paving or tiles can also make them slippery.
Aim each nozzle so its spray has clear space and the mist can evaporate before reaching the seating area. Check the direction from several angles. A test run of just a few minutes will often show whether the spray is hitting a wall or reaching a seat. Adjust the position before running the system for longer.
Mistake 3: Installing nozzles too close together without a plan
More nozzles don’t automatically mean more comfort. Nozzles placed too close together can oversaturate one area. On the other hand, gaps that are too wide can leave some areas with hardly any mist. The right spacing depends on the hose length, nozzle type, pressure and installation height. Follow the spacing recommended for your system and check the coverage before securing everything in place.
Map out the layout before installing the hose or brackets. Mark the seating area, walkways and surfaces that need to stay dry. Don’t place the nozzles only along the easiest line to mount. Aim for even coverage across the area you want to cool, without letting one spot stay wet.
- First mark the area you want to cool and the usual seating spots.
- Space the nozzles across the area according to the installation instructions.
- Test each section and check the spray direction and where the water settles.
Pro tip
Attach the hose temporarily with removable clips first. This lets you adjust the nozzle spacing and spray direction after the first test, before installing permanent fixings. Also test the system in a light breeze if that’s when you usually use the patio.
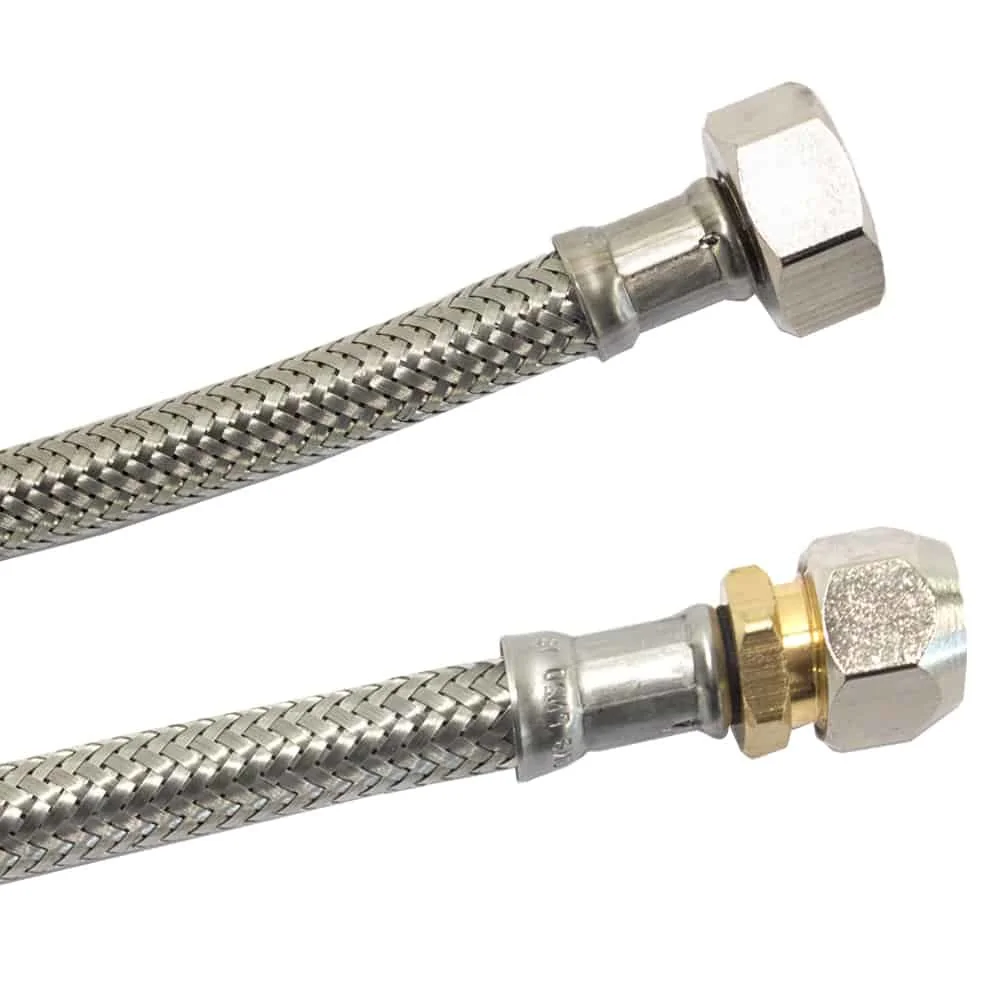
Choosing the right dimensions for the supply line and connection is essential. One option is a
How can you tell if a location is unsuitable?
Mistake 4: You install the system in a windy or enclosed area
Mist needs a clear path through the air. It can build up next to a hedge, a solid side wall or under a low canopy. When that happens, it wets the nearest surface instead of dispersing. In an exposed, windy area, the mist may blow away before it reaches the seating area.
Watch your patio at the time of day you want to cool it. Check which direction the wind comes from and where the shade falls. A shade sail or awning can also affect airflow. Don’t rush to install nozzles in the sunniest spot if the mist is constantly blowing toward a door or window.
Test the location while the system is running
First, test the system on a short section. Stand at several points on the patio and see where the mist drifts. Don’t rely on closing windows or doors to make up for poor planning. Position the spray so water isn’t carried indoors. Also keep an eye on lights, outlets and other electrical installations.
If you’re routing the system along a garden hose or an existing irrigation line, compare the connection routes and mounting points. You’ll find suitable items for garden watering in our garden hose range. The connections still need to be compatible with your misting system. Don’t use a fitting just because two parts can be screwed together.
- Keep mist away from open doors and windows.
- Avoid spots where water could drip onto steps or slippery walkways.
- Allow for changing wind directions and your usual seating arrangement.
“The best place to install the system is where the mist reaches the seating area and surfaces stay dry afterward.”
Why do nozzles clog or spray unevenly?
Mistake 5: You ignore limescale, dirt and buildup
Fine nozzle openings are easily affected by buildup. Limescale from hard water, particles in the water line or dirt from installation can change the flow. One nozzle may spray less, another may drip or produce a much coarser spray. The result is uneven cooling and often more water on certain spots.
Check the nozzles regularly, especially after a long break or repairs to the water line. After installation, flush the line according to the manufacturer’s instructions before fitting or operating the nozzles. Clean clogged openings using the recommended method. Don’t poke them with needles or pieces of wire, as this can damage the nozzle and permanently change the spray pattern.
Maintenance and connection checks
During a test run, check each nozzle individually. Look for a consistent fine mist, loose fittings and drips at the connections. If the system still sprays unevenly after cleaning, compare the affected nozzle with the others and replace it with a compatible one if needed. Don’t mix different types of nozzles without checking that they’re compatible.
The water connection also affects performance. A kinked hose or a fitting with an unsuitable diameter can restrict the flow. Check the entire line from the tap to the nozzles. You’ll also find garden care tips and accessories in the Garden + Outdoor category. Follow the system instructions for pressure, filters and cleaning products.
Additional tip
Make a note of which nozzles looked clogged after cleaning and when you checked them. This helps you spot whether buildup keeps appearing in the same places. You can then troubleshoot the filter, water connection or line without replacing parts at random.
How can you avoid wasting water and wetting surfaces?
Mistake 6: You run the system for too long or leave it unattended
Running the system continuously is rarely the best starting point. If you leave it running for a long time while the mist is landing on the floor or furniture, water use goes up without a matching increase in cooling. Start with short intervals and check the area afterward. Extend the run time only if the mist evaporates and the area stays comfortable.
Use a timer only after you’ve tested the conditions. Wind, temperature and humidity change throughout the day. An interval that works in the early afternoon may leave too much water on a cool patio in the evening. Check the system during the times you typically use it, and turn it off when no one is in the area or when it starts to rain.
Set up a simple operating schedule
Check the system after its first few uses and change just one setting at a time. For example, adjust the spray direction first, then the interval. That way, you can see which change made a difference. If you change the pressure, nozzles and run time all at once, it’s hard to tell what improved or worsened the results.
- Start with short run times and check the floor and furniture.
- Turn the system off when it rains or the air stays humid.
- Check for drips at the connections before setting longer run times.
- Use water only when you actually want to cool the patio.
Most common mistakes come down to five areas: weather conditions, nozzle placement, location, maintenance and run time. Check these one by one instead of simply turning the system up. This lets you cool your patio without unnecessarily wetting cushions, walkways and plants. Choosing the right system is the first step; careful positioning and regular checks make it work well day to day.
Important note
Turn off the water supply before disconnecting nozzles or fittings. During installation, make sure the lines are securely fastened and that mist can’t reach electrical equipment, outlets or slippery steps. If you spot a leak, stop the system and fix the cause before using it again.
Frequently Asked Questions
- Why is my patio misting system barely cooling the area?
- The mist often doesn’t evaporate quickly enough because the air is already humid or the nozzles are spraying directly onto seating. Wind can also carry the fine mist away. Observe the system while it’s running and adjust its position, spray direction or intervals one at a time.
- How far apart should the nozzles be on a patio misting system?
- The right spacing depends on nozzle size, operating pressure and system setup. Follow the manufacturer’s installation instructions and avoid placing nozzles too close together. After installation, check that the mist reaches the desired area without keeping furniture or the ground constantly wet.
- Does patio misting work in high humidity?
- Water evaporates more slowly in high humidity. As a result, the cooling effect is often weaker, and mist can settle on surfaces. Run the system for shorter periods, check the surfaces, and use shade and airflow as well instead of simply extending the run time.
- How can I prevent limescale from clogging my misting system nozzles?
- Regularly remove deposits according to the manufacturer’s care instructions and check any inline filters. Nozzles clog more quickly when used with hard water. Don’t use sharp tools that could damage the fine openings, and replace nozzles if they still spray unevenly after cleaning.
- How much water does a patio misting system use?
- Water use depends on the number of nozzles, their flow rate and how long the system runs. There’s no single figure that applies without this information. Start with short intervals, check whether the ground gets wet, and compare usage over a set period.
You might also be interested in
- Patio Misting System Review: What to Look for When Buying
- How to Use Leak Sealant Spray: 5 Common Mistakes
- Wet Sanding: 5 Common Mistakes and How to Fix Them
- How to Use a 15 m Patio Misting System: A Beginner’s Guide
- Weeds Still There? 5 Common Mistakes When Using a Hot Air Weed Killer
- Avoid These 3 Garden Spray Wand Mistakes