
In brief: Repair scratches and holes in PVC or vinyl floors yourself. Clean the area thoroughly, smooth the edges and mix the matching colour from the repair kit. Fill the damage in layers, smooth the surface and seal the area for a long-lasting result.
A deep scratch in your new vinyl flooring. An unsightly chip in the kitchen worktop. A small hole in a door panel. Damage like this to PVC and vinyl surfaces is frustrating, but there is no need to panic. You do not have to replace the entire floor or call an expensive professional. With the right tools and technique, you can repair these minor imperfections yourself. This not only saves money but also gives you control over the result.
The solution for a quick and lasting repair is the : PVC and vinyl repair kit with wax melter. This complete kit contains everything you need for a professional repair: various hard wax colours, a battery-powered wax melter, spatula, abrasive fleece and a cotton cloth. It gives you everything you need to make scratches, holes and dents almost invisible.
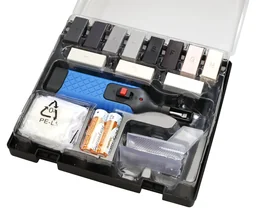
You know a good repair by the fact that you cannot see it. It blends seamlessly into its surroundings and fully restores the original function and appearance.
Why is it so important to repair PVC and vinyl quickly?
A small scratch may initially seem like a purely cosmetic problem. If left untreated, however, it can quickly develop into more serious damage. Dirt and moisture penetrate the damaged area. The material can swell, the edges can come loose further and the protective layer can be undermined. A minor imperfection can thus become a serious problem that shortens the life of your floor or surface.
Prompt repairs stop this process. You seal the damaged area and protect the material underneath. This not only preserves the flawless appearance but also protects the value of your furnishings. A well-maintained floor or an intact worktop improves comfort and leaves a positive impression. You also prevent a small, easily repairable area from becoming a complex and expensive renovation.
How do you prepare the damaged area properly?
The best filler is useless if the surface is not prepared properly. Careful preparation is the foundation of a durable, invisible repair. Take enough time over these initial steps.
Tip 1: Thorough cleaning is half the job
The damaged area must be completely clean, dry and free of grease. Dust, loose particles, wax residue or cleaning product residue prevent a firm bond between the filler and the surface. Start by removing loose dirt with a vacuum cleaner or soft brush.
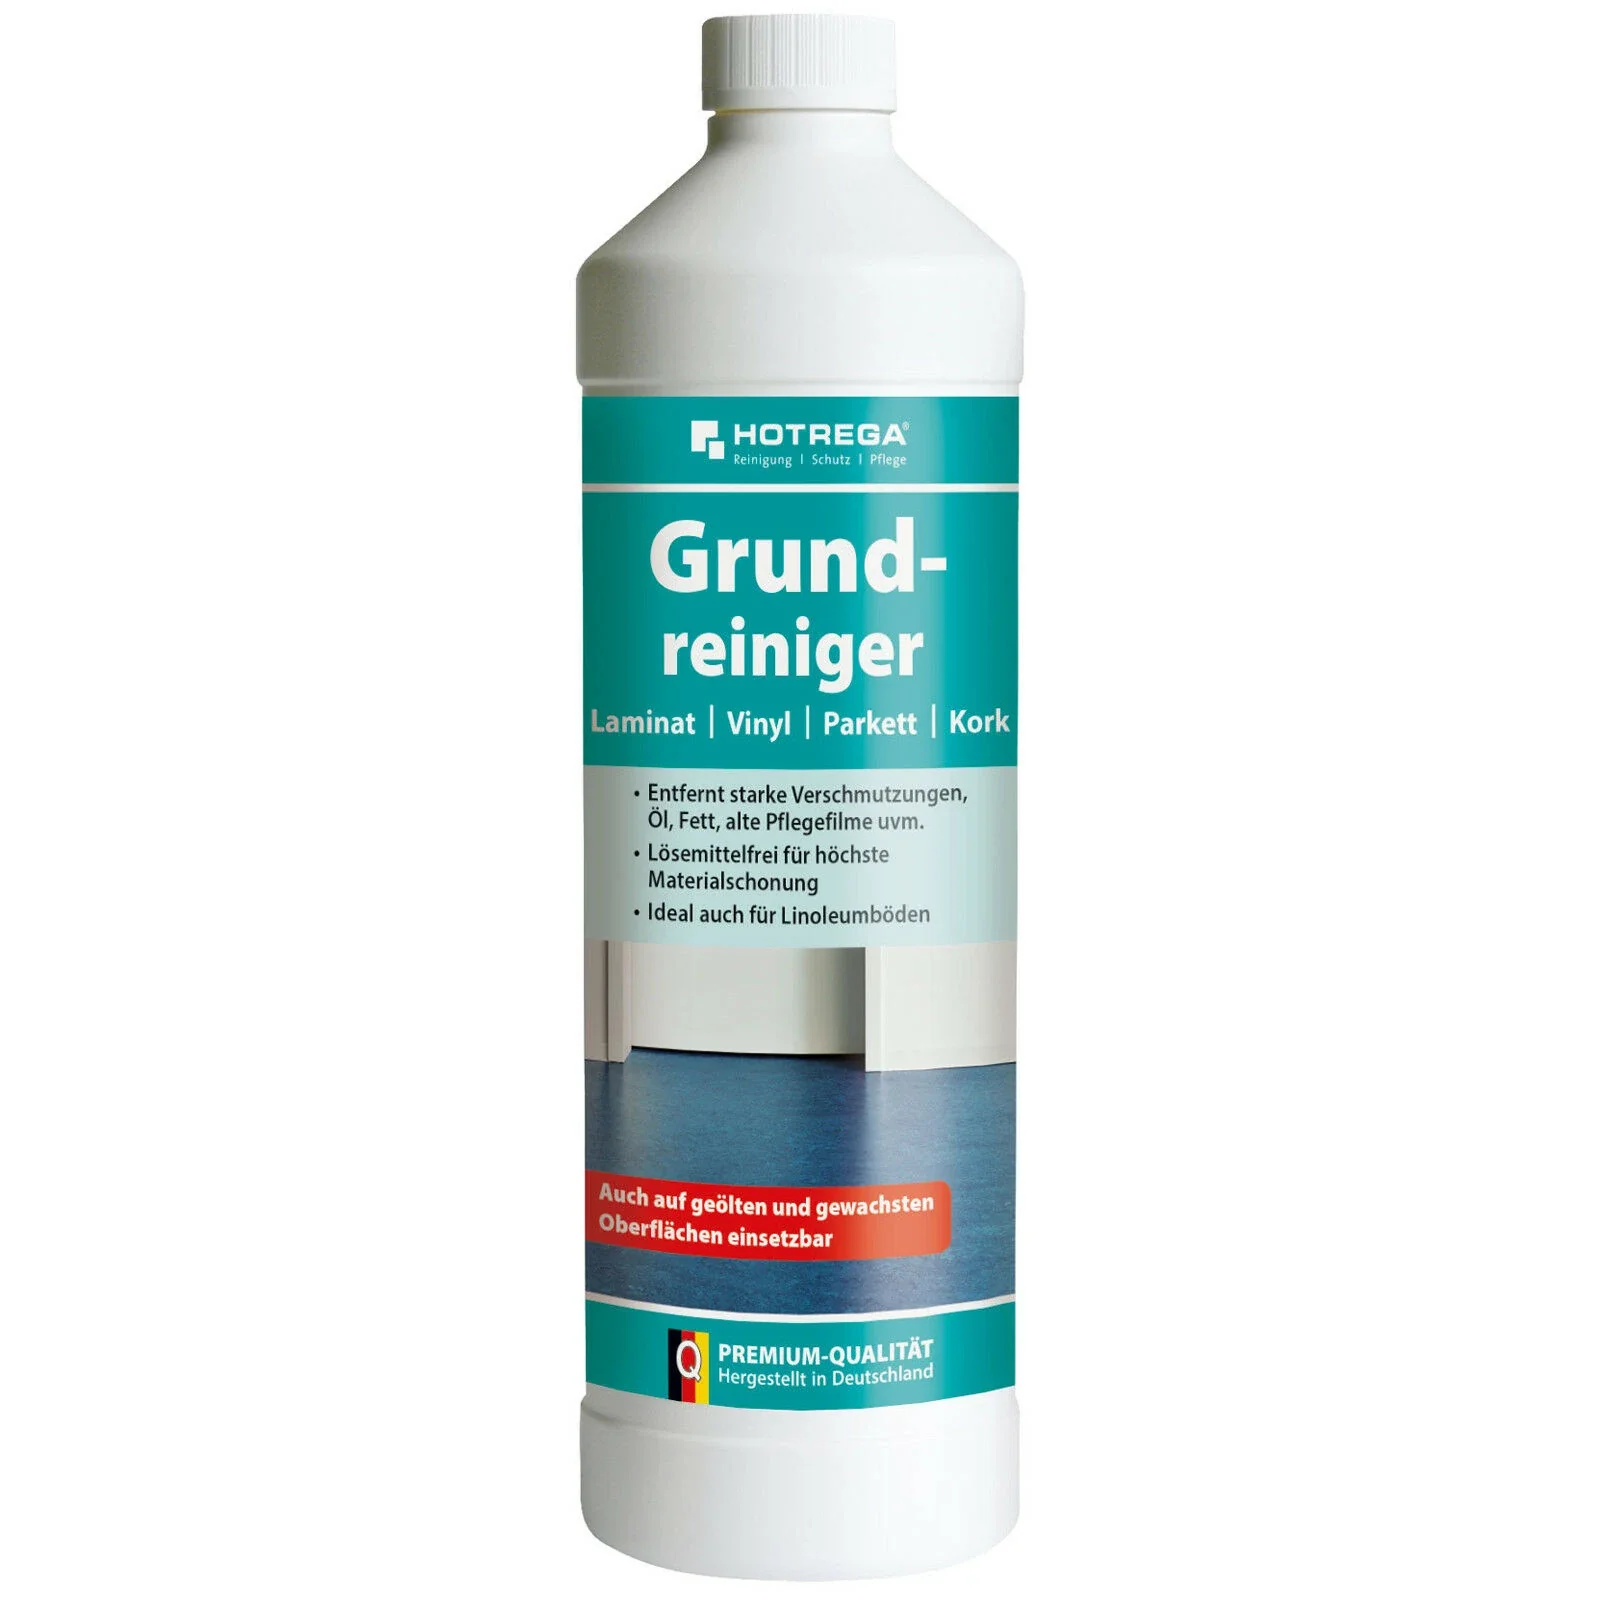
Then degrease the area thoroughly. Use a suitable cleaner that will not attack the surface. The : HOTREGA Deep Cleaner Laminate/Parquet/Cork/Vinyl is ideal for removing old care product layers and stubborn dirt without damaging the material. Apply the cleaner according to the instructions and rinse with clean water. Allow the area to dry completely before proceeding to the next step.
Important note
Do not use oil-based or wax-based cleaning products for preparation. They leave behind a film that severely impairs the adhesion of the repair wax. Aggressive solvents are also unsuitable, as they can dissolve and discolour the PVC or vinyl.
Tip 2: Smooth the edges and remove loose material
Deep scratches and chips often have sharp edges or loose material fibres sticking up. These must be removed so that the filler finishes flush with the surface. Use the sharp edge of the included spatula or a small utility knife to carefully cut away any protruding material. Work from the outside in to avoid making the damage larger. The aim is a clean, clearly defined recess without loose, ragged edges.
What matters when matching the colour of vinyl?
The biggest challenge when repairing a surface is often matching its exact colour. Modern vinyl flooring has complex patterns and colour gradients. With patience and the right technique, you can achieve a perfect colour match.
Tip 3: Mix colours in good light
Colour perception depends heavily on the lighting. Artificial light, especially from incandescent bulbs or energy-saving lamps, can distort colours significantly. Always mix the wax colours in bright, neutral daylight, ideally near a window. This ensures that the chosen shade matches exactly in natural light as well.
The repair kit contains several basic colours. Always start with the lightest shade found around the damaged area. Melt off a small amount, then add tiny particles of darker colours until the mixture is right. It is easier to darken a shade that is too light than to lighten one that is too dark.
Mixing colours is like cooking. You start with the base and add the seasonings gradually. A little too much can spoil the whole result. Patience is the most important ingredient.
Tip 4: Test the colour in an inconspicuous area
Test your colour mixture before filling the actual damage. Choose an inconspicuous area, such as underneath a piece of furniture or in a corner. Apply a small dot of the melted wax there and allow it to harden. Compare the dried shade with the surrounding surface. The colour often changes slightly as it cools. Adjust your mixture if necessary and repeat the test.
Pro tip
For wood-effect surfaces, do not mix just one shade. Recreate the grain by working several colours into the damaged area one after another in thin lines: a lighter base shade and a darker one for the grain. This makes the repair even less noticeable.
How do you professionally fill and seal the damage?
After preparing the area and choosing the color, the crucial step is filling the damage. The battery-powered melter from the repair kit allows you to work precisely and cleanly.
Tip 5: Work in thin layers
Do not fill deep scratches or holes all at once. Apply the melted wax in several thin layers. Let each layer set briefly before adding the next. This prevents air pockets from forming and ensures a more stable, compact fill. Fill the indentation until it is slightly overfilled. The excess material will be removed in the next step.
Tip 6: Use the scraper's planing function
Once the wax has fully hardened (this only takes a few minutes), use the included filler plane or scraper. Its grooves are designed to remove excess hard wax flush with the surface. Hold the plane flat and pull it over the repaired area with gentle pressure. The sharp grooves remove the excess without scratching the surrounding surface. Repeat the process until the fill is perfectly smooth.
Additional advice
If the repaired area still looks dull after planing, you can restore its original level of shine with the gray abrasive fleece from the kit. Polish the area with light pressure until it blends in visually with the surrounding surface.
Tip 7: Seal the repair
The final step is crucial for durability. The sealant protects the repair wax from dirt, abrasion, and moisture. Many kits include a transparent sealing pen or clear varnish for this purpose. Apply an ultra-thin layer to the repaired area. This not only protects it but also provides a final match for the level of shine. Let the sealant dry completely before putting the surface back into use.
What materials besides flooring can you repair?
The possible uses of a PVC and vinyl repair kit go far beyond flooring. The hard-wax repair method works on many hard plastic surfaces. Consider plastic window frames, doors, plastic-coated furniture, or trim in cars and RVs. Damage can also be repaired outdoors, for example on patio furniture or a durable blue PVC tarp.
The system is also useful for DIY projects. Minor blemishes on PVC fittings and connectors or even thick-walled PVC hoses can be repaired, as long as they are not parts that carry pressurized fluids. This versatility makes the repair kit an indispensable helper around the home and workshop. Individual replacement cartridges are often available for specific colors, such as the : dark oak replacement cartridge, to expand your kit.
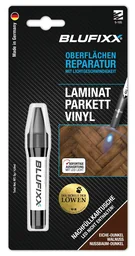
With these tips and the right tools, you can become a repair pro. Take care of minor damage yourself and enjoy a perfect, long-lasting result.
Frequently asked questions
- Can I repair deep scratches in my vinyl flooring?
- Yes, deep scratches can be filled with a repair kit. Clean the area, fill the scratch layer by layer with the appropriate hard wax from the kit, and then seal the area. This makes the repair durable and nearly invisible.
- How do I find the exact color for my PVC flooring?
- Mix the hard-wax colors from the kit in daylight. Start with the lightest shade and add darker colors in small amounts until the color matches. Test the mixture in an inconspicuous area before filling the damage.
- Will a wax kit repair withstand heavy use?
- Yes, a properly completed repair is highly durable. The hard wax bonds firmly to the substrate. The final sealant also protects the repaired area from wear, moisture, and dirt, ensuring long-lasting results.
- What materials besides flooring can a PVC repair kit be used on?
- The kit has a wide range of uses. You can also repair damage to plastic window frames, PVC furniture, trim, or even durable green PVC tarps. It is suitable for most hard plastic surfaces.
- Does the repaired area need any special care?
- Once fully cured, the repaired area requires no special care. You can clean the floor or surface as usual. Avoid aggressive cleaners or heavy mechanical stress directly on the repaired area during the first few days.
You may also be interested in
- Caring for vinyl and PVC flooring after repair: The best tips
- Looking to buy a PVC and vinyl repair kit? The ultimate guide
- Liquid vinyl or repair kit: How to repair vinyl flooring
- Invisible laminate repairs: 5 tips for perfect results
- 5 mistakes when repairing plastic windows (and how to avoid them)
- Caring for repaired plastic windows: How to keep them looking like new