
In brief: Autumn crafts with children are a wonderful way to spend time together and make your own creative autumn decorations. Use natural materials such as chestnuts, colourful leaves and twigs. These ideas improve fine motor skills, stimulate the imagination and create personal decorations for windows, tables or doors. The projects are simple, affordable and fun.
Autumn crafts for kids: Creative DIY decoration ideas
Autumn brings colours and shapes right to your doorstep. This makes autumn crafts with children particularly easy and inspiring. Collect materials during a walk and turn them into personal decorations.
These creative ideas for children improve fine motor skills and their understanding of the season. The projects are affordable, fun and create a cosy atmosphere in your home.
Why are autumn crafts valuable for children?
Children experience nature with all their senses. They feel the smooth surface of a chestnut, smell damp earth and see the interplay of colours in the leaves. Crafting combines this experience with a creative result.
Crafting together strengthens your bond. It creates memories and gives children a sense of achievement. Their homemade autumn decorations are displayed with pride.
Pro tip
Create an "autumn treasure box". Collect special finds such as colourful leaves, acorns or attractive stones on every walk. This box serves as a source of inspiration for spontaneous craft sessions on rainy afternoons.
Which materials can you collect for DIY autumn decorations?
Nature provides the basic materials. Go exploring with your children. A small basket or fabric bag is practical for carrying everything home.
Essential natural materials
Leaves in different colours and shapes are the centrepiece of autumn decorations. Maple, oak and colourful beech leaves are particularly suitable. Collect them on a dry day.
Chestnuts and acorns can be used as bodies for figures or as decorative elements. Look for shells that are intact and smooth. Nuts such as walnuts or hazelnuts are also suitable.
Branches and twigs of different thicknesses can be turned into frames, mobiles or small trees. Pine cones or fir cones add to the selection.
Collecting is already part of the creative process. Children learn to recognise differences and make a selection. They develop a feel for shapes and colours that extends beyond crafting.
Additional craft materials from around the home
You do not need to buy everything. Search your cupboards for leftover materials. Scraps of wool become warm hair for chestnut figures. Egg boxes can be transformed into little hedgehogs.
Old jars are ideal for lanterns. Cardboard kitchen-roll tubes become tree trunks or owl bodies. Fabric scraps and buttons complement the natural materials.
For special craft projects, you can find inspiring sets in the children's toy range. The children's room decor section offers more ideas.
Important note
When collecting in nature, take care to protect plants. Do not pick leaves from protected species. Avoid areas with heavy dog traffic. Wash collected chestnuts and stones before crafting to remove dirt.
How can you make simple chestnut figures with children?
Chestnut figures are a classic. You only need chestnuts, toothpicks or matches and a little imagination. Soft modelling clay is suitable as a joining material for younger children.
How to make a chestnut family
Carefully drill holes in the chestnuts with a hand drill. Children can make pilot holes with a blunt needle or corkscrew. Insert toothpicks into the holes to make arms and legs.
Use acorn caps as hats. Paint faces with a fine brush or waterproof pen. Strands of wool become hair or scarves.
Hot glue is suitable for strong joints. Adults should always handle this part. An alternative is craft wire, which you can wrap around the toothpicks.
Creative variations: Animals made from chestnuts
Make a hedgehog. Stick lots of toothpick tips into a large chestnut. Trim them to the same length. Use coloured paper to make small ears and a nose.
You can make an owl from a flat chestnut. Glue on two acorn halves as eyes. A small leaf or feather serves as a beak. Draw the wings with felt-tip pens.
These figures look great on an autumn table or windowsill. They are sturdy and will last all season.
Extra advice
If your chestnuts shrink or go mouldy after a few days, they were too fresh. Leave collected chestnuts in a warm, dry place for a week. They will then be perfect for crafting.
Why are colourful leaves suitable for a variety of craft projects?
Autumn leaves are flat, easy to work with and available in countless variations. They are suitable for collages, window pictures and mobiles. Pressing leaves is a project in its own right.
Pressing and preserving leaves
Place fresh, clean leaves between sheets of newspaper or blotting paper. Weigh down the stack with heavy books. After about a week, the leaves will be dry and flat.
To preserve the leaves, coat them with a mixture of equal parts water and glycerine. Alternatively, spray them with hairspray. This helps the colours last longer.
Glue pressed leaves onto tracing paper. Hang these pictures in the window. Light shines through the leaves and makes the autumn colours glow.
Leaf collages and animals
Let your children arrange animals from leaves. A long, narrow leaf becomes a fish's body. Round leaves make a lion's head. Small leaves can be used as scales or a mane.
Glue the composition onto sturdy drawing card. Outline the animals with a black pen. This creates an entire autumn zoo picture.
For a suitable frame, look in the children's wallpaper category for inspiration. Matching children's lamps will later showcase the crafts in the right light.
Working with natural, temporary materials such as leaves also teaches children to let go. Not every work of art has to last forever. The creative process is the focus, not just the finished product.
Which DIY decoration ideas can brighten windows and doors?
Windows and doors are prominent places for autumn decorations. Transparent or textured crafts work particularly well here. They welcome visitors and create eye-catching accents visible from outside.
Autumn window picture made from transparent paper
Cut out simple autumn shapes from coloured transparent paper: apples, pears, mushrooms, leaves or a hedgehog. The shapes should not be too intricate.
Glue the cut-out shapes onto a sheet of transparent cling film. Leave a little space between the elements. Cover the decorated film with a second layer of film.
Cut a frame from card. Glue the film sandwich into the frame. Attach the picture to the window with suction cups or adhesive dots.
Welcoming door decoration made from branches
Tie several straight branches together to form a circle. Use raffia or jute cord. The circle should be slightly smaller than your door.
Attach colourful leaves, small cones or chestnuts to the circle with wire. Hang a bow made from hessian or checked fabric at the bottom.
Use a strip of sturdy fabric to attach the wreath to the door. This decoration is weather-resistant and will last for several weeks.
How do you make an autumn lantern with children?
Lanterns create a cosy glow on dark autumn evenings. This version is safe to make with children because you use a tealight in a glass jar. This means there is no open flame.
Leaf decoupage lantern
You need a clean, grease-free preserving jar. Coat the outside of the jar with transparent craft glue or Mod Podge.
Place thin, pressed leaves on the sticky surface. Press them down gently. Cover the leaves completely with another layer of glue.
Leave the jar to dry overnight. Place an electric tealight or LED candle inside. The light shines through the leaves and casts beautiful shadows.
Lantern with a natural-material texture
Wrap the jar with a layer of transparent adhesive film. The sticky side should face outwards. Press small natural materials such as millet, grass seeds, small leaves or sand onto the film.
The materials stick without any additional glue. This version is also suitable for very young children. The result is an interesting lantern with a tactile texture.
A practical children's table is ideal for storing craft supplies. Beautiful children's rugs also provide space for crafting.
Products for creative craft sessions
For varied craft projects, the
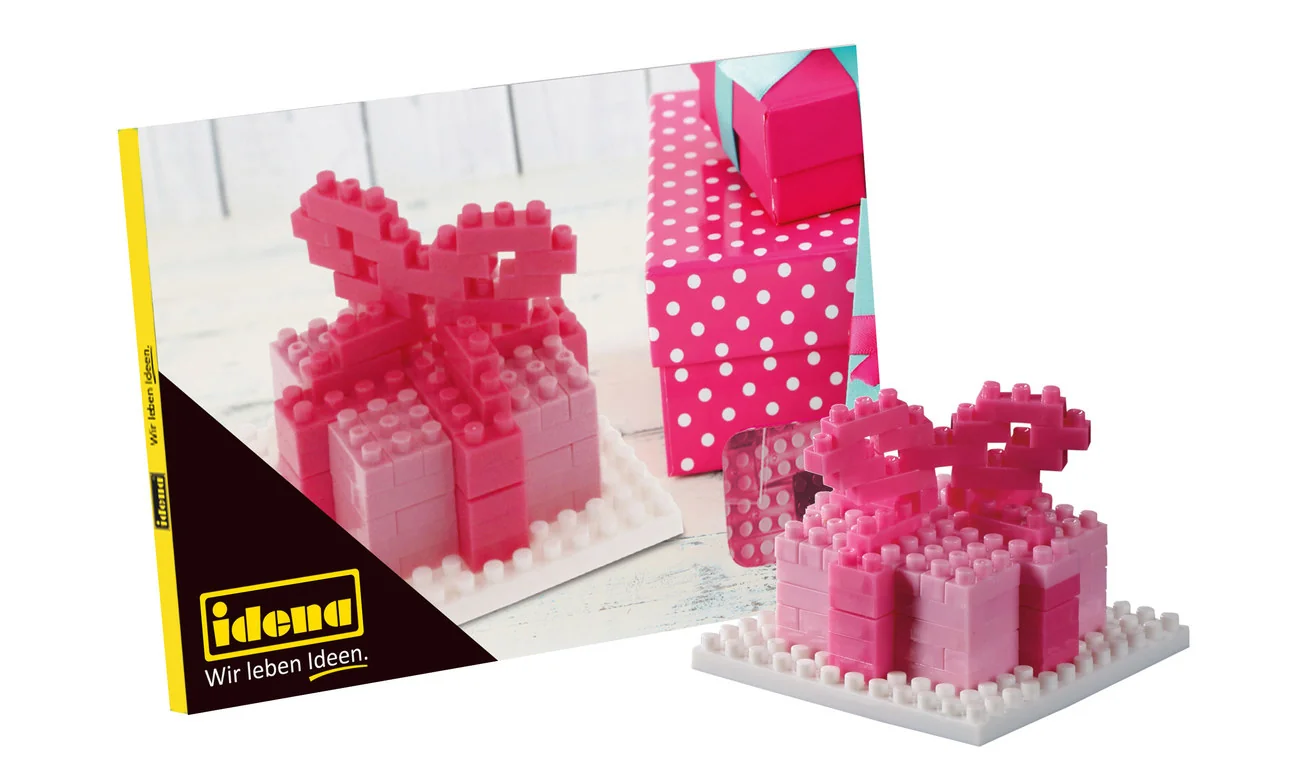
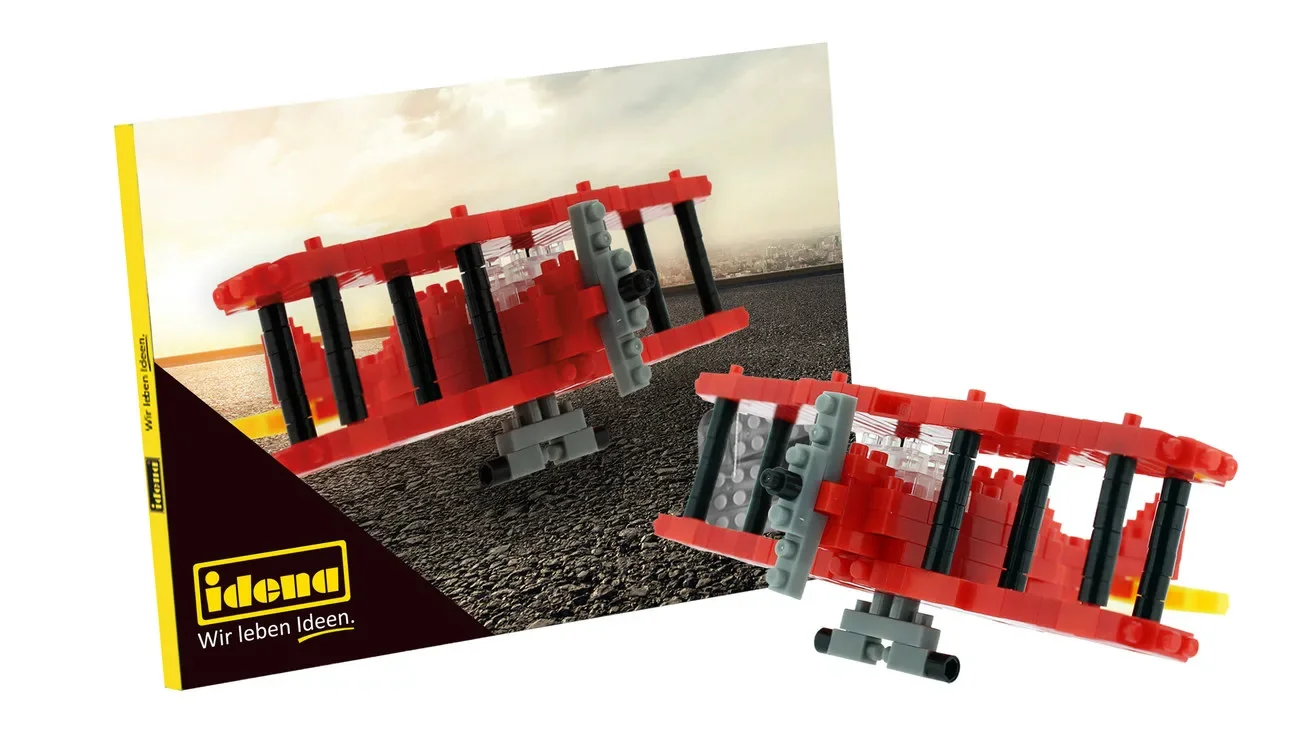
The Angel and Biplane designs offer an exciting contrast to the natural materials. Children combine different elements and expand their creative skills in the process.
Conclusion: Combining creativity with the season
Crafting with children in autumn combines experiencing nature with creative activities. You use what the season has to offer and turn it into unique decorations. These projects bring the family closer together and create a sense of pride.
Start with a walk and a collecting activity. Then choose a project that suits your children's age and interests. The process is more important than perfection.
The autumn atmosphere in your home becomes even warmer thanks to these personal creations. And you create memories that last beyond the season.
Frequently Asked Questions
- Which natural materials are suitable for autumn crafts with children?
- Ideal materials include conkers, acorns, colourful autumn leaves, rose hips, small branches, pine cones and nut shells. Collect these materials during a walk. Make sure the leaves are not yet too dry and brittle. Before crafting, gently remove any dirt from your collected treasures.
- How can I safely make autumn decorations with children under 3?
- Use non-toxic materials such as large leaves for painting with finger paints. Stick leaves onto paper with a glue stick. Instead of sharp tools, use soft modelling clay or pre-cut shapes. Always supervise your child, especially when using small parts such as conkers.
- What do I need for basic autumn craft supplies for children?
- You need non-toxic craft glue, a glue gun for adults, sturdy scissors, art paper, watercolours or finger paints, paintbrushes, googly eyes, craft string and some wire. A protective covering will protect the table. You can find many materials in nature or around the home.
- Can I also use autumn crafts for a children's birthday party?
- Yes, craft stations are perfect for autumn birthday parties. Prepare materials such as colourful leaves, conkers and pre-cut cardboard shapes. Each child can make a lantern or leaf picture to take home. Plan simple projects that can be completed in 20-30 minutes.
- How can I preserve autumn decorations made from natural materials for longer?
- Spray leaf pictures with hairspray or clear varnish to fix the colours. Store conker figures in a dry place away from direct sunlight. A bag of lavender helps protect dried leaves from moths. Many creations are seasonal decorations and last for one season.
You might also be interested in
- Crafts for children: Creative DIY ideas for the family
- Atmospheric autumn decorations: Creative DIY ideas for your home & garden
- Autumn craft ideas with acorns and conkers
- Autumn wall decorations: DIY ideas with dried leaves
- Pumpkin crafts: Creative ideas for autumn and Halloween
- Creative Christmas craft ideas: Make your own DIY decorations