
In brief: The right seam tape permanently joins flooring sheets or panels and creates a watertight, flexible joint. For PVC luxury vinyl flooring or vinyl, you need special PVC seam tape. PUR seam tape is used for resilient flooring such as linoleum. The right choice depends on the material and how the room is used. Choosing the wrong tape can result in visible seams or lifting.
Flooring installation: Choose the right seam tape
Are you planning to install your own flooring? The panels or sheets are ready to go. But the key to a professional result is hidden between the joining edges: seam tape. This invisible layer secures the flooring, seals the joint and accommodates movement. Choosing the wrong tape can result in visible seams, lifting or water damage.
We'll show you which tape is suitable for each type of flooring. You'll learn the differences and get practical application tips. This will help you avoid common mistakes and ensure your work lasts.
Why is seam tape so important?
Seam tape is more than just adhesive. It creates the mechanical connection between two pieces of flooring. A good tape does not just hold; it is also flexible. It compensates for the natural expansion and contraction of flooring materials as temperatures change.
It also protects the subfloor. A watertight seam prevents moisture from getting into and beneath the joint. This helps prevent mould growth and the subfloor from swelling. This protection is particularly important in kitchens, bathrooms and garden and outdoor areas.
The wrong tape can spoil the appearance. Tape that is too narrow leaves visible gaps. Tape with too much initial tack cannot be repositioned. The seam will become uneven.
Important note
Never use ordinary double-sided household tape. It is not tear-resistant, ages quickly and loses its adhesive strength under load. The result can be lifting flooring with dangerous trip edges.
What types of seam tape are available?
The choice depends primarily on the flooring material. The two main types are PVC seam tape and PUR seam tape. Both are available as double-sided tapes with a release liner that you peel off.
PVC seam tape for luxury vinyl flooring and vinyl
PVC seam tape is the standard choice for bonding PVC flooring, vinyl luxury flooring and laminate. It features a strong acrylic adhesive on a PVC carrier film. This tape is particularly tear-resistant and provides immediate initial adhesion.
It is suitable for smooth, non-porous subfloors such as existing flooring, levelling compound or concrete. For preparation, you can find specialist cleaners in our plumbing and irrigation and household supplies range.
The durability of a PVC flooring seam depends entirely on subfloor preparation. Every speck of dust is a tiny cushion that reduces adhesive strength. Thorough cleaning and degreasing are not optional; they are the foundation of the job.
For domestic use, tapes with a width of 5 to 7 cm are common. For commercial use or wider sheets, stronger versions are used.
PUR seam tape for resilient flooring
PUR seam tape is made from polyurethane. Its key strength is its extreme elasticity and flexibility. It stretches with the flooring. That makes it the first choice for resilient materials such as linoleum, rubber, cork or sports flooring.
These materials move considerably. They expand in warm conditions and contract in the cold. A rigid PVC tape could break or cause the seam to split. PUR seam tape adapts to the movement and keeps the connection flexible for the long term.
Pro tip
Test the adhesive's elasticity before installation. Carefully stretch a piece of the removed adhesive. High-quality PUR tape can be drawn out into a string without tearing immediately. This property carries over to the flooring seam.
PUR tape also bonds well to somewhat more challenging subfloors. However, it is more sensitive to moisture during installation. Ensure the room is dry.
How do you prepare the subfloor correctly?
Even the best adhesive will fail on a poor subfloor. Preparation is the most time-consuming but most important step. Start by cleaning thoroughly.
Remove all loose particles, dust, grease and wax residue. For resilient existing flooring or primed surfaces, use a specialist deep cleaner. A product such as RZ Grundreiniger Universal removes stubborn dirt and leaves a surface ready for bonding.
On absorbent subfloors such as screed or mastic asphalt, a primer may be necessary. It reduces absorbency and closes the pores. This allows the seam tape adhesive to work properly instead of being “dried out”.
Finally, check that the surface is level. Unevenness of more than 2 mm per metre interferes with the tape's full-surface adhesion. If necessary, use a thin-flowing levelling compound. You can find the tools for this in the power tools category.
Additional advice
Allow the cleaned and, if necessary, primed subfloor to dry thoroughly. Follow the manufacturer's instructions. Installing too soon on a damp subfloor is one of the most common causes of later lifting.
Practical guide: How to install seam tape correctly
Now comes the precise part. Work calmly and plan every step. First lay out the flooring sheets or panels without adhesive to plan the layout and cuts.
Roll back half of the first sheet or the first row of panels. Now apply the seam tape directly to the exposed subfloor. Peel off the release liner on one side and position the tape exactly along the planned joint.
Press the tape down firmly. Remove the second release liner. Now carefully unroll the folded-back section of flooring and press it firmly into the tape, working from the centre towards the edges.
Repeat the process for the next sheet. Make sure the joining edges meet tightly and are flush with each other. Run a rubber mallet and a tapping block along the seam to ensure full-surface adhesion.
Hurrying is the biggest mistake. Take your time when removing the release liner and pressing the tape down. Once it has made contact, high-quality seam tape can hardly be moved. Work in sections of one metre and secure each seam immediately.
Do not put the floor under load immediately after installation. Give the adhesive time to develop its final strength. 24 hours at room temperature is a good guideline. During this time, avoid heavy foot traffic and direct sunlight on the fresh seams.
Care and Cleaning After Installation
Your new floor has been installed. To keep it looking great for a long time, it needs the right care. First, remove any adhesive residue or dirt from the surface. Use only recommended cleaning products.
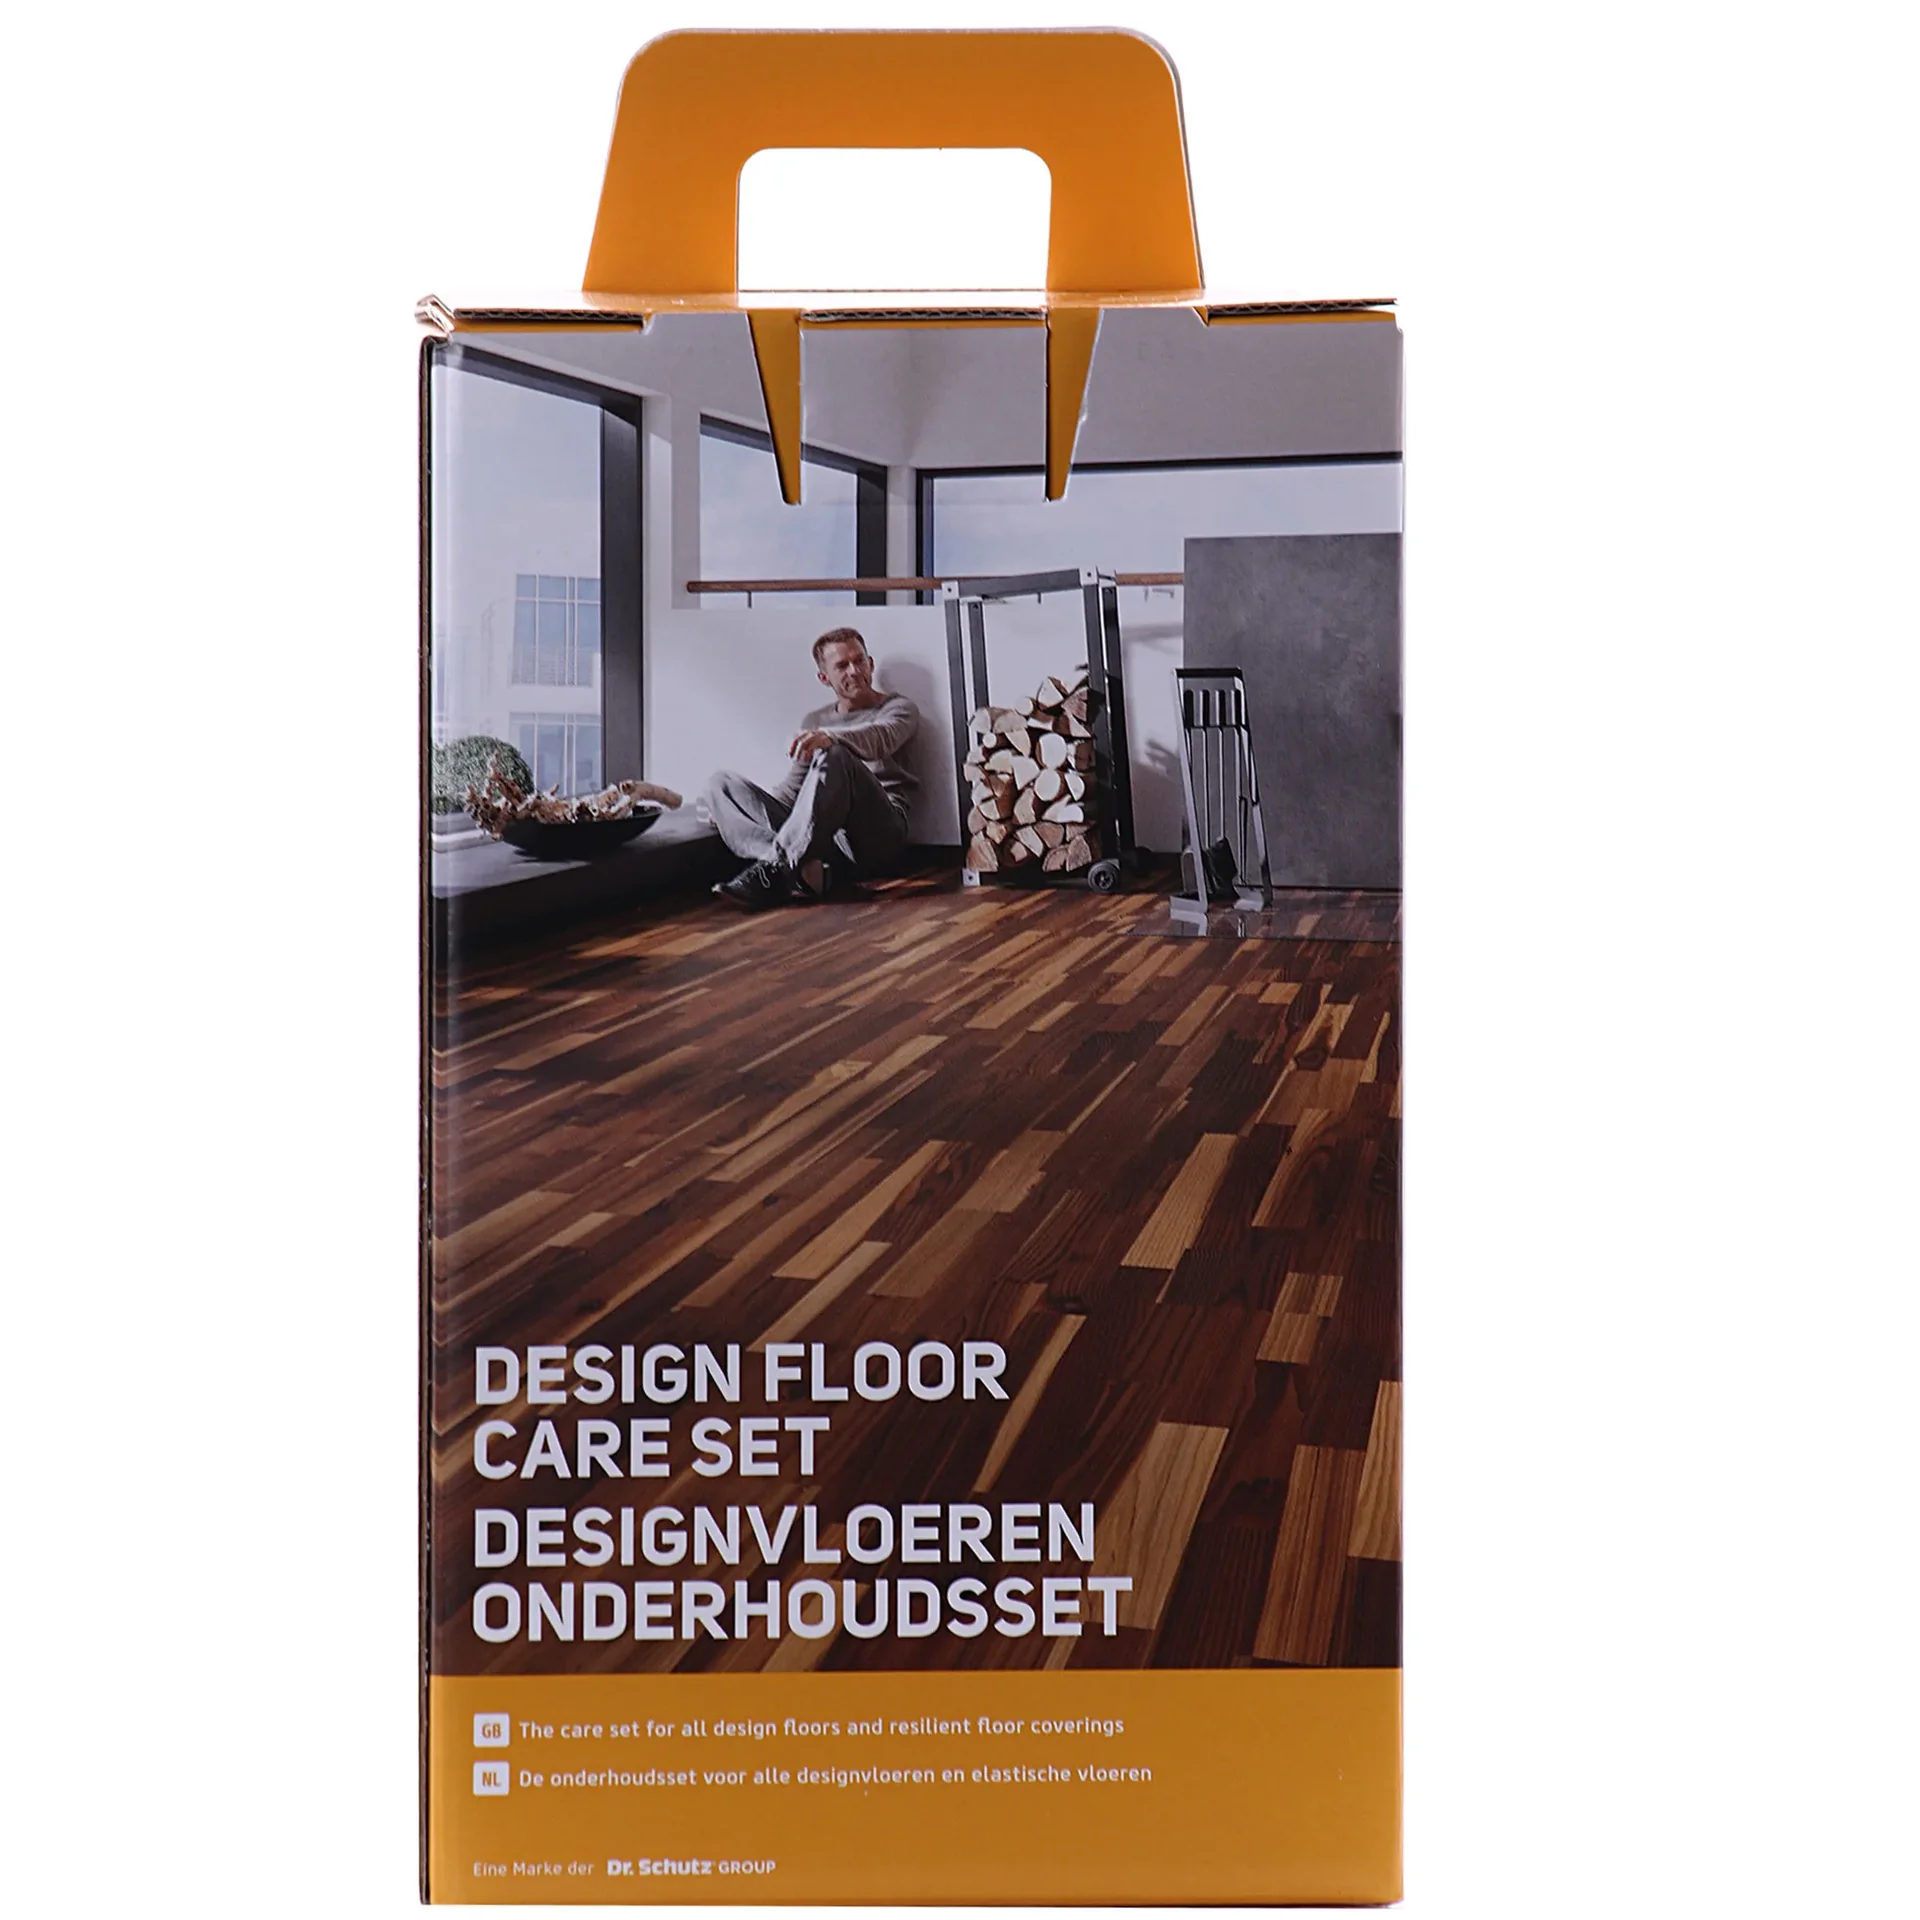
For PVC design flooring, a special care kit such as the is ideal. These sets often contain a basic cleaner for initial care and a long-term care product that protects the surface. Aggressive household cleaners or scouring cream can scratch the wear layer.
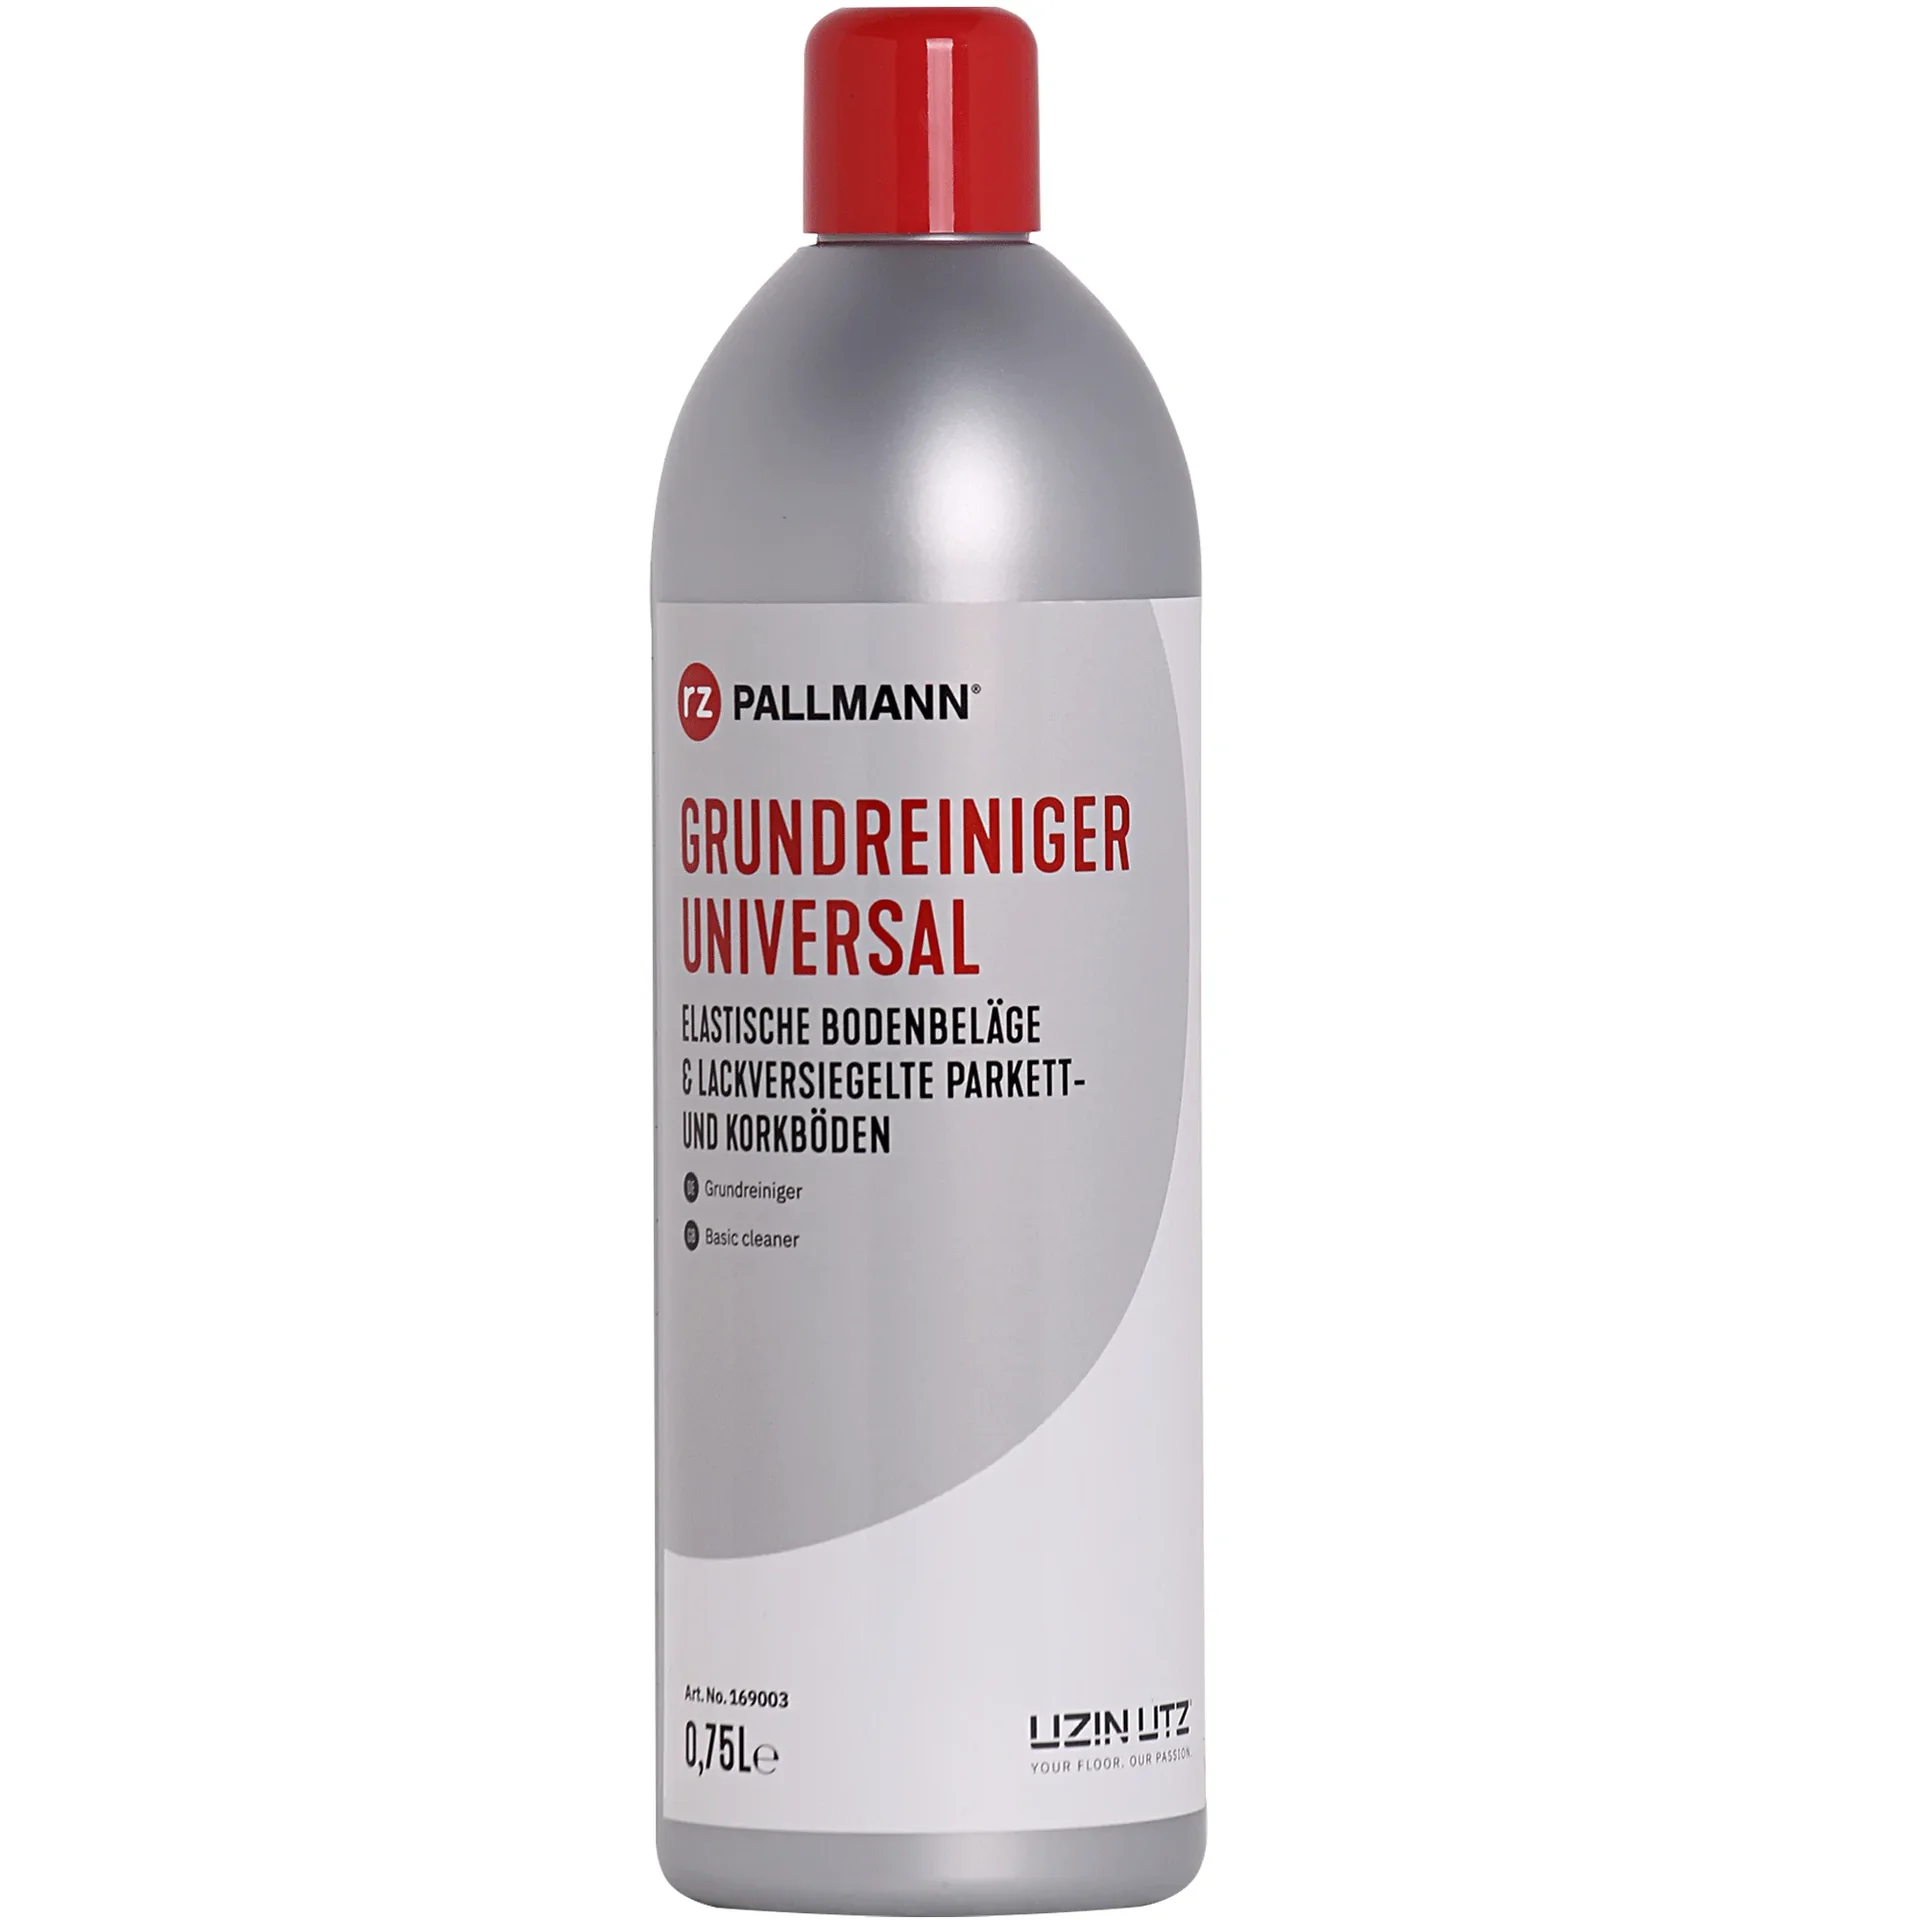
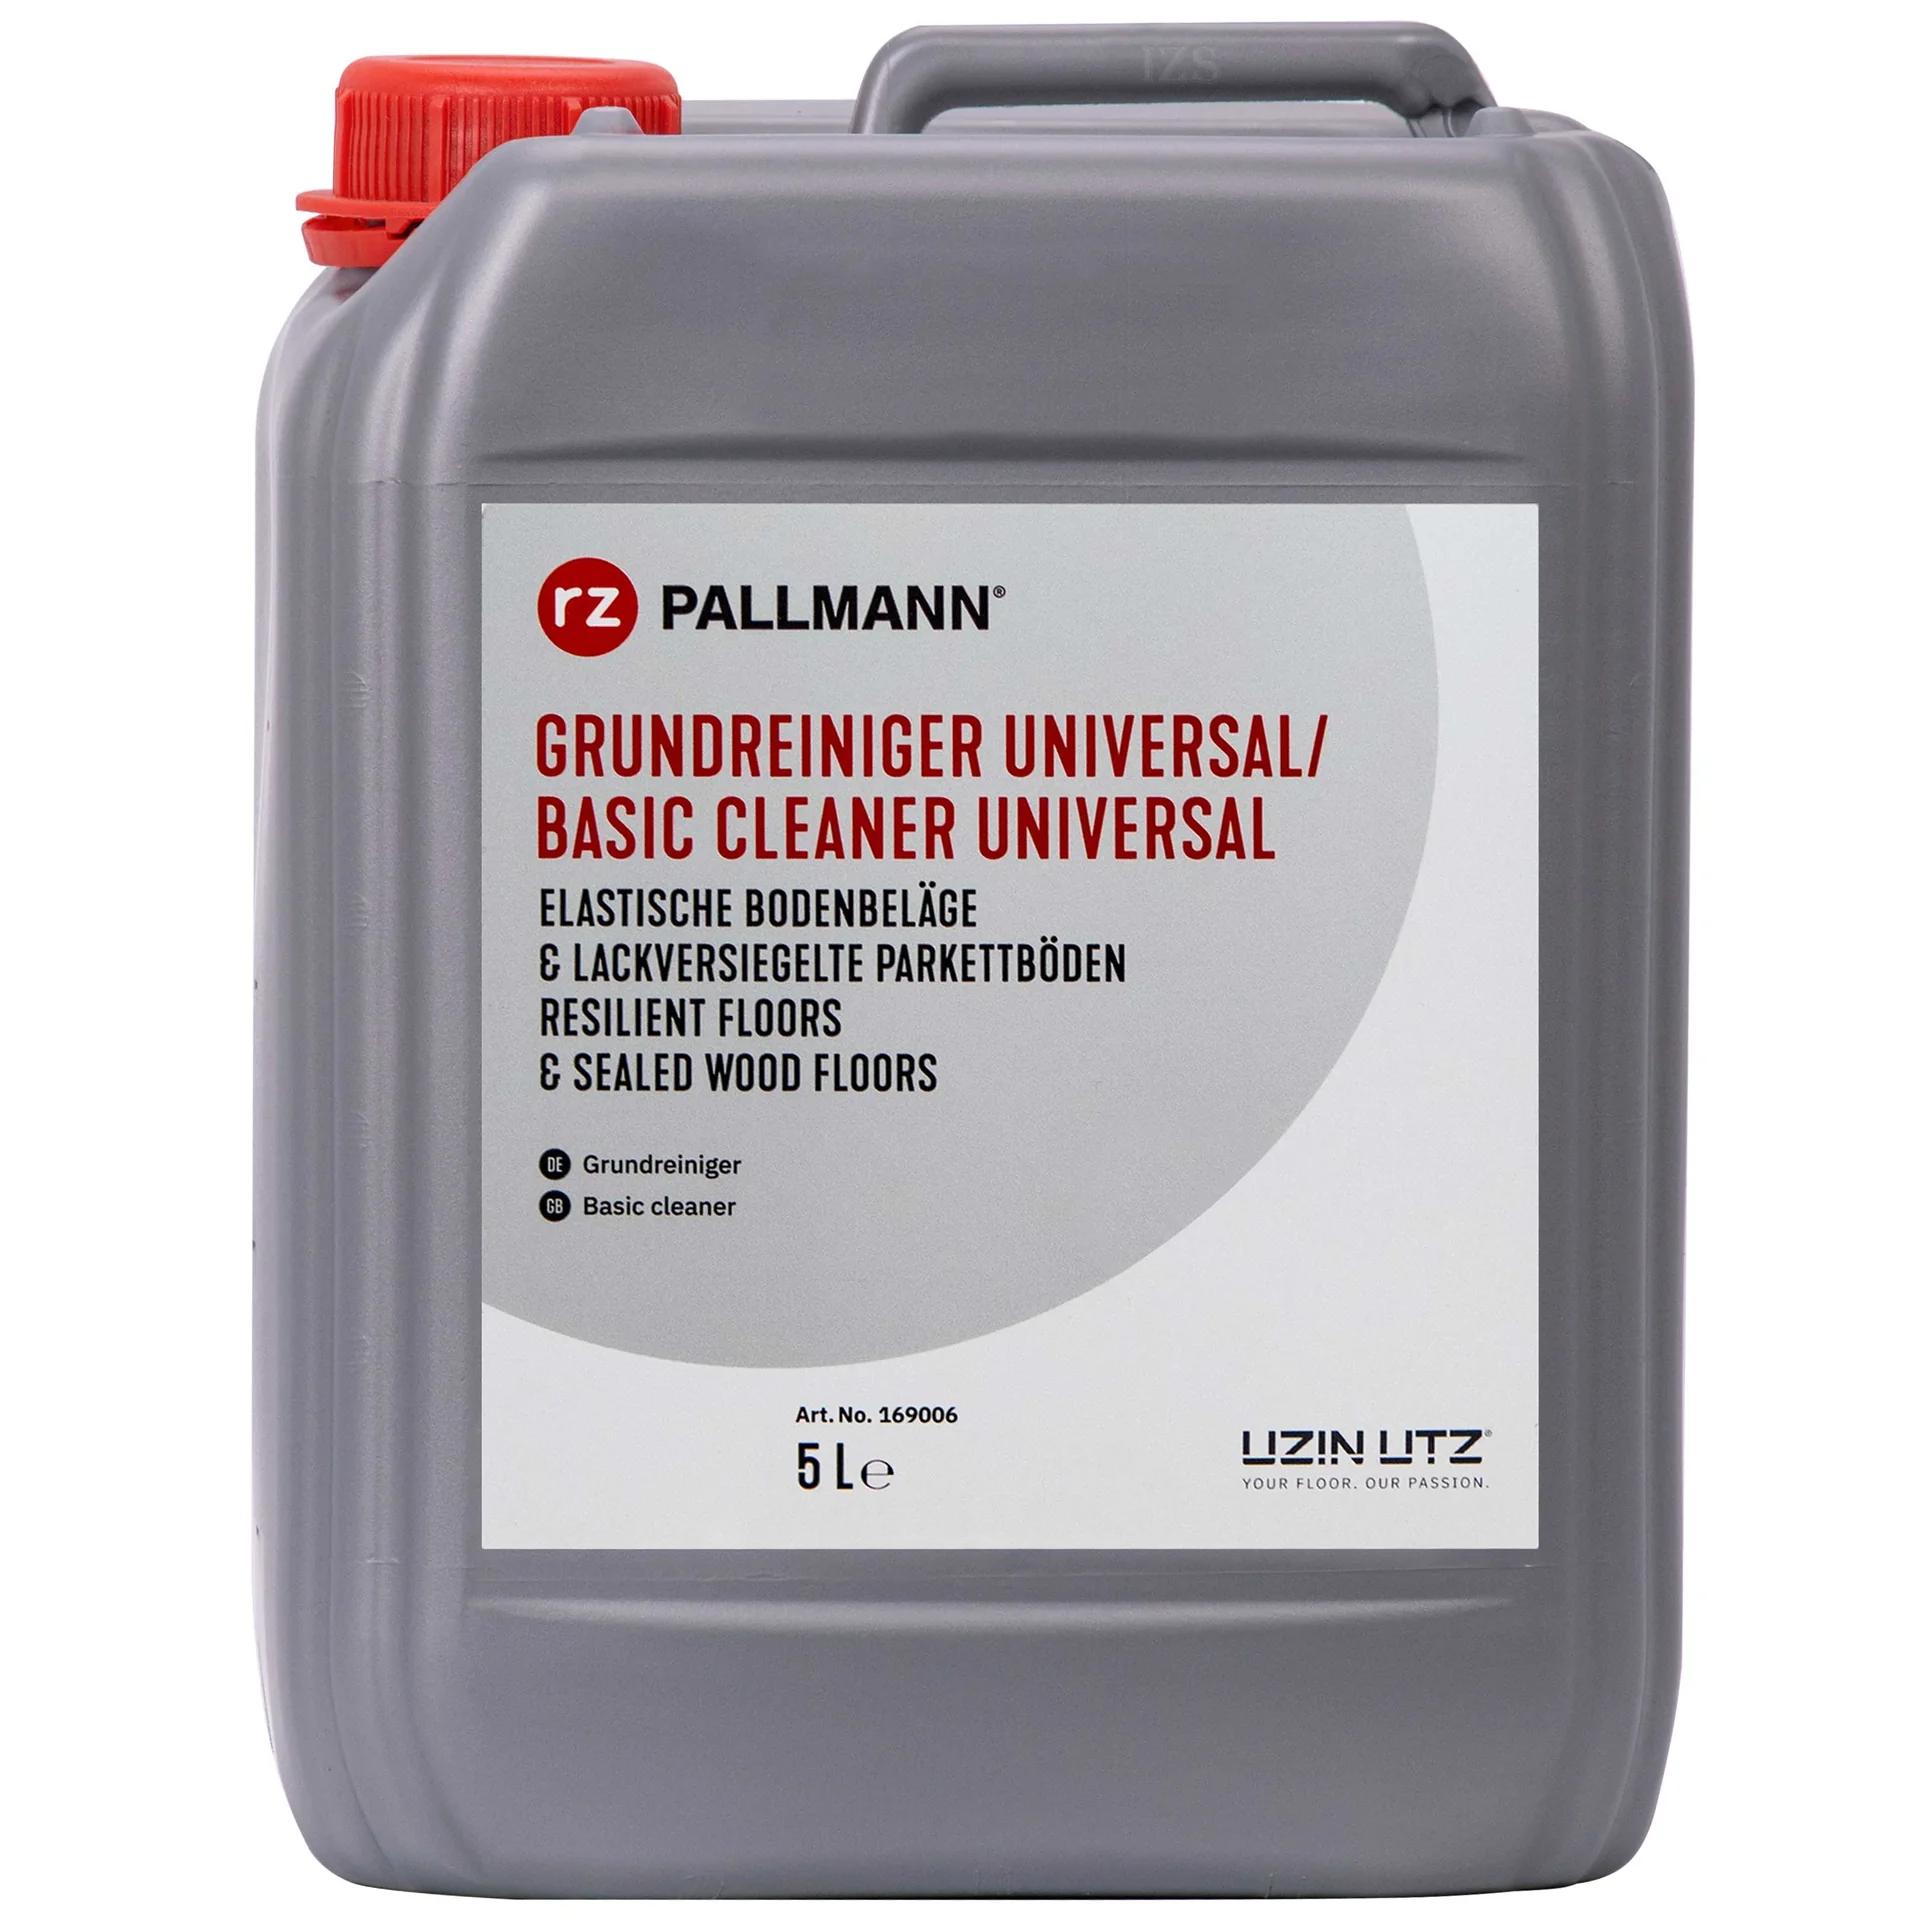
For regular cleaning of resilient floors, a mild, pH-neutral cleaner is ideal. The in the 750 ml bottle is well suited to household use. For larger areas, such as in the garden equipment area or on the patio, the 5-Litre version is worthwhile.
Mop with a damp cloth, not a wet one. Standing water can cause damage over time, even with a waterproof seam. Dry critical areas after mopping. This will help you enjoy your DIY flooring for many years.
Conclusion: The Seam Makes the Difference
Choosing the right installation tape is a technical decision. It determines the durability, appearance and protective function of your new floor. Always match the tape to your flooring material: PVC tape for rigid coverings, PUR tape for resilient ones.
Invest time in preparing the subfloor. Cleanliness and dryness are non-negotiable. Follow the installation instructions step by step and allow the adhesive sufficient time to cure.
With the right materials and careful workmanship, you can install your flooring as securely as a professional. The invisible seam becomes a permanent connection—the foundation for an attractive, hard-wearing floor in your home or in the BBQ + Smokehouse area.
Frequently Asked Questions
- Can I use any double-sided tape to install flooring?
- No. Ordinary household tape cannot withstand the stresses placed on a floor. Use special flooring installation tape. It is tear-resistant, age-resistant and creates a flexible, often waterproof connection. Its adhesive strength is designed for heavy materials.
- Which tape is suitable for PVC flooring in the kitchen?
- You need waterproof installation tape in the kitchen. PVC tape with a dense acrylic adhesive layer is the standard solution. Special wet-room tapes are available for areas exposed to higher levels of moisture. They prevent water from penetrating the seam and protect the subfloor.
- Do I need to prepare the subfloor before applying the installation tape?
- Absolutely. The subfloor must be free of dust, dry, grease-free and level. Clean it thoroughly with a suitable basic cleaner. Every speck of dust weakens adhesion. A primer may be necessary on absorbent subfloors to ensure optimum bonding.
- What is the difference between PVC and PUR installation tape?
- PVC tape is designed for rigid and semi-resilient coverings such as PVC, vinyl or laminate. PUR tape (polyurethane) is highly flexible and ideal for resilient floor coverings such as linoleum, rubber or sports flooring. It stretches with the material, preventing the seam from tearing when the flooring moves.
- How wide should the installation tape be for my flooring rolls?
- The tape width depends on the thickness and format of your flooring. A width of 5-7 cm is standard for PVC rolls. For thick click vinyl planks or heavy carpet tiles, choose wider tape (up to 10 cm). The backing film must lie completely under the joining edges.
You might also be interested in
- Adhesive Tapes: The Right Helpers for Building & Renovation
- Buy Insulating Tape: Tips for Making the Right Choice
- Parquet, Vinyl or Laminate? The Ultimate Flooring Comparison
- Laying Tiles: Step-by-Step Guide for Walls and Floors
- Choosing a Tool Belt: The Ultimate Guide for Professionals
- Flooring for Underfloor Heating: The Essential Facts