
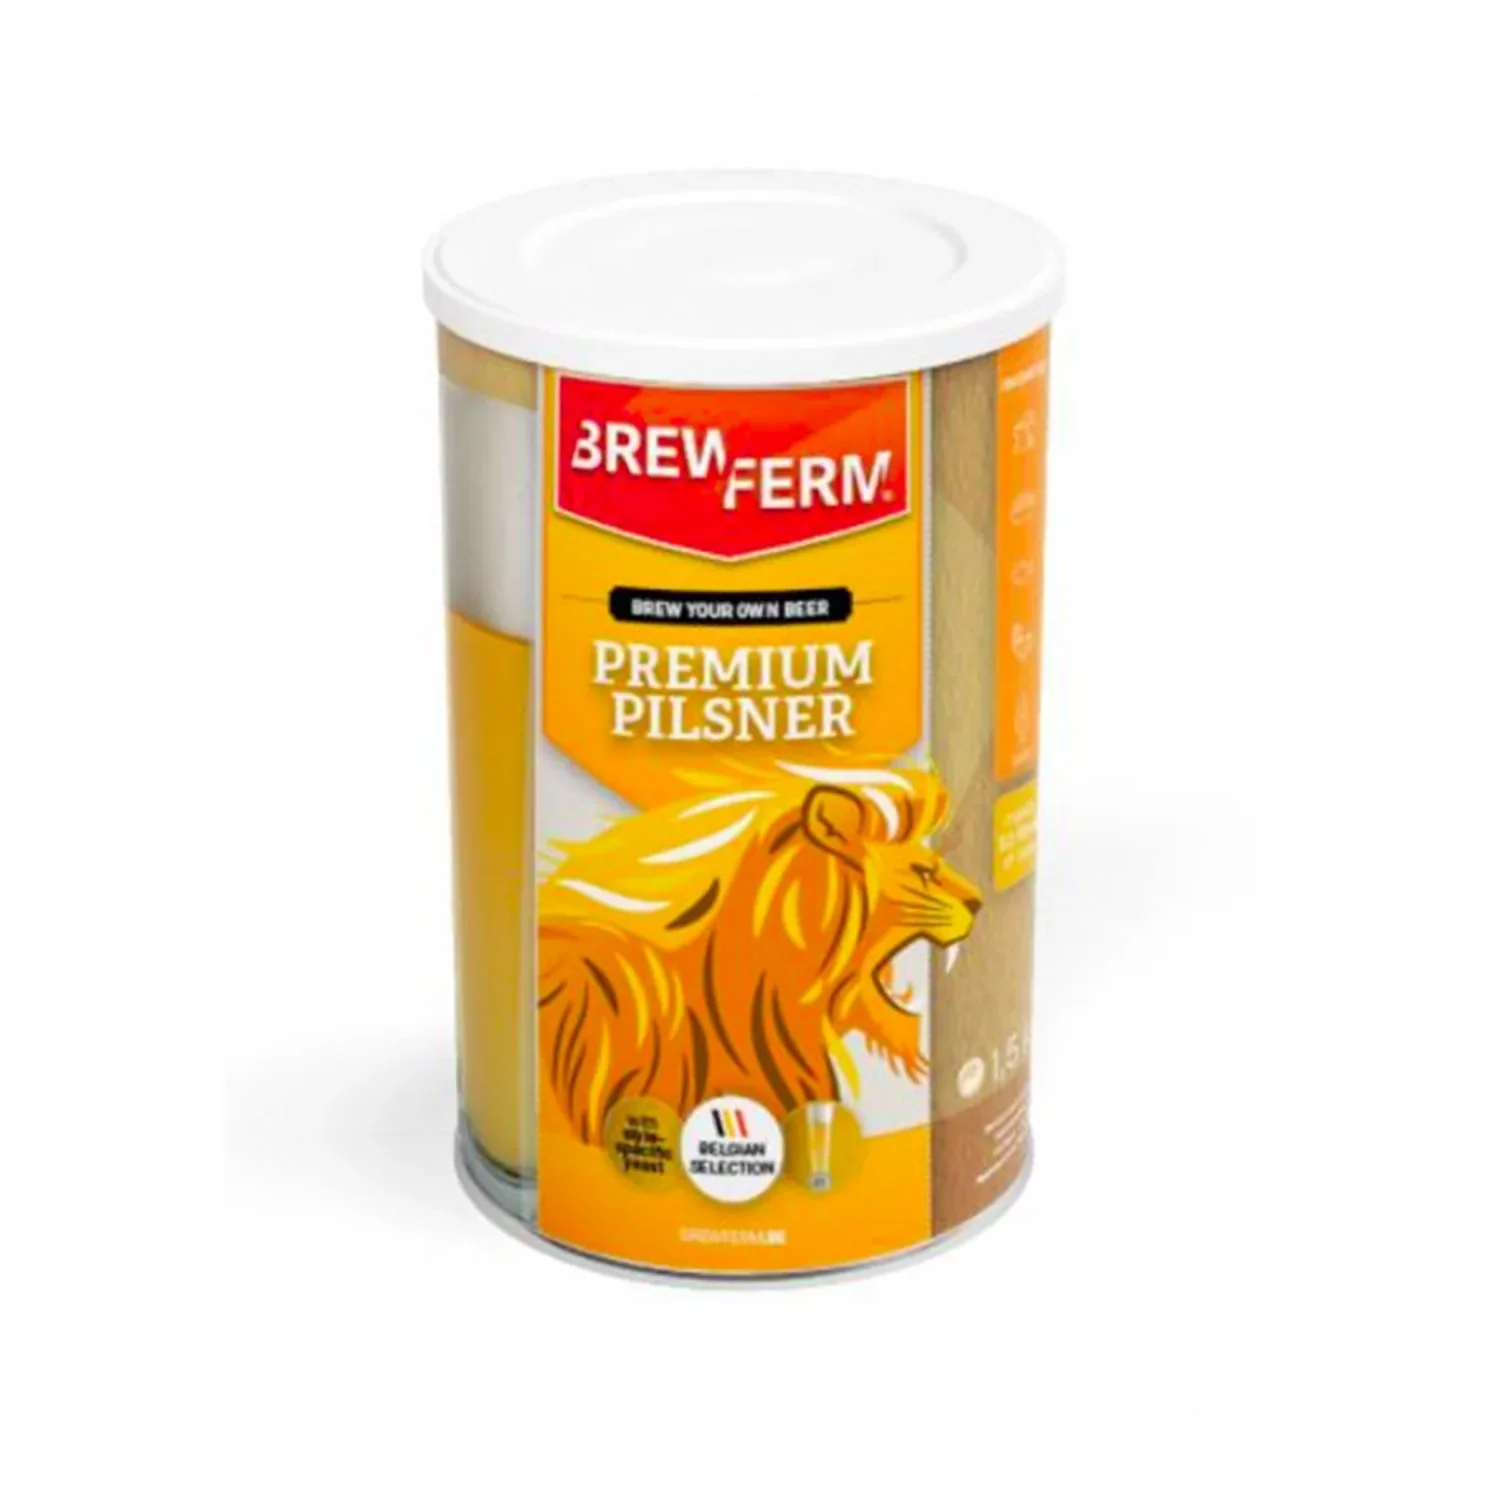
In brief: Home brewing takes four steps: mashing, lautering, boiling and fermentation. Start with a beer brewing kit such as PRODUCT_13091. It includes malt, hops and yeast. You’ll need a large pot, a fermentation vessel and a little patience. Thoroughly cleaning all your equipment is essential for good-tasting beer.
How do I get started with home brewing?
You’ll need some basic equipment. A large stainless steel pot should hold at least 15 litres. A fermentation vessel with a lid and airlock is essential. A brewing kit contains all the ingredients you need for your first batch.
The
Get a long stainless steel stirring spoon and a precise thermometer. Good hygiene helps prevent fermentation problems. Sanitise every piece of equipment before use.
Pro tip
Buy two fermentation vessels. While one batch is fermenting, you can prepare the next. That way, you’ll always have beer at home and spend less time waiting between brewing sessions.
The basics: brewing kits vs. mashing your own malt
A brewing kit is the easiest way to get started. Dissolve the malt extract in hot water, then boil the wort with hops for about an hour. After that, cool the mixture quickly.
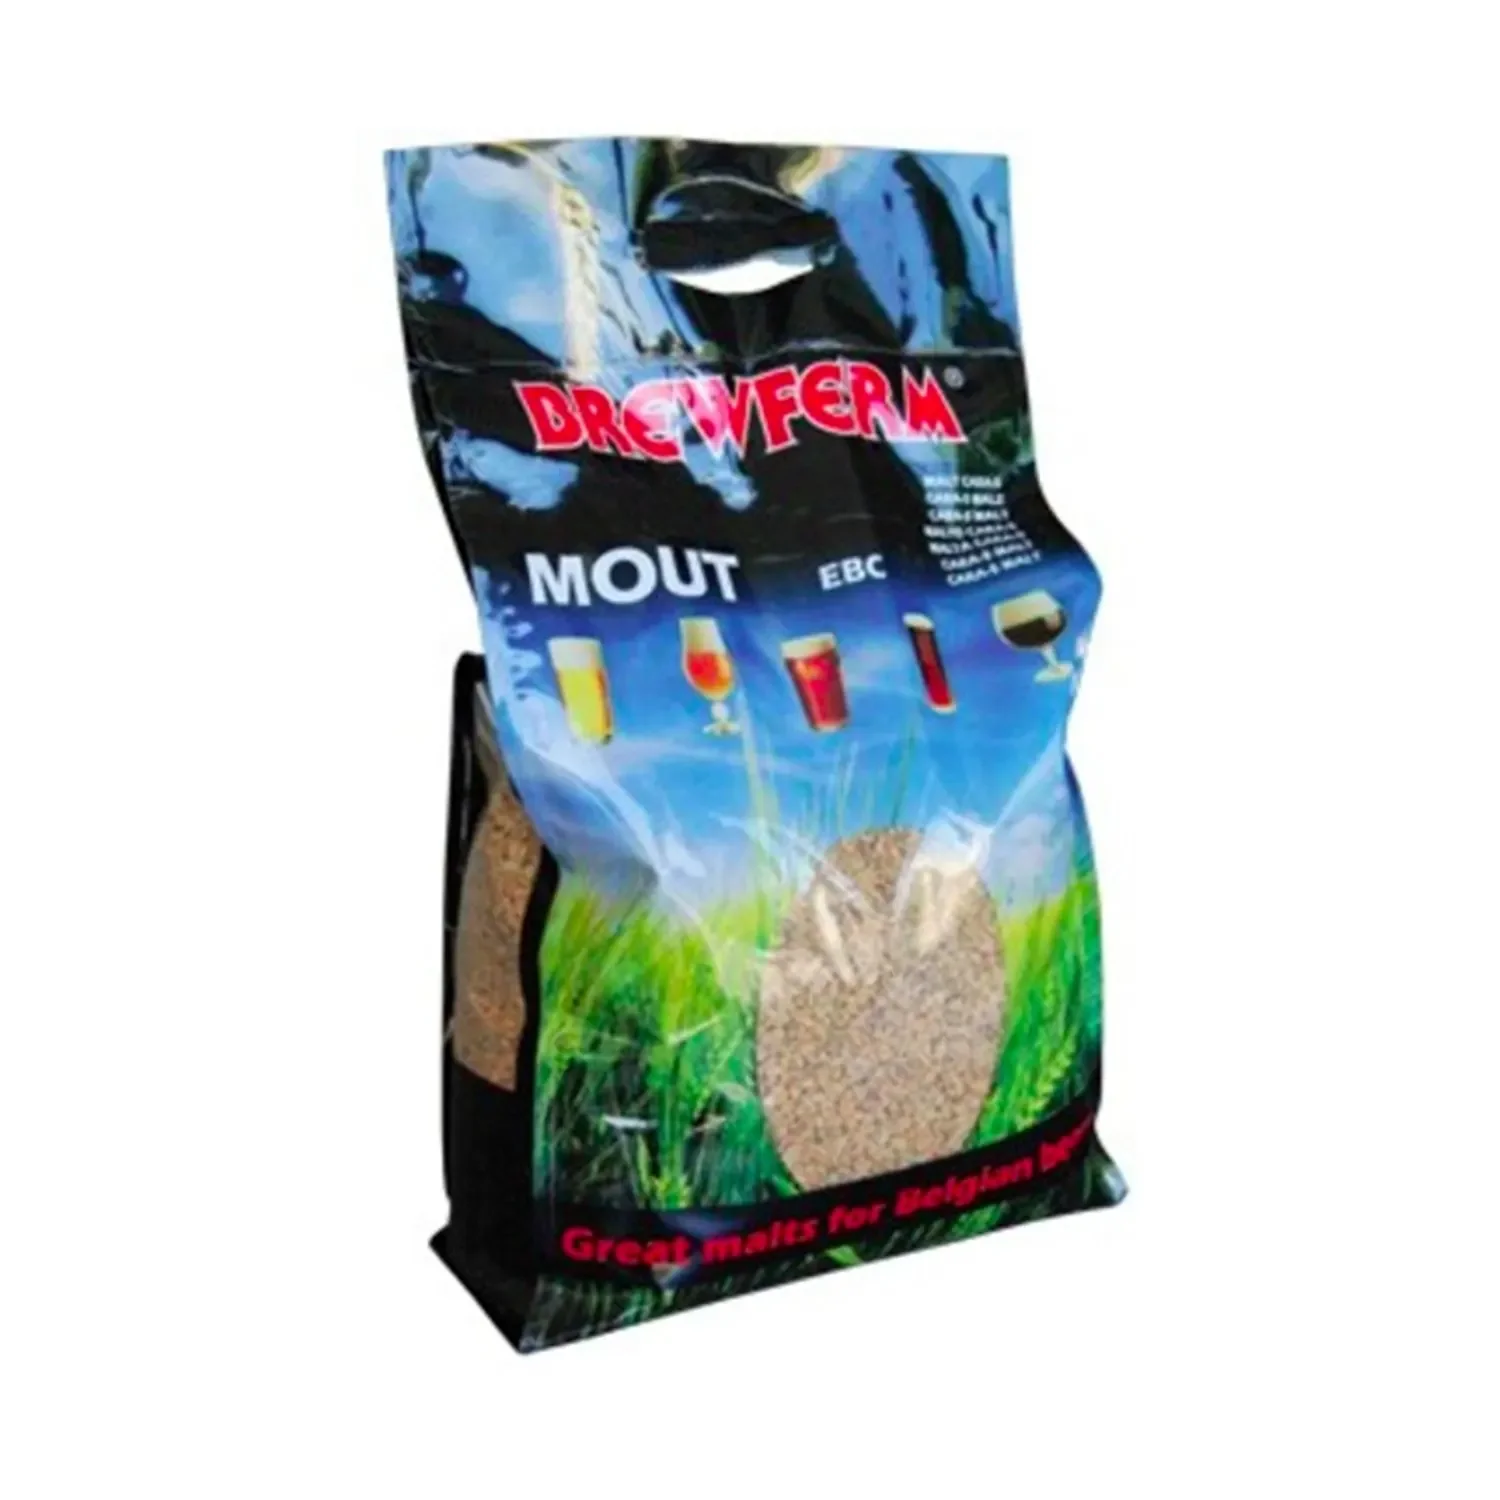
Mashing your own malt gives you more control. Mill malt such as . Add it to water at exactly 67 degrees Celsius. The enzymes break down the starch into fermentable sugars. This process takes practice.
For your first batch, we recommend using a kit. You’ll learn how the process works and get reliably good results. Once you’re ready, you can move on to all-grain brewing.
What happens on brew day?
Brew day has four stages. Start by mashing the grains or preparing the kit. Then strain the wort, boil it with hops, and finally cool it before adding the yeast.
Keep your work surface clean, measure temperatures accurately and write down each step. Your notes will help you with your next batch.
Allow four to six hours for brew day. Make sure the area is well ventilated, as boiling produces a lot of steam. Have cold water ready to cool the wort quickly.
The most important factor in making good beer is cleanliness. Any lapse in hygiene will be easy to taste later.
Step 1: Mashing and lautering
During mashing, you activate enzymes that convert the starch in malt into sugar. Keep the temperature constant and stir regularly. Mashing takes about one hour.
During lautering, you separate the solid grains from the liquid. Pour the mash through a sieve or lauter tun, then rinse the malt with hot water to extract the remaining sugars.
The liquid you collect is called wort. It’s sweet and cloudy, and you’ll boil it in the next step. Put the spent grain in your compost.
Step 2: Boiling the wort and adding hops
Bring the wort to a boil and watch for excessive foaming. Briefly turn down the heat if needed. Once the boil is steady, add the first hops.
Hops add bitterness and help preserve the beer. Adding hops later in the boil affects the aroma. Boil the wort for 60 to 90 minutes, depending on your recipe. Don’t top it up with water as it evaporates.
Important note
Avoid aluminium pots, which can react with acidic wort. Use stainless steel pots or enamelled brewing kettles instead. They won’t react with the wort or affect the flavour.
After boiling, cool the wort quickly. The faster it cools, the lower the risk of contamination. A
uses gravity to cool the wort efficiently. Alternatively, place the pot in a cold water bath.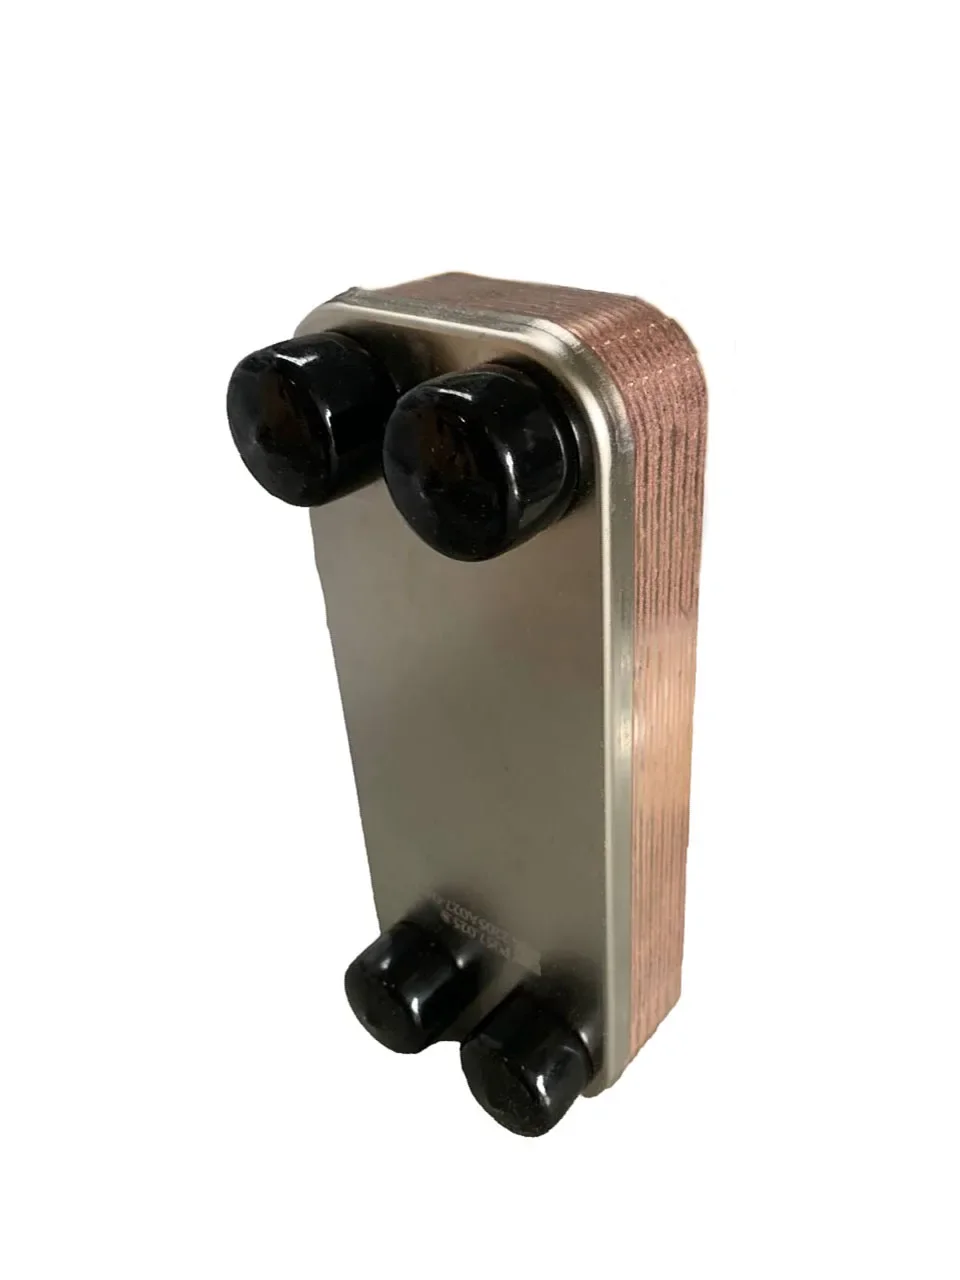
How do fermentation and conditioning work?
Transfer the cooled wort to the fermenter. The temperature should be below 25 degrees Celsius. Then add the yeast and seal the container with a fermentation airlock.
Place the container in a dark location where the room temperature stays constant. Large temperature fluctuations can disturb the yeast. Active fermentation usually begins within 24 to 48 hours, when you’ll see bubbles in the airlock.
Primary fermentation takes about one week. Then activity slows down. Leave the beer in the fermenter for another week while the yeast clarifies it and breaks down by-products. After that, it’s ready for bottling.
Additional tip
Label every fermenter with the date and type of beer. Use wipe-clean markers or labels. This helps you keep track of multiple batches and plan the conditioning process effectively.
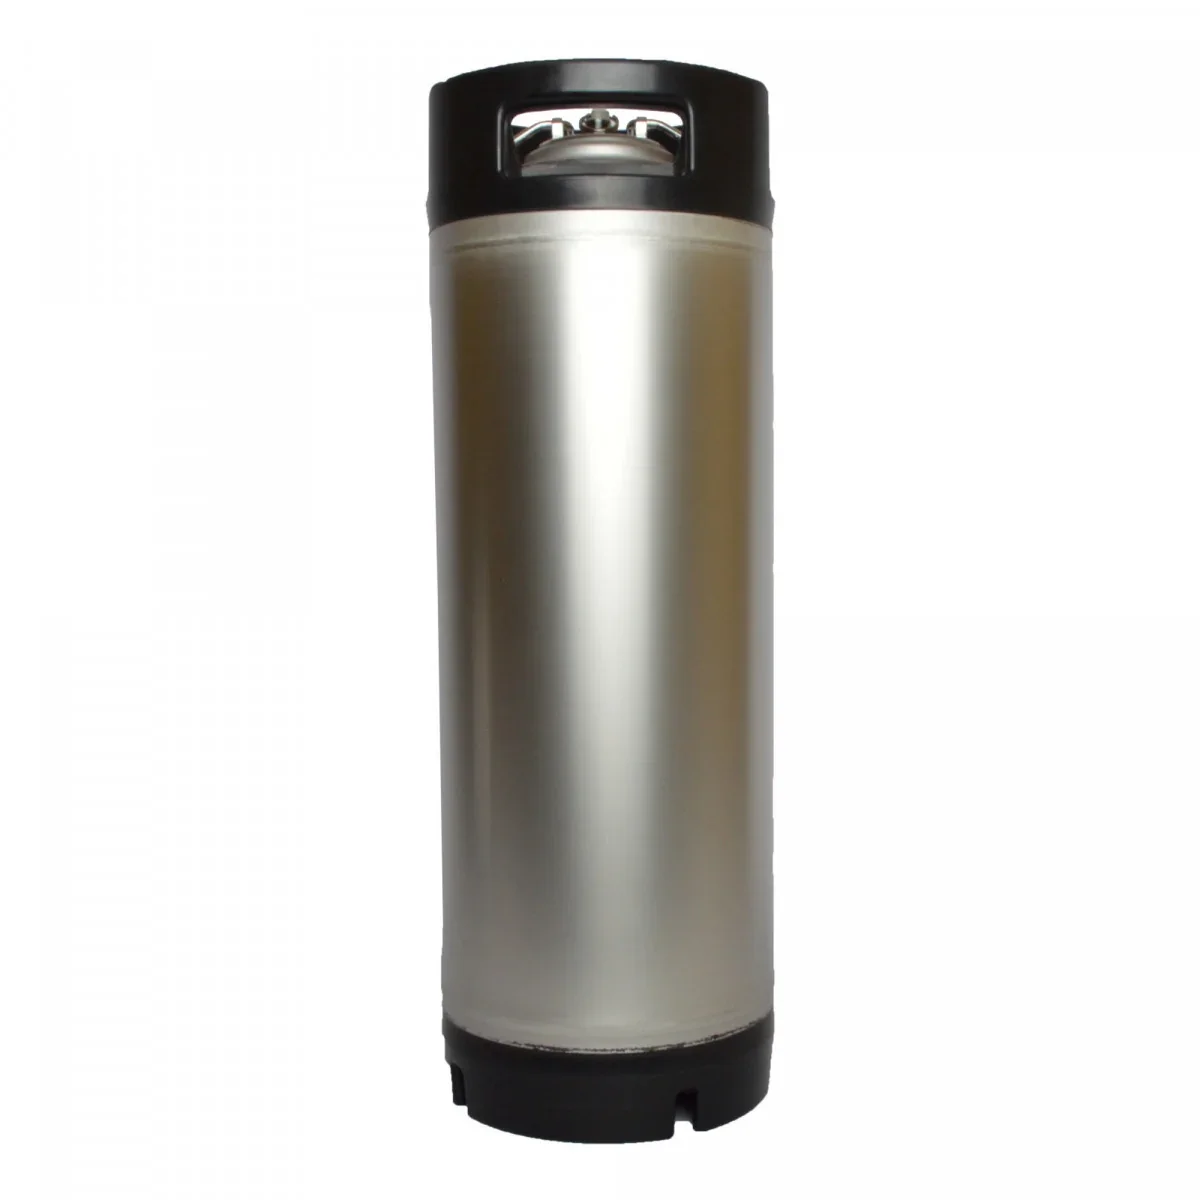
For conditioning, you need sterile containers. Traditionally, brewers use bottles with crown caps. Pressure kegs such as
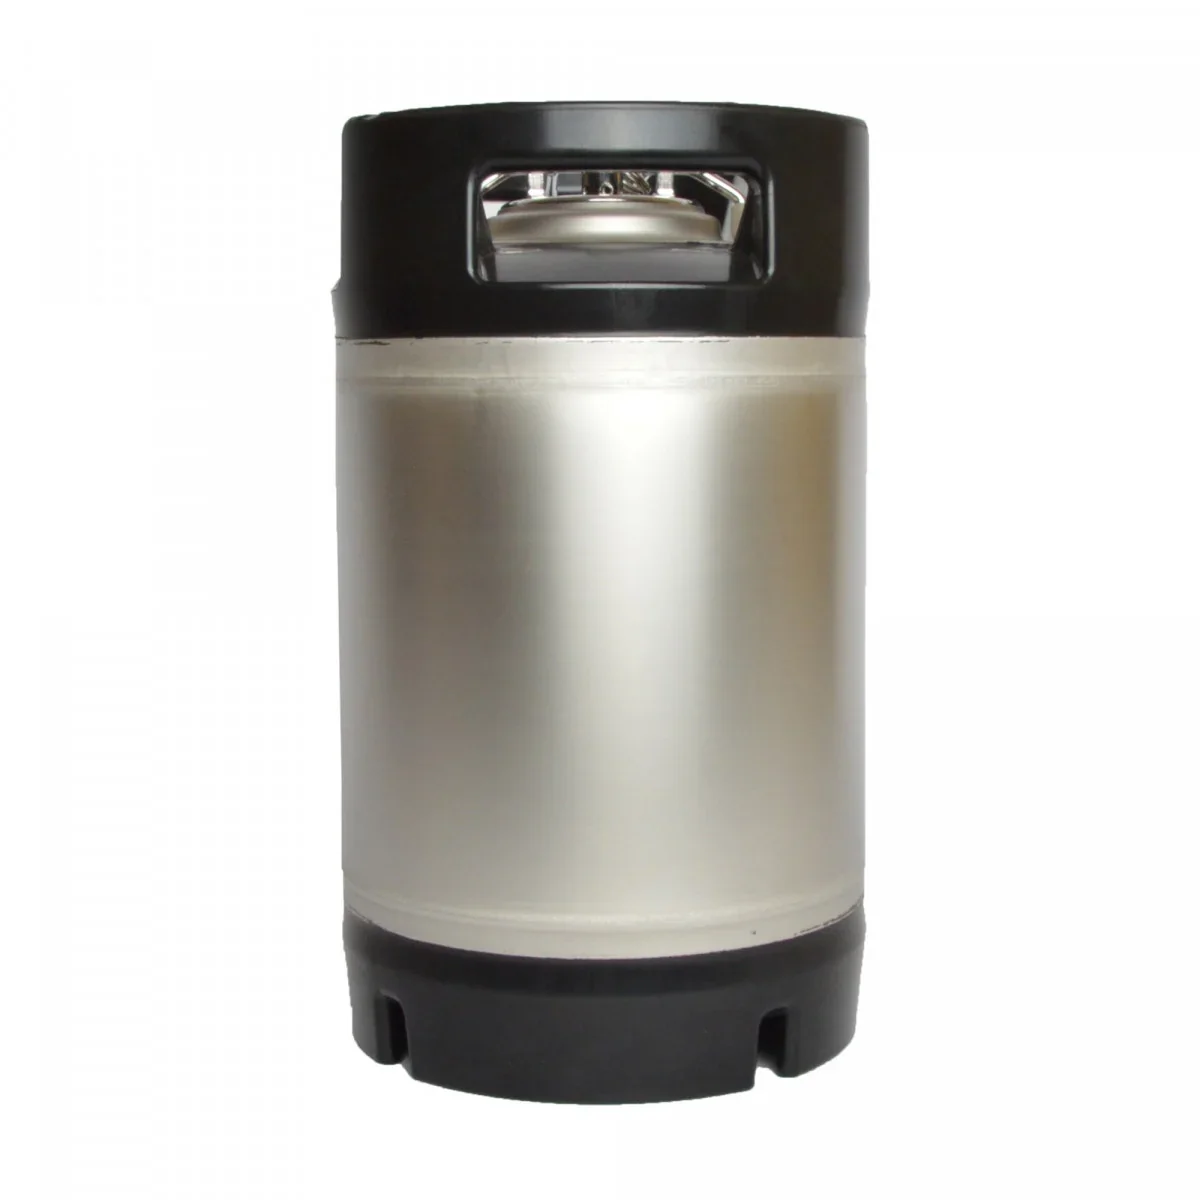
Bottling or kegging
To bottle your beer, you’ll need a little sugar. Dissolve it in a small amount of water and carefully mix it into the beer. The sugar triggers secondary fermentation in the bottle, creating natural carbonation.
Carefully fill the bottles using a bottling wand or a
. Cap the bottles right away with crown caps. Store them in a warm place for three weeks, and they’ll be ready to drink.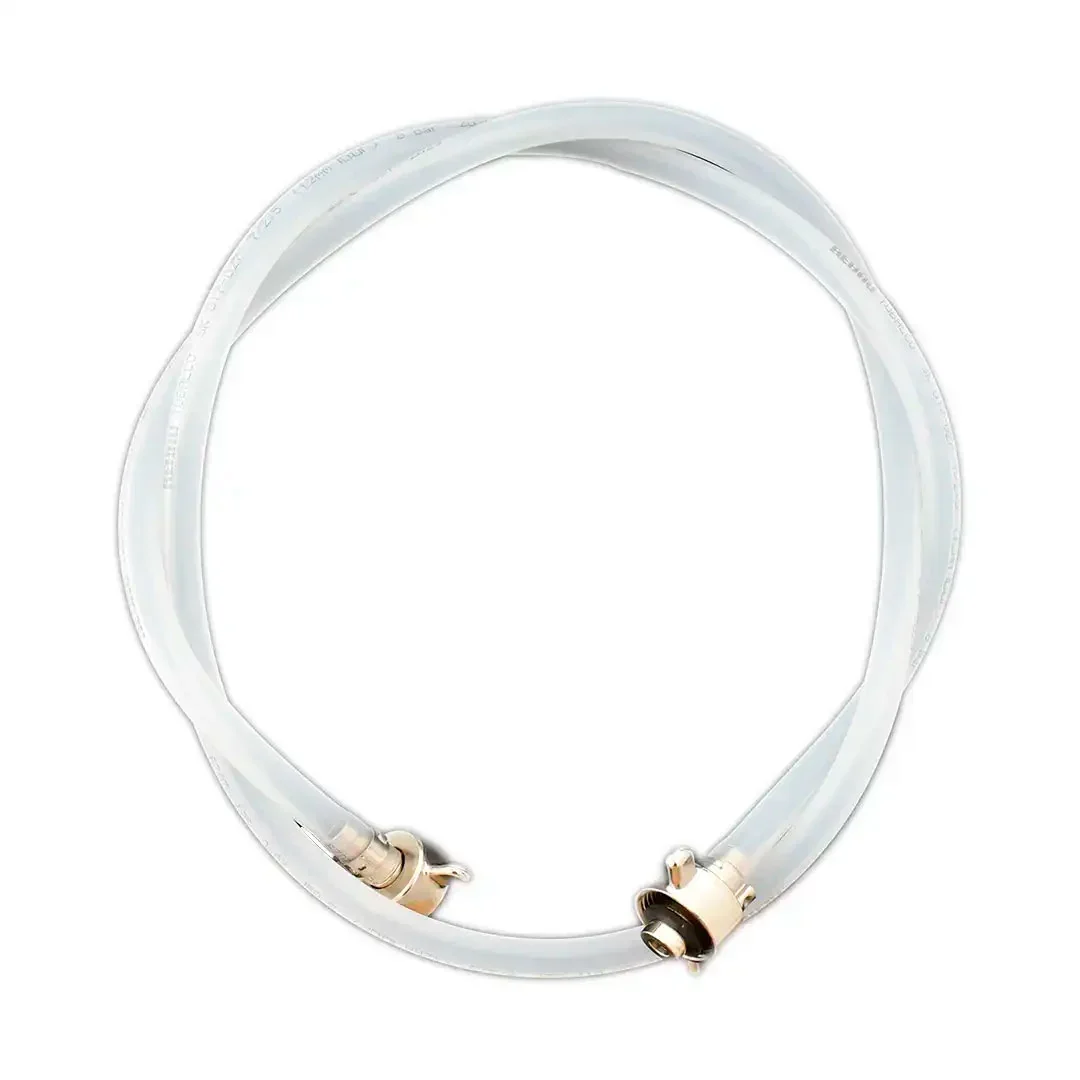
Kegging is more convenient. Transfer the conditioned beer to a sanitized pressure keg such as
. Use a CO2 bottle and a to pressurize the keg. Then you can pour your beer just like draft beer.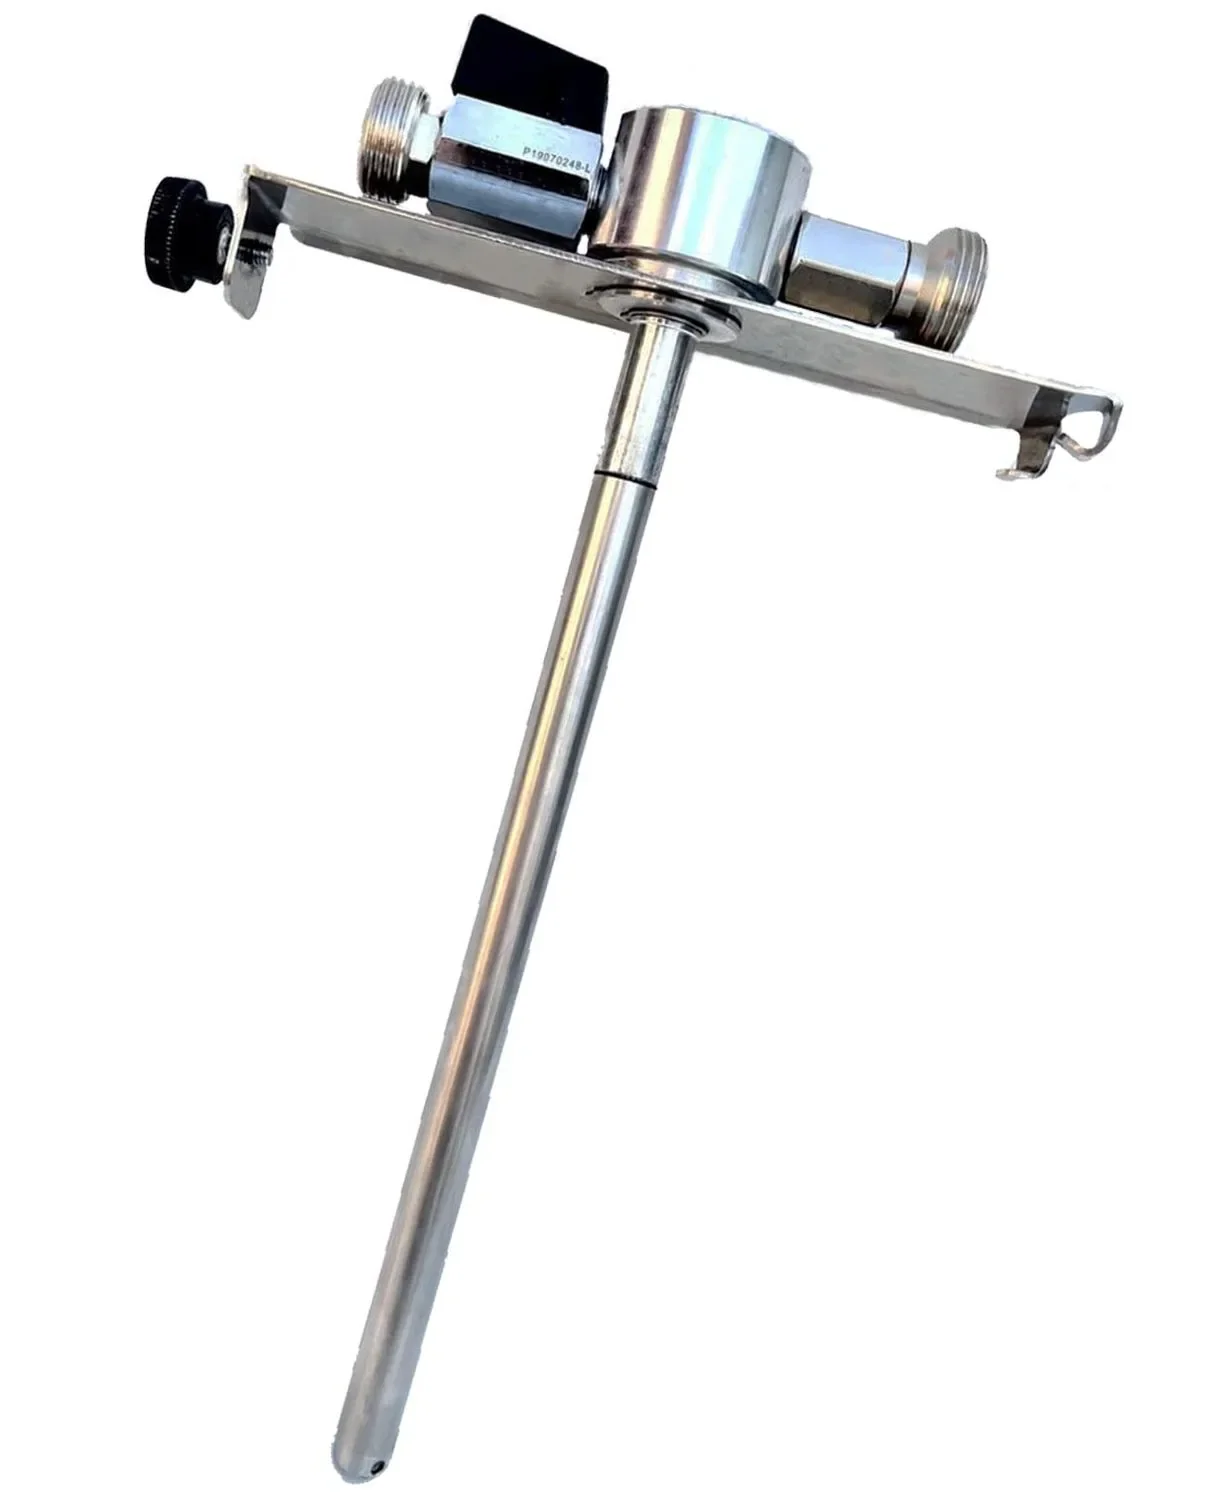
Patience during conditioning is the biggest difference between good and truly great homebrew. Give your beer the time it needs.
What equipment do I need to get started?
A complete kit such as the
gives you everything you need to get started. It includes a fermenter, thermometer, measuring cylinder, and cleaning agent. You’ll just need a large pot and bottles.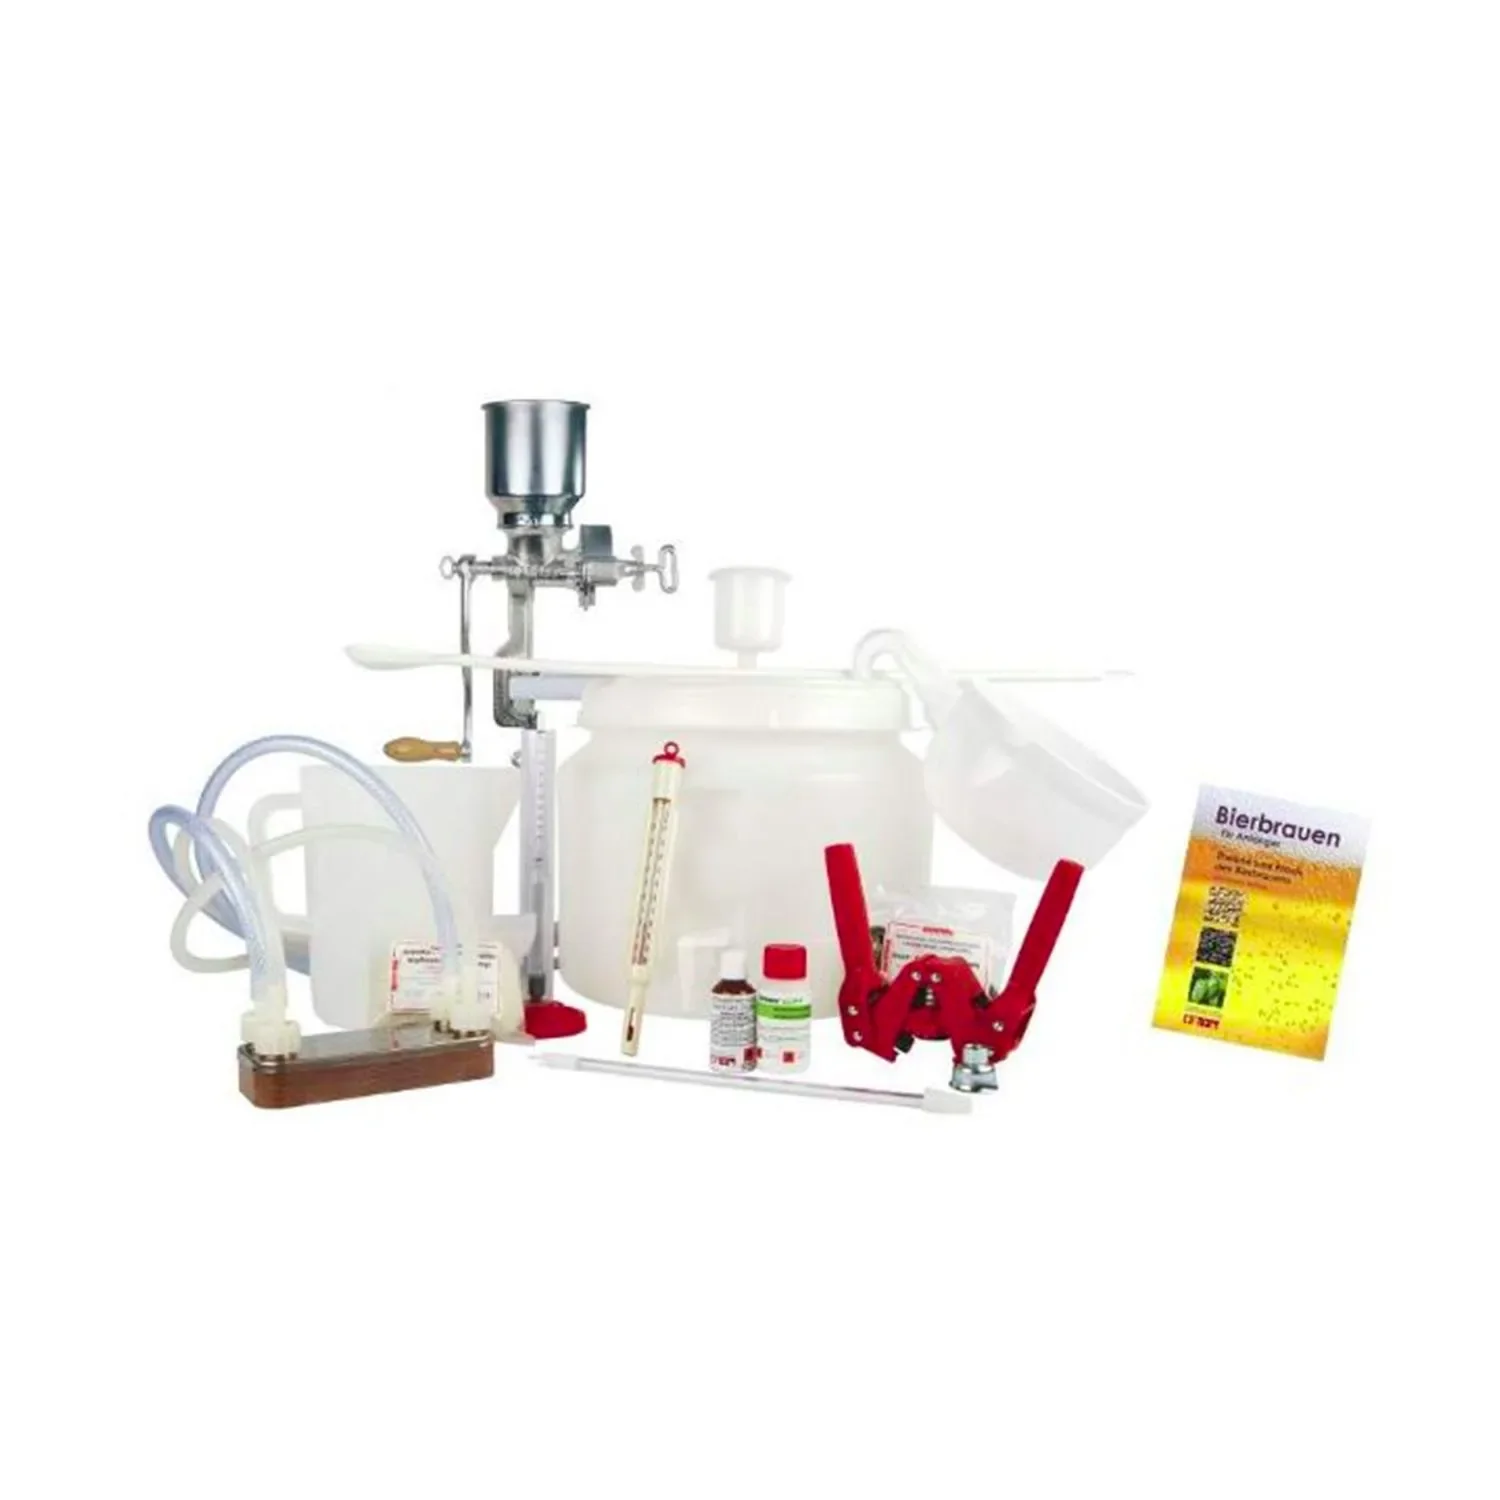
Choose quality equipment. Cheap plastic containers scratch easily, and bacteria can settle in the scratches. Stainless steel or food-safe plastic is a better choice. Hoses such as
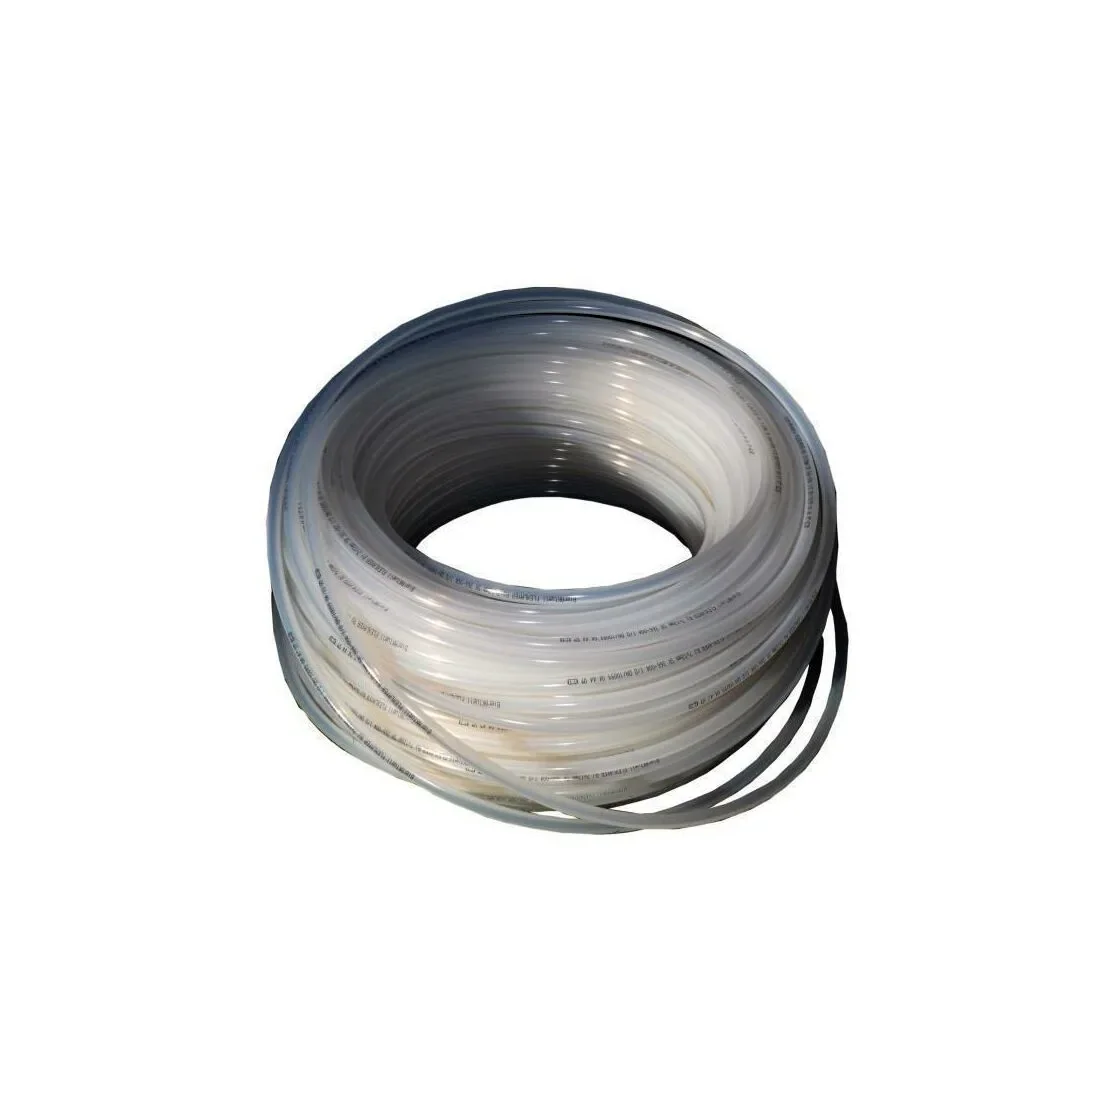
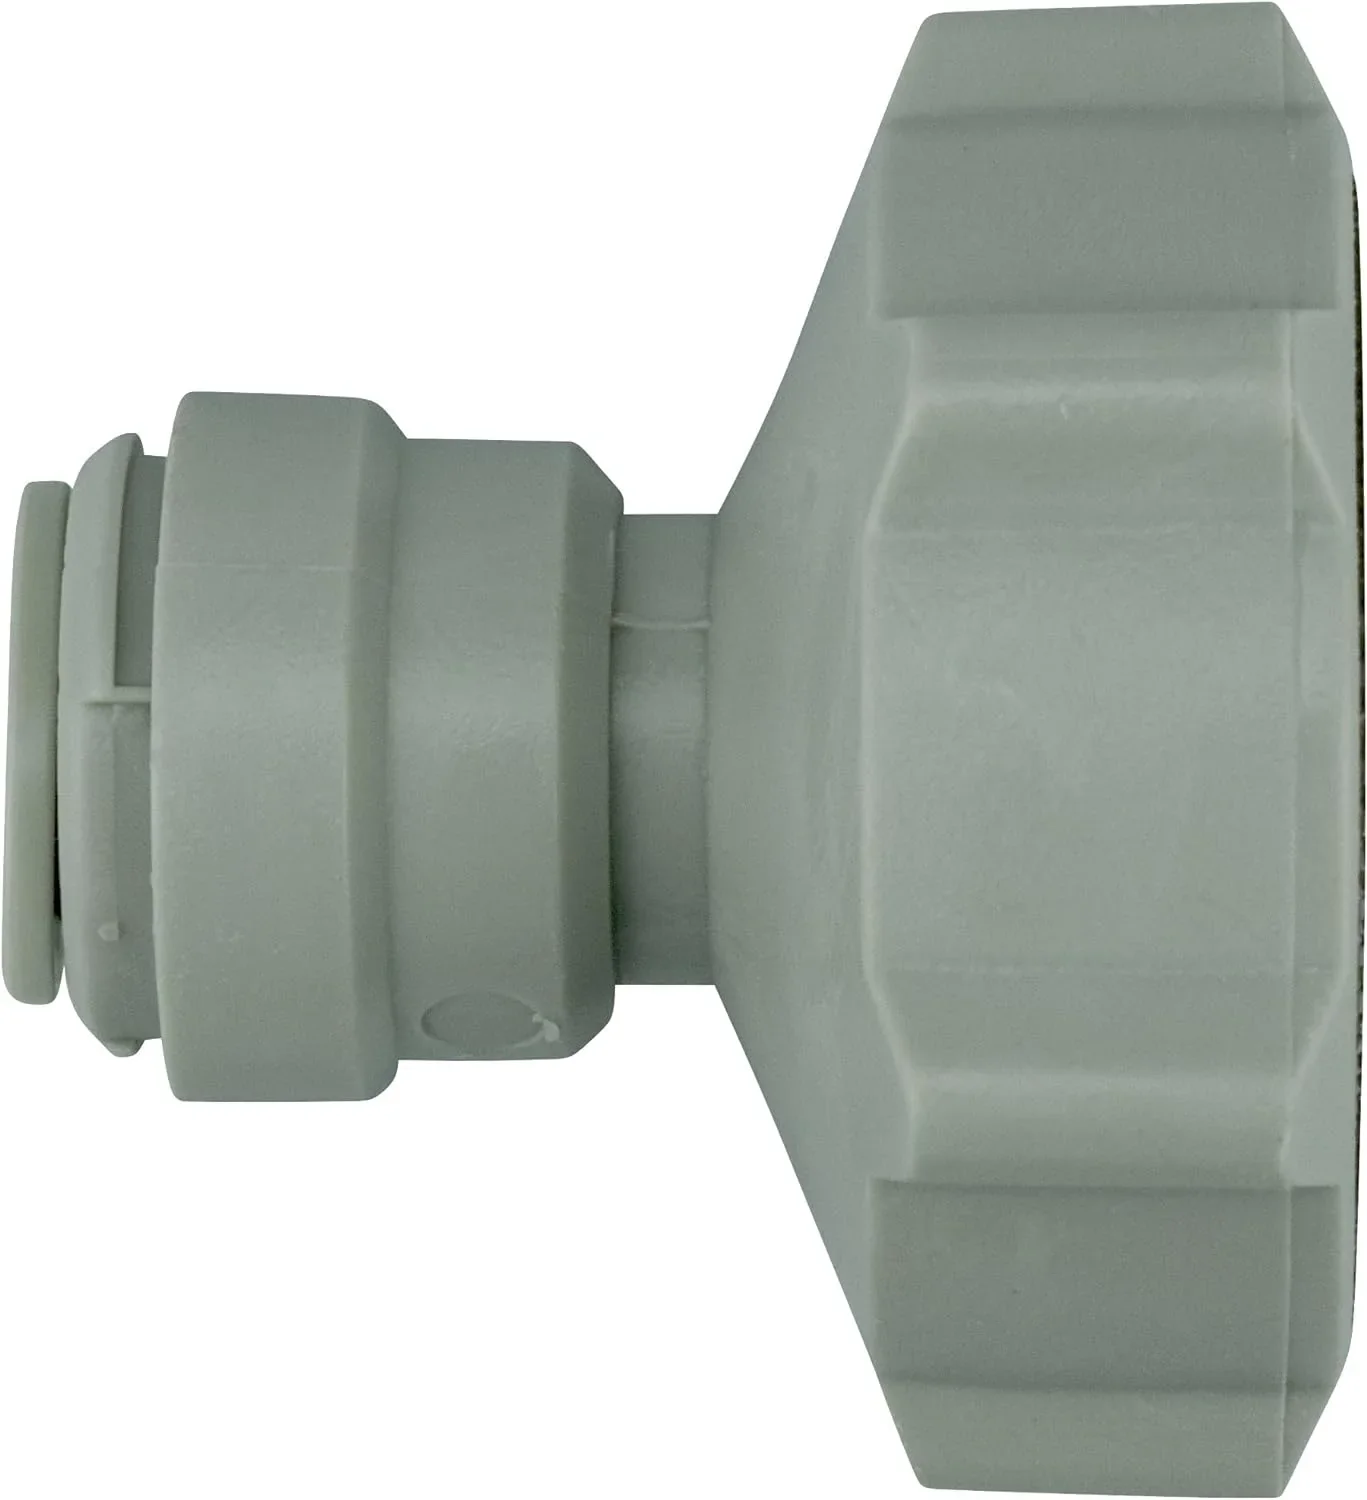
Suitable adapters connect your equipment securely. A connects hoses with different diameters. This prevents leaks and oxygen from getting in. Oxygen is the enemy of maturing beer.
Hygiene: The most important part of brewing
Buy a cleaning agent made for brewing equipment. Rinse every part immediately after use, then disinfect it thoroughly. Leave the parts to air-dry.
Clean the inside of hoses and adapters, too. Use a special brush, and replace hoses regularly. Dispose of any hoses that look cloudy or smell bad.
Store clean equipment in closed boxes to protect it from dust. Cover fermenters with a clean cloth before use. This attention to detail helps ensure brewing success.
How do I go from beginner to homebrewer?
Once you've brewed your first successful batches, start experimenting. Try different hop varieties and malts. Experiment with other yeast strains. Every change can create a whole new beer.
Visit the forums in the Garden & Outdoor section of our community. Swap ideas with other homebrewers, share recipes and learn from other people's mistakes.
Keep a brewing journal. Record quantities, times and temperatures, then evaluate the taste. This will help you figure out which adjustments give you the results you're looking for.
Eventually, you may want to brew without a kit. Buy malt, hops and yeast separately, and control every part of the process. That's when you've truly entered the world of homebrewing.
How to avoid mistakes and solve common problems
Does your beer taste sour? It may be contaminated with bacteria. Clean your equipment more thoroughly next time, and discard any infected batches.
Has fermentation not started? The yeast may be too old, or the wort may have been too hot. Check the yeast's expiration date, and always cool the wort to below 25 degrees before adding the yeast.
Is your beer too cloudy? Leave it in the fermenter longer so the yeast has time to settle. You can also use a fining agent. Often, the best solution is simply to be patient.
Find more brewing tools in our Plumbing & Irrigation category. Many hose connectors and measuring devices are also useful for homebrewing.
Get started today. Choose a starter set or a brewing kit, set aside a free weekend and follow the instructions carefully. The pride you'll feel when you taste your first homemade beer is priceless. Pour yourself a glass of your creation or enjoy it straight from a bottle you filled yourself. Cheers!
Frequently asked questions
- How long does it take to brew beer at home?
- The brew day takes 4 to 6 hours. Primary fermentation in the fermenter takes 1 to 2 weeks. Bottle or keg conditioning takes another 2 to 4 weeks. Plan on around 5 to 6 weeks from getting started to your first sip.
- How much does it cost to start homebrewing?
- A starter set such as PRODUCT_5028 costs around 270 euros, with malt and hops sold separately. A brewing kit for one batch costs between 20 and 30 euros. Expect to spend 300 to 400 euros to get started. After that, homebrewed beer costs significantly less per litre than store-bought beer.
- Can I brew beer without special equipment?
- For your first batch, you'll need a large stainless steel pot (at least 15 litres), a fermenter with an airlock, a thermometer and a measuring vessel. A brewing kit makes it easier to get started. High-quality hoses and adapters such as PRODUCT_23359 or PRODUCT_23380 help ensure safe transfers.
- What's the best beer to brew for beginners?
- Start with an ale, a pilsner kit or a wheat beer. These styles can handle small temperature fluctuations during fermentation. A beer kit such as PRODUCT_13091 includes all the ingredients, measured out for you, and makes it easy to get started.
- Where should I store homebrewed beer?
- After fermentation, store your bottles or keg in a dark, cool, frost-free place. A cellar or cool storage room is ideal. Keep the storage temperature consistently between 8 and 14 degrees Celsius. This helps your beer mature properly and retain its flavor.
You might also be interested in
- How to ferment vegetables: A beginner's guide to preserving
- Build your own raised garden bed: A step-by-step guide to growing your own food
- Build your own heating system: A step-by-step guide for your home and garden
- How to bake sourdough bread: A complete beginner's guide
- Beer around the home and garden: Practical tips and tricks
- Build your own furniture: Creative projects for your home