
In brief: Building your own planter box is easier than you might think. You need basic materials such as wood, screws and liner. With Euro pallets, old wooden crates or simple boards, you can create individual containers for flowers, herbs or vegetables. Building your own raised bed greatly expands your options in the garden.
Build Your Own Planter Box: Ideas for Balcony & Garden
A planter box of your own adds character to your balcony and patio. You can design it exactly to your liking. With simple materials and tools, you can build sturdy containers for your plants.
Why build a DIY planter box?
A homemade plant container offers many benefits. You can adapt the dimensions precisely to the available space. The individual design makes every box unique. Material costs are often lower than those of a ready-made model.
You control the quality of the materials used. This is especially important when growing vegetables. Building your own raised bed enables ergonomic gardening without bending over.
Pro tip
Sketch your planter box in advance. Note the desired length, width and height. Consider its location. A box for the balcony should not be too deep in order to reduce its weight.
Which materials are suitable for building one?
Your choice of material determines durability and appearance. Wood is the classic and most popular material. It is easy to work with and has a natural look.
Wood: The classic for gardens and balconies
Pressure-treated wood lasts for many years outdoors. Douglas fir and larch are naturally weather-resistant. Over time, they develop an attractive silvery-gray patina.
For a rustic look, use old roof battens or boards. Make sure the surface is smooth and free of splinters. The boards should be at least 20 mm thick.
In our range of garden tools, you will find everything you need for woodworking.
Euro pallets: Sturdy upcycling material
A Euro pallet provides a sturdy base for a pallet planter box. It is inexpensive and easy to source. Look for the “HT” code, which indicates heat-treated wood.
You can use pallets horizontally as a deep bed or vertically as a herb garden. With the
, you get a ready-made pallet-style planter box for immediate use.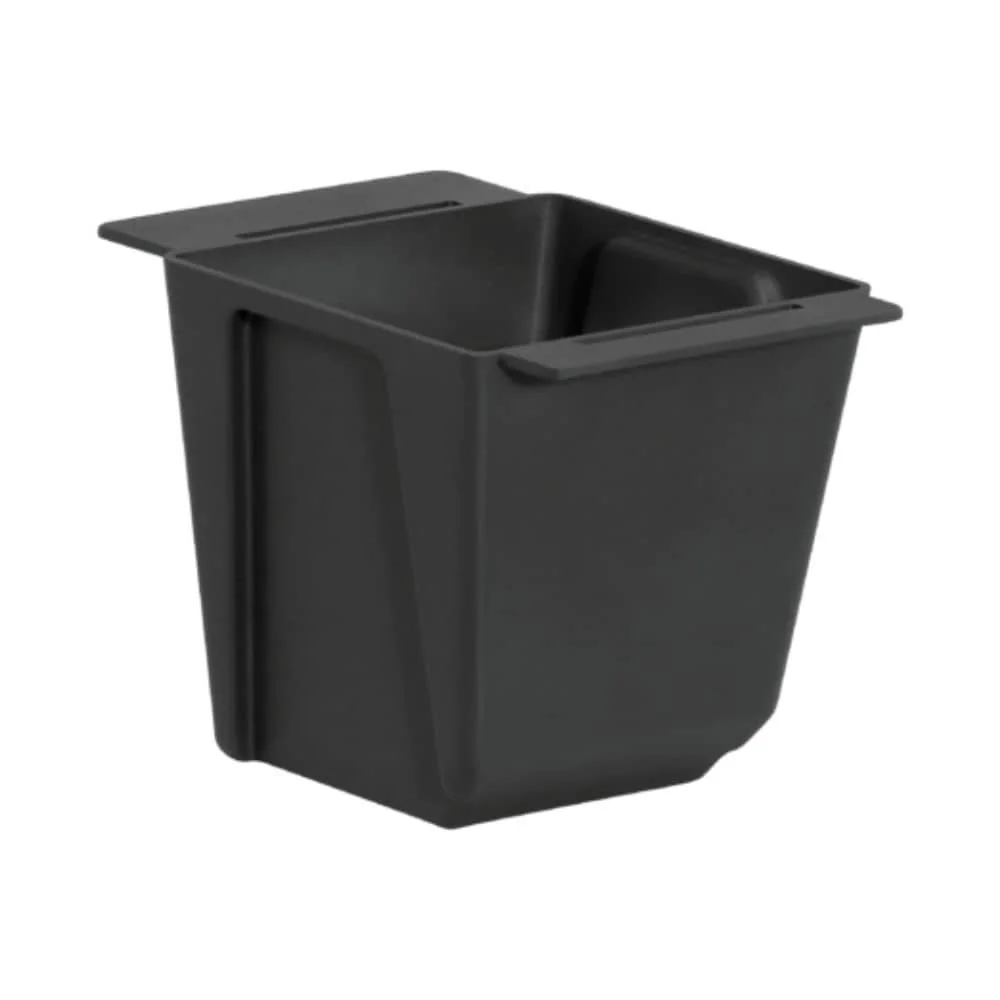
A pallet trolley is useful for moving heavy pallets.
More ideas: From stone to metal
Gabion baskets filled with stones look modern and substantial. Old zinc tubs or metal boxes develop a charming vintage look. Avoid materials that rust when wet or release harmful substances.
Important note
Never use chemically treated wood such as old railway sleepers or painted boards. Harmful substances can leach into the soil and consequently into your edible plants. Choose untreated wood or timber specially impregnated for outdoor use.
How do I build a simple wooden flower box?
This basic model is suitable for beginners. You need boards, brackets, screws and pond liner. You can complete the project in just a few hours.
Step 1: Cutting the boards
Cut two boards for the long sides and two for the end panels. The dimensions are flexible. A common size is 80 cm long, 25 cm wide and 20 cm high.
Cut a suitable board for the base. Alternatively, use several slats with small gaps to allow water to drain. A good pair of pruning shears or the
will help with many tasks.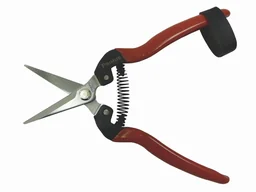
Step 2: Assembling the box
Join the side pieces to the end boards. Use stainless steel screws that will not rust. Insert the screws at a slight angle or use metal brackets for added stability.
Next, attach the base. Pre-drill several drainage holes with a diameter of 8-10 mm. A spacing of 15 cm is ideal.
Step 3: Lining and finishing
Line the inside walls with pond liner or bubble foil. This protects the wood from constant moisture. Allow the liner to extend slightly over the top edges and staple it in place.
Cut cross-shaped openings in the liner over the drainage holes. Fold the corners inward so the water can drain freely.
Proper drainage is the key to healthy plant roots. Waterlogging can cause rot within just a few days. Give drainage more attention than appearance.
Build your own raised bed: The ergonomic solution
A raised bed offers many benefits. You can garden at a comfortable working height. The soil warms up faster, which accelerates growth. The heat generated by decomposition inside extends the growing season.
Structure and layering in a raised bed
A sturdy raised bed needs a frame made from thick timber. The walls should slope slightly inward so they can withstand the pressure of the soil. A height of 80 to 100 cm is ideal.
Fill the bed in layers. Start with coarse garden waste such as branches at the bottom. Add leaves, grass clippings and partially matured compost above that. The top layer should consist of high-quality garden soil or potting soil.
Garden fleece on the inside walls protects the wood.
Location and planting
Choose a sunny location. The long axis should run from north to south. This ensures that all plants receive the same amount of light. In the first year, plant heavy feeders such as tomatoes, cabbage or zucchini.
In the following years, grow medium and light feeders. This allows you to make the best use of the nutrients in the bed. A
is perfect as a mobile mini raised bed for the balcony.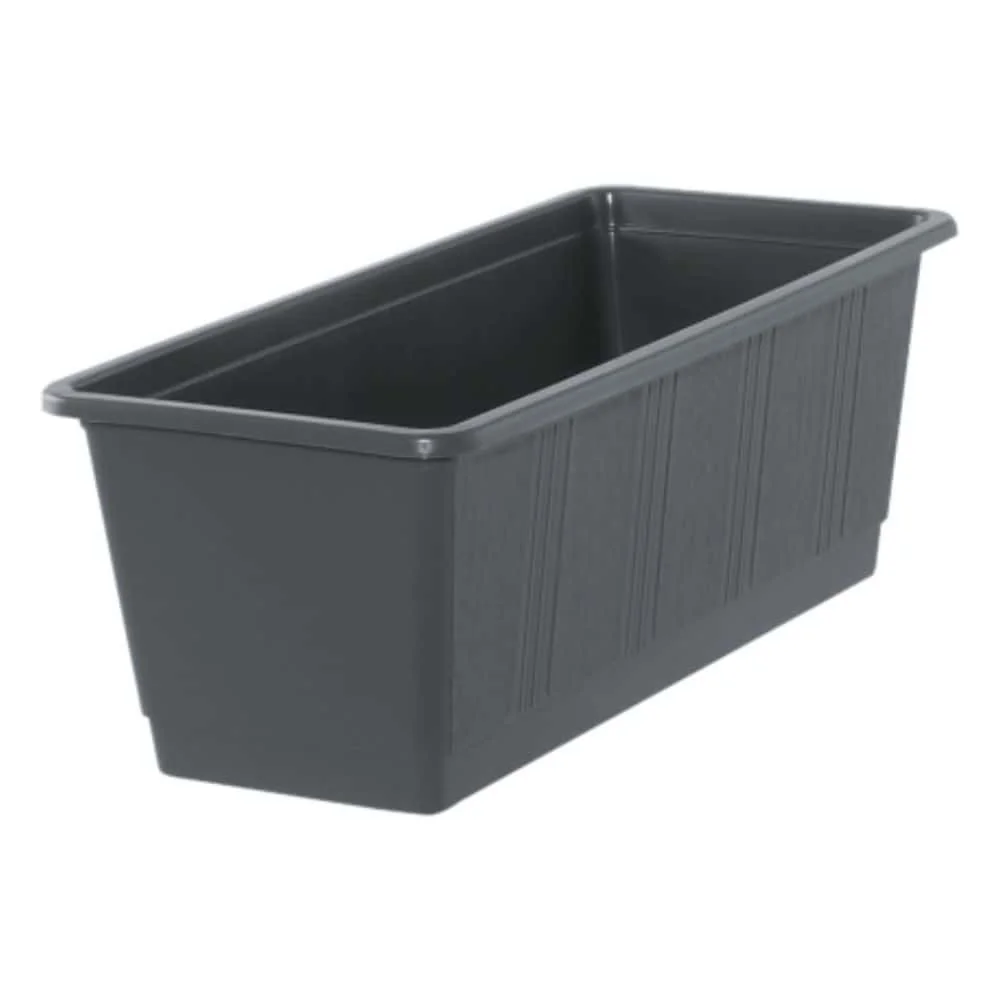
Additional advice
Place a close-mesh wire grid underneath your raised bed. This keeps voles away. Raise the grid a few centimeters along the sides and attach it to the frame. This protects your harvest from below.
Creative DIY Ideas: More Than Just a Box
With a little creativity, everyday objects can be transformed into unique planters. Upcycling is good for the environment and your wallet.
Vertical Herb Garden from a Pallet
Stand a Euro pallet upright against a sturdy wall. Seal the back with boards or a robust sheet of plastic. Fill the compartments with soil.
Plant the pallet from the top and through the openings at the front. This creates a space-saving herb wall. Water slowly from above so the water reaches every layer.
Planter Box Made from Old Wine Crates
Wooden wine crates already have the ideal depth. Drill drainage holes in the bottom. Place the crates directly on the ground or hang them on the wall with sturdy hooks.
They are perfect for colourful summer flowers or strawberries. Their natural look suits any garden style. You can find more inspiration for your Garden & Outdoor area in our categories.
Multi-Level Planting Pyramids
Build several square boxes in decreasing sizes. Stack them centrally on top of one another and secure them with a pole. This gives you plenty of planting space in a minimal footprint.
Plant each level with different varieties. Place trailing plants such as nasturtiums at the bottom. At the top, choose upright-growing herbs or flowers.
The key to success when building things yourself lies in the details. Take your time with precise cuts and straight screw connections. A wobbly box will not withstand the strain of damp soil for long. Quality is reflected in its stability.
Caring for and Extending the Life of Your DIY Planter Box
A little care can extend the life of your work by years. Check the boxes regularly, especially after winter.
Wood Protection and Re-Treatment
You can protect untreated wood with a biological wood oil. It penetrates deeply and preserves the natural colour. Repeat the treatment every one to two years.
Check the inner lining for tears. Replace it if necessary to protect the wood from moisture. Clean empty boxes thoroughly in autumn.
Preparing for Winter
Empty frost-sensitive boxes before the first frost. Clean them and store them in a dry, sheltered place. Heavy raised beds can remain outdoors.
Cover the soil in raised beds with leaves or garden fleece. This protects the microorganisms and the soil. In spring, remove only the top layer and add fresh soil.
Conclusion: Create Your Own Personal Green Space
Building your own planter box is a rewarding project. You gain not only a practical planter but also the satisfaction of creating something yourself. Start with a simple model and work your way up.
You can find the materials you need in our category for Euro pallets and garden supplies. Whether it is a window box DIY project or a sophisticated raised bed, your garden will thank you.
Frequently Asked Questions
- Which type of wood is best for a planter box?
- Use pressure-treated wood, Douglas fir or larch. These types of wood are weather-resistant and can withstand moisture in the soil. Avoid treated wood such as railway sleepers, as harmful substances can enter the soil. An inner lining provides additional protection for the wood.
- How can I prevent waterlogging in a homemade window box?
- Drill several drainage holes in the bottom of the planter box. Cover them with a layer of expanded clay or gravel. Place water-permeable garden fleece on top. It holds back the soil while allowing excess water to drain away and preventing rot.
- Can I use a Euro pallet directly as a raised bed?
- Yes, but prepare the pallet first. Clean it thoroughly. Seal the back with boards to hold in the soil. A sturdy inner lining protects the wood. Fill it with a drainage layer and soil. This quickly creates a pallet planter box.
- How do I securely attach a window box to a balcony railing?
- Use sturdy window box brackets that fit the shape of your railing. Check your balcony's maximum load capacity. For heavy boxes filled with soil and plants, placing them directly on the ground or on a stable platform is often the safer alternative.
- How much does it cost to build your own planter box?
- Costs vary considerably. A simple box made from spruce boards costs around 20-40 euros. A raised bed made from thick wooden frames costs 80-150 euros. Upcycling pallets or old wine crates reduces the cost to just a few euros for screws and plastic sheeting.
You might also be interested in
- Build Your Own Privacy Screen with a Planter Box – Instructions for Balconies & Patios
- Build Your Own Raised Bed: The Complete Guide
- A Staycation on Your Balcony: Create Your Outdoor Paradise
- Balcony Ideas: Turn Your Balcony into a Green Oasis
- Build a Raised Bed with a Seating Area: Practical & Beautiful in the Garden
- Designing Your Balcony: Practical Ideas for Your Outdoor Room