
In short: Canning mirabelle plums means preserving the fruit with heat. Wash and pit the ripe mirabelle plums, pack them into sterilised preserving jars and cover them with hot sugar or honey syrup. Heat the sealed jars in the oven or a water bath. This process kills microorganisms and creates a vacuum that keeps the mirabelle plums fresh for a long time.
Canning Mirabelle Plums: Preserve This Delicious Fruit
The golden-yellow mirabelle plum is a midsummer treat. Its sweet, intense flavour makes it the perfect fruit for canning. This method preserves its taste for many months. You can build up a supply for desserts, cakes or simply as a fruity side dish.
Canned mirabelle plums are incredibly versatile. They add flavour to yoghurt, enhance muesli or provide the basis for compote and sauces. Preserving food with heat is a safe and time-tested technique. All you need is the fruit, jars and a little time.
The basics: What does canning mean?
When canning, you heat filled and sealed jars. The heat kills germs and yeasts. A vacuum forms inside the jar as it cools. This negative pressure pulls the lid firmly inwards and seals the container airtight. Microorganisms no longer have a chance to grow.
The process differs from simply hot-filling jars. With canning, the heat is applied to the system after it has already been sealed. This guarantees a sterile environment and long shelf life. It is the classic method for low-acid foods such as mirabelle plums.
Expert tip
Always use jars that are in perfect condition. Check the seals on screw-top lids or the rubber rings on Weck jars beforehand. Even a small crack can ruin the entire canning project. Do not rinse the jars with cold water after filling them with hot syrup – the temperature difference can cause them to crack.
Preparation: Which mirabelle plums are suitable?
Choose fully ripe but firm fruit. Overripe mirabelle plums with soft spots will break down during canning. The skin should be flawless and free from rotten areas. Ideally, harvest or buy the fruit on the day you process it. This keeps the flavour as fresh as possible.
Wash the mirabelle plums thoroughly under running water. Remove the stems and leaves. Dry the fruit gently with a kitchen towel. The next step is removing the stones. This is essential with mirabelle plums because the stones can release unwanted bitter compounds.
A special cherry or olive pitter speeds up the job. Alternatively, carefully cut the fruit open with a sharp knife and lever out the stone. Allow some time for this task. The effort is worthwhile when it comes to enjoying the finished fruit.
Equipment: What do you need for canning?
In addition to the mirabelle plums, you need preserving jars with screw-top lids and new seals, or Weck jars with rubber rings and clips. A large pot or roasting pan serves as a water bath. An oven is an alternative heat source. A sieve, funnel and ladle make handling easier.
The quality of the glass is crucial to success. Preserving jars are designed to withstand repeated thermal stress. Ordinary jars from store-bought vegetables can crack in the heat of the oven or water bath.
For the syrup, you need water and sugar. The ratio determines the sweetness. A classic canning syrup consists of one litre of water and 250 to 500 grams of sugar. You can also replace the sugar with honey or substitute part of it with apple juice.
Step-by-step guide to canning
1. Sterilise the jars and equipment
Clean all jars, lids and rubber rings thoroughly with hot water and dish soap. Rinse them carefully. Then sterilise the jars by placing them in boiling water for ten minutes or putting them in the oven at 140 degrees Celsius for ten minutes.
Let the jars drain on a clean kitchen towel. Do not touch the insides or the rim with your fingers. Work as hygienically as possible. The hot jars are now ready for the mirabelle plums.
2. Prepare and fill the mirabelle plums
Place the washed and pitted mirabelle plums in the still-warm jars. Pack the fruit loosely. Do not press it down. Leave about two centimetres of space below the rim. This headspace is necessary so that a vacuum can form during heating.
Important note
Never fill the jars right to the top. The contents expand when heated. If jars are overfilled, liquid will escape, a vacuum will not form and the contents will spoil. The recommended two-centimetre headspace is the minimum.
3. Add the hot syrup and seal the jars
Bring the water and sugar to the boil until the sugar has dissolved completely. Using a funnel, pour the boiling-hot syrup over the mirabelle plums until they are completely covered. The syrup should reach about one centimetre below the rim.
Wipe the rim of the jars immediately with a clean, damp cloth. Any sugar or fruit residue can compromise the seal. Put the lid on immediately and close the jar firmly, but do not overtighten it. For Weck jars, attach the clips.
4. The actual canning process: Time and temperature
Now comes the heat treatment that preserves the fruit. You have two tried-and-tested methods to choose from: a water bath or the oven.
Water-bath method: Place the sealed jars in a large pot. A kitchen towel or rack on the bottom of the pot prevents direct contact with the heat. Fill the pot with water until the jars are two-thirds covered. The water should be about the same temperature as the jars to prevent them from cracking.
Heat the water and let the jars simmer over medium heat for 30 minutes. Turn off the hob and leave the jars in the cooling water for another 15 minutes. Then remove them.
Heat is distributed more evenly in the oven than in a pot on the hob. This reduces the risk of localised overheating. It is important that the jars do not stand directly on the metal baking sheet, but on a damp oven towel or a rack.
Oven method: Preheat the oven to 150 to 170 degrees Celsius using conventional top and bottom heat. Place the sealed jars on a damp oven towel on the rack. Process the jars in the oven for about 45 minutes. Turn off the oven and leave the door slightly open. Let the jars cool in the switched-off oven for about one hour.
Additional advice
Whichever method you choose, let the jars cool slowly and completely after canning. Do not place them on a cold tile or in a draft. The gradual drop in temperature is crucial for forming a stable vacuum. Check the seal only after 24 hours.
5. Check and store the jars
Once the jars have cooled completely, check each one. With screw-top lids, the centre of the lid should be curved inwards. This “button” indicates a vacuum. Gently press it with your finger – it should not move.
With Weck jars, you can remove the clips after 24 hours. Carefully lift the jar by the lid. If the lid stays in place because of the vacuum, the process was successful. Jars whose lids do not hold must be used immediately.
Label each jar with its contents and date. Store the canned mirabelle plums in a cool, dark and dry place. A cellar or pantry is ideal. Avoid direct sunlight and major temperature fluctuations.
Recipe Ideas and Creative Variations
The classic sugar syrup is just the beginning. Experiment with spices that enhance the flavour of the mirabelle plums. A cinnamon stick, a few cloves or a vanilla pod added to the syrup will give them a festive note. Add the spices directly to the jars with the fruit.
For a more savoury version, preserve mirabelle plums with a splash of red wine in the syrup. This creates an exquisite base for sauces served with game or poultry. Alternatively, use a robust malt syrup, as the
Mirabelle plums also pair well with other fruits. Layer them with apricots or peaches. Or add a few leaves of lemon balm from the garden. The possibilities are varied, making preserving a creative process.
Using Preserved Mirabelle Plums
Open a jar and enjoy the mirabelle plums on their own as a compote. They are the perfect filling for pancakes and waffles, or a delicious topping for ice cream. Puréed, they make a quick sauce for desserts or a fruity base for shakes.
In savoury dishes, the sweet-and-tart fruit is an excellent accompaniment to fried liver, duck breast or strong cheese. It is also a standout ingredient when made into chutney. Preserved mirabelle plums are the basis for many culinary experiments.
To turn them into jam, boil the contents of a jar with jam sugar. This gives you fresh mirabelle plum spread even in winter. Storing your own preserves is worthwhile for anyone who wants to cook and bake with fruit all year round, regardless of the season.
Common Mistakes and How to Avoid Them
Jars break: This is often caused by sudden temperature changes. Never pour boiling-hot syrup into cold jars. Do not place warm jars in a cold water bath. Always allow the jars to cool slowly after preserving.
The contents become cloudy or mouldy: This indicates insufficient sterilisation. The jars may not have been clean enough, the rim may not have been wiped clean or the lid may have been damaged. Work with the utmost care and check all the equipment.
No vacuum seal forms: The lid does not curve inwards. Possible reasons include insufficient headspace, a faulty seal, syrup that was not hot enough or a processing time that was too short. Follow the stated times and quantities precisely.
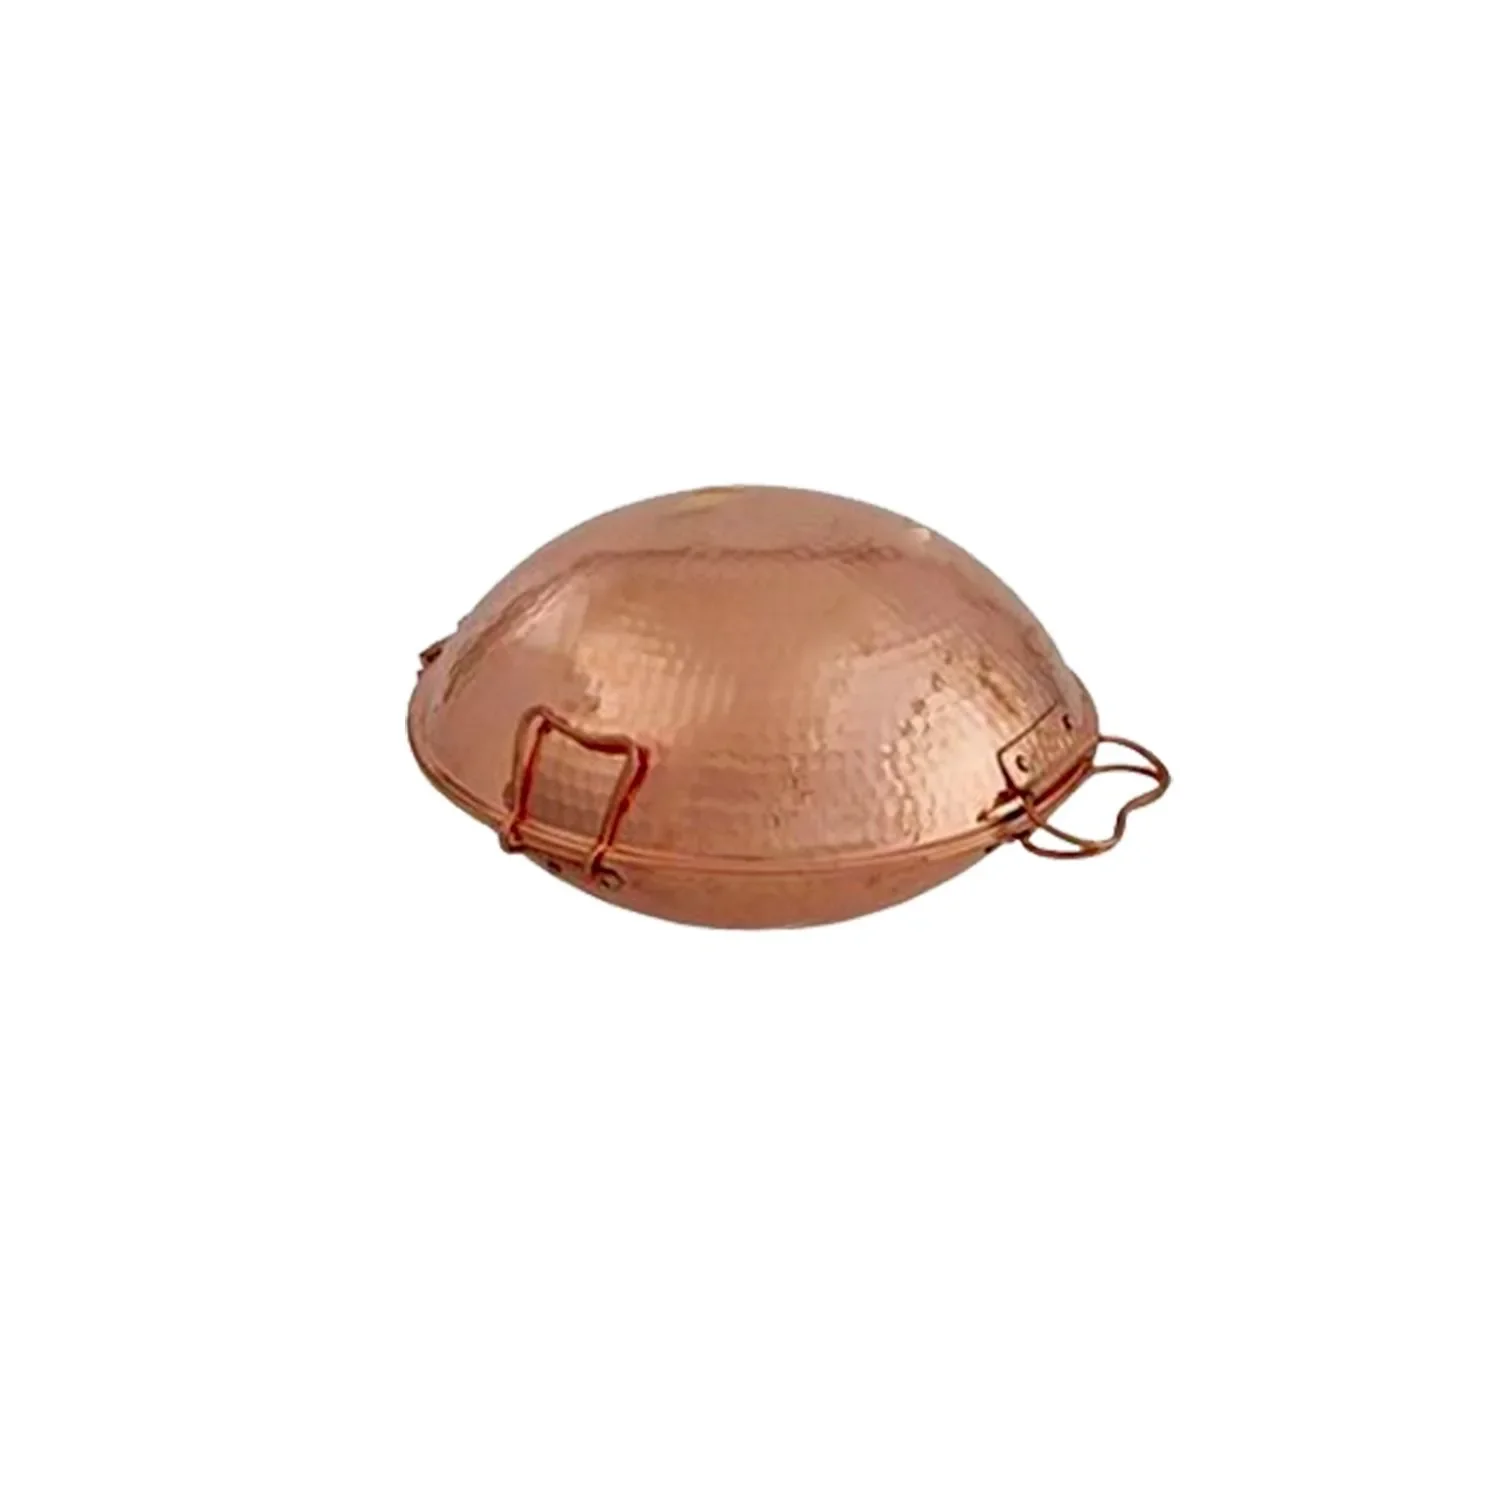
Products such as the versatile
, , or may be perfect for preparing fish and meat, but they also demonstrate that the right tools are essential for the process. When preserving, that means the jars.
Preserving as a Sustainable Practice
Preserving mirabelle plums is an act of appreciation. You make full use of a plentiful harvest from your own garden or local markets. Nothing goes to waste. You reduce food waste and create packaging-free supplies.
The jars are reusable. Once you have eaten the mirabelle plums, rinse the jars, check the seals and fill them again. This saves resources compared with constantly buying new tinned goods. It is a traditional, cyclical way of storing food.
You invest time once in summer and enjoy the flavour throughout the winter. The preserving process connects you with the seasons and the rhythm of nature. It is a rewarding activity with a visible and delicious result.
Discover everything you need for growing and harvesting in our Garden + Outdoor range. For processing your harvest, you will also find suitable accessories in the Garden Equipment category. And if you would like to plant your own fruit tree, take a look at the Garden + Plant Accessories section.
Start preserving your mirabelle plums. The clear instructions will guide you safely to success. Enjoy summer in a jar – all year round.
Frequently Asked Questions
- How long do canned mirabelle plums keep?
- Properly canned mirabelle plums will keep for at least one year when stored in a cool, dark place. Sterile jars, intact seals and a complete vacuum after cooling are essential. Check the lid before eating: it should be slightly concave and make a distinct popping sound when opened.
- Do you need to remove the stones before canning mirabelle plums?
- Yes, you should remove the stones from mirabelle plums. The stones contain cyanogenic glycosides, which can dissolve into the syrup over time and make it taste bitter. Removing the stones prevents this and means the fruit can be eaten straight from the jar later. A specialist stone remover from our garden tools range makes the job easier.
- Can you can mirabelle plums without sugar?
- You can can mirabelle plums with plain water, apple juice or a sweetener such as honey or agave syrup. However, sugar also helps preserve the fruit. For a sugar-free version, you must ensure absolute sterility. The shelf life may be slightly shorter. A juice concentrate from our BBQ + Smoking section is suitable as a base.
- Which jars are best for canning?
- Only use specialist preserving or Weck jars with intact rubber rings and working clips, or screw-top lids with seals. The jars must be heat-resistant and free from cracks. Sterilise them thoroughly with boiling water before filling. Suitable storage containers can be found in the Garden Equipment category.
- Why are my canned mirabelle plums turning brown?
- Browning is caused by oxidation. Prevent it by placing the stoned fruit in the hot syrup immediately and sealing the jars quickly and airtight. A splash of lemon juice in the syrup also helps. Make sure the fruit is completely covered with liquid and that no oxygen remains in the jar.
You might also be interested in
- Canning in a Pot: How to Preserve Fruit and Vegetables
- Making Jam: How to Easily Preserve Sweet Fruit at Home
- Pruning a Mirabelle Plum Tree: Easy Training and Rejuvenation
- Making Strawberry Jam at Home: Recipe & Expert Tips
- Pickling Pumpkin: Delicious Recipes for Preserving
- Preserving Berries: How to Make Your Sweet Harvest Last