
In brief: Replacing old pipe insulation is worthwhile if it shows visible damage such as cracks, gaps or compression, has become brittle or feels damp. Intact insulation prevents heat loss, cuts heating bills, protects against frost and helps prevent corrosion. The investment often pays for itself within just a few heating seasons.
In the cellars and boiler rooms of homes across the UK, there is huge potential for savings. It is invisible, quiet and often overlooked: pipe insulation. While you invest in a modern heating system, outdated or damaged insulation can allow much of the heat generated to escape unused into the cellar. This unnecessarily drives up your heating bill. Intact pipe insulation is not a luxury, but one of the most effective and affordable ways to improve your home's energy efficiency.
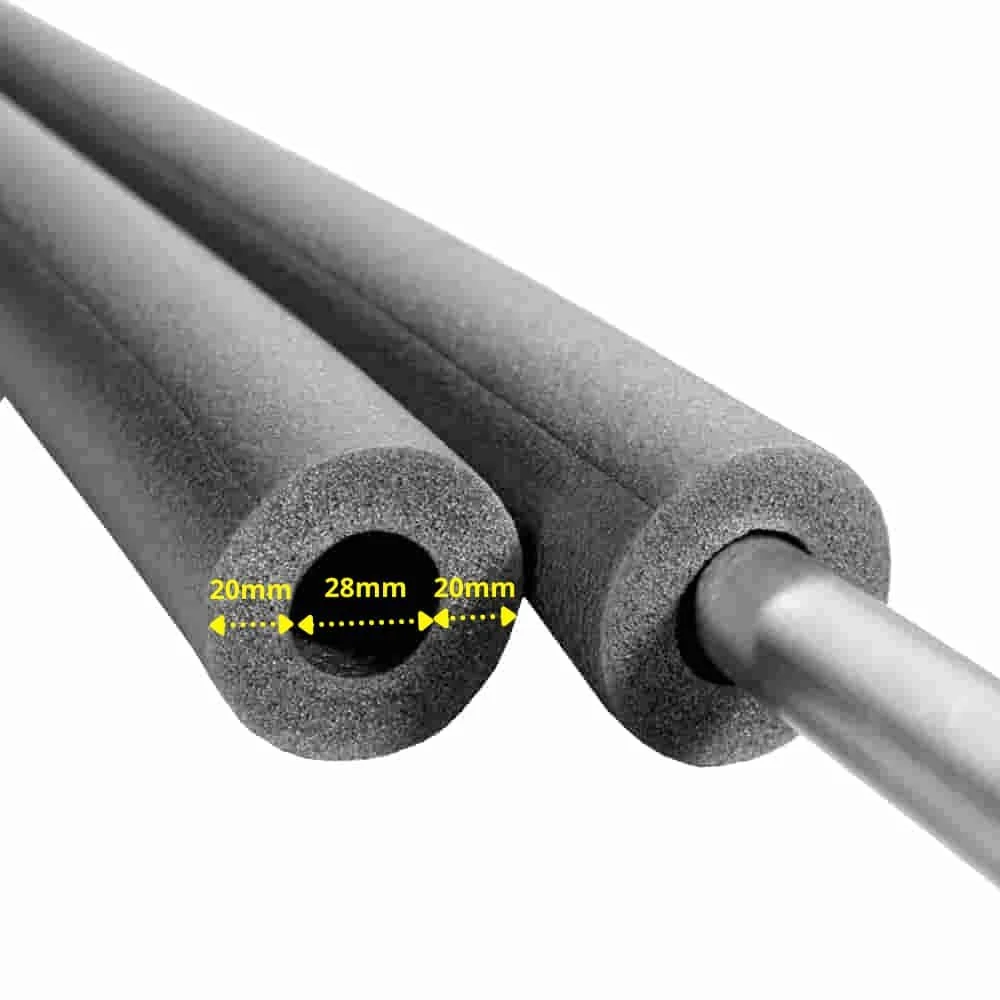
The good news is that you can easily check the condition of your insulation yourself and replace it if necessary. With the right material and a few simple steps, you can turn heat losses into noticeable savings. An excellent choice for most standard-size heating pipes is the CLIMAFLEX® 2m insulation sleeve Ø 28 mm x 20 mm. It meets the requirements of the Building Energy Act (GEG) for 50% insulation, is easy to work with and offers excellent value for money.
How can I tell if my pipe insulation is worn out?
Age and external influences take their toll on all insulation. With a careful look and a quick touch, you can soon tell whether action is needed. Check all accessible heating and hot-water pipes systematically, especially in the cellar and other unheated areas.
Visual inspection: breaks, cracks and gaps
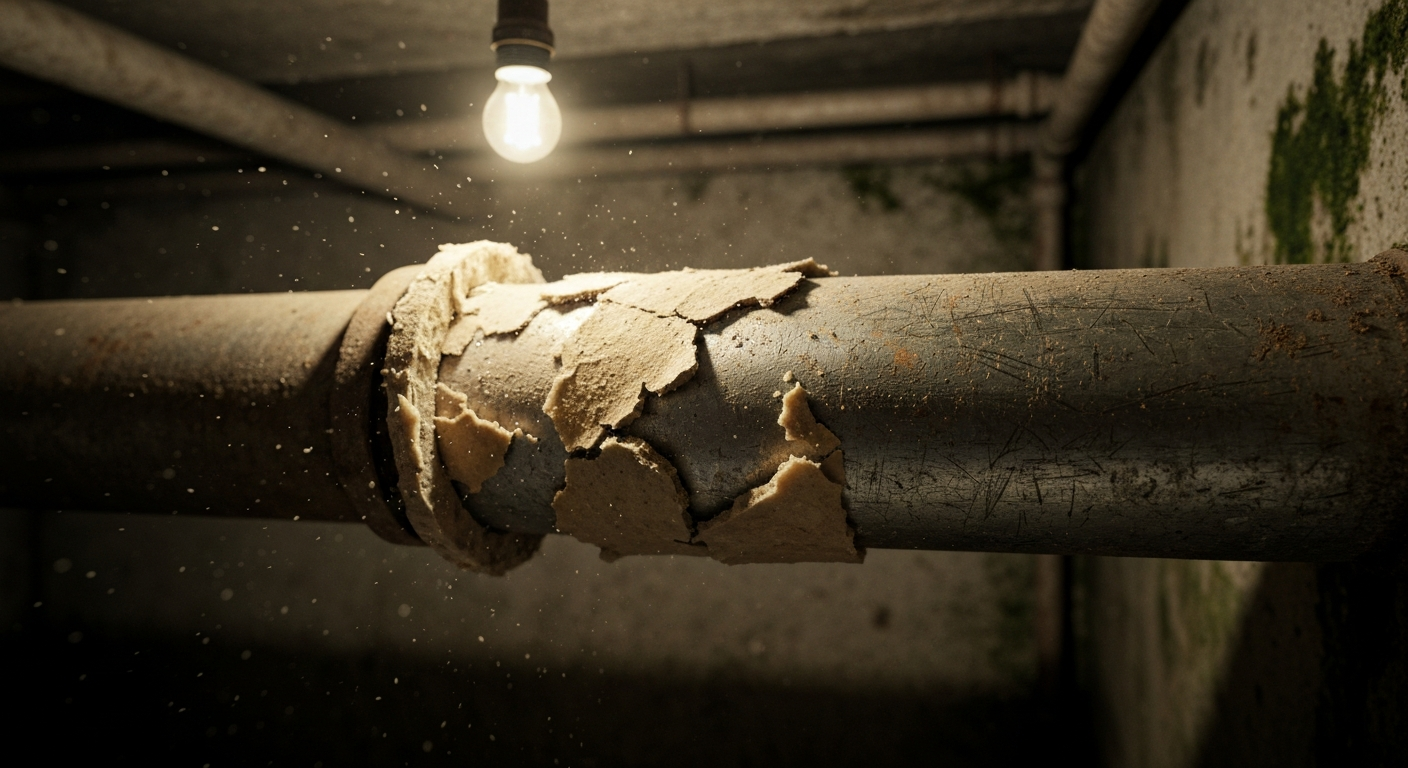
The most obvious signs of defective insulation are visible damage. Look for cracks in the outer covering, deep breaks in the insulation material or gaps between individual insulation sections. Pay particular attention to bends, T-joints and the areas around fittings and wall penetrations. These are often the first weak points, allowing valuable heat to escape.
Every gap in the insulation layer acts like an open window in winter. Even a small uninsulated section around a valve can cause as much heat loss as an entire metre of insulated pipe.
Material fatigue: brittleness and porosity
Older insulation materials, especially those from the 70s or 80s, lose their plasticisers over time. The material becomes brittle and crumbly. Carefully press the insulation. Does it feel hard, crumble when touched or give easily without returning to its original shape? These are clear signs of material fatigue. Insulation in this condition has largely lost its insulating effect and should be replaced.
Dampness and mould growth
Do parts of the insulation feel damp or wet? Can you see dark spots or discolouration? Moisture is the enemy of all insulation. It drastically reduces insulating performance and creates an ideal environment for mould. The moisture may come from a leaking pipe or from condensation on cold-water pipes running directly alongside uninsulated heating pipes. In either case, the cause must be identified and the damp insulation removed immediately.
Important note
If you remove insulation dating from before 1990, wear an FFP2 respirator mask and gloves for safety. Older insulation materials, particularly in commercial or public buildings, may contain hazardous fibres. In a typical family home, the risk is low, but caution is always advisable.
Heat you can feel at the surface
A simple but effective test: place your hand on the insulated heating pipes while the heating is running. The surface of the insulation should feel cool or, at most, lukewarm. If it feels noticeably warm or even hot, too much energy is escaping. The insulation is either too thin, damaged or unsuitable for the temperature of the heating water. This heat loss warms your cellar instead of your living spaces.
Why is replacing old pipe insulation so important?
New pipe insulation is an investment that pays off in several ways. It is not just about saving on heating bills, but also about protecting your building and preserving the value of your property.
Cut heating bills and improve efficiency
The most obvious benefit is the financial saving. Uninsulated pipes in an unheated cellar can lose up to 200 kilowatt-hours of energy per metre per year. By consistently insulating all pipes carrying hot water, you ensure that the heat generated by the boiler actually reaches your radiators and hot-water taps. As a result, the investment in insulation material often pays for itself within just one or two heating seasons.
Pro tip
Do not insulate only the flow pipes (hot water leaving the boiler), but also the return pipes (cooled water flowing back to the boiler). Residual heat is lost here too and should remain in the heating circuit. This reduces the burner's workload and saves additional energy.
Protection against frost damage in winter
Water pipes running through unheated areas such as garages, lofts or cold cellars are at risk of freezing in winter. A burst water pipe can cause extensive damage. Thick, intact insulation protects pipes from freezing by slowing the rapid cooling of the water when the pipe is not in use. This is an essential protective measure in all frost-prone areas of the home.
Preventing condensation and corrosion
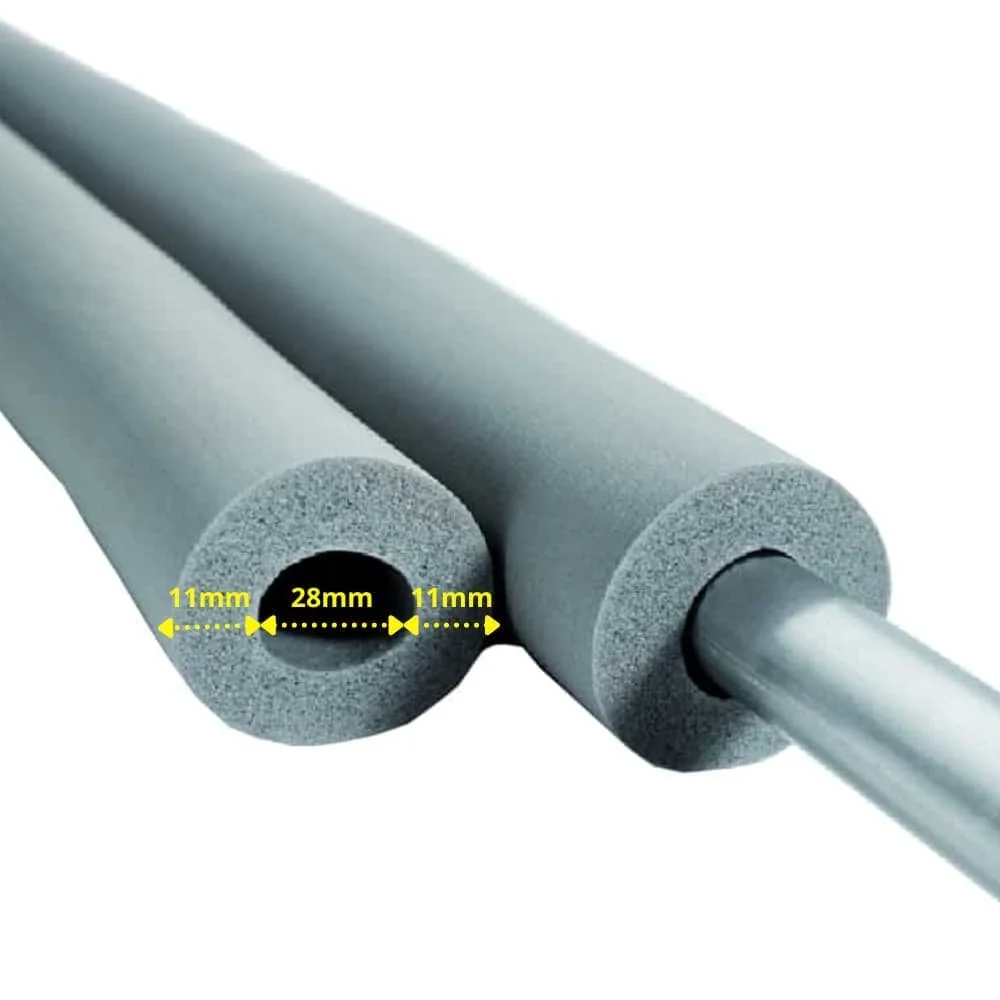
Cold-water pipes also benefit from good insulation. In warm, damp cellars, the cold surface of a pipe can cause condensation to form. This constant dripping not only damages the floor and the building fabric, but can also promote corrosion of the pipe itself. Insulation such as the flexible AEROFLEX® SH pipe insulation made from rubber effectively prevents this because its closed-cell structure acts as a vapour barrier.
How to Replace Old Pipe Insulation in 5 Steps
Replacing it is easier than many people think. With a little preparation and the right tools, you can complete this task in a weekend. Plan your approach and get all the necessary materials in advance.
Step 1: Preparation and Gathering Materials
First, measure the outside diameter of your pipes. Common sizes are 15, 18, 22 or 28 mm. Then measure the total length of all the pipes to be insulated. Add around 10 % for waste. Also note the number of bends and T-joints. You will need: pipe insulation sleeves in the correct diameter and insulation thickness, a sharp utility knife, a folding rule, insulating tape or adhesive for sealing the seams and, if necessary, special fittings for corners.
Precision when measuring and cutting is the key to seamless insulation. A clean mitre cut at corners not only looks more professional, it also provides a better seal.
Step 2: Removing the Old Insulation
Turn off the heating and allow the pipes to cool down. Carefully cut open the old insulation lengthwise with the utility knife and pull it off the pipe. Be careful not to cut into the pipe itself. Wear gloves and a dust mask when dealing with dusty or crumbly old materials.
Step 3: Cleaning the Pipes
Once the old insulation has been removed, clean the pipes thoroughly with a cloth. Dust, dirt and cobwebs must be removed so that the new insulation sits cleanly and flush against the pipe. This is also the perfect opportunity to check the pipes for any signs of corrosion or small leaks.
Step 4: Fitting the New Insulation
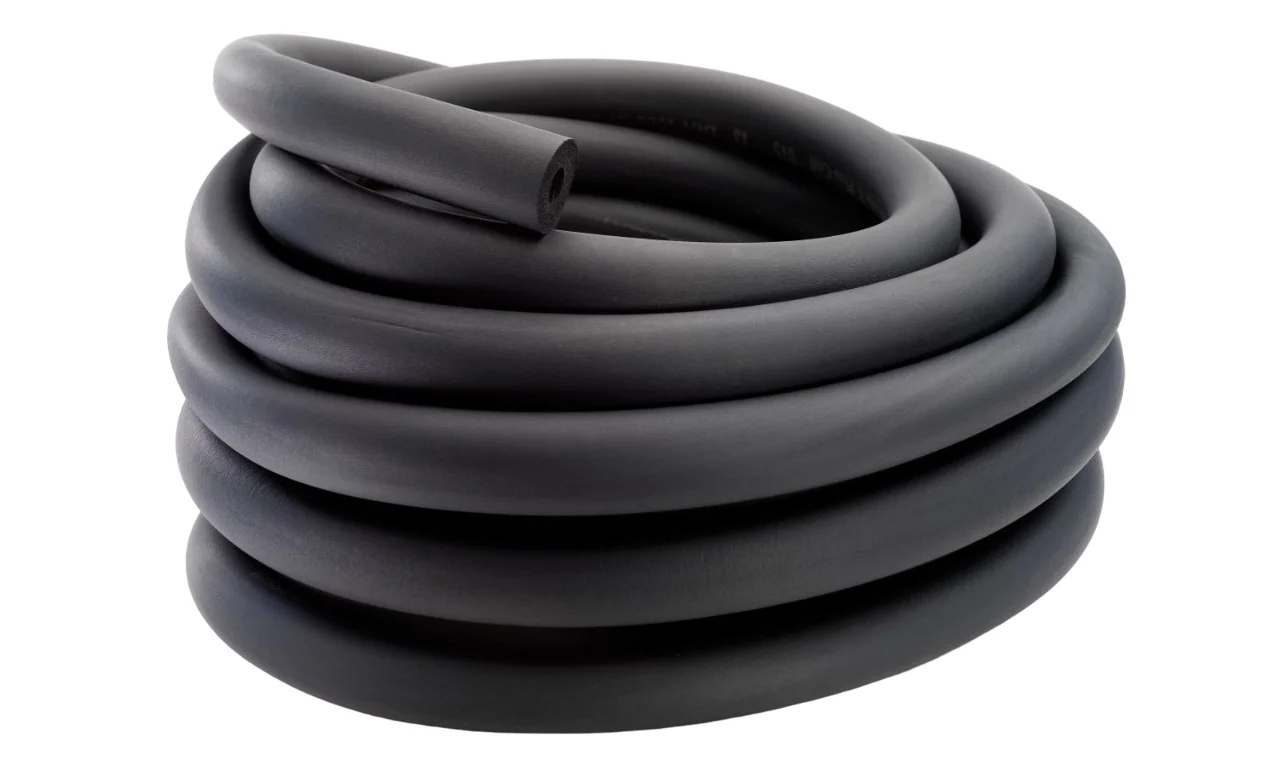
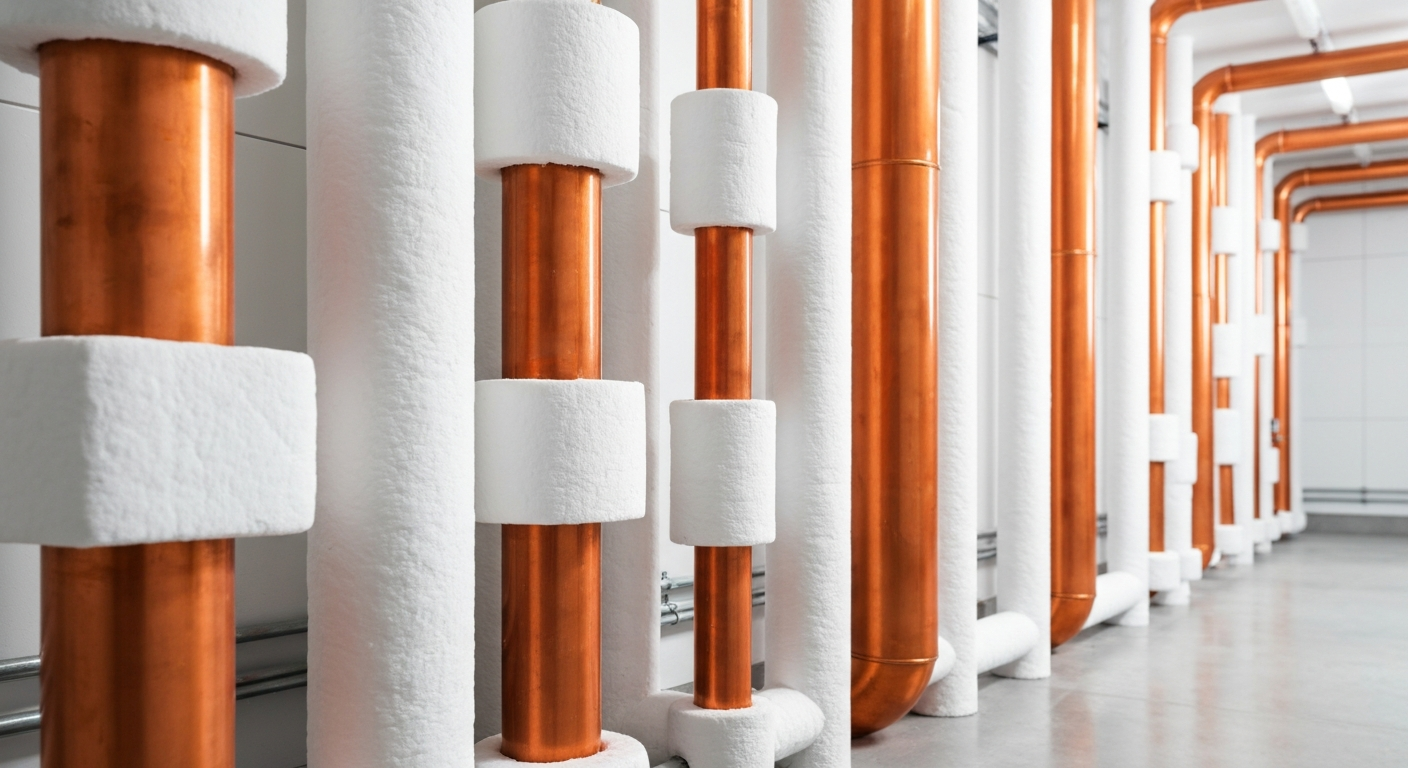
Modern insulation sleeves usually come pre-slit. You only need to cut them to the correct length and fit them over the pipe. For bends, cut two sleeves at a 45-degree angle with mitred ends and join them together. An alternative for long, straight sections or hard-to-reach areas is continuous insulation such as the AEROFLEX® SH COIL pipe insulation. It is self-adhesive and can be installed flexibly.
Step 5: Gluing and Sealing the Joints
The final and crucial step is to seal everything without gaps. Many insulation sleeves have a self-adhesive seam. Remove the protective film and press the adhesive surfaces firmly together. Also secure the joints between two pieces of insulation with special PVC tape or duct tape. Make sure no gaps remain open, as heat would escape through them.
Additional advice
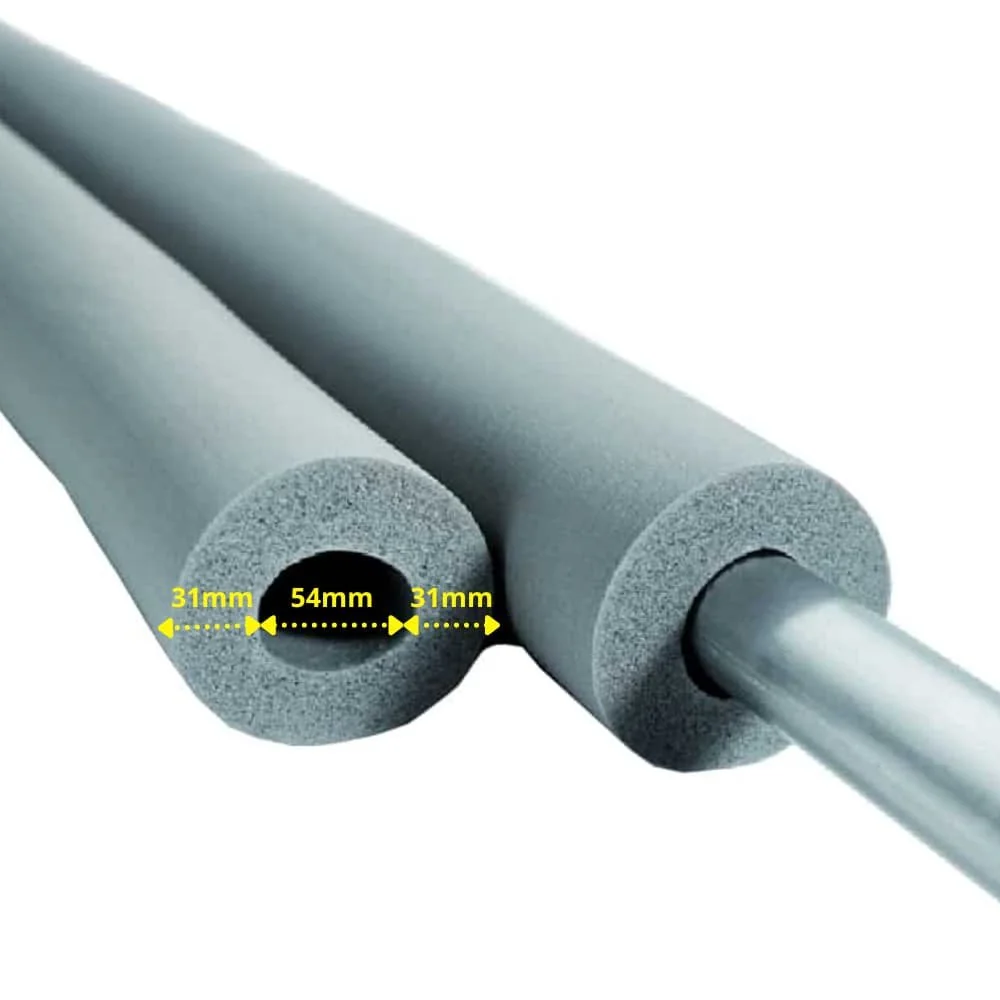
For particularly thick pipes or when a very high level of insulation is required, you can also use products such as the AEROFLEX® SH pipe insulation with 54 x 30 mm. Check the requirements of the German Building Energy Act (GEG) for the year your building was constructed to select the correct insulation thickness.
Conclusion: A Small Measure with a Big Impact
Checking and replacing your pipe insulation is one of the most cost-effective renovation measures you can carry out yourself. The material costs are low, the work is straightforward and the impact on your heating bill is immediately noticeable. You not only improve the efficiency of your heating system and save real money, but also protect your property from frost and moisture damage. Take the time to walk around your basement – it is worth it. You can find everything you need for professional heating pipe insulation in the Westfalia range.
Frequently Asked Questions
- How often should pipe insulation be checked?
- Ideally, check your pipe insulation once a year, preferably before the heating season begins. A brief visual and hands-on check in the basement or boiler room is often enough to spot obvious damage such as cracks or damp areas early and prevent high energy losses.
- Can I install pipe insulation myself?
- Yes, fitting modern pipe insulation is a classic DIY project. Slit insulation sleeves can easily be fitted over the pipes and the seams sealed. This is straightforward for straight pipes. More complex branches and bends require a little more care and precise cutting.
- What insulation thickness is ideal for heating pipes in the basement?
- The ideal insulation thickness depends on the pipe diameter and the requirements of the German Building Energy Act (GEG). As a rule of thumb, the insulation should be at least as thick as the pipe diameter itself (100% rule). For a 28-mm pipe, this means an insulation thickness of around 28 mm.
- What is the difference between PE foam and rubber insulation?
- PE foam (polyethylene) is an affordable and effective solution for hot-water and heating pipes. Rubber (elastomer) is more flexible, more resistant to UV radiation and has a higher water vapour diffusion resistance factor. Rubber is therefore particularly suitable for cold-water pipes, air-conditioning systems and installations with many bends.
- Does insulating cold-water pipes also save energy?
- Indirectly, yes. The main purpose of insulating cold-water pipes is to prevent condensation. This dripping water can damage the building fabric and items stored underneath. Insulation also prevents the cold water from warming up as it travels to the tap due to the surrounding heat.
You may also be interested in
- Check pipe insulation: How to spot damage and save energy
- Insulating pipes in winter: The ultimate protection for your heating system
- Installing CLIMAFLEX® insulation sleeves: How to insulate heating pipes correctly
- Replacing your heating system: When is it really worth switching?
- Reduce heating costs: 7 common mistakes when insulating pipes
- CLIMAFLEX® vs. XPS/PE: The ultimate comparison of pipe insulation materials