
In brief: Clean your cooker hood thoroughly by removing and soaking the filters first. Then treat the housing with a degreaser and wipe it clean. Do not forget the motor compartment, and refit all parts once they are dry. Regular cleaning maintains performance and helps prevent fire risks.
Why regular cooker hood cleaning is essential
Grease and steam build up inside your extractor hood every time you cook. This layer noticeably reduces the extraction power.
Airflow is restricted. Kitchen odours linger in the room for longer. The appliance becomes less energy efficient.
Over time, grease build-up in the ducting and motor can create a fire hazard. A clean hood protects your health and safety.
The most common cause of kitchen fires is neglected equipment. Grease deposits in extractor hoods are extremely flammable.
Include cleaning in your household routine. This helps you avoid time-consuming deep cleans. Your kitchen stays hygienic.
What you need to clean your cooker hood
Prepare everything before you start. This saves time and prevents interruptions.
You need a screwdriver to loosen covers. Have several microfibre cloths and a sponge ready. An old toothbrush reaches awkward corners.
To tackle the main problem, grease, you need a powerful cleaner. A specialist degreaser from business supplies is ideal. Standard washing-up liquid or a washing soda solution also works.
Important note
Always disconnect the extractor hood from the mains. Unplug it or switch off the circuit breaker. Never work on an electrical appliance that is still live.
Keep a bucket of hot water ready. Wear gloves to protect your skin from chemicals. Place newspaper or an old sheet under the hood.
Step 1: Remove and pre-clean the filters
Open the cover of your extractor hood. It usually folds or slides downwards. Recirculating models generally have two types of filter.
Metal grease filters capture airborne particles. Activated carbon filters neutralise odours. Remove both carefully.
Place the metal filters in the sink or a large container. Pour hot water and plenty of washing-up liquid over them. Leave them to soak.
Expert tip
Add a splash of vinegar or lemon juice to the soaking water. The acid dissolves limescale and helps break down grease. For heavy deposits, boil the filters for ten minutes in a large pan of water and washing soda.
Activated carbon filters are disposable. You cannot clean them. Replace them regularly, typically every three to six months. Write the date on the back of the filter.
Step 2: Thoroughly degrease the housing
Once you have removed the filters, you can see inside the hood. Condensed grease often collects on the walls here.
Spray your degreaser generously over all surfaces. Leave it to work for five to ten minutes. The grease will start to dissolve.
Wipe the surfaces with a damp microfibre cloth. For stainless steel, wipe in the direction of the grain. This helps prevent scratches.
Microfibre cloths remove grease and dirt physically through their fine structure, without the need for many chemicals. They are essential for kitchen hygiene.
Do not forget the outside. The control buttons and the edge of the glass cover in particular need attention. A cotton bud soaked in cleaning alcohol cleans the gaps around the switches.
For cleaning all surfaces in your home and garden, you will find suitable accessories in our Garden + Outdoor category.
Step 3: Check the motor compartment and ventilation
This step is often unnecessary for recirculating models. In extractor hoods vented outside, grease can collect in the motor compartment.
Remove the motor cover, which is usually secured with a few screws. Inspect the fan blades and the housing walls.
Take care. Do not touch any electrical components. Only clean accessible surfaces with a cloth soaked in cleaning alcohol. The alcohol evaporates without leaving residue.
Additional advice
If you find heavy grease deposits in the motor compartment, you should call in a professional. Dismantling the motor is risky for inexperienced users. A professional can clean and service the appliance safely.
Check the external air outlet on the outside wall of your home. Is the grille blocked? Remove leaves, birds' nests or cobwebs. Unrestricted airflow is essential for good performance.
Practical tools are useful for working in hard-to-reach places. Browse our Power Tools section.
Step 4: Clean and dry the filters, then reassemble everything
Remove the soaked metal filters from the water. Brush them under running hot water with a soft brush.
Leave the filters to air-dry thoroughly. Do not use a hairdryer. Residual moisture can cause rust and unpleasant odours.
Refit the clean, dry filters exactly as described in the manufacturer's instructions. They usually click into place with light pressure. A filter that is not fitted correctly restricts airflow.
Close the cover. Restore the power supply. Test the different fan speeds. Can you hear any unusual noises?
A quiet, even airflow confirms that your work has been successful. Make a note of the cleaning date in your calendar.
How to optimise cleaning with the right products
Specialist cleaners make the job easier. They are designed to tackle kitchen grease while being gentle on surfaces.
Our
, the cleaning bellows for beer taps, demonstrates one principle: with pressure and the right technique, you can reach even tight spaces. Apply this knowledge to ventilation ducts.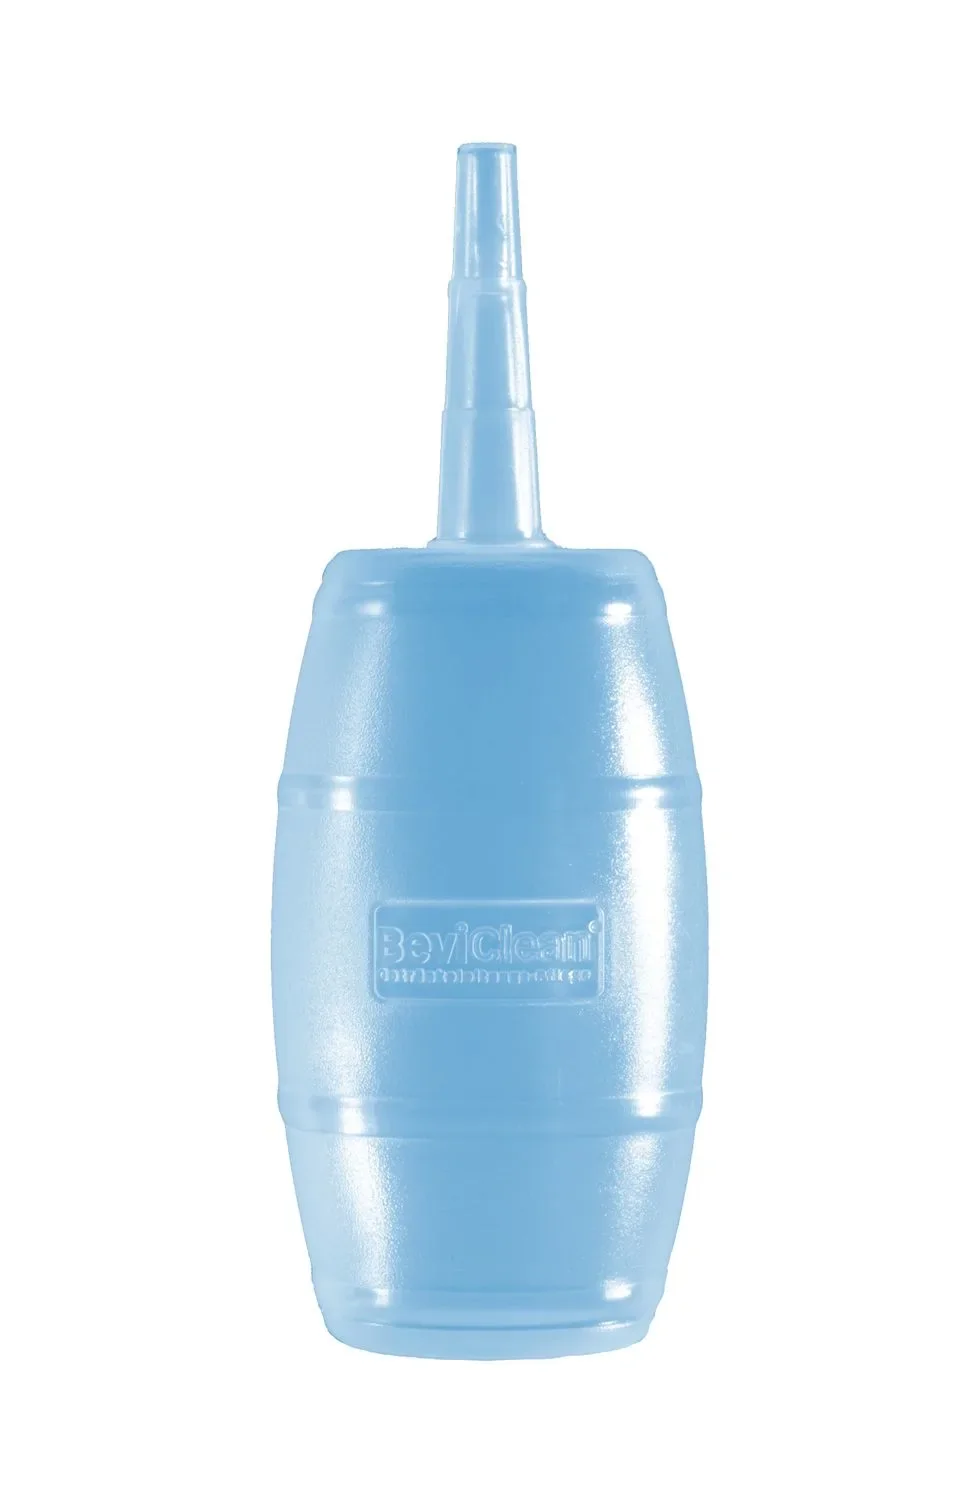
For larger projects, such as cleaning an entire BBQ grill, you need robust equipment. Our
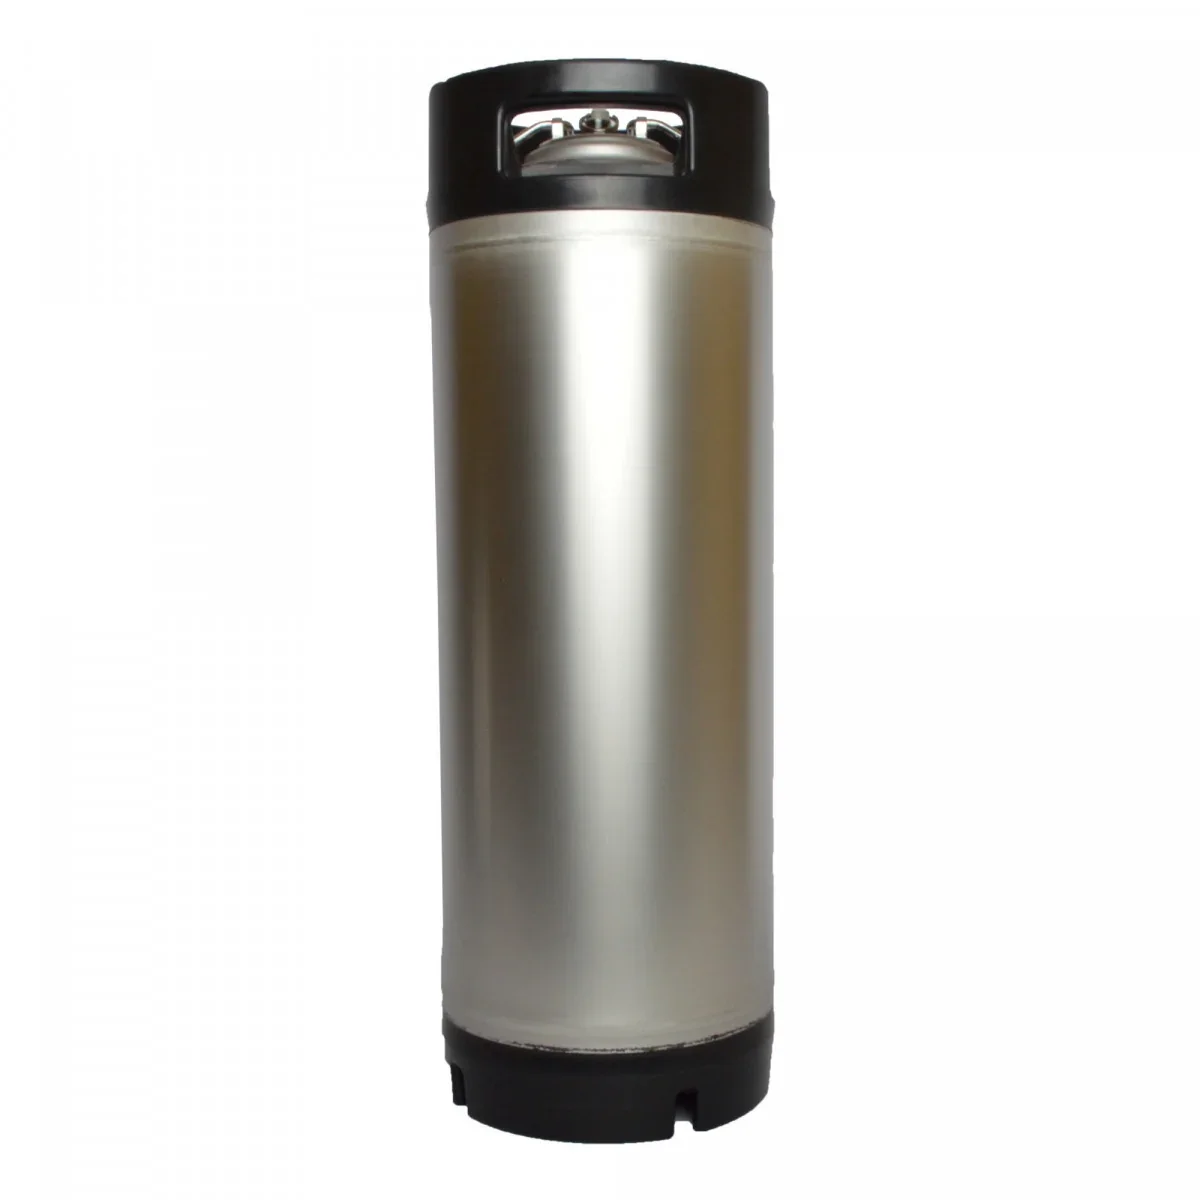
Planning to replace your old cooker hood? Modern models like the
combine efficient filtration with easy maintenance. Smooth surfaces and removable components make cleaning a breeze.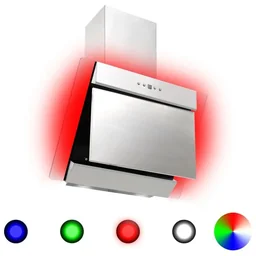
For daily care throughout your kitchen, find inspiration in our play kitchens category. Even through play, children learn that cleanliness is part of cooking.
How to establish a practical cleaning routine
Simply wipe the housing of your cooker hood with a damp cloth after cooking. This prevents splashes from drying on.
Schedule a monthly filter check in your calendar. Use the first Sunday of the month.
Combine deep cleaning your cooker hood with other tasks. Clean your garden irrigation system or check your tools at the same time.
A clean appliance operates more quietly and efficiently. You help protect the environment and save money. The air in your kitchen stays fresh.
Get started today. A clean extractor hood makes cooking an even more enjoyable experience.
Frequently asked questions
- How often should I clean my cooker hood?
- Clean the metal or activated carbon filters every four to six weeks. It is best to wipe the visible housing weekly. We recommend deep cleaning the entire system, including any grease build-up around the motor, every six to twelve months.
- Can I clean cooker hood filters in the dishwasher?
- Metal grease filters are usually dishwasher-safe. Check the manufacturer's instructions. Activated carbon filters must not be washed and need to be replaced. Never put filters in the dishwasher if they are coated with activated carbon.
- Which household remedy is best for degreasing a cooker hood?
- A mixture of hot water, washing-up liquid and a little vinegar or lemon juice removes grease effectively. For stubborn layers, use baking powder or bicarbonate of soda as a paste. Apply the paste, leave it to work and wipe it off with a damp cloth.
- Why is my cleaned cooker hood still not extracting properly?
- Poor performance after cleaning often indicates blocked air ducts or a problem in the motor compartment. Check the external air outlet. A faulty motor or incorrectly fitted filters may also be the cause.
- Do I need to switch off the power before cleaning my cooker hood?
- Yes. Always switch off the kitchen circuit breaker or unplug the cooker hood before starting any cleaning work. This is especially important if you are removing covers or accessing the motor compartment.
You may also be interested in
- Cleaning a cooker hood: effective hygiene tips
- Cleaning a ceramic hob: tips for a brilliant shine
- Cleaning a patio awning: tips and tricks for long-lasting cleanliness
- Cleaning an oven door: a shine without scrubbing
- Cleaning an oven: the best methods and household tips
- Clean smart: efficient household tips for a clean home