
In short: DIY decor makes your home personal and affordable. You can use simple materials such as wood, paint or fabric to create individual wall art, garlands or decorative objects. Handmade gifts show special appreciation. The projects range from quick crafts for beginners to more elaborate ideas for advanced crafters.
DIY Decor Ideas: Creative Projects for Your Home
Handmade decor gives your rooms character. You save money and create one-of-a-kind pieces that suit your style. We show you projects for different skill levels.
How can I create unique wall art?
Making your own wall art is easier than you might think. You do not need any artistic training. Modern techniques allow you to create abstract or geometric designs.
Wall art with natural materials
Frame pressed leaves or flowers in a simple wooden frame. Alternatively, glue flat stones or shells onto a canvas. Use a strong adhesive suitable for wood or crafts.
Pro tip
Stretch neutral jute fabric over a wooden board before gluing on the materials. The fabric provides an interesting background and conceals uneven areas.
For a quick solution, paint a canvas with chalk paint. Scratch patterns into the wet paint with a pen. Once dry, the picture looks like plaster.
Geometric wall art with tape
Painter's tape or special masking tape helps you create straight lines. Tape a simple triangle, rectangle or zigzag pattern onto a canvas. Fill the areas with acrylic paint. Remove the tape while the paint is still wet.
The biggest hurdle when crafting is often getting started. Set aside an hour, lay out your materials and begin without striving for perfection. The process is relaxing, and the result is always rewarding.
Why are handmade gifts worthwhile?
A handmade gift conveys effort and thought. It shows the recipient that you invested your time. The possibilities range from practical to purely decorative pieces.
Personalized spice jar
Take a plain screw-top jar. Remove the label. Paint the lid with special porcelain paint or wrap it with decorative ribbon. Fill the jar with homemade herb blends or tea.
Label the jar with a waterproof pen or attach a handwritten label. You can find beautiful gift packaging in our Gifts category.
Important note
For food containers, use only paints and adhesives that are explicitly suitable for food contact. These are specially labelled and help prevent health risks.
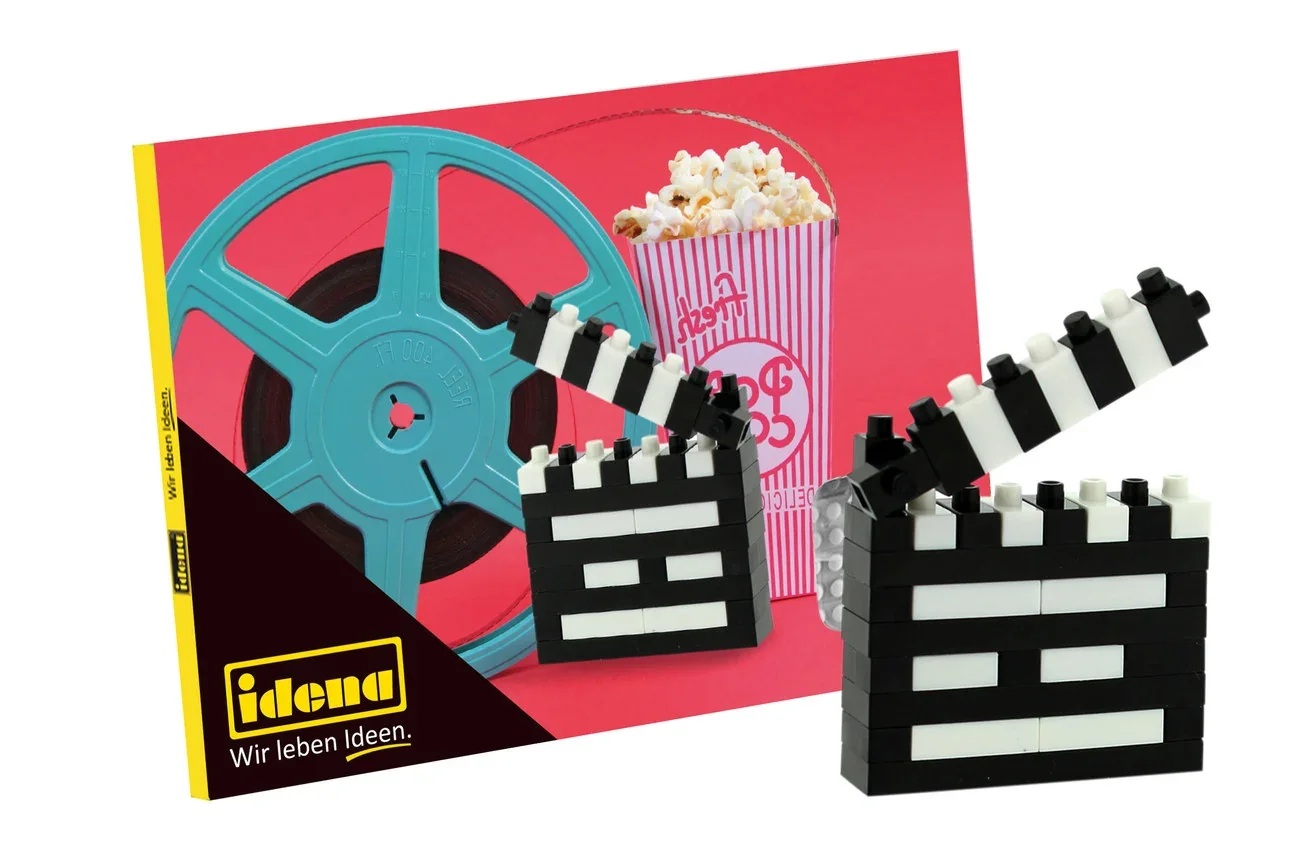
Creative postcards and picture frames
The
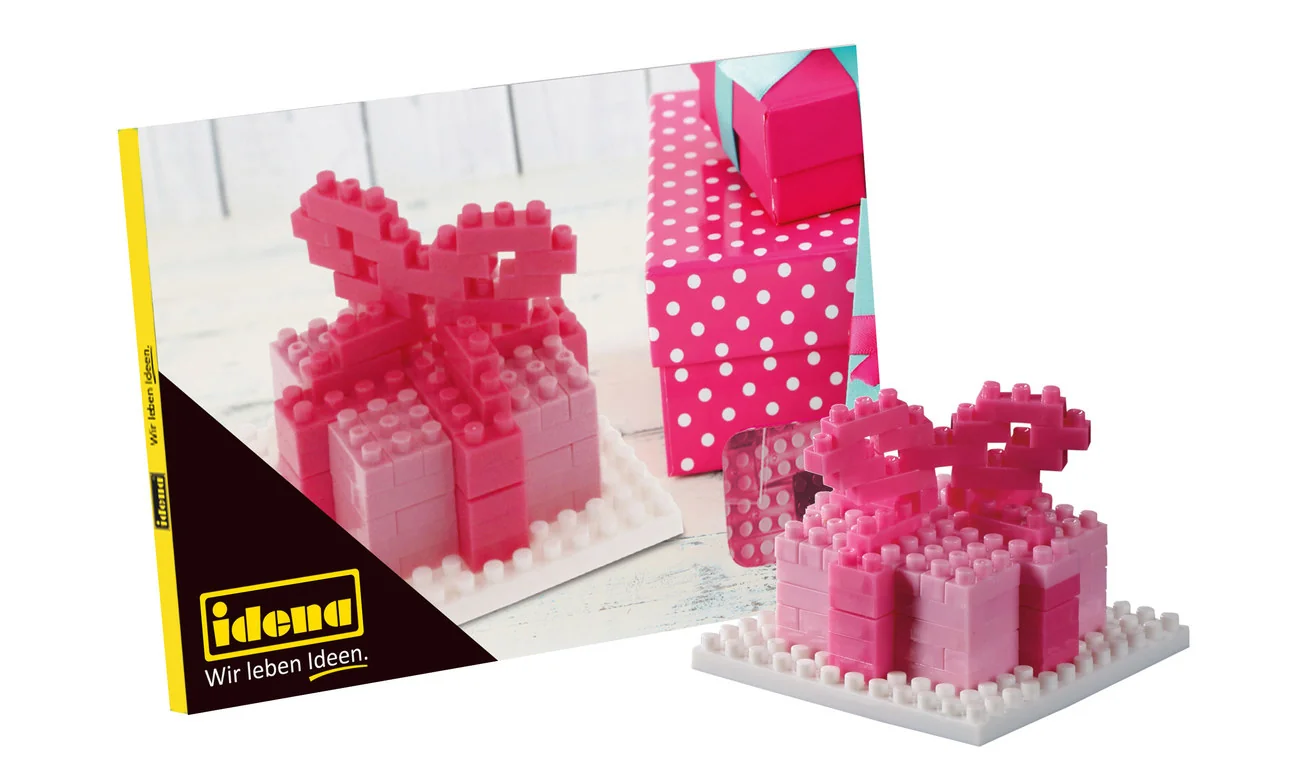
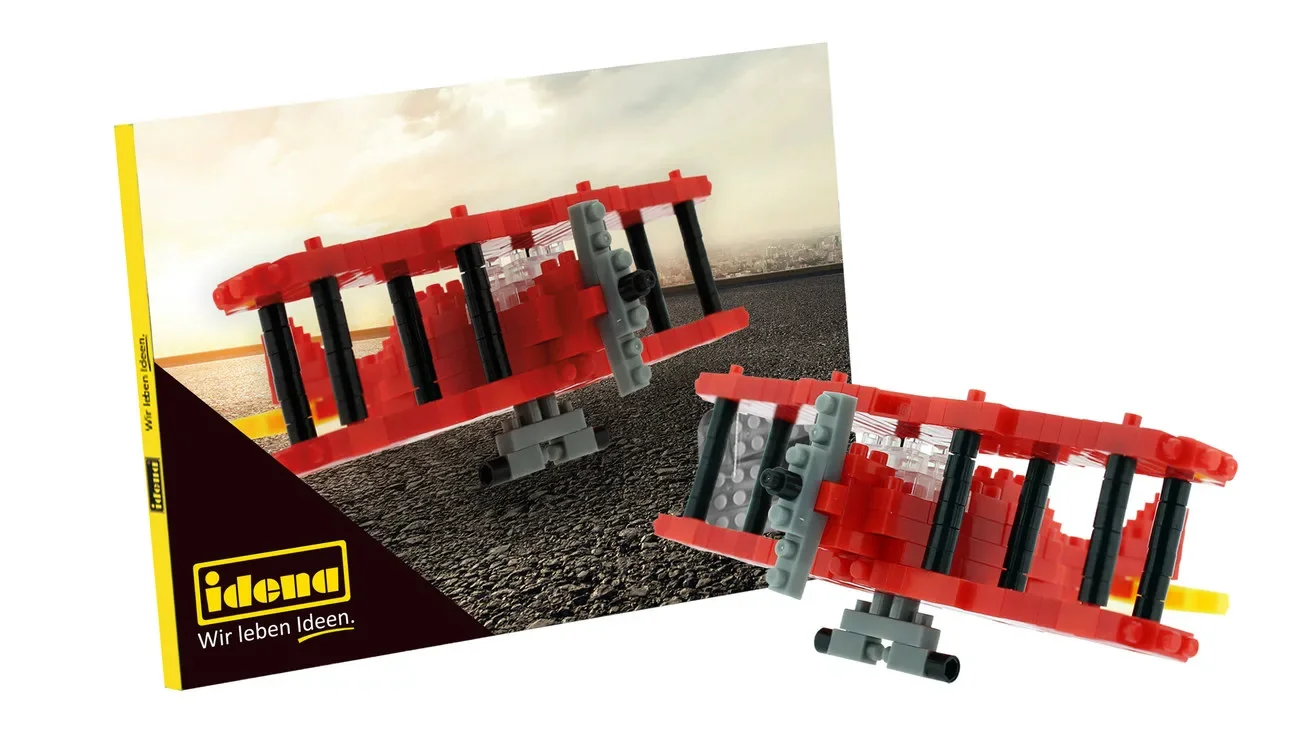
The result works as a personal greeting card or a miniature work of art for a small picture frame. The sets
Which craft ideas are suitable for the living room?
The living room works well with both large and small accents. Focus on one or two statement pieces to avoid creating a cluttered look.
Atmospheric tin-can lanterns
Take a clean, large tin can. Use a nail and hammer to punch a pattern of holes into the metal can. Place a tea light inside. The light casts beautiful shadows on the wall.
DIY projects are my way of slowing down everyday life. Focused work with my hands calms my mind. In the end, I have a physical result in my hands—that is especially valuable in the digital world.
For a softer look, place the can in a planter or wrap it with jute twine. Find suitable string lights for other projects in our decorative string lights category.
No-sew fabric cushions
You need two pieces of fabric in the desired size and fabric glue. Place the fabric pieces right sides together. Glue three sides together, leaving a small opening. Turn the cover right side out.
Insert cushion filling. Carefully glue the last side from the inside. The adhesive holds up well under normal use. For greater stability, you can also embroider a decorative seam with thread.
Additional advice
Always test fabric glue first on an inconspicuous area of the fabric. This allows you to check whether the glue bleeds through the fabric or affects its colour.
How can I make easy decorations with children?
Children love creating things. Choose projects that produce quick results. The materials should be safe and easy to handle.
Colorful window decorations made from translucent paper
Cut out simple shapes such as stars, hearts or flowers from colorful translucent paper together with the children. They can stick the shapes onto clear plastic wrap using a glue stick.
Laminate the decorated picture or cover it with a second sheet of plastic wrap. Cut it out and hang it on the window using adhesive dots. The light shines beautifully through the colorful shapes.
For more ideas for decorating a child's room, visit our Kids' Room Decorations category. You'll also find materials for mobiles and garlands.
Painting rock people and animals
Collect smooth, flat stones in the garden or park. Clean and dry them thoroughly. Paint the stones with acrylic paint or special stone paint to create small figures, animals or patterns.
Once dry, coat the stones with clear varnish to make them weather-resistant. They are suitable as garden decorations, paperweights or toys. Make sure that the paints you use are non-toxic.
Which techniques require very few tools?
You don't need a fully equipped workshop. Many beautiful projects can be made with everyday items and minimal effort.
Decorative sand candle holder
Fill a tall, sturdy glass one-third full with clean sand or small pebbles. Place a thick tealight or pillar candle in the center. The sand stabilizes the candle and looks decorative.
Decorate the outside of the glass with glued-on seashells, dried pulses or twine. These candle holders look great on the patio or dining table. For a festive version, use colorful glass pebbles.
Upcycling jars and cans
Old preserving jars can be turned into pencil holders or storage containers. Paint them with glass paint or wrap them in yarn. Glue felt to the bottom to prevent scratches.
Give tin cans a new look with leftover wallpaper or printed paper. They can then be used as organizers for kitchen utensils or craft supplies. Make holes in the bottom to turn one into a planter.
For projects with lots of small parts, take a look at the Decorative Objects category. You'll also find ready-made elements to combine.
Conclusion: Make your home unique
DIY decor is fun and rewarding. Start with small projects like the and work your way up. Every handmade piece tells a story.
Your home reflects your creativity. Use our ideas as inspiration and adapt them to suit your style. You can find the materials you need in our linked categories.
Let your imagination run wild. The process is often the best part of the result.
Frequently Asked Questions
- Which materials are suitable for beginners in DIY crafts?
- Start with materials that are easy to work with. These include paper, cardboard, fabric scraps, jute, wooden strips and simple ceramic pots. You can find many of these basic materials in our Decorative Objects range. Ready-made craft kits such as mini building blocks are also ideal for first projects because they include precise instructions.
- How can I create personalized gift wrapping myself?
- Use simple brown boxes or paper bags as a base. Decorate them with leaves, pine cones or dried flowers you have collected yourself. A ribbon made from jute or raffia completes the natural look. For children's birthday parties, you'll find colorful elements in the Birthday Party category. A handwritten tag makes every gift unique.
- What are some quick DIY projects for the living room?
- Create individual wall art in an hour: cover simple wooden frames with textured fabric or painted kraft paper. A simple string of lights in a large glass container becomes an atmospheric decorative feature. For more inspiration, browse our String Light Decor. A bowl filled with hand-painted stones or pine cones also makes an instant impact.
- Can I safely make DIY decorations with children?
- Yes, choose projects suitable for their age. Toddlers can use potato stamping techniques or paint stones with finger paints. Older children can decorate glasses with waterproof markers or make simple mobiles. Products such as PRODUCT_62126 are specially designed for small hands. Always use child-friendly, non-toxic materials.
- How can I store craft supplies neatly?
- Use clear storage boxes with lids for small items such as beads or buttons. Label the boxes. Store larger materials such as fabrics or cardboard upright on shelves or in boxes. A rolling tool cart offers flexibility. In our Gifts category, you'll also find attractive storage baskets that become decorative features in their own right.
You may also be interested in
- Decorating Ideas for Home & Garden: Create a Beautiful Home with DIY Accents
- Creative DIY Home Decor Ideas
- Creative Christmas Craft Ideas: Make Your Own DIY Decorations
- Creative DIY Projects: Ideas for Your Workshop
- Creative DIY Projects for Kids: Ideas for Home and Garden
- Atmospheric Fall Decor: Creative DIY Ideas for Home & Garden