
In short: You can make windproof storm lanterns by combining waterproof containers made of metal or thick glass with sturdy fittings. Old food cans, preserving jars, or unused garden irrigation parts such as threaded fittings are ideal. These components provide secure support for candle holders or LED lights and stand up to the weather when you use the right connections and a suitable roof.
DIY Storm Lanterns: Windproof Garden Lighting
Storm lanterns light up your garden even in strong winds and rain. You don’t need to buy one. You can build a lantern from materials you already have or add a few inexpensive parts. The key is to choose sturdy, water-resistant materials and secure connections.
Here are practical upcycling ideas using everyday items and accessories from the shop. You can create long-lasting garden lighting that stands up to the weather.
Why are traditional garden lanterns often unsuitable?
Thin glass breaks. Lightweight metal frames tip over. Open flames go out in drafts. Conventional decorative lanterns are designed for sheltered balconies, not exposed spots in the garden.
A storm lantern needs enough weight to stay stable, a roof to keep out the rain, and a sheltered light source. You can achieve all three with simple building materials and a well-planned design.
Pro tip
Choose materials that naturally resist the weather. Galvanized steel, brass, aluminum, and thick-walled preserving glass corrode less quickly than bare iron. A primer and weatherproof paint can significantly extend the life of all metal parts.
How do I find the right bases for my storm lanterns?
Look through your scrap pile or storage areas. Any waterproof container with sturdy walls can work.
Metal containers: Sturdy and easy to work with
Empty food cans are a classic choice. Rinse them thoroughly. Remove the lid completely or punch holes in it to create patterns. Larger paint or varnish cans offer more room and stability.
Old teapots, milk cans, or enamel cooking pots make distinctive lanterns. Their main advantage is that they already have a sturdy handle for hanging and are made for outdoor use.
Glass containers: Elegant and flickering
Sturdy preserving jars with screw-top lids are ideal. The glass can withstand temperature changes, and the metal lid provides a stable base for mounting brackets. Weck jars with rubber rings and clips also work, but offer fewer options for secure fastening.
Thick-walled liquor bottles or chemical bottles made from laboratory borosilicate glass are extremely heat-resistant. Have them cut professionally using a glass cutter and a hot-and-cold method.
The beauty of upcycling lies in its individuality. No two homemade storm lanterns are alike. Every dent and patch of patina tells a story and makes your garden light unique.
Which joining method lasts outdoors?
Adhesive joints can fail in damp conditions and freezing temperatures. Cable ties become brittle. Choose mechanical metal connections instead.
Threaded fittings are an ideal solution. They’re designed for long-term use in irrigation systems, which also makes them a good choice for garden lighting. They securely connect different components, resist vibration, and can be removed when needed.
Screw-in connectors: Simple fastening
A
can be inserted into a predrilled hole in a wooden post or strip. As you screw it in, the external thread cuts securely into the wood. You can then screw a threaded rod or a matching fitting from your lantern body into the internal thread.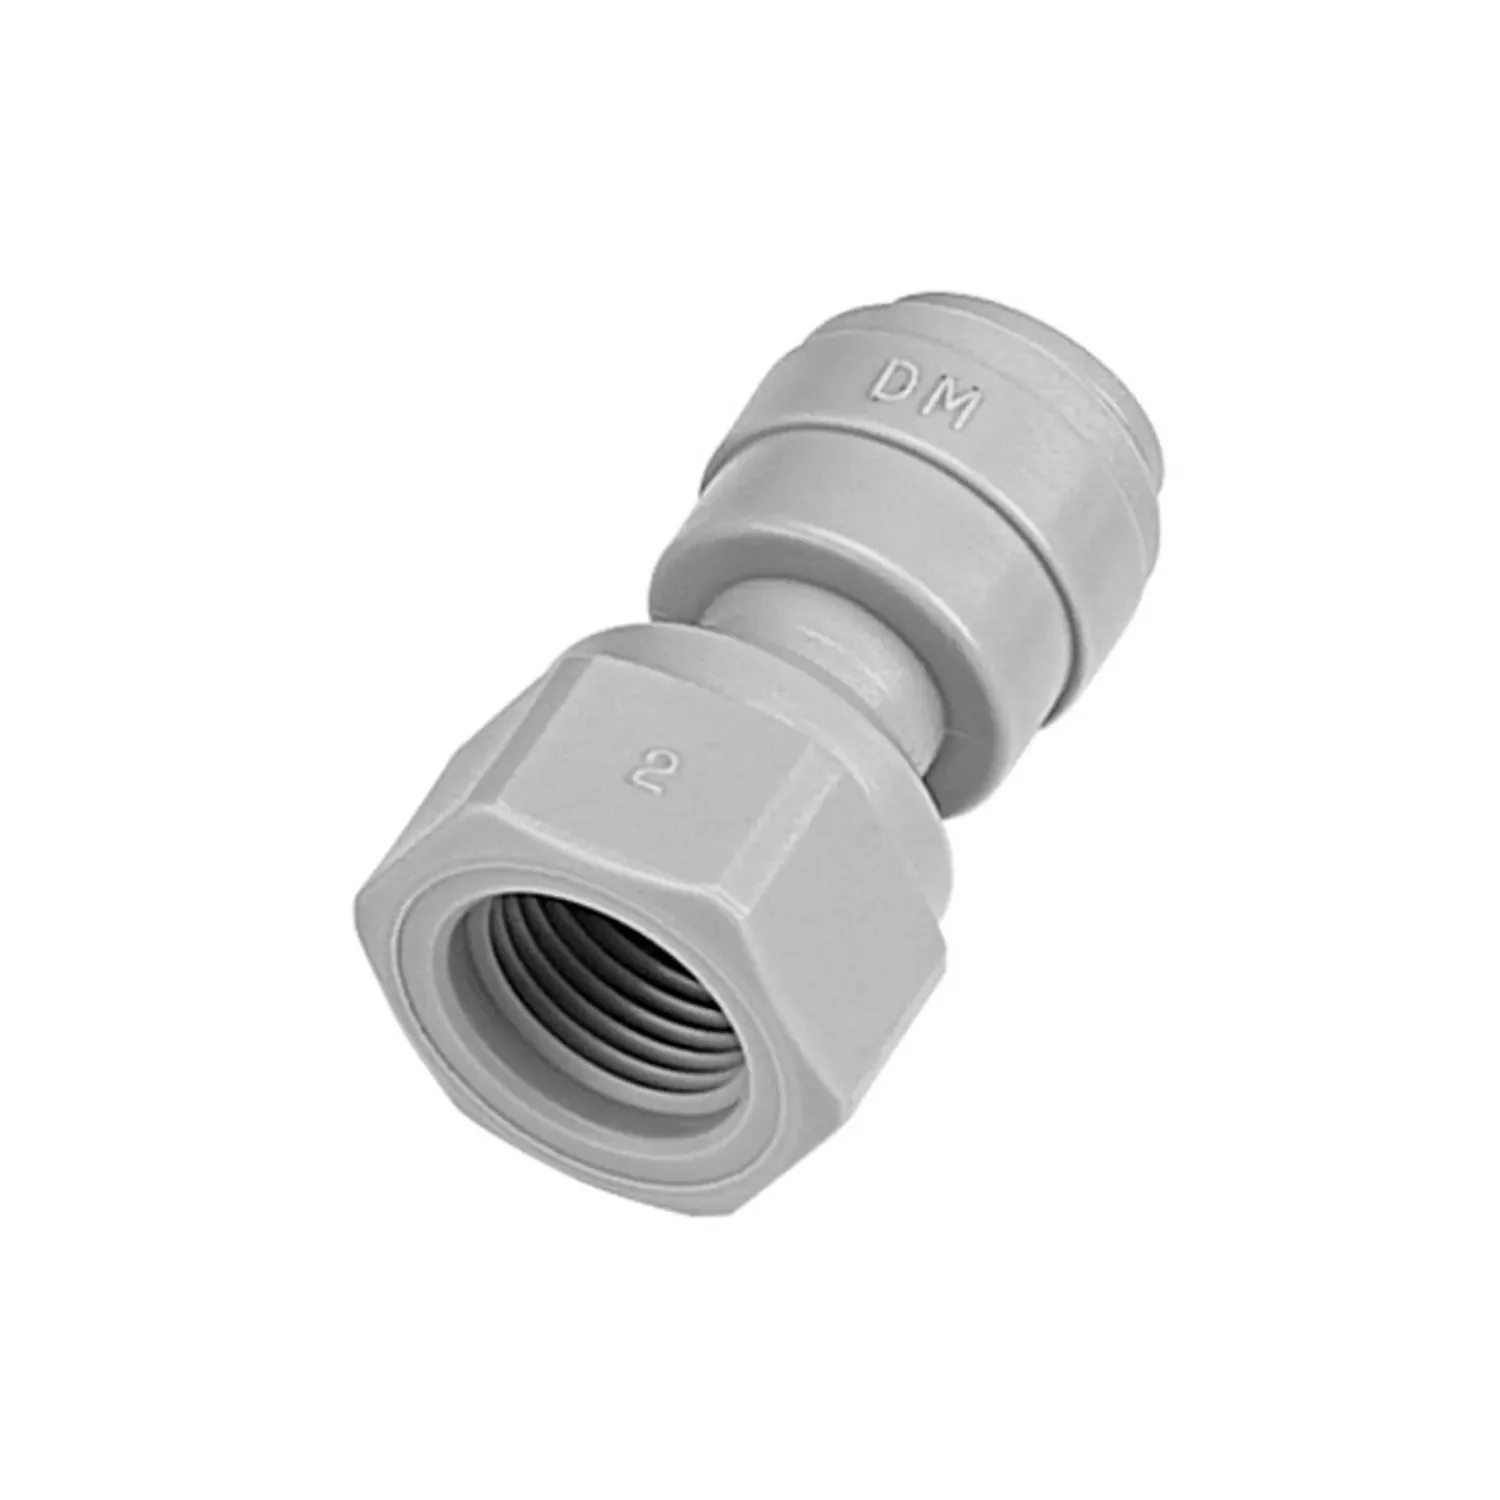
For hose connections or specialized projects, the
with its UN thread is the right choice. These versatile connectors provide a secure hold.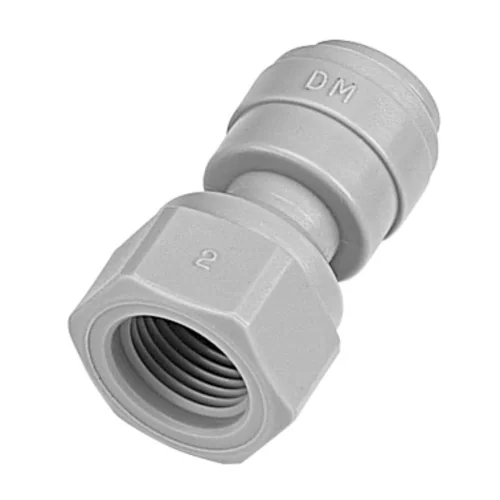
Important note
Always wear gloves and use a file when working with metal cans. Cut edges are razor-sharp. Carefully deburr and bend them over to prevent injuries. Wear safety glasses when drilling glass or metal.
Angles and adapters: For complex constructions
Want to mount a roof at a 90-degree angle over the light opening? A
made of malleable iron will do the job. This sturdy elbow securely connects two threaded rods or pipes.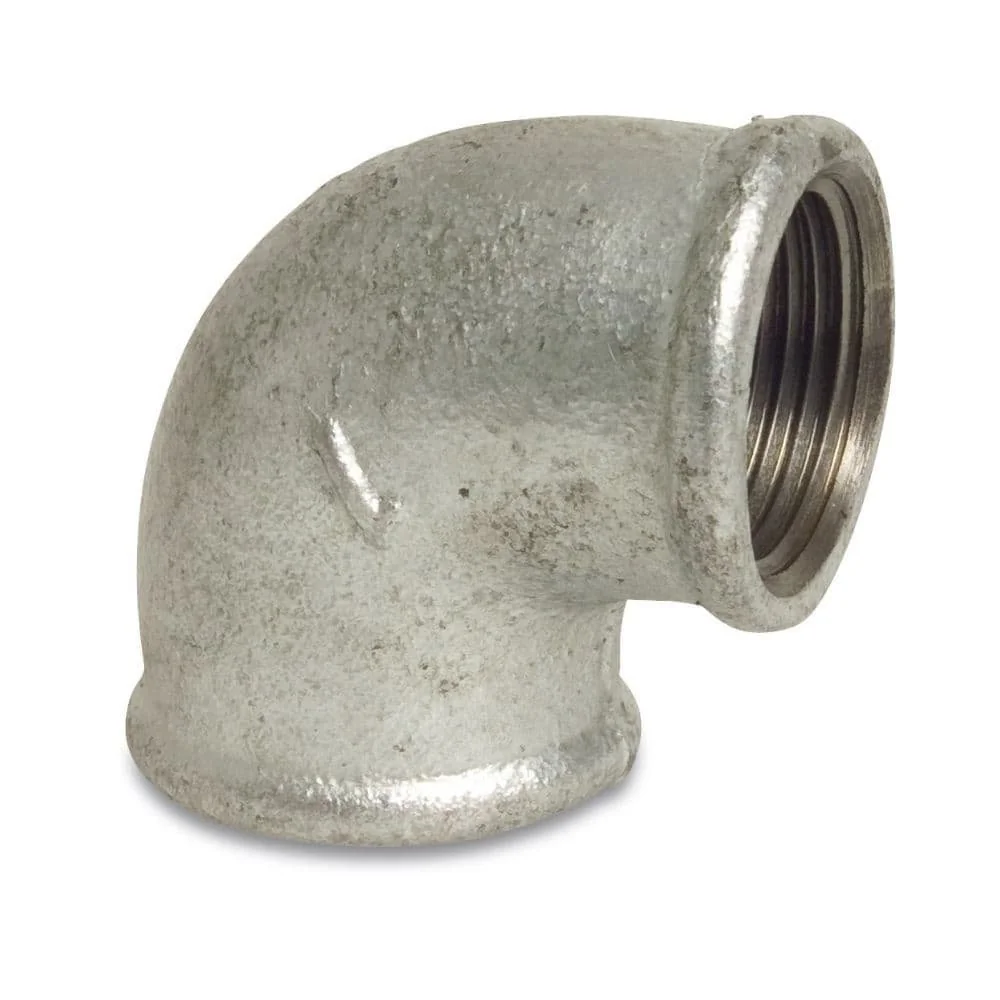
For quick assembly and disassembly or to connect hose systems, a
is ideal. This brass quick coupling lets you separate parts of your storm lantern without tools, for example, when changing the light source.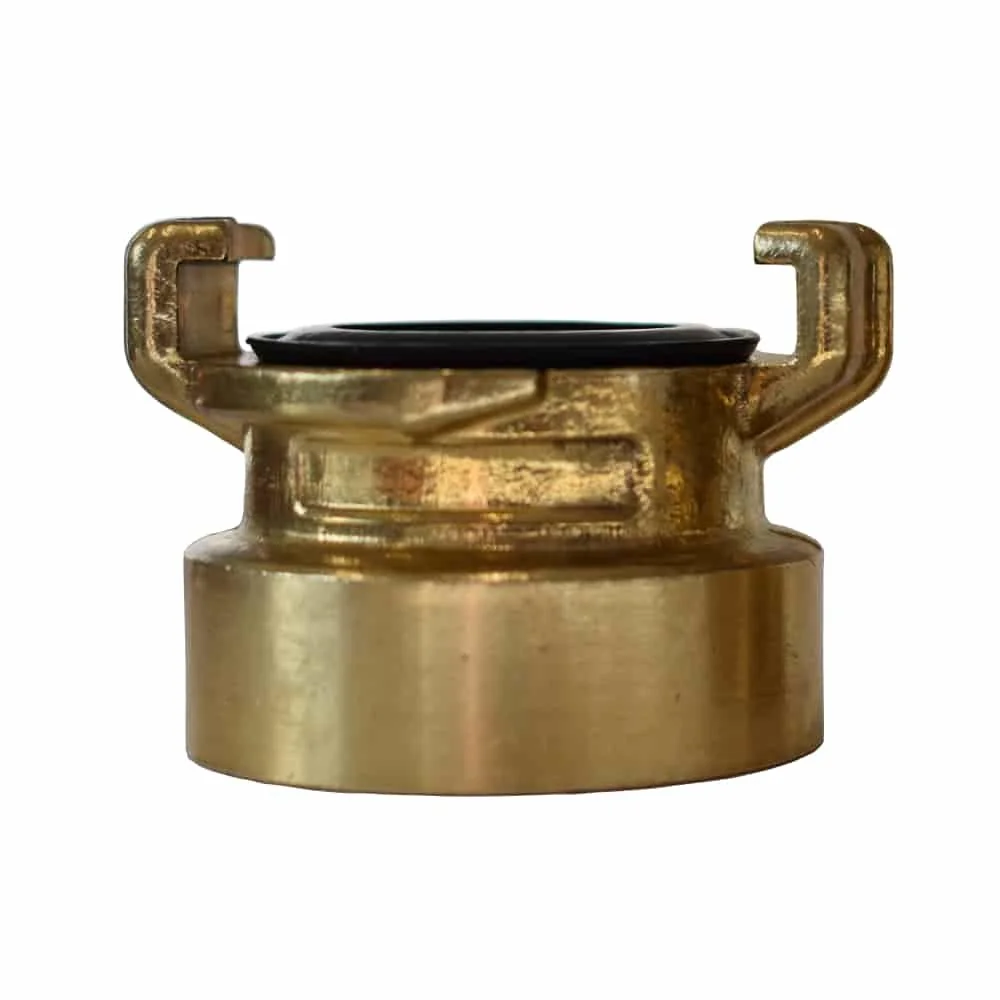
How do I build a rain-protective roof?
The roof is key to protecting your lantern from the weather. It must keep rain away from the light opening while allowing enough air for combustion if you use a candle.
Cut a circle or square from an old metal tray, a roof batten, or a sturdy plastic sheet. The surface should be at least twice the size of the light housing opening. A slight slope prevents water from pooling.
Attach the roof with enough clearance from the light. Use long screws, threaded rods, or the angle brackets mentioned earlier. The clearance prevents heat buildup and allows air to circulate.
Here’s a rule of thumb for a functional storm lantern roof: The overhang should be at least one third of the diameter of the light opening. For a 10 cm opening, you need a roof with a diameter of at least 16 cm, preferably larger.
Which light sources are safe and weatherproof?
You can choose between a traditional flame and modern lighting. Both have their advantages.
The classic candle: romance with a plan
Use windproof outdoor candles in glass or metal holders. They burn more evenly and last longer. Secure the candle holder firmly to the base of your lantern, for example with a hot glue gun for a temporary fix or a small metal screw clamp.
A tea light in an aluminum cup is the simplest option. Secure the cup with double-sided tape or place it in a specially made recess of the right size, formed from clay or plaster.
LED lighting: practical and versatile
Weatherproof LED string lights or individual solar-powered LED lights are the easiest options to maintain. You won't need to tend an open flame. For solar lights, remove the housing and integrate only the solar panel and LED unit into your upcycling project.
Install the electronics where they are protected from direct splashes. Seal all cable entries with silicone or special cable-grommet seals. Find suitable components in the garden equipment section.
Additional tip
For maximum flexibility, combine both options: Build your lantern so you can use either a candle holder or an LED light. A simple interchangeable holder or an adapter system made from threaded fittings makes this possible. That way, you'll have the right lighting for every occasion.
Detailed instructions: A storm lantern made from a tin can and threaded fittings
Here's how to put the theory into practice. This project takes about an hour.
You will need: One large, clean tin can. One . One M6 or M8 threaded rod (approx. 20 cm long). An old saucer or a metal disc for the roof. A drill with a metal drill bit. An open-end wrench.
Step 1: Drill a hole in the center of the bottom of the can that matches the outside diameter of the . Tighten the connector into the hole from the inside out. It now serves as a threaded socket.
Step 2: Drill a hole in the center of your roof plate. Push the threaded rod through it. Screw one end of the threaded rod firmly into the connector in the can. At the other end, secure the plate on top with two nuts.
Step 3: Place a candle holder or LED light in the can. Your sturdy, rain-protected storm lantern is ready. To mount it on a post, simply screw another threaded rod into the lower part of the connector.
How can I keep my storm lanterns decorative all year round?
The base is functional. You can customize its look to suit the season and your taste.
Wrap the base with sturdy jute twine or sisal rope. Attach fir branches, pine cones or dried hydrangea flowers to the roof support with craft wire. In summer, try colorful ribbons or waterproof artificial flowers.
For a modern, industrial look, leave the materials unfinished. The patina of brass or the rust on Corten steel is decorative in its own right. A matte clear-coat spray will preserve the look.
Browse our garden and plant accessories category for more inspiration. You'll also find weatherproof accessories here to complement your creations.
Conclusion: Sustainable garden lighting with character
DIY storm lanterns are more than just light sources. They're one-of-a-kind garden decorations, a statement about sustainability and a practical upcycling project. With the right durable connection hardware, such as the threaded fittings shown here, they'll last for many years.
Start with a simple tin-can lantern with a roof. Then expand your ideas to larger containers or more elaborate arrangements with multiple lights. Your garden will gain a personal touch that no store-bought product can match.
Frequently asked questions
- Which materials work best for weatherproof DIY storm lanterns?
- Use water-resistant materials such as galvanized sheet steel, old tin cans, thick-walled mason jars or unused irrigation components. Brass threaded fittings and malleable iron fittings are especially durable because they're rust-resistant and make stable connections.
- How do I securely attach a storm lantern to a wooden post or railing?
- Use screw-on connectors with an internal thread. Drill a hole in the post, insert a PRODUCT_3037 and screw the matching counterpart firmly into your lantern housing. For even greater stability at corner joints, a PRODUCT_20544 works well. These metal connections are built to last.
- Can I use LED lights in homemade storm lanterns?
- Yes, LED lights are ideal. Use weatherproof LED candles or string lights. They don't have an open flame, reduce the risk of fire and won't be blown out by the wind. For outdoor use, look for an IP rating of at least IP44. Keep the power supply dry or use suitable sealed cable entries.
- How can I effectively protect my storm lantern from rain?
- An overhanging roof provides the best protection. Make one from an old metal plate, a cut-out piece of roofing felt or a large bottle cap, and extend it at least 3 cm beyond the opening. Secure it above the lantern housing with a PRODUCT_5739. This lets rainwater run off to the sides.
- What are the advantages of threaded fittings for outdoor décor?
- Metal threaded fittings are precise, vibration-resistant and highly weatherproof. They can be taken apart and retightened at any time. Unlike adhesive connections, they withstand temperature changes and UV radiation. You'll find all the adapters you need in the threaded fittings range.
You may also be interested in
- How to make upcycled garden lanterns
- Make paper lanterns: Atmospheric DIY décor for your home
- Build your own upcycled lamp: Creative DIY lighting ideas
- Make your own lanterns: Creative ideas for your home and garden
- Hygge in a jar: Make your own lanterns and DIY décor
- Build your own lighthouse: Eye-catching garden décor for your home