
In brief: Get your outdoor sweeper ready for the season by cleaning it thoroughly, checking wear parts such as brushes and sealing lips, and replacing them when necessary. Check the drive system, wheels and collection container. Regular maintenance before spring cleaning and autumn leaf clearing ensures good performance and extends the machine's service life.
The first warm rays of spring sunshine reveal winter's dirt on paths and driveways. In autumn, a thick layer of leaves covers the yard. In both cases, an outdoor sweeper is your strongest ally in the fight for clean surfaces. However, only a well-maintained machine delivers the results you want. A neglected machine simply pushes the dirt ahead of it instead of collecting it.
The good news is that you do not need to be a professional to keep your outdoor sweeper in top condition. A few targeted steps before each season will ensure that your machine works reliably when you need it most. This guide takes you through all the key steps – from checking wear parts to storing the machine correctly.
Additional advice
Before starting maintenance, check the operating instructions for your outdoor sweeper. They contain manufacturer-specific information on maintenance intervals, spare parts and the correct lubricants.
The foundation of every maintenance routine: inspect and replace wear parts
The brushes and sealing lips are the heart of every outdoor sweeper. These parts are in constant contact with the ground and experience the most wear. When they are worn, sweeping performance suffers significantly. Fortunately, replacing them is straightforward. The most important components are often available in a practical set.
For a comprehensive renewal of the most important wear parts, the replacement parts set for outdoor sweeper () is the ideal solution. It contains two new disc brushes and the central sealing lip. With this set, you can restore your machine's sweeping performance in a single step and be fully prepared for the coming season.
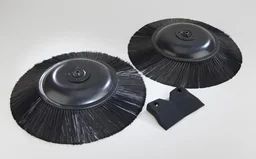
Brushes: The key to clean results
The rotating disc or roller brushes lift dirt from the ground and move it into the collection container. If the bristles are too short or bent, they lose contact with the surface. The result is an uneven sweeping pattern in which fine dust and small particles are simply left behind.
Check the brushes before every seasonal use. Look out for the following signs of wear:
- Shortened bristles: Compare their length with a new brush or the specifications in the manual. Significantly worn bristles no longer sweep effectively.
- Deformed or bent bristles: Bristles can become permanently deformed, especially after sweeping wet, heavy dirt.
- Gaps in the brush ring: Missing bundles of bristles leave streaks and reduce the sweeping width.
- Uneven wear: This may indicate an incorrect pressure setting.
A simple way to check: Place the outdoor sweeper on a clean, level surface. Slide a sheet of paper under the brushes. If you feel hardly any resistance when pulling it out, the bristles are probably too short and need replacing.
Replacement is usually quick. The brushes are often secured with just one central screw or a simple click mechanism. Remove the old brush, clean the mount and fit the new part.
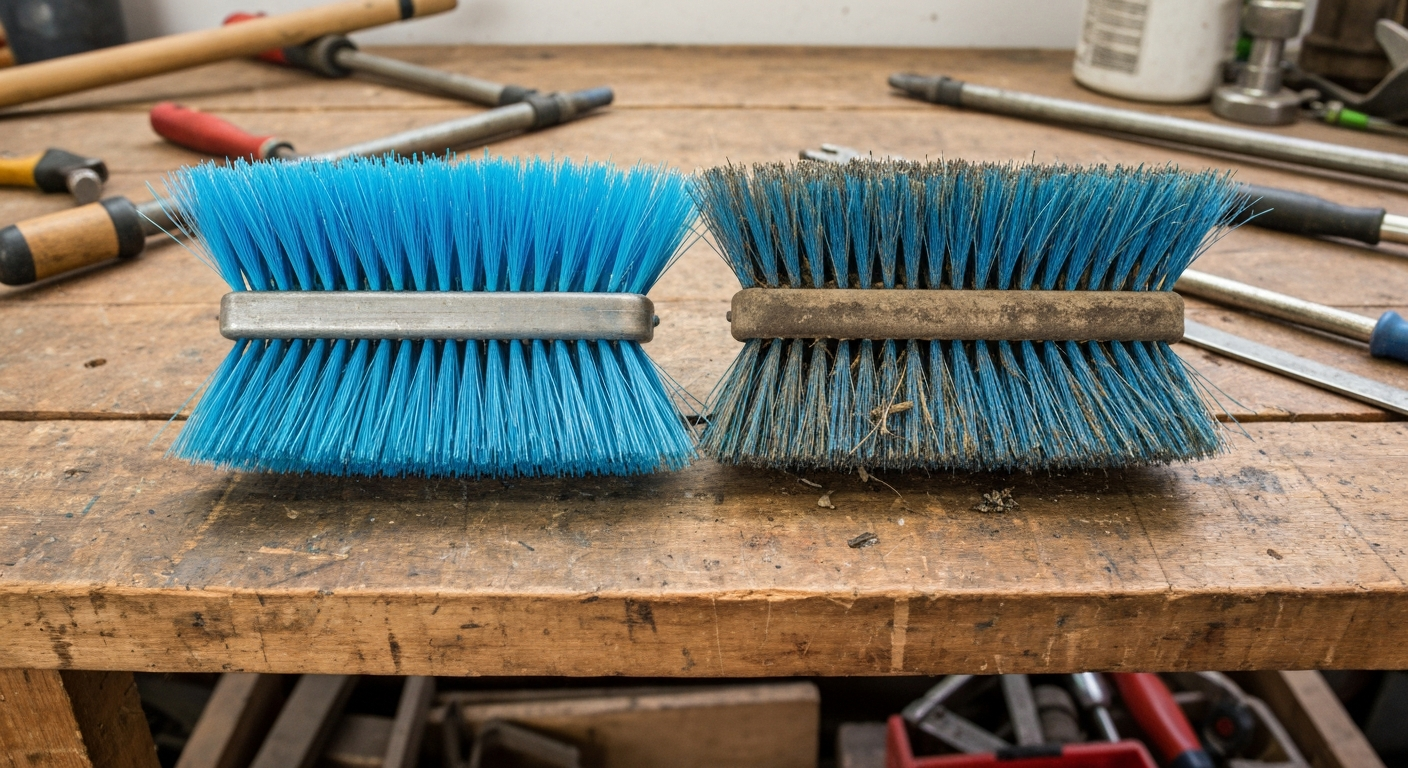
The sealing lip: A small part with a big impact
The rubber lip on the front or rear of the sweeping unit may look insignificant, but it performs an important function. It prevents fine dust from being stirred up and ensures that even the smallest particles safely reach the collection container. A brittle, cracked or worn sealing lip no longer sits flush with the ground. Dust and fine sand are blown underneath the machine instead of being collected.
Check the sealing lip for cracks, hardening and wear along the lower edge. If it is no longer flexible and intact, replace it. The replacement parts set () mentioned above already contains this important component, so you have everything you need to hand.
How to Prepare Your Sweeper for the Season Step by Step
With all wear parts in good condition, you have created the most important foundation. Now it is time for general maintenance. A clean and well-lubricated machine not only works better, but also lasts longer. Take half an hour to work through the following points.
Step 1: Thoroughly Clean the Housing and Collection Container
Remove old leaves, dust and dried-on dirt from the previous season. A clean machine makes it easier to inspect all components and helps prevent corrosion. Remove coarse dirt with a hand brush. Stubborn encrustations on the underside and in the sweeping mechanism can be scraped off easily with a wooden or plastic scraper.
Empty and clean the collection container thoroughly. Damp dirt can lead to mould growth over the winter. Take this opportunity to check the container for cracks or damage. A clean machine is the calling card of anyone who values well-maintained Garden + Outdoor equipment.
Pro tip
Use compressed air to blow dust and dirt out of hard-to-reach corners, joints and the drive housing. This is particularly effective and gentler than a powerful jet of water, which can force moisture into bearings and electronic components.
Step 2: Inspect the Drive and Mechanics Closely
The drive transfers the movement of the wheels to the brushes. In manual sweepers, this is often done via a belt or gearbox. Check the belt for cracks and correct tension. It should not be possible to depress it by more than one centimetre. Lubricate all moving joints, such as those on the height adjustment and folding push handle, with a few drops of multipurpose oil. This keeps them moving smoothly and protects them from rust.
Tighten all accessible screws and nuts. Vibrations during operation can cause them to loosen over time. A quick check with a spanner can prevent unexpected faults. You can find suitable tools and lubricants in our supplies category.
Step 3: Check the Wheels and Tyres
The wheels do not just support the weight of the machine; on many models, they also drive the sweeping rollers. Proper operation is therefore essential. Check the treads for damage and heavy wear. Remove any small stones or twigs stuck in the tread.
Check that the wheels turn easily without rubbing. If they do not, clean and lubricate the wheel axles. On models with pneumatic tyres, check the tyre pressure and adjust it according to the manufacturer’s specifications. If the wheels are badly worn or damaged, replacing them will ensure smooth running and optimum power transmission. Robust replacement wheels for sweepers, such as the following (
) are ideal.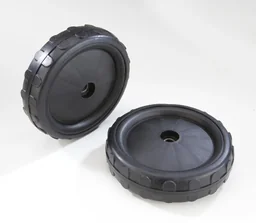
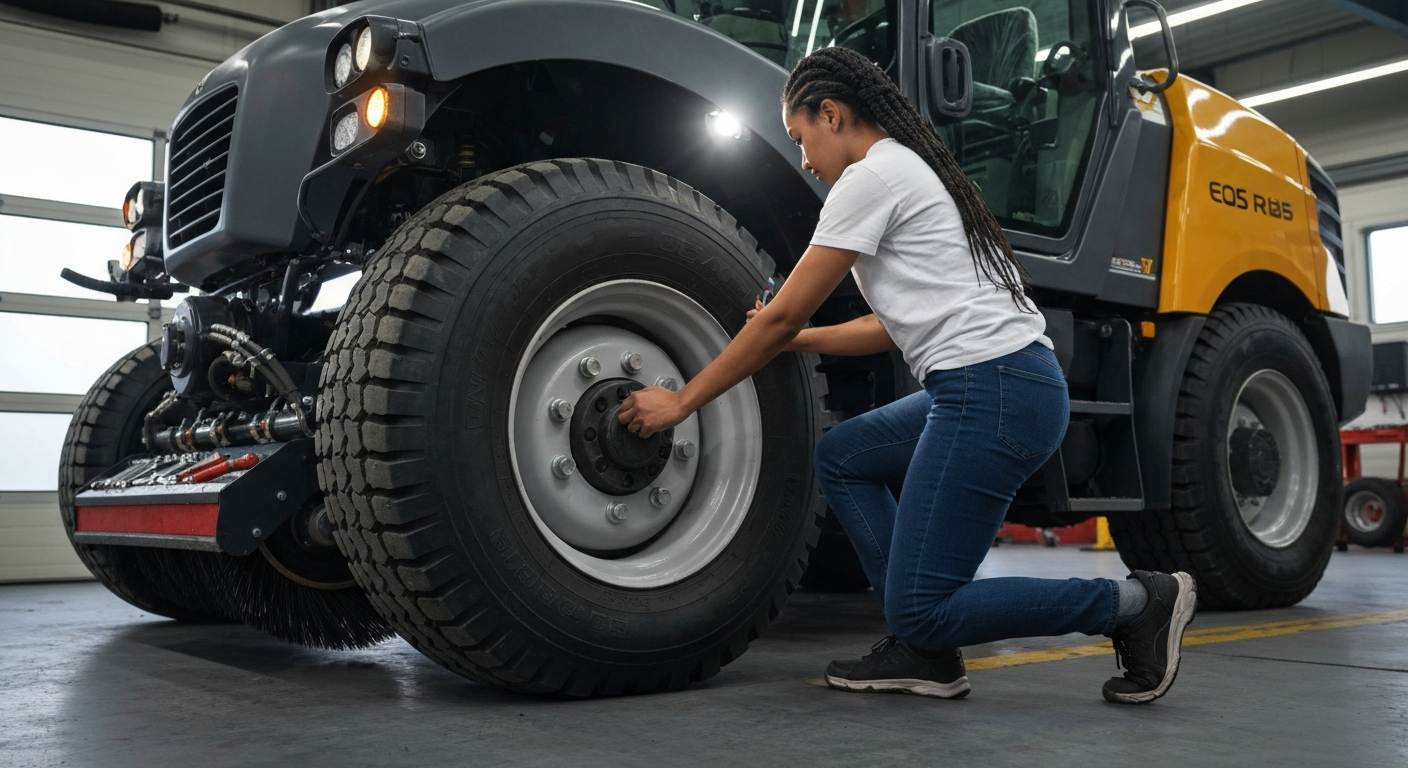
Special Case: Petrol Sweeper—What Should You Know About Engine Maintenance?
Petrol-powered sweepers such as the petrol sweeper "SW 60 P" (
) offer maximum performance for large areas. However, their four-stroke engine requires specific maintenance, similar to that of a lawn mower.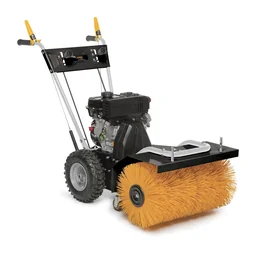
Important note
Only carry out work on the engine or sweeping mechanism when the engine is switched off and the spark plug cap has been disconnected. This prevents the machine from starting accidentally and minimises the risk of injury.
Oil Level and Oil Change
Engine oil lubricates and cools the engine. Check the oil level before every use with the engine cold and the machine on a level surface. Pull out the dipstick, wipe it clean, insert it fully again and then pull it out once more. The oil film should be between the minimum and maximum marks. If necessary, top up with the oil recommended by the manufacturer.
Once a year, ideally before the first use in spring, you should carry out a complete oil change. To do this, let the engine run briefly so that the oil becomes more fluid. Switch off the engine, disconnect the spark plug cap and drain the old oil through the drain plug into a suitable container. Then fill with fresh oil.
Air Filter and Spark Plug
A sweeper operates in a very dusty environment. The air filter protects the engine from sucked-in dirt particles. A dirty filter reduces engine performance and increases fuel consumption. Carefully tap out paper filters or clean them with compressed air from the inside out. You can wash foam filters in lukewarm soapy water, leave them to dry and then lightly coat them with engine oil. Replace the filter if it is heavily soiled.
The spark plug is responsible for a clean start and efficient combustion. Unscrew it and check the electrodes for deposits. Clean them with a wire brush. If the centre electrode is badly rounded or the insulator is damaged, replace the spark plug.
Special Case: Battery-Powered Sweeper—Caring for the Battery and Charging Contacts
Modern machines such as the TE-SW 18/610 battery-powered sweeper (
) offer cordless freedom and quiet operation. Their service life depends largely on how the battery is handled.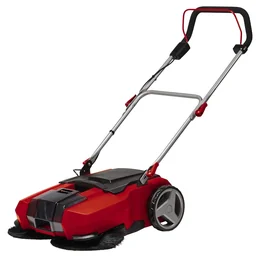
Lithium-ion batteries no longer suffer from a memory effect. Proper storage temperature and avoiding deep discharge are more important for a long service life. During winter, it is best to store the battery at around 40-60% charge in a cool, dry place.
Always keep the contacts on the battery and machine clean and dry. Wipe them with a dry cloth when necessary. Corroded or dirty contacts can cause charging and performance problems. Only charge the battery with the charger provided for it and protect it from extreme heat, direct sunlight and frost.
Storage Between Uses: How to Winterize Your Sweeper Properly
Once the last autumn leaves have been cleared, your sweeper goes into its winter break. Proper storage is the final step in seasonal maintenance and ensures a trouble-free start next spring.
Follow these steps to prepare your sweeper for winter storage:
- Thorough cleaning: Give the machine one final thorough cleaning to prevent corrosion caused by adhering dirt and moisture.
- Prepare the gasoline engine: Let the carburetor run dry by leaving the engine running until it stops on its own. Alternatively, fill the tank with special alkylate fuel or add a fuel stabilizer. Regular gasoline can gum up over the winter and clog the carburetor.
- Store the battery: For battery-powered models, remove the battery and store it as described above in a frost-free, dry place.
- Choose a storage location: Keep the sweeper in a dry, dust-free place such as a garage or garden shed.
- Cover it: Protect the machine from dust and dirt with a tarpaulin or protective cover. This means it will be ready for use again as soon as spring arrives.
Regular seasonal maintenance of your sweeper is a small investment of time that pays off many times over. Not only does it ensure consistently clean sweeping results, it also significantly extends the life of your machine and helps you avoid expensive repairs. With the right maintenance steps and spare parts, your machine is always ready to tackle dirt, dust and leaves.
Frequently Asked Questions
- How often should I service my sweeper?
- Service your sweeper at least twice a year: before its first use in spring and before the autumn leaves start to fall. A quick clean after every use also prevents stubborn dirt build-up and extends the life of the components. Check the brushes and wheels regularly for wear.
- How do I know when the sweeping brushes need to be replaced?
- Replace the brushes when the bristles are badly worn, bent or shortened and sweeping performance declines. Visible gaps in the brush ring or uneven wear are also clear signs. Dirt will no longer be collected properly and will simply be spread around instead.
- Can I use my sweeper on wet leaves?
- Yes, but with some limitations. Wet leaves are heavy and sticky, placing considerable strain on the brushes and drive system. They can cause blockages. Work slowly and empty the container more frequently. Clean the machine thoroughly immediately after use to prevent corrosion and mold.
- What oil does my gasoline-powered sweeper need?
- Always use the engine oil recommended by the manufacturer, usually a 4-stroke engine oil such as SAE 30 or 10W-30. You will find the exact specification in your sweeper's manual. Using the wrong oil can damage the engine and invalidate the warranty.
- Is a battery-powered sweeper worth it for my garden?
- A battery-powered sweeper is ideal for small to medium-sized paved areas such as patios, sidewalks and driveways. It is quiet, emission-free and flexible to use. For very large areas or uneven terrain, a gasoline-powered model may be the better choice.