
In brief: Build a mini pond with flexible pond liner or a preformed pond. Choose a sunny to partially shaded spot. The surrounding rock garden needs a gravel drainage layer topped with a mix of soil and grit. Drought-tolerant perennials such as baby's breath and stonecrop add color to the rocky landscape.
How to Build a Mini Pond and Rock Garden: Step by Step
The contrast between rugged stone and lively water makes for an eye-catching garden feature. A mini pond surrounded by a rock garden is a great weekend project. You’ll need basic tools, careful planning and the right materials.
Start by choosing a location. Your pond needs 4 to 6 hours of sunlight each day to support healthy aquatic plants. Avoid spots directly beneath deciduous trees to keep leaves and other debris out of the water. The rock garden should blend naturally with the pond, perhaps on a gentle slope.
Mark the shape with a garden hose or sand. Plan for different depth zones: a shallow bog zone at the edge (10-20 cm), a medium-depth zone (30-40 cm) and a deep-water zone of at least 60 cm so aquatic life can overwinter.
What you need for the mini pond
You won’t need many materials. Choose between a preformed plastic pond and a custom pond made with flexible liner. Liner gives you more design flexibility. You’ll need sand for a protective base, pond liner (EPDM rubber is durable), pond underlayment for added protection and gravel for the bottom.
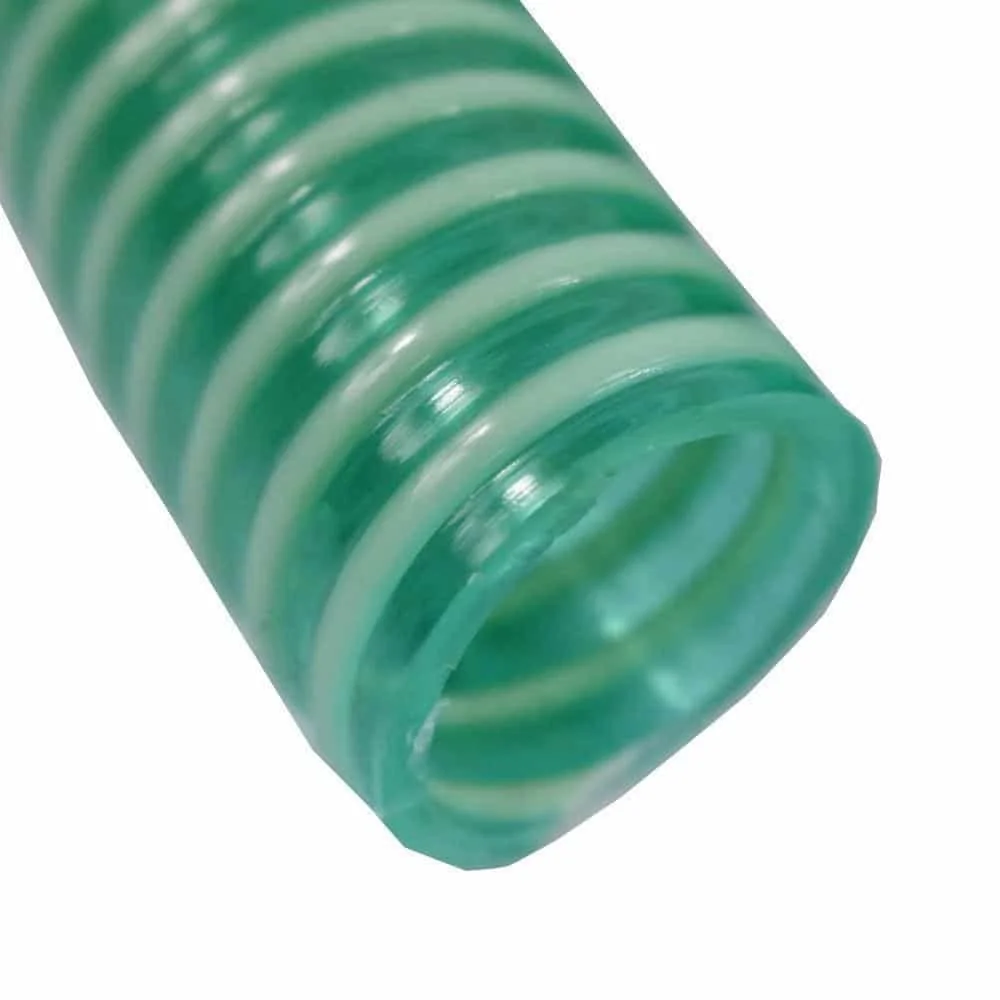
For equipment, plan on a small submersible pump. It keeps the water moving and can power a small fountain. A suitable garden hose or specialist comes in handy when changing the water or connecting the pump.
Expert tip
Lay out the pond liner on a warm day. It will be more flexible and easier to fit into the excavation. Avoid sharp creases and make soft, generous folds instead.
How do you build the pond properly?
Dig the pond according to your markings. Carefully shape the terraces for each depth zone. Remove all stones and roots from the excavated soil. The edges should be level to prevent water from overflowing later.
Cover the entire excavation with a five-centimetre layer of sand to cushion the liner. Lay the protective underlayment over it, then add the pond liner. Leave an overhang of around 30 centimetres around the edges.
Slowly fill the pond about one third full. The water pressure will help the liner settle into the contours. Smooth out any folds, then fill the pond completely. Only after that should you trim the excess liner and secure it beneath the edging stones.
Important note
Don’t use sharp metal tools in the finished pond. Even small tears in the sand padding or underlayment can damage the liner. Once the pond is dug, work only with your hands or soft brushes.
Cover the pond floor with washed gravel or pond substrate. This provides a habitat for microorganisms and protects the liner from UV light. You can now position the pump and add the plants.
Rock garden design: The basics
A rock garden recreates an alpine landscape. Good drainage is the key to success. Waterlogged soil is the biggest threat to most rock garden plants. Start by digging out the area next to your pond.
Dig the soil out to a depth of around 30 centimetres. Add a 15-20 cm thick drainage layer of coarse gravel, rubble or stone chips. Compact this layer thoroughly, then cover it with permeable landscape fabric.
The fabric keeps the soil above from washing into the drainage layer. Mix the excavated soil with plenty of sand or fine grit (ratio approx. 1:1). Fill the area with this low-nutrient, fast-draining mix. Use larger boulders to create the basic structure.
“Place the largest rocks first. They form the framework and set the overall direction of the rock garden. Set them at least one third into the soil so they look natural, as if they belong there.”
Choosing the right plants
Choose plants that can tolerate dry conditions. Slow-growing, cushion-forming perennials that gradually spread over the rocks are ideal. Pick plants with different bloom times for a long-lasting display of color.
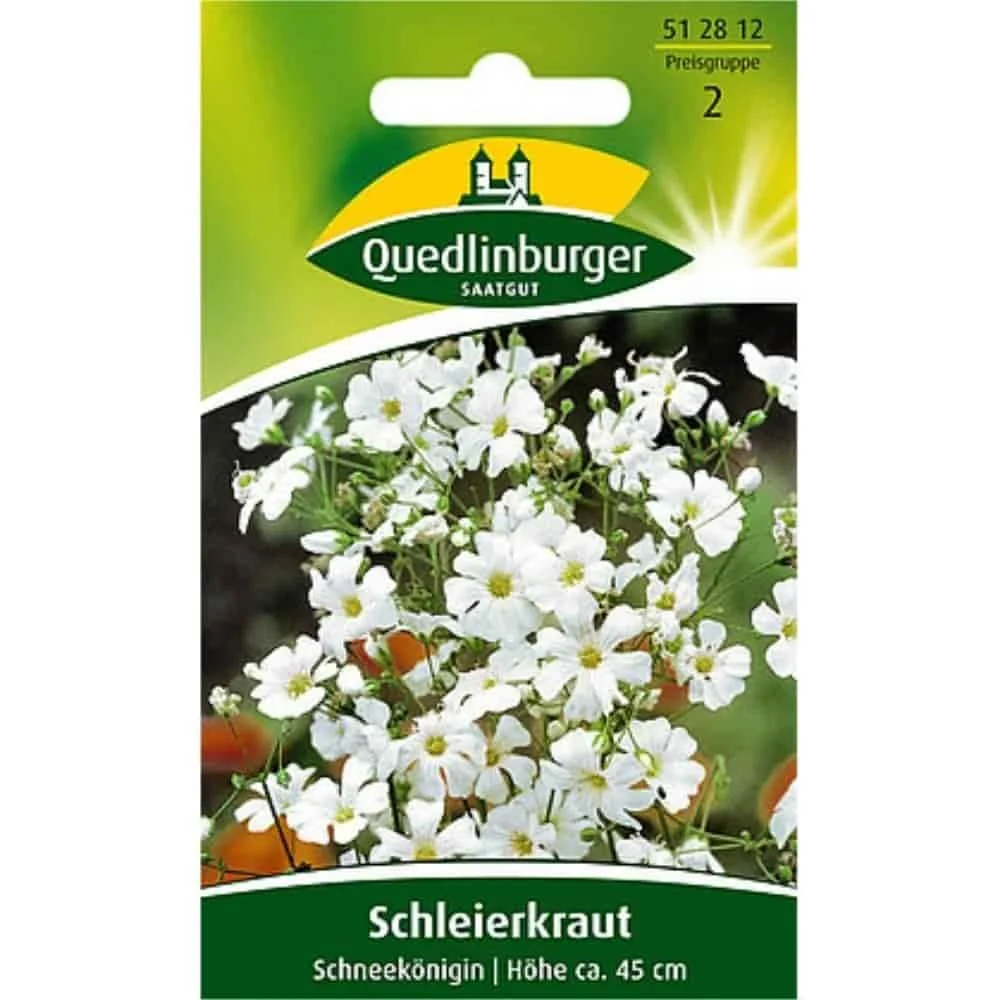
Classic choices include aubrieta, creeping phlox and saxifrage. Santolina and snow-in-summer add silvery accents. Baby's breath 'Snow Queen' seeds add an airy touch of white. Plant them in small pockets between the rocks.
Water thoroughly after planting. During the establishment period, the plants need regular watering. Once established, they’ll cope well with dry spells. A layer of fine gravel or grit mulch suppresses weeds and helps retain moisture.
Additional advice
Use different rock shapes and colors sparingly. For a harmonious look, stick to one or two main types of rock. Rounded boulders create a different effect from rough, broken stones. Choose rocks that suit your garden style.
Equipment and care for your water feature
The pump is the heart of the system. It circulates the water, adds oxygen and helps prevent algae growth. For a mini pond, a small submersible pump with a flow rate of 300-500 liters per hour is sufficient. Connect it to a for a fountain attachment or a small waterfall over the stones.
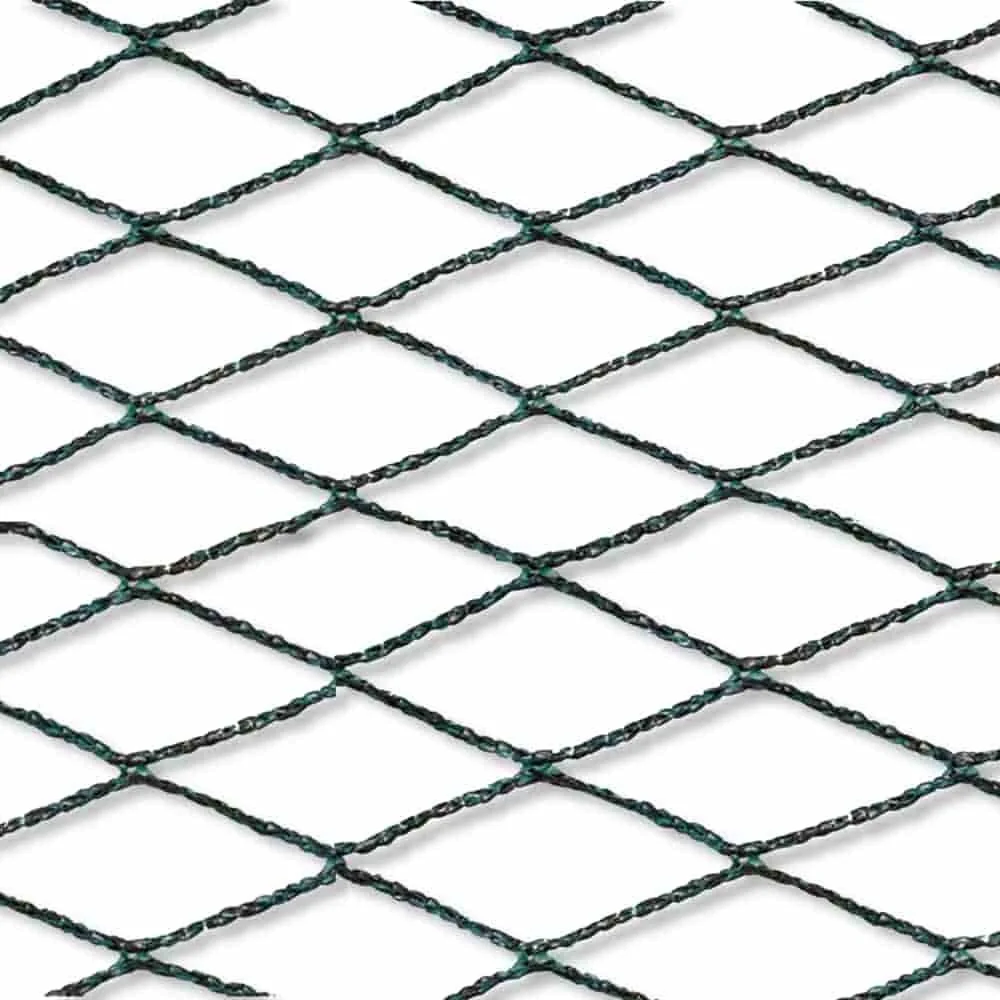
A filter is often unnecessary for a well-planted mini pond. The plants do the cleaning work. In autumn, stretch a pond net over the water. It keeps leaves out and prevents organic matter from decomposing and upsetting the pond's balance.
Maintenance is straightforward. In spring, remove dead plant material from the pond and rock garden. Lightly prune rock garden perennials after they flower to encourage compact growth. Check the pump regularly for dirt and debris.
“Late spring is the best time to create a pond and rock garden. The soil is warm, and plants have the whole season to establish their roots. This helps them survive their first winter much better.”
Caring for your rock garden throughout the year
In spring, apply a small amount of slow-release fertilizer for rock garden plants. Remove weeds early and regularly, before they become established. During periods of extreme drought, water deeply but infrequently. This encourages deep roots.
In autumn, cut back only what is in the way. Many perennials, such as sedums, provide structure and food for birds in winter with their seed heads. A light winter covering of brushwood is only needed for very young or sensitive plants.
Design ideas for combining the two
Let the rock garden flow into the pond like a natural shoreline. Some larger stones can also sit partly in the water. This looks natural and provides valuable habitat for animals such as dragonflies and frogs.
Add a small stream powered by the pump. It can trickle between the rocks in the rock garden and flow back into the pond. This garden water feature adds movement and soothing sounds.
Add carefully chosen accents with a natural stone bench or a simple garden path made from stepping stones that runs past the arrangement. Solar-powered spotlights highlight the textures of the stones and the sparkling water at dusk.
With these steps, you can transform a corner of your garden into a vibrant focal point. The combination of stone and water is dynamic, easy to maintain and offers interesting views all year round. Start planning and find the right materials in our Garden + Outdoor category.
Frequently Asked Questions
- How deep should a mini pond be?
- For a stable mini pond with hardy plants, plan for a deep zone at least 60-80 cm deep. This depth helps prevent the pond from freezing completely in winter and protects fish or valuable aquatic plants. Shallow marginal zones 10-30 cm deep are ideal for bog plants.
- Which plants are suitable for a rock garden?
- Choose drought-tolerant, sun-loving perennials. Classic choices include creeping phlox, saxifrage, aubrieta and various sedum species. Dwarf conifers or grasses such as blue fescue add height and structure. Make sure the soil is well-drained and low in nutrients.
- Does a mini pond need a pump?
- A pump isn't essential for a pond to survive, but it's highly recommended. It keeps the water moving, adds oxygen to help prevent algae growth and powers a garden water feature. Compact solar or mini submersible pumps are sufficient for small ponds.
- How do I install drainage in a rock garden?
- Dig out the area to a depth of 30-40 cm. Add a 20 cm thick layer of coarse crushed stone or gravel for frost protection and drainage. Lay water-permeable garden fleece on top to keep soil from washing into the drainage layer. Finally, fill the area with specialty rock garden soil.
- Can I create a mini pond in the shade?
- A spot in deep shade is unsuitable. Most aquatic plants need at least 4-6 hours of sunlight per day. Algae often grow more vigorously in full shade, making it harder to maintain the biological balance. Partial shade with morning or evening sun is a good alternative.
You may also be interested in
- Garden projects for beginners: From plan to green oasis
- Boulders in the garden: Design ideas and how to place them
- Mini pond in the garden: Create an oasis in a small space
- How to create a garden stream: Build your oasis step by step
- Build your own raised bed from natural stone
- Natural stone in the garden: Sustainable, long-lasting design