
In brief: After repairing vinyl flooring, proper aftercare is crucial. Leave the area undisturbed for 24 hours and avoid moisture. Then clean it only gently with a microfiber cloth. In the long term, protect the repair with pH-neutral cleaners, furniture glides and regular sweeping or vacuuming.
A deep scratch, a dent caused by a dropped tool or a small hole in otherwise flawless vinyl flooring is frustrating. The good news is that this kind of damage does not have to be a permanent problem. With the right tools, you can repair it successfully. However, the real art lies in what comes afterwards. Proper care determines whether the repaired area remains invisible forever or becomes a weak spot.
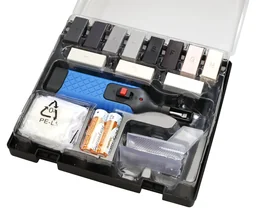
A successful repair starts with the right equipment. Before you think about aftercare, you need to repair the damage precisely and durably. To do so, you need a solution specifically developed for resilient floor coverings. The : PVC and vinyl repair kit including wax melter is designed specifically for this purpose. It contains hard wax sticks in various colors that you can mix to match your floor's grain pattern. Use the included melter to liquefy the wax and precisely fill the damaged area. Once it has cured, the damage disappears. The important aftercare phase now begins.
Why is aftercare so important after a repair?
You have filled the scratch and smoothed the surface. The job seems complete. However, the first hours and days after the repair are critical to its durability. The repair material, usually a special hard wax, needs time to fully bond with the surrounding vinyl and reach its final hardness. Applying pressure too soon can weaken the fresh bond.
Aftercare preserves the visual result. The aim is seamless integration, with the repaired area indistinguishable both visually and to the touch. Incorrect cleaning or applying pressure too soon can lift the edges, make the surface look dull or even cause dirt to collect around the edge of the repair. Careful maintenance ensures that the repair forms a uniform whole with the floor.
The durability of a floor repair depends 50% on the material used and 50% on patience during the first 48 hours. If you cut corners here, you will repair it twice.
How should you care for vinyl flooring immediately after repair?
Immediate aftercare lays the foundation for long-term success. Proceed systematically and without rushing. The first two days are crucial for the filler material to cure and bond invisibly with the floor covering.
The first 24 hours: Let it cure and keep it protected
Patience is your most important tool right now. Although the repair wax feels solid quickly, the complete curing process takes longer. During the first 24 hours, keep the repaired area completely undisturbed. That means do not walk on it. Put up a small barrier or inform everyone in the household so that nobody accidentally steps on the fresh repair.
Avoid any contact with moisture. Do not wipe the area, spill any liquids or leave damp cloths nearby. Water can interfere with the curing process and weaken the bond between the wax and vinyl. Moving furniture is also off-limits during this phase. Any vibration or pressure can cause microcracks in the filler material.
The first cleaning: Gentle and careful
After the critical 24 to 48 hours have passed, you can clean the repaired area for the first time. But caution is still required. Do not use aggressive methods. A dry, soft microfiber cloth is best for removing any dust. Alternatively, you can use a vacuum cleaner with a soft brush attachment. Do not apply heavy pressure.
If light dirt requires damp cleaning, use a barely damp cloth with clean water or a highly diluted, pH-neutral cleaning solution. Dry the area immediately afterwards. The rule is: keep it as dry as possible and only as wet as necessary.
Important note
Never use harsh household cleaners, scouring cream or solvent-based products on or near the repaired area. Chemicals such as acetone, bleach or rubbing alcohol can dissolve the repair wax and permanently damage the surface of the vinyl floor.
How can you tell whether a repair and its aftercare were successful?
A well-executed repair blends seamlessly into the overall appearance of the floor. But how can you assess the result in concrete terms? There are several criteria you can check to make sure that your work and the subsequent care have paid off. A careful inspection gives you confidence that the area will withstand everyday wear and tear.
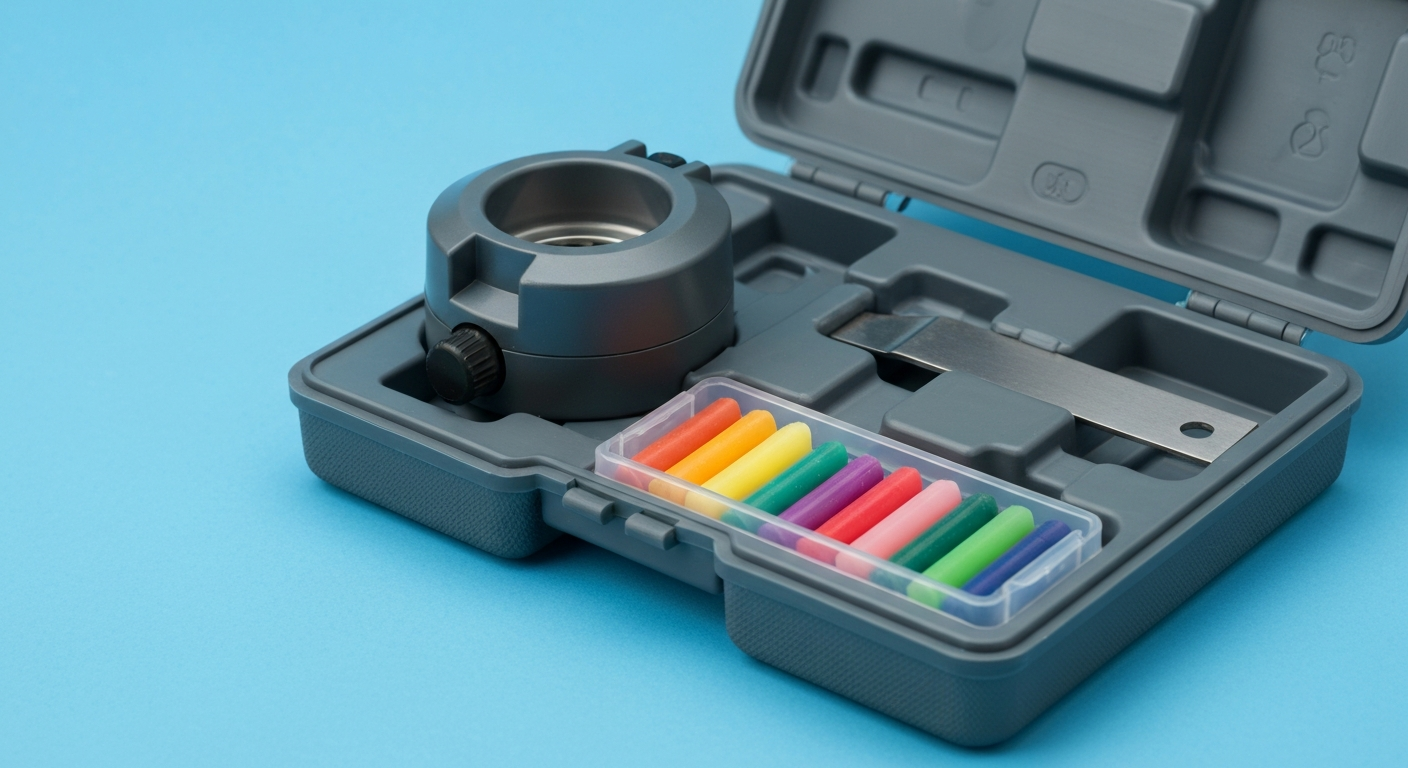
The first test is purely visual. Examine the repaired area from different angles and in different lighting conditions. Ideally, you should no longer be able to find it. The color and grain pattern you mixed using the wax sticks from the repair kit should match the surrounding floor exactly. The level of shine must also be right. A dull area on a glossy floor, or vice versa, is immediately noticeable.
Next comes the touch test. Gently run your fingertips over the repaired area. You should not feel any transition. The filler must be exactly level with the rest of the floor surface. There should be no edges, raised areas or depressions to feel. A smooth surface prevents dirt from collecting and making the repair visible again over time.
Pro tip
To match the shine of the repair perfectly to the rest of the floor, you can carefully matt the cured area using a very fine abrasive fleece (grit >1000) or the rough side of a kitchen sponge. For more shine, polish the area with a soft cotton cloth.
What long-term care strategies protect repaired PVC flooring?
Once the repair is complete and the initial waiting period has passed, you can return to your usual cleaning routine. The best way to protect the repaired area over time is to take good care of the entire floor. The same steps that prevent new damage also help your repair last.
Regular, proper cleaning
Small abrasive particles such as sand and grit pose the greatest threat to vinyl flooring. They act like sandpaper, causing countless tiny scratches over time. Remove loose dirt daily with a soft broom or a vacuum with a hard-floor attachment. This protects the repaired area and the rest of the floor.
For damp cleaning, which you should do once or twice a week depending on how much traffic the floor gets, use a pH-neutral cleaner made for resilient flooring. Dilute it exactly as directed by the manufacturer. Always mop with a damp, well-wrung mop. Standing water can damage any floor by seeping into joints and beneath the repaired area.
Preventive steps for lasting protection
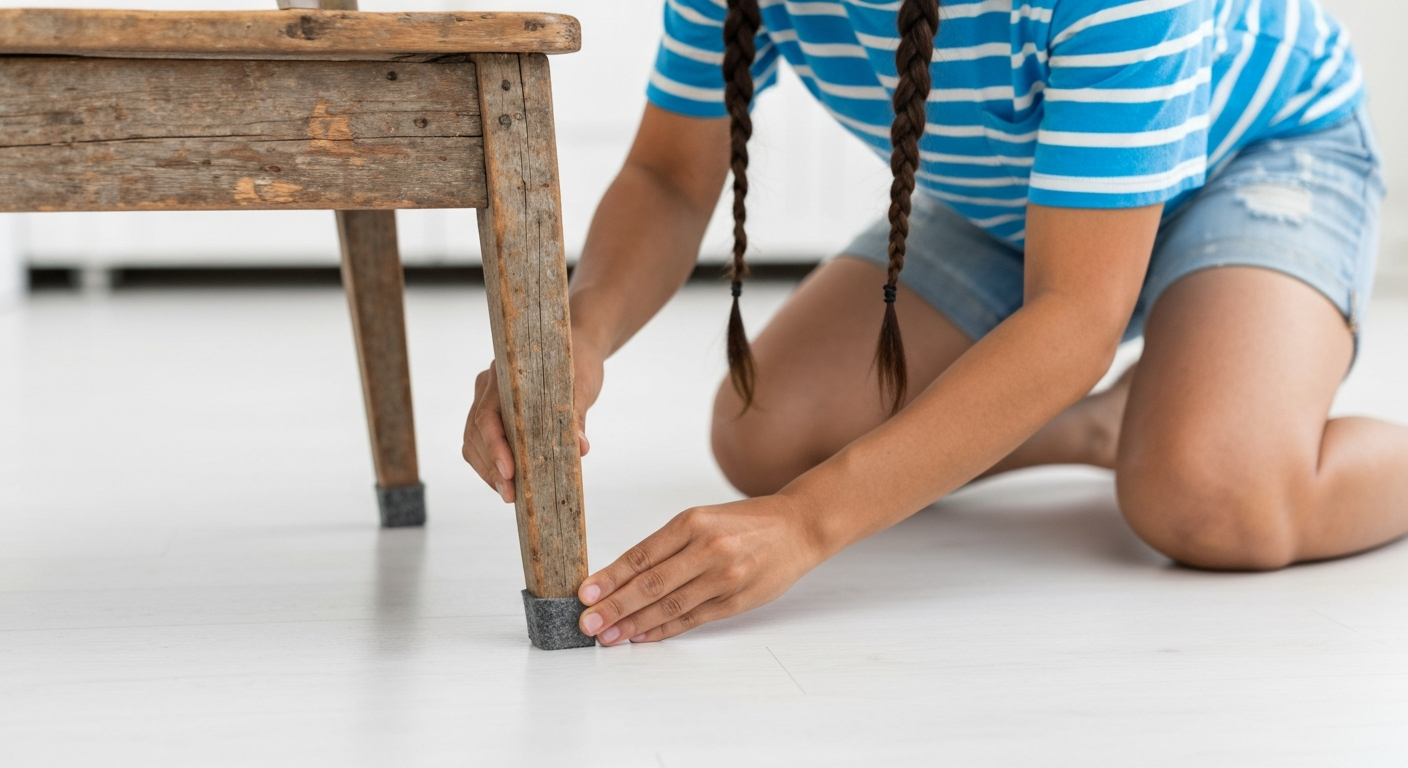
The best way to care for your floor is to prevent damage in the first place. Put felt pads on all movable furniture, including chairs, tables and armchairs. Check and replace them regularly, since dirt can get trapped underneath. Place high-quality doormats at entrances to reduce the amount of sand and grit tracked indoors.
Lift heavy objects instead of dragging them across the floor. These simple habits protect the entire floor covering, including your repair, and significantly extend its service life. PVC is known for its durability and is used in everything from flooring to sturdy PVC hoses for the garden. Even the toughest material benefits from careful handling.
What should you avoid when caring for repaired areas?
Knowing what not to do is just as important as knowing how to care for your repaired floor. Some well-intentioned cleaning methods and products can do more harm than good, especially around a repair, where the material has been interrupted in the original surface.
Additional advice
Always read the label before using a new cleaning product. Look for wording such as “Suitable for vinyl and PVC.” If you’re unsure, test the product in an inconspicuous spot, such as under a cabinet, before using it over a larger area.
Here are some things to avoid:
- Steam cleaners: High heat and moisture can damage vinyl flooring and repaired areas. Hot steam can soften repair wax and loosen the adhesive beneath the vinyl planks. This can cause rippling and edges to lift.
- Abrasive cleaners and stiff brushes: Powdered cleaners and stiff bristles can scratch the floor. They wear away its protective layer and roughen the repaired area, making it visible again and more likely to attract dirt.
- Harsh chemicals: Cleaners containing solvents, acetone, chlorine or ammonia are off-limits. They can damage the PVC and repair material, causing discoloration and material deterioration.
- Oil, wax and polish: Care products made for wood floors should not be used on vinyl flooring. They leave a sticky, greasy film that attracts dust and dirt and can make the floor dangerously slippery.
Today’s DIYer does more than fix things; they help preserve their value. Knowing how to care for a floor after a repair is just as important as knowing how to use the tools.
How should you handle future minor damage?
Even with careful maintenance, you may get the occasional new scratch over time. The good news is that you’re prepared: you know how to fix damage and have the tools you need on hand. Instead of throwing away the PVC and Vinyl Repair Kit after use, keep it somewhere easy to reach.
Take care of new, minor scratches right away. The sooner you act, the easier and less noticeable the repair will be. You can fix a small, surface-level scratch in just a few minutes. If you wait until dirt makes it deep and dark, the job will take more work. With experience from your first repair, you’ll get faster and more confident each time you mix the right color and use the wax melter.
This approach to preventive maintenance applies to many materials around the home. Whether you’re caring for the floor, sealing a joint or maintaining installations with special PVC Fittings + Connectors, understanding your materials and taking care of small problems right away can help you avoid major, costly repairs. Think of it as an investment in your home’s value.
Caring for a repaired vinyl or PVC floor is straightforward. It takes a little patience at first, then just a simple, consistent routine. Protect the floor right after the repair, clean it gently and take preventive steps such as adding furniture pads. These measures can help keep the repair invisible for a long time, so you can enjoy a flawless floor that stands up to everyday mishaps.
Frequently asked questions
- How long does a vinyl floor repair need to dry?
- Let the repaired area cure completely for at least 24 hours. During this time, do not walk on it, put weight on it or wet-mop it. This gives the repair material time to reach full strength and bond properly with the floor.
- Can I use a steam cleaner on a repaired vinyl floor?
- No. Avoid using steam cleaners on repaired areas and vinyl floors in general. The high heat and steam can soften the repair wax and loosen the adhesive beneath the planks, potentially causing permanent damage to the floor.
- What is the best cleaner for a repaired PVC floor?
- Use a pH-neutral cleaner made specifically for vinyl and PVC floors. Harsh or solvent-based products can damage the repaired area and the floor’s protective layer. A mild cleaner is gentler on the material.
- The repaired area looks a different color. What can I do?
- You can get a good color match by blending the different wax sticks in the repair kit. If the color isn’t right, carefully remove the wax and adjust the proportions as you mix again until you get the result you want.
- How do I remove excess repair wax?
- Carefully remove excess cured wax with the grooved edge of the scraper included in the repair kit or with a plastic card. Always work from the outside toward the repaired area to avoid scratching the surrounding floor.
You may also be interested in
- Want to buy a PVC & vinyl repair kit? The ultimate guide
- Liquid vinyl or repair kit: How to repair vinyl flooring
- Invisible laminate repairs: 5 tips for perfect results
- Make laminate repairs last: How to secure the filler
- Remove yellowing from PVC: How to make plastic bright white again
- Laying vinyl flooring: Step by step to a fresh new look