
In short: To change a beer line, switch off the beer dispenser and turn off the CO2 supply. Remove the clamps, pull off the old hose, cut the new one to the same length and fit it with new clamps. Carry out a leak test and a basic clean.
A freshly poured beer is a real pleasure. But to keep its flavour pure and maintain hygiene in your beer dispenser, you need to service and replace the beer lines regularly. The beer line is the main artery of your system. Over time, deposits can build up inside it, the material can become brittle or absorb off-flavours. This guide takes you step by step through changing the beer line, helping you maintain the quality of your beer.
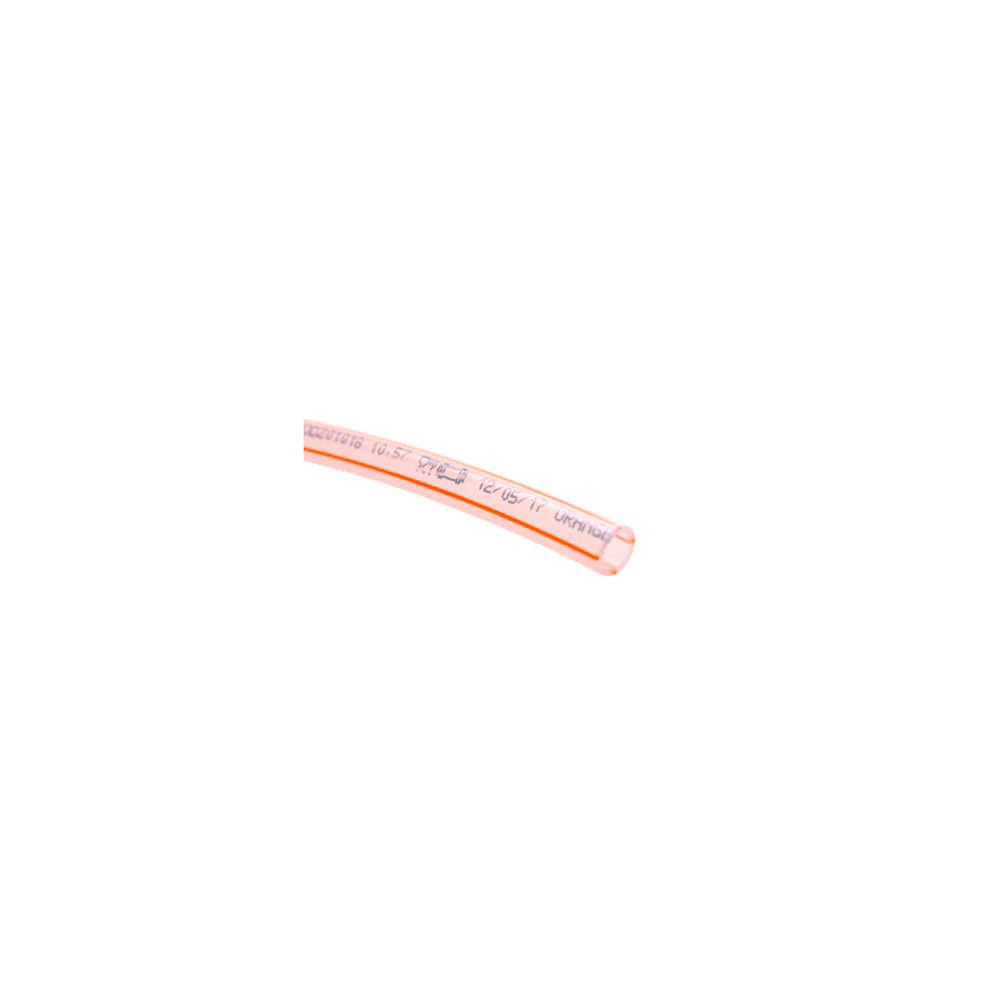
For a successful replacement, you need a high-quality, food-safe hose. The beer line sold by the metre is ideal for this purpose. It is specially designed for use in beverage and beer dispensing systems, is tasteless and odourless, and withstands the required pressure. As it is supplied by the metre, you can cut it to exactly the length required for your system.
How do I know when I need to change the beer line?
Choosing the right time for replacement is important. Look out for various signs that indicate your beer line needs changing. Often, the changes are subtle but can have a major impact on your enjoyment of the beer.
Visual signs
A quick look at the hose often reveals its condition. Has the hose, which was originally clear, become cloudy, yellowed or developed dark discolouration? These are clear signs of ageing material and stubborn deposits, also known as biofilm. Check the line for fine cracks, kinks or brittle sections. A damaged hose is a hygiene risk and can burst under pressure.
Changes in taste and smell
The beer itself provides the clearest warning sign. If it tastes musty, sour or simply “wrong” despite a freshly connected keg, the line is often the cause. Even thorough chemical cleaning may no longer completely remove stubborn residue from an old hose. A foreign smell that still comes from the tap after rinsing is another clear indication.
A clean beer line is just as important as good ingredients. You can brew the best beer in the world, but if it flows through an old, contaminated line, all that effort is wasted.
Age of the hose
Even without visible or noticeable faults, a beer line has a limited service life. Plastics age through constant contact with CO2 and the ingredients in beer. As a rule of thumb, replace beer lines every 12 to 24 months to stay on the safe side. Make a note of the date of the last replacement so you can keep track.
Getting prepared: what do you need to change the beer line?
Good preparation is half the job. Have all the tools and materials ready before you begin. This prevents interruptions and ensures the replacement goes smoothly.
Gathering tools and materials
You do not need a specialist workshop, but a few basic items are essential:
- New beer line: The right diameter and sufficient length, such as the beer line.
- Cutting tool: A sharp utility knife or hose cutter for a clean, straight cut.
- Screwdriver or pliers: For loosening and tightening the hose clamps.
- Bucket and cloth: To catch any remaining liquid from the old hose.
- Cleaning solution: For disinfecting the system afterwards.
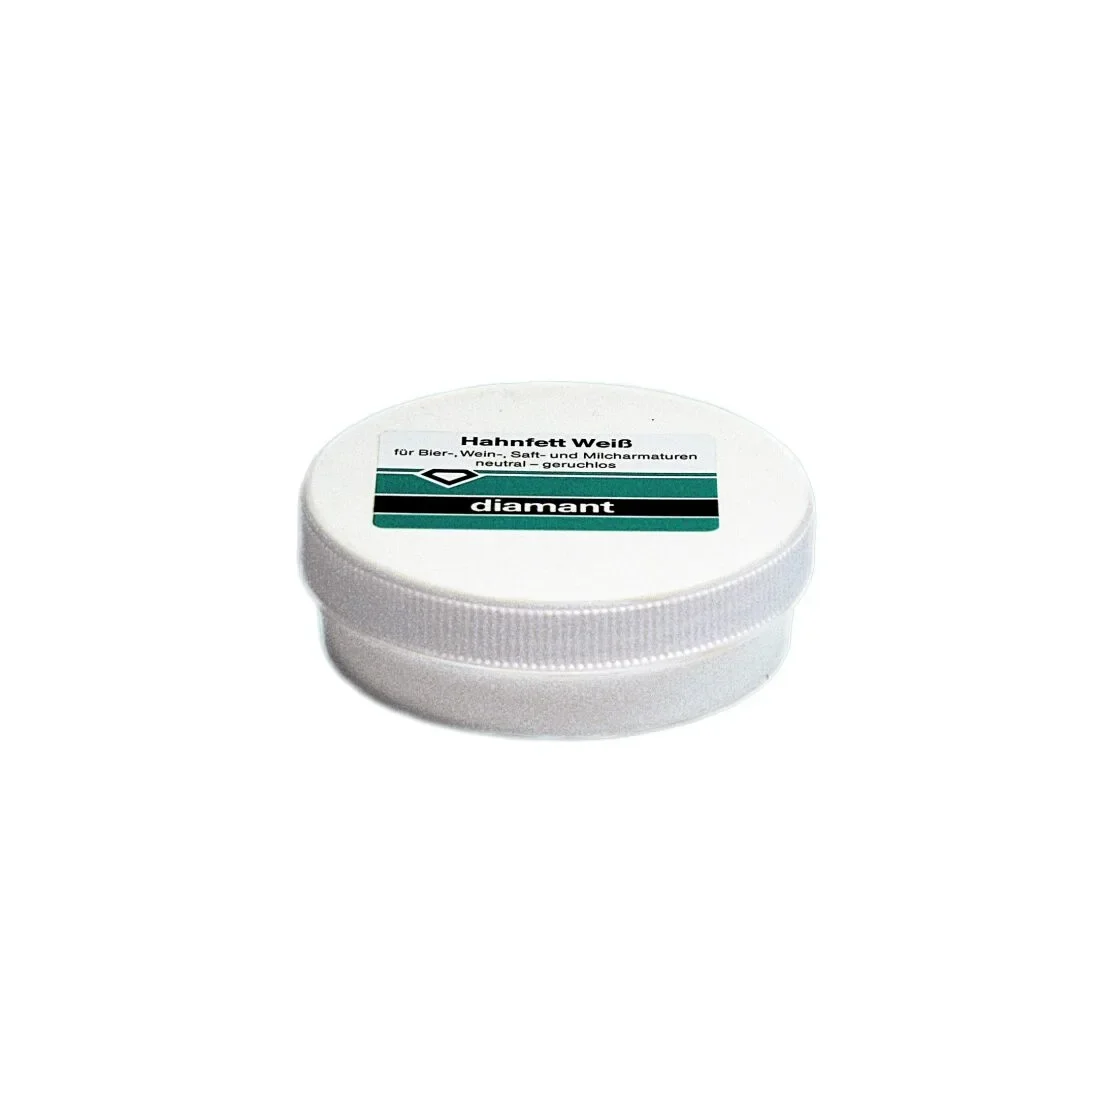
- Optional: New tap lubricant to care for seals and moving parts.
Important note
Disconnect the beer dispenser completely from the mains before carrying out any work. Also turn off the CO2 cylinder and release the remaining pressure through the tap. Safety must always come first.
Taking safety precautions
Before loosening the first screw, make sure the system is completely depressurised and disconnected from the power supply. Close the valve on the CO2 cylinder securely. Then open the tap and let it run until you can hear only a faint hiss and no more liquid comes out. This releases the pressure from the system. Place a few towels under the connections to catch any spilled beer.
Step-by-Step Guide: How to Change a Beer Line
With the right preparation, changing the line itself is straightforward. Work systematically to avoid mistakes.
Step 1: Remove the old line
Locate both ends of the beer line: one at the keg coupler and the other at the connection to the tap. Loosen the hose clamps at both ends using the appropriate tool. You may need to open the clamps completely. Then carefully pull the line off the connector barbs. Keep a bucket nearby, as there will still be beer in the line. If the line is very tight, carefully cut it lengthwise with a knife to make it easier to remove.
Pro tip
If an old line is stuck firmly to the barb, warm it briefly with a hairdryer. The material will soften and come off more easily. However, do not pull too hard on the barb, as this could damage it.
Step 2: Prepare the new line
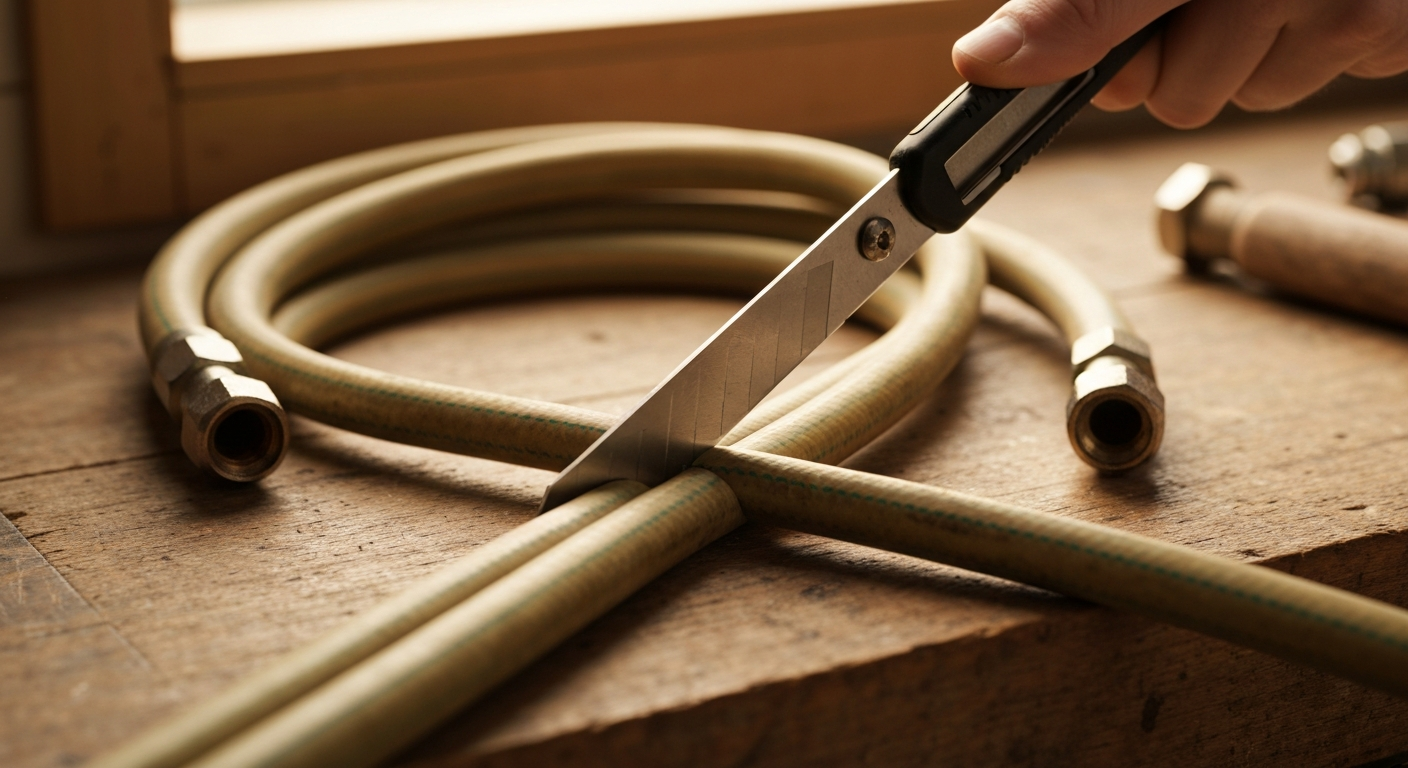
Lay the old line straight on a clean surface. Unroll the new beer line next to it and cut it to exactly the same length. A clean, straight cut is important for a leak-tight connection. A line that is too short creates tension, while one that is too long can restrict the flow and cause excessive foaming.
Step 3: Fit the new line
Before pushing the new line into place, slide the hose clamps over both ends. Now firmly push one end of the line onto the PVC hose barb on the keg coupler and the other end onto the barb on the tap connection. Push the line on as far as it will go. Position the hose clamps about half a centimetre from the end of the line and tighten them securely. Tighten them enough to hold the line firmly, but not so much that the material is crushed.
Step 4: Check for leaks
Once the line is fitted, it is time for the crucial test. Close the tap. Slowly and carefully open the valve on the CO2 cylinder. You will hear the system filling with pressure. Inspect and feel both connections on the new line. If you hear hissing or see liquid escaping, close the CO2 cylinder immediately and tighten the relevant clamp. A spray bottle filled with soapy water can help detect even the smallest leaks through bubble formation.
After changing the line: Cleaning and getting started
The new line is fitted and leak-free. But before the first beer can flow, thorough cleaning is essential to remove production residues and create a hygienic environment.
Changing a line without following up with chemical cleaning is only half the job. This is the only way to ensure that your system is microbiologically safe from the very first glass.
Thorough cleaning is essential
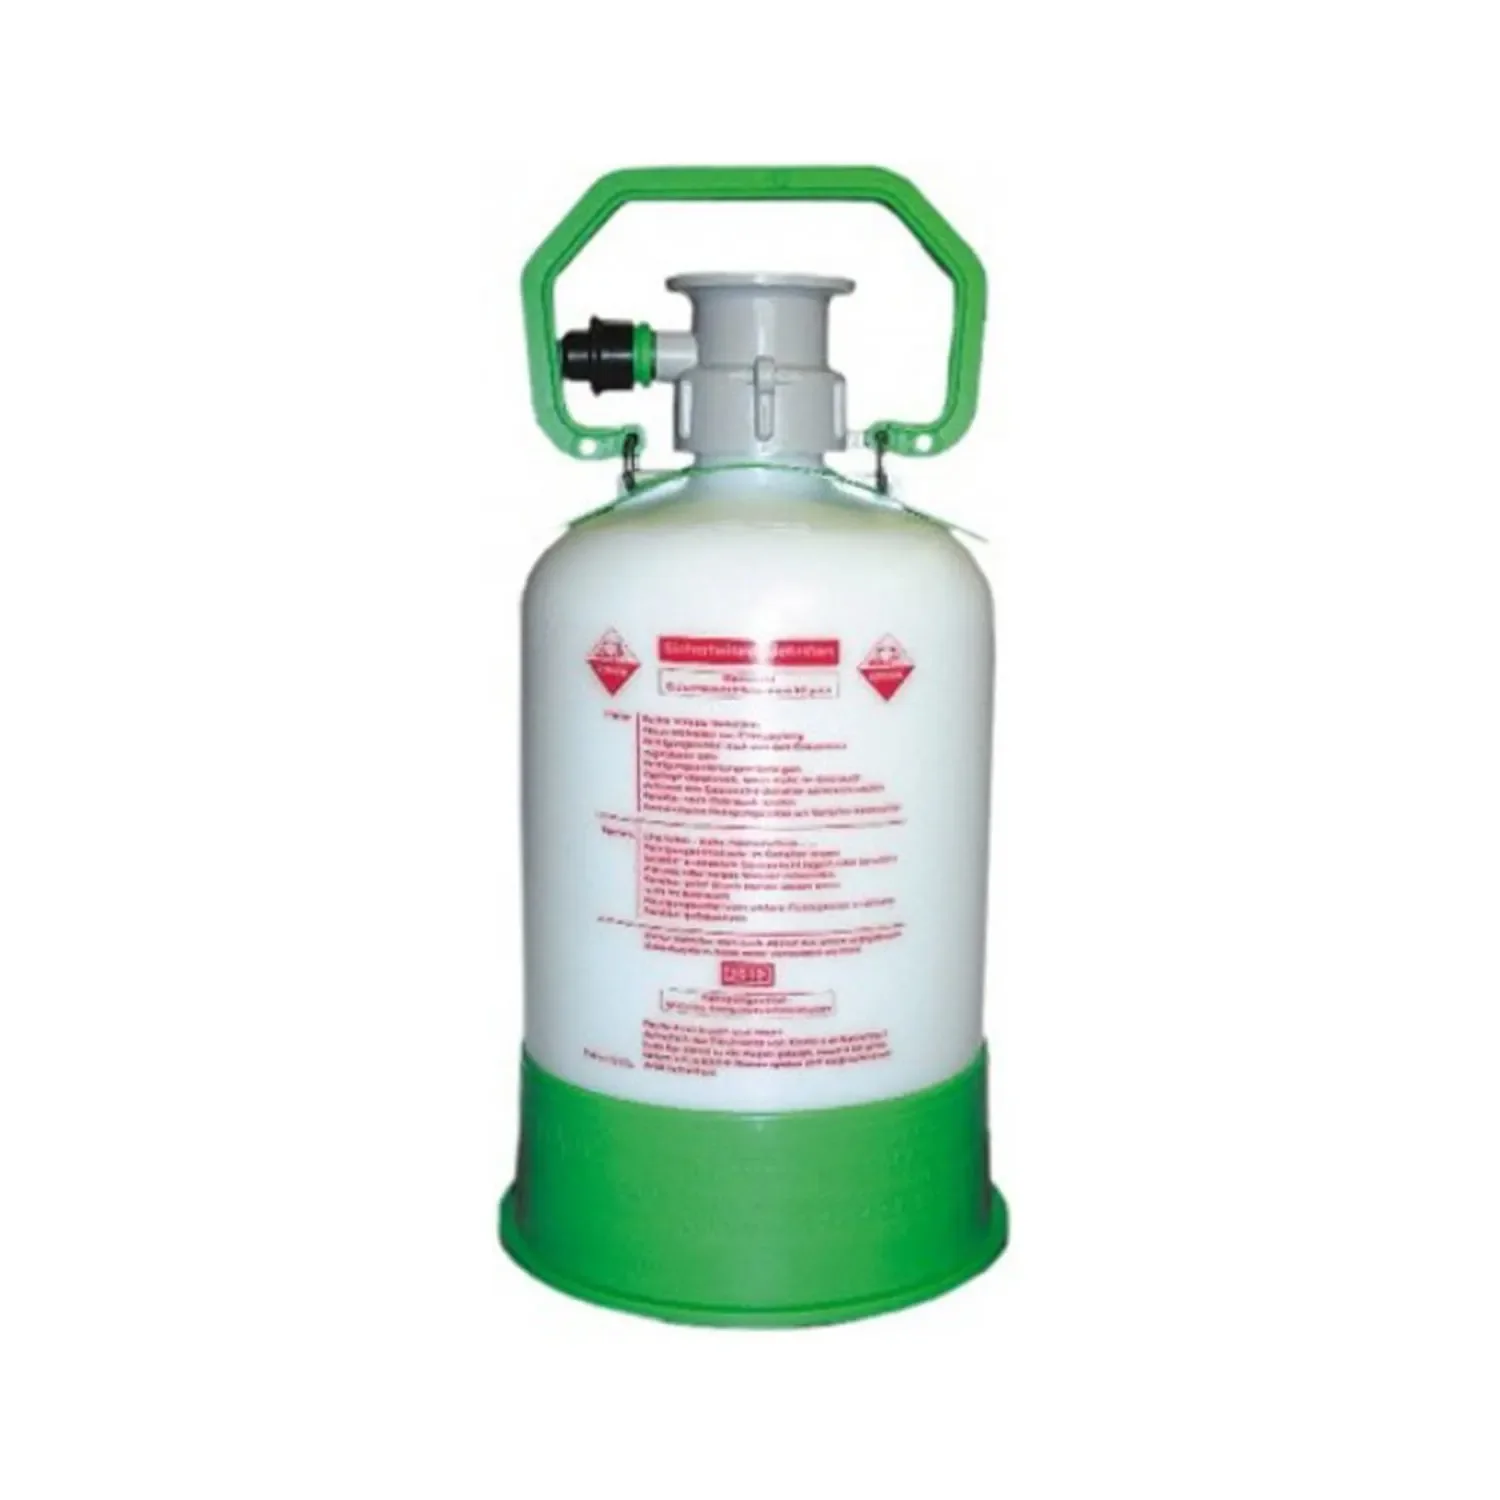
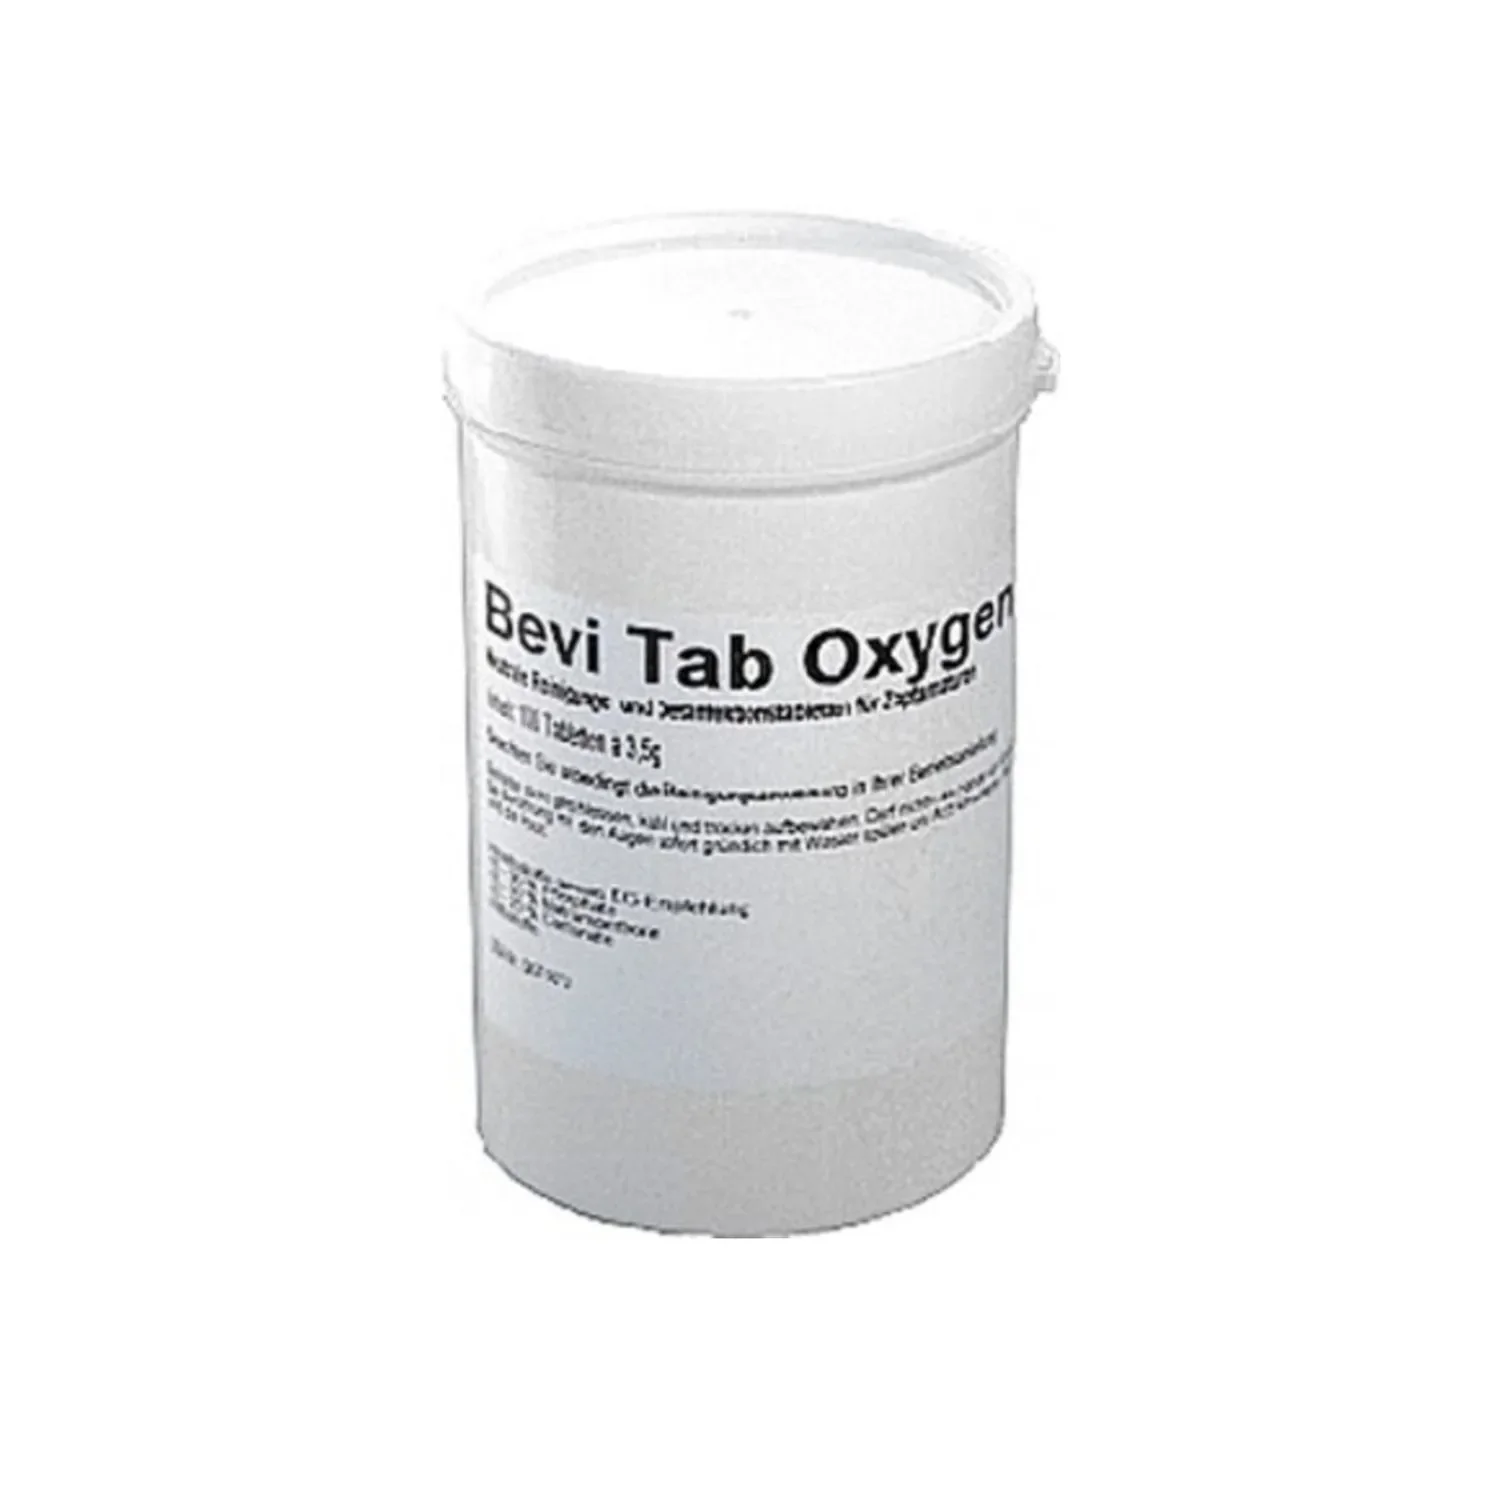
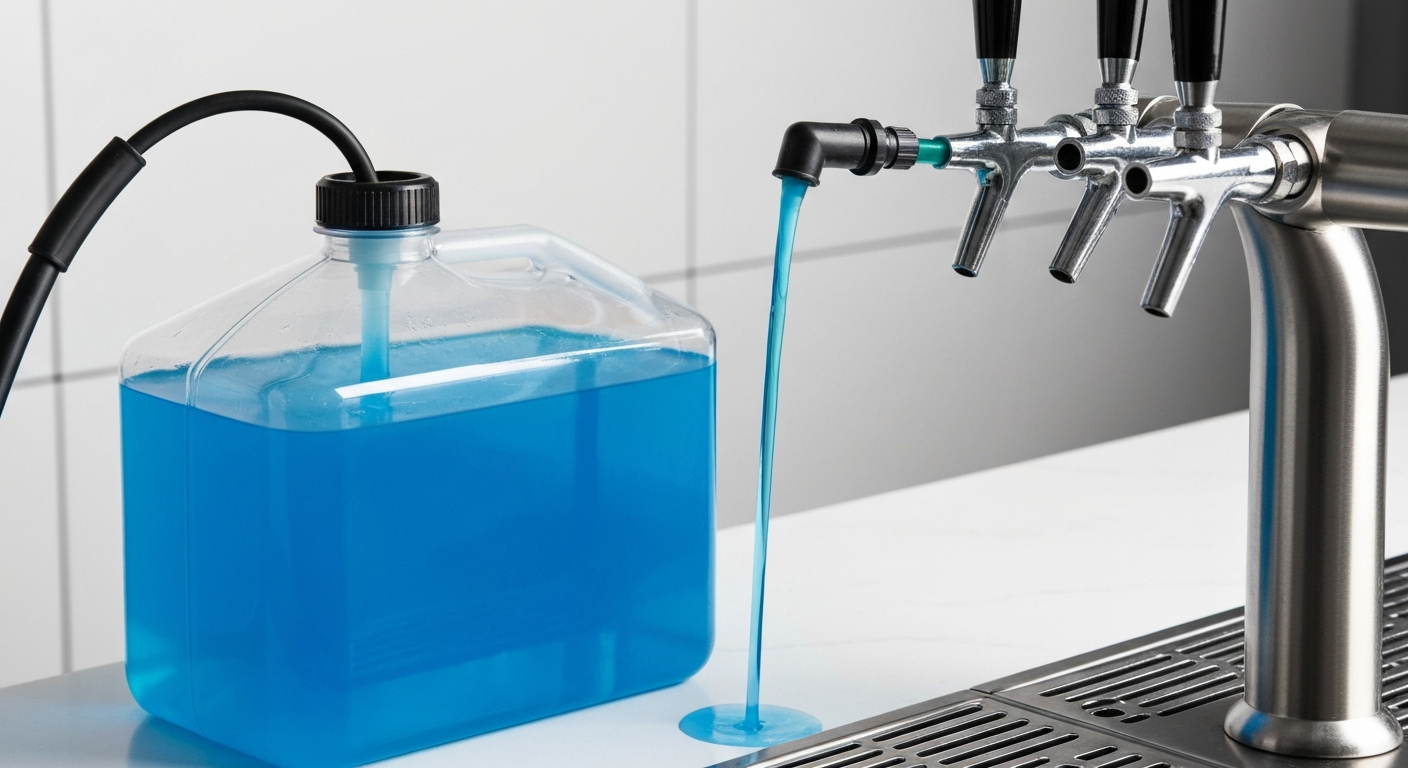
First, rinse the entire system thoroughly with clean, cold water. Then use a special cleaning bottle and a suitable disinfectant such as Bevi Oxygen Tabs. Follow the cleaning product manufacturer's instructions carefully, especially regarding the contact time. This step removes dust, grease and other contaminants from the new line and connections.
Put the draught system back into operation
Once the cleaner has worked for the required time, rinse the system again very thoroughly with plenty of clean water until no traces of cleaning product remain. Now reconnect the keg, set the correct dispensing pressure and pour the first one or two glasses. Discard them. As soon as clear, foam-free beer is flowing, your system is ready to serve the perfect pint.
Additional advice
Make sure you use the right type of line. Beer lines and CO2 lines are not the same. Beer lines have a smoother interior and are specifically designed for contact with food. Using the wrong POM plastic hose connector or lines can cause problems.
Common mistakes when changing a beer line and how to avoid them
Small mistakes when changing a beer line can have major consequences. Here are the most common pitfalls and tips for avoiding them.
- Incorrect diameter: A line that is too thin or too thick will not fit the barbs properly or cannot be secured safely. Measure the old line or check your system manufacturer's specifications before buying a new one.
- Incorrect length: A line that is too short will be under tension and may slip off the connections. A line that is too long can sag, form kinks and negatively affect the CO2 level in the beer, resulting in excessive foaming.
- Kinks in the line: Route the new line in wide curves. Sharp kinks restrict the flow and can damage the material over time.
- Leaking connections: Tighten the hose clamps firmly, but do not overtighten them. Over-tightened clamps can damage the line and paradoxically cause leaks. Checking for leaks with soapy water is always a good idea.
- Skipping the cleaning: The tempting idea of pouring a beer straight away can lead to disappointment. Production residues in the new line can significantly affect the taste. Take the time to give it a thorough initial clean.
Replacing the beer line regularly is a simple but effective way to maintain your draught system. It is a direct investment in the quality and hygiene of your beer. With the right materials and this guide, changing the line is easy, leaving you free to enjoy fresh, perfectly poured beer.
Frequently Asked Questions
- How often should I replace a beer line?
- Ideally, replace beer lines every 12 to 24 months. If you notice visible discoloration, cracks or changes in taste, replace the line immediately to ensure hygiene and beer quality. Regular maintenance prevents biofilm and bacteria from building up.
- What diameter beer line do I need?
- The required diameter depends on your dispensing system. The most common internal diameters are 7 mm and 10 mm. Check the manufacturer's specifications or measure the old line. Using the wrong diameter can cause pressure problems and excessive foaming.
- Can I use a water hose as a beer line?
- No, use food-grade hoses only. Standard water hoses can release plasticizers and other chemicals into the beer, affecting its taste and potentially harming your health. Special beer lines are designed for food contact and CO2 pressure.
- My new line is difficult to fit. What can I do?
- Briefly warm the end of the line in warm water. This makes the material more flexible and easier to push onto the fitting. A small drop of food-safe dispensing tap grease on the fitting can also help you install the line without damaging it.
- Do I need to clean the system after replacing the line?
- Yes, thorough cleaning is essential. Rinse the new line first with water and then with a suitable disinfectant. This removes any production residues and ensures that your system is hygienically clean from the very first glass.
You may also be interested in
- How to properly care for a hose reel: Make your 100-meter garden hose last forever
- Garden hose systems: How to choose and maintain them for efficient watering
- How to install insulation tubing: The 5 most common mistakes
- How to replace a utility knife blade: Quick and safe
- How to install CLIMAFLEX insulation tubing: Instructions for professional results
- How to replace a chainsaw chain: Step-by-step guide to perfect chain tension