
In brief: Clean your garden sieve after every use with a brush and water to remove soil and plant debris. Dry it completely to prevent rust on metal models. Store it in a dry, sheltered place. Regular care helps maintain its performance and significantly extends its service life.
A garden sieve is an unsung hero in the garden. It separates fine, loose soil from stones, roots and clumps. It helps you make your own seed-starting mix or refine compost. However, like many reliable garden tools, it is often carelessly left in a corner once the work is done. This neglect drastically shortens its service life. With the right care, however, your garden sieve remains a reliable partner for many seasons.
Proper garden sieve care starts with choosing the right tool. A robust and flexible sieve not only makes the work easier but also simplifies subsequent maintenance.
An excellent example of a well-designed product is the : XL adjustable 2-in-1 garden sieve. Its large working surface allows you to process larger quantities of soil or compost quickly. The key advantage lies in its interchangeable inserts. This allows you to adjust the mesh size to suit your needs, whether you want to sieve fine seed-starting mix or coarse mulch. This modularity makes it a versatile tool for all kinds of garden work.
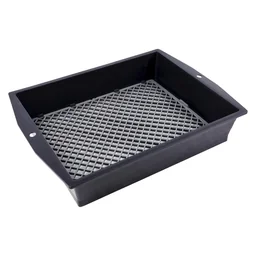
A clean tool is a safe and effective tool. At the end of every gardening day, I spend five minutes cleaning my equipment. That is not time wasted, but an investment in its longevity and my own efficiency.
Why is regular garden sieve cleaning so important?
You may think: “It is only a sieve; it will get dirty again anyway.” In the long run, this attitude can cost you time, money and even the health of your plants. Consistent garden tool care offers tangible benefits.
Prevent the spread of plant diseases
Old soil residues can harbour fungal spores, bacteria or pest eggs. If you use the uncleaned sieve for another task, such as preparing seed-starting mix for delicate seedlings, you transfer these potential problems directly to your new crops. A clean sieve breaks this cycle.
Maintain performance and efficiency
Dried soil, clay and small stones clog the mesh. Sifting capacity drops dramatically and the result becomes uneven. You have to use more force and shake the sieve more often to achieve the same result. A clean mesh lets the material fall through freely and makes the work quick and easy.
Maximise the garden sieve’s service life
Damp soil that remains attached to metal is the main cause of rust. Rust eats away at the mesh and weakens the frame. With plastic sieves, dirt stuck to the surface can make the material brittle when combined with UV radiation. Regular cleaning and drying are the best protection for a long garden sieve service life.
Important note
Never use a pressure washer to clean your garden sieve. The powerful water jet can deform the mesh, detach it from the frame or even tear fine mesh. Gentle pressure from a garden hose and elbow grease with a brush are the better choice.
Step-by-step guide: How to clean a garden sieve like a pro
Thorough cleaning is easier than you think. It is best to do it straight after use, while the dirt has not yet dried hard. All you need is water, a brush and a few minutes.
Step 1: Remove coarse dirt
After use, tap the sieve firmly against an edge to remove loose soil and stones. You can push more stubborn clumps out of the mesh by hand (wearing gloves) or with a coarse hand brush. The aim is to remove as much loose material as possible while it is dry.
Step 2: Thorough wet cleaning
A standard garden hose is sufficient for wet cleaning. Spray the sieve thoroughly from both sides. Use a sturdy stiff-bristled brush or an old washing-up brush to remove all adhering clay and organic residue from the mesh. Work systematically from one corner to the other.
For extremely stubborn, dried-on dirt, soak the sieve for about 15-30 minutes in a bucket or tub of water. The dirt will then be much easier to remove. A drop of mild washing-up liquid in the water can help remove sticky plant sap.
Step 3: Drying – the most important step against rust
This step is often overlooked, but it is absolutely essential for metal sieves. Never leave the sieve wet. Stand or hang it in an airy, sunny place so that it can dry completely. Wipe the frame and mesh dry with an old cloth to speed up the process.
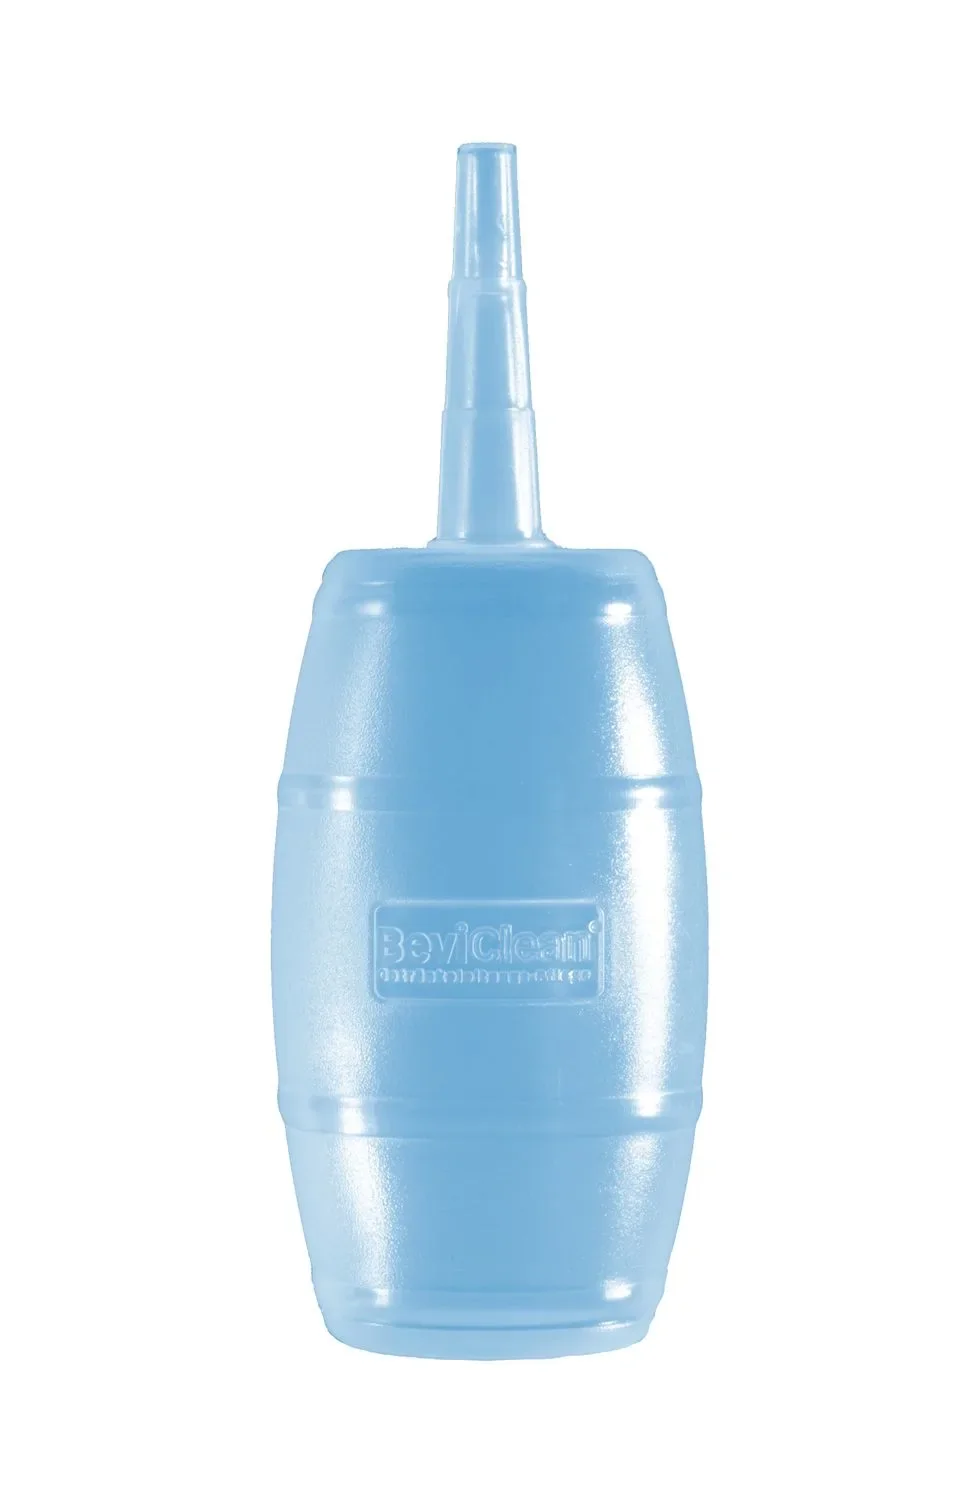
For perfectionists: Using a small air blower, such as the : tap and beer tap cleaning air blower, you can blow water droplets out of the mesh’s awkward corners and overlaps. This ensures that no residual moisture remains that could lead to corrosion.
Pro tip
Fill a bucket with sand and mix in a little oil. After roughly cleaning your metal sieve, insert it into the bucket of sand several times and move it back and forth. The sand acts as a gentle abrasive, removing fine dirt and light surface rust, while the oil leaves a protective layer at the same time.
How do you care for your garden sieve to maximise its lifespan?
Cleaning is the foundation, but proper care goes one step further. Depending on the material your sieve is made from, there are different points to focus on to maximise its service life.
Proper care for metal sieves
For sieves made of metal or with a metal mesh, rust is the biggest enemy. After every thorough cleaning and complete drying, you should apply a thin protective layer. A cloth moistened with linseed oil, camellia oil or simple machine oil is all you need. Wipe it over the mesh and frame. The oil displaces moisture and seals the surface.
Check your sieve regularly for the first signs of rust. You can quickly remove small rusty spots with a wire brush. Then oil the area particularly carefully. Proper care is also essential for alternatives such as the : 2-in-1 adjustable large garden sieve.
Caring for plastic sieves
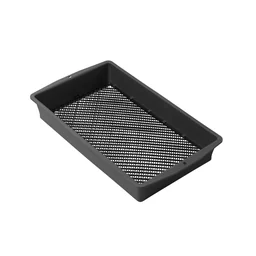
Plastic sieves, such as the : RESPANA garden sieve, black, are rustproof and therefore easier to care for. Their weak point is the sun's UV radiation. Never store a plastic sieve outdoors permanently. UV rays break down the plasticisers in the material, making it brittle and prone to cracking. After cleaning and drying, the best place to store it is in a tool shed or garage.
How can you tell when your garden sieve needs replacing?
Even the best-maintained tool will eventually reach the end of its service life. It is important to know when a repair is no longer worthwhile and replacement is the better and safer option. Look out for the following signs:
- Rust perforation: Surface rust is a cosmetic problem, but holes in the mesh are a clear sign that the sieve needs replacing. The sieve loses stability and the results become unusable.
- Deformed mesh: If the mesh is badly bent or dented, you can often no longer straighten it. The mesh size is no longer uniform, which impairs its function.
- Brittle plastic: If you discover cracks in the frame or mesh of a plastic sieve, it is time for a new one. It can break under load, potentially causing injury.
- Loose mesh: If the sieve mesh repeatedly comes loose from the frame, the connection is worn out. A permanent repair is often not possible.
Quality tools are an investment for years, not just one season. Investing in good materials and giving them a minimum of care means you work better, more sustainably and more cost-effectively in the long run.
Proper storage: How to safely store your garden sieve over winter
Storage is an integral part of garden tool care. A clean, dry storage place is essential. Hang your garden sieve from a hook on the wall in your garage or shed. This keeps it out of the way, prevents damage and protects it from moisture rising from the ground.
Do not leave it on the floor, where it could become a trip hazard or have heavy objects accidentally placed on top of it. The annual check of all your garden + outdoor equipment before putting it away for winter is a good opportunity to give the sieve one final oiling for the cold season.
Additional advice
Use the end of the gardening season to take a complete inventory and service all your garden + plant accessories equipment. Sharpen spades, clean rakes and sort your pots. You can collect the sieved material in a garden waste bag and keep it ready for improving the soil next spring.
A garden sieve is more than just a piece of wire mesh in a frame. It is a precision tool that helps you create the best conditions for your plants. By investing time in cleaning and caring for it, you show this simple but important helper the respect it deserves. The result is a tool that will reliably serve you for many years.
Frequently Asked Questions
- How often should I clean my garden sieve?
- It is best to clean your garden sieve after every use. A quick, rough clean prevents soil and plant sap from drying on. Depending on how dirty it is and what it is made of, a more thorough wet clean once a week or once a month is advisable if you use it regularly.
- Can I clean my garden sieve with a pressure washer?
- We advise against it. The high water pressure can bend or damage the fine mesh, especially on cheaper models, or even force it out of the frame. A brush and a standard garden hose are the safer, gentler options.
- How do I remove rust from a metal sieve?
- Remove light surface rust with a wire brush or steel wool. For more stubborn rust, you can treat the affected areas with sandpaper. After removing the rust and drying the sieve thoroughly, always apply a protective oil to prevent it from forming again.
- Which oil is suitable for caring for a metal garden sieve?
- Various oils are suitable for maintenance. Boiled linseed oil forms a protective coating. Camellia oil, a traditional Japanese tool-care oil, or a simple resin-free machine oil also work very well. Always apply only a very thin layer of oil with a cloth.
- My plastic sieve has become brittle. What can I do?
- If plastic has already become brittle and cracked due to UV exposure, the process can hardly be reversed. Prevention is key. Always store your sieve in a shed or garage rather than leaving it in direct sunlight, to maximise its service life.
You may also be interested in
- Garden Sieve Throughout the Year: When Your XL Sieve Is Essential
- XL Garden Sieve 2-in-1: A Guide to Perfect Compost & Garden Soil
- Caring for Garden Tools: How to Make Your Tools Last Longer
- Cleaning & Caring for Privacy Netting: How to Maximise Its Service Life
- Caring for and Cleaning a Garden Sack: How to Make Your Helper Last Forever
- Poor Soil? 7 Garden Sieve Tips for Healthy Plants