
In brief: Successful composting follows five rules: choose a partially shaded, well-ventilated spot, mix moist and dry materials, keep the pile evenly moist, turn it regularly and let it mature. After around six to twelve months, sieve crumbly compost to use as a soil improver.
The short answer: Choose a partially shaded spot, mix green and brown materials, keep the compost moist and well aerated, turn it and let it mature. After six to twelve months, crumbly compost is ready.
Having your own garden compost turns kitchen and garden waste into valuable humus. Finished compost improves soil structure, stores water and supplies plants with nutrients. With a suitable location and the right mix, decomposition takes place without unpleasant odours.
How do you set up a compost pile properly?
Quality starts with the location. A compost pile needs air, moisture and enough space for mixing. Choose a partially shaded, sheltered area with a short route to the garden and kitchen.
The location determines decomposition
An open garden compost sits directly on bare soil. Earthworms, woodlice and microorganisms can enter the material, while excess water drains away. Compacted surfaces made of concrete or asphalt slow natural exchange and encourage rotting when wet.
Avoid a deep hollow where water can collect. A spot beneath a light-canopied tree or on the north or east side of a building protects the pile from strong midday sun. Otherwise, the pile can dry out quickly in hot weather. During prolonged rain, a loose covering of branches or a breathable lid can help.
Which shape suits your garden?
An open compost pile is suitable for larger amounts of leaves, grass clippings and prunings. A closed bin keeps kitchen scraps contained and looks tidier in small gardens. For a small to medium-sized garden, a tumbling composter such as
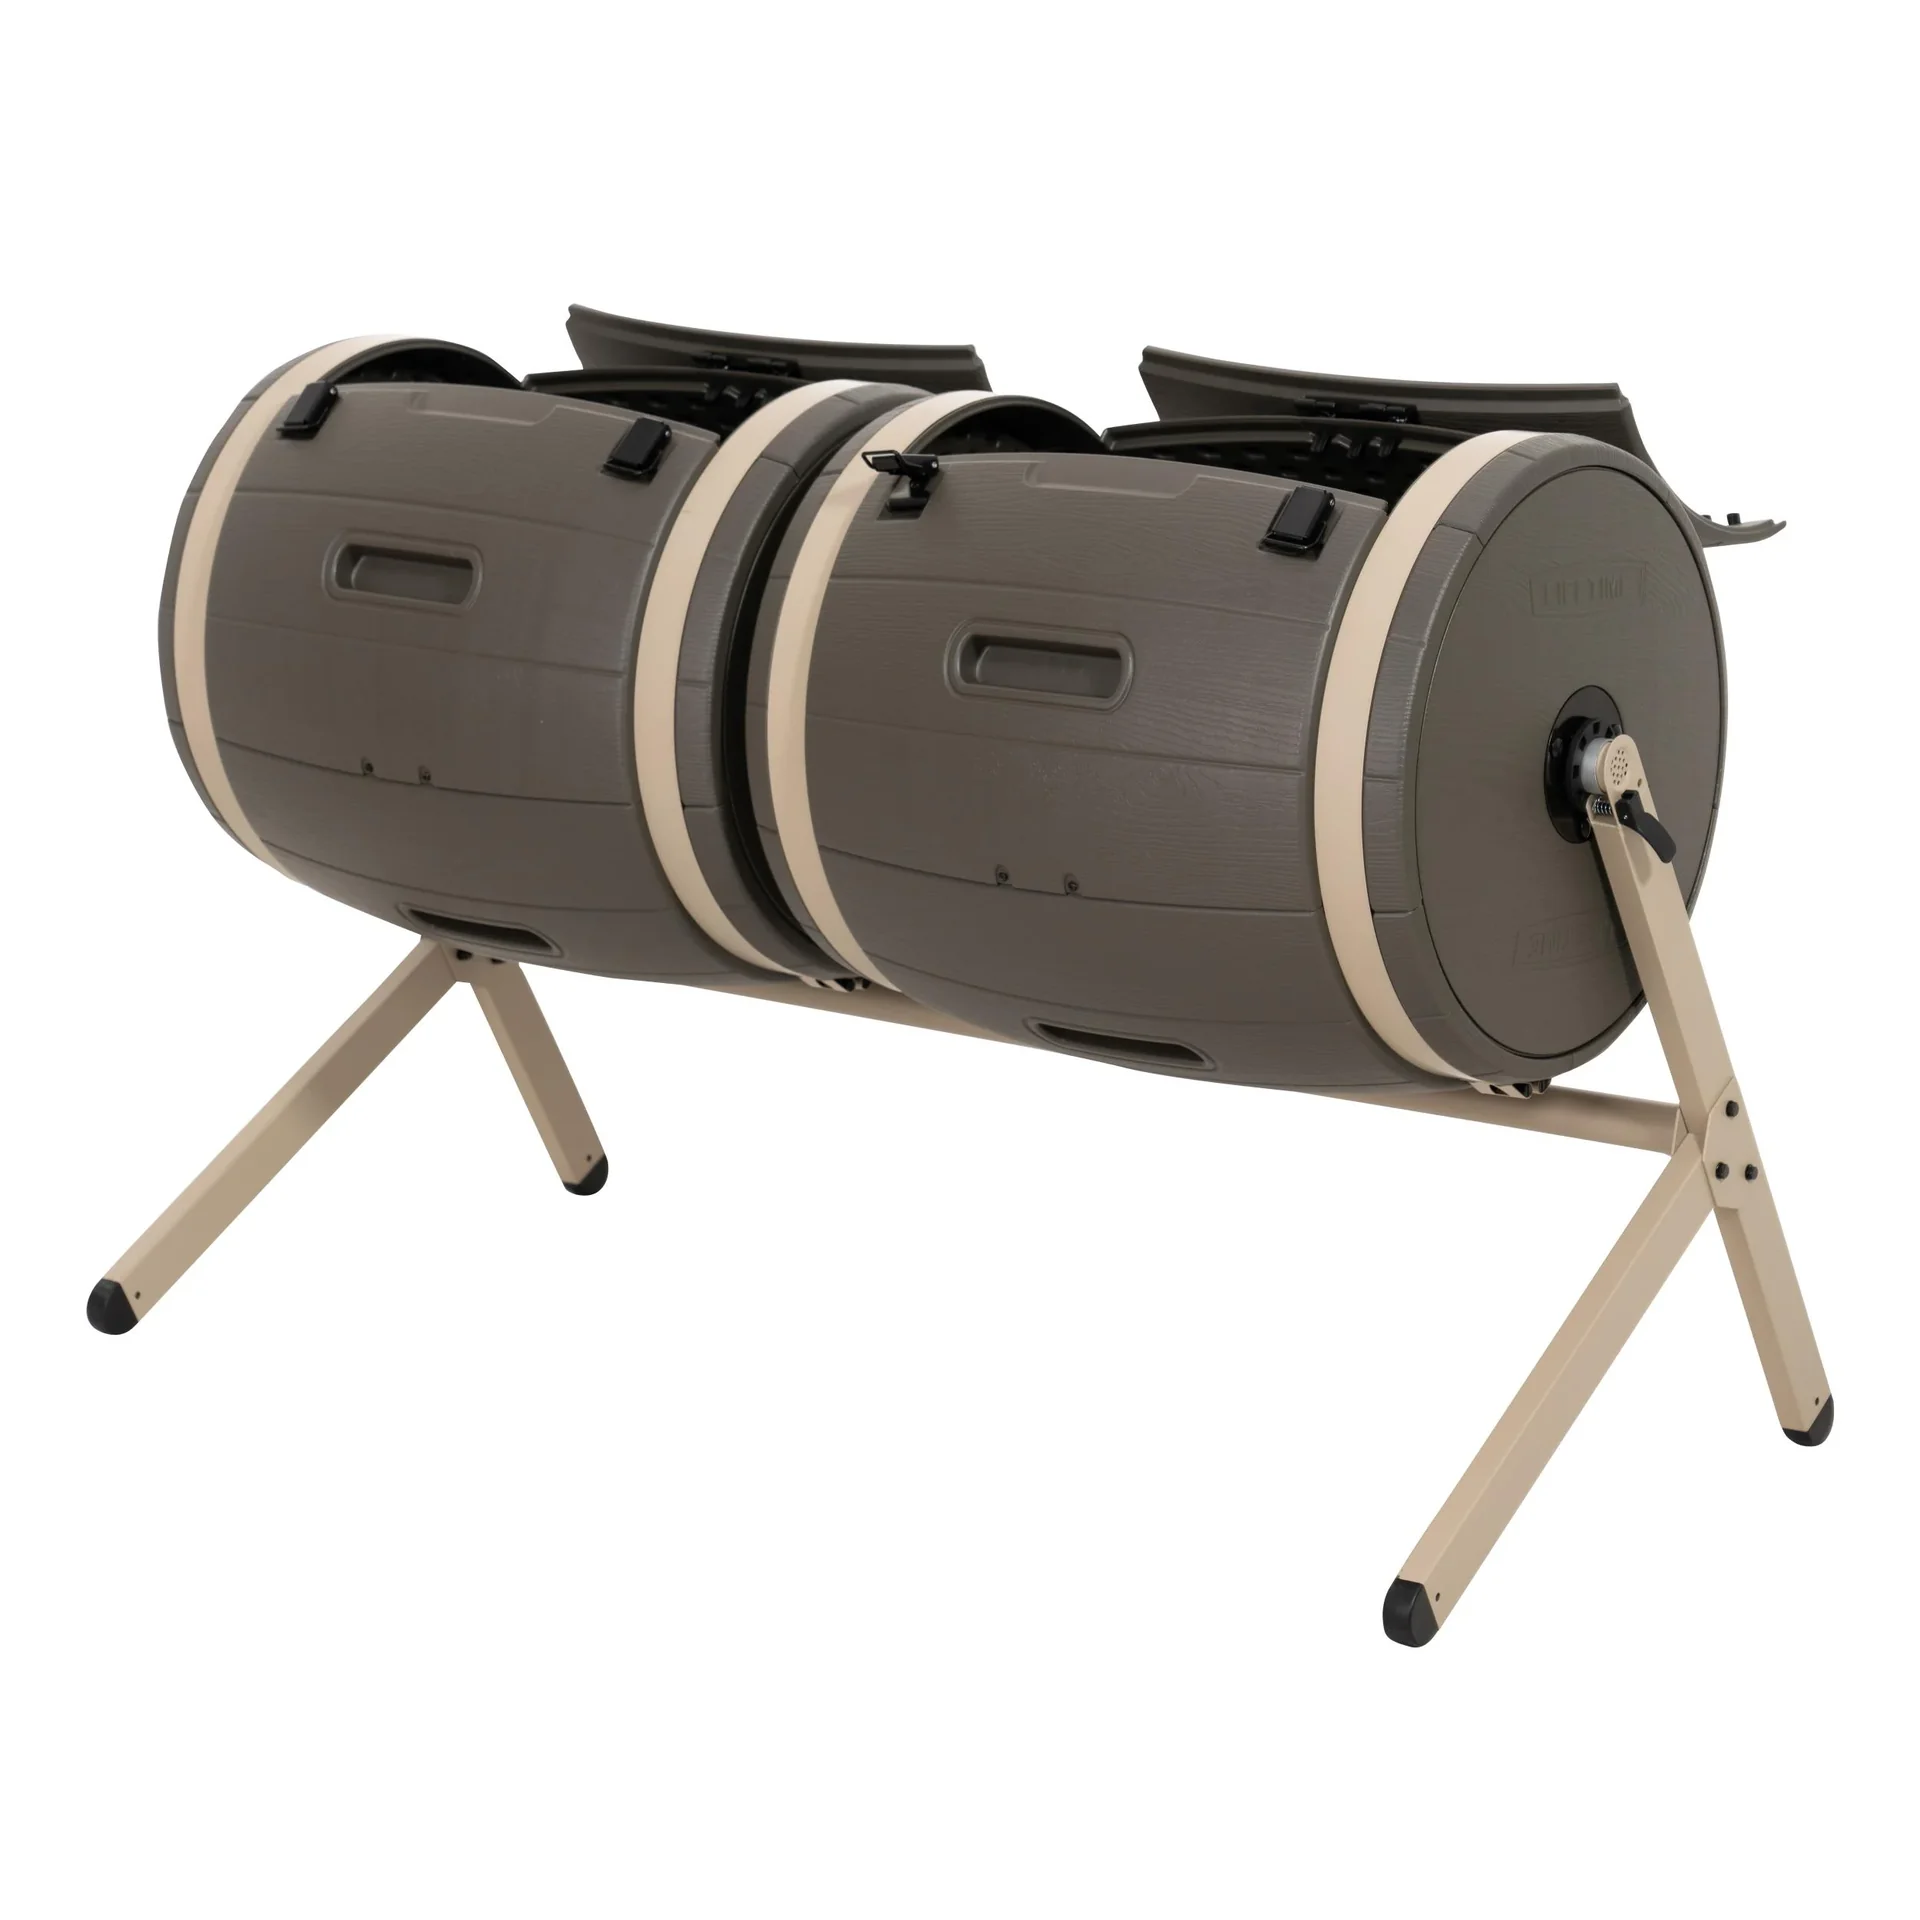
When setting up a compost pile, first build a loose base from thin branches or coarse wood chippings. This layer allows air to reach the decomposition process from below. Then alternate moist and dry materials. Do not press the layers down firmly.
- Prepare the ground: Loosen the top few centimetres of soil and remove dense grass.
- Add the base: Create a layer around ten centimetres high from branches, perennial stems or wood chippings.
- Mix the material: Do not place kitchen scraps, grass clippings, leaves and woody materials in thick individual layers.
- Keep the edges clear: Leave enough space around the compost for turning and inspection.
- Check the cover: Protect the pile from heavy rain without completely cutting off the air supply.
Expert tip
Start the compost with a mixture of coarse structural material and moist plant waste. A very small pile cools down quickly, while an overfilled bin is difficult to aerate. A base area of around one square metre makes even decomposition easier.
Which waste belongs in garden compost?
Good garden compost needs a balanced ratio of nitrogen-rich and carbon-rich materials. Fresh, moist materials provide nitrogen and drive decomposition. Dry, woody materials provide carbon, loosen the pile and prevent the mass from sticking together.
Mixing green and moist materials correctly
Green materials are not always green; they are mainly moist and rich in nutrients. Add kitchen scraps to the pile only in small portions and cover each fresh layer with dry material. This keeps flies away and prevents the surface from drying out.
- Raw vegetable and fruit peelings, plus small amounts of windfall fruit
- Coffee grounds and paper filters, tea leaves and tea bags without plastic
- Grass clippings, wilted flowers, seed-free weeds and fresh perennial cuttings
- Fine plant waste from the vegetable garden
- Crushed eggshells as a slow-acting source of lime
Brown materials include dry leaves, shredded branches, straw, wood chippings and shredded uncoated cardboard. Oak, walnut and plane leaves decompose more slowly. Shred them or mix them with material that breaks down more easily.
What should not go on an open pile?
Meat, fish, bones, dairy products and cooked food attract animals and can spread pathogens. Cat litter, nappies, glass, metal, plastic and treated wood also do not belong in garden compost.
Leave out diseased plants and weeds with mature seeds if your pile does not reach a reliably hot composting temperature. Small home gardens do not reliably generate the necessary heat. Dispose of this waste in the food waste bin or at a recycling centre. For suitable bins and accessories, find inspiration in the Garden + Outdoor category and in Garden equipment.
Important note
Do not simply bury kitchen scraps in the pile or cover them with only a thin layer of leaves. Always place moist waste in the centre of the decomposition process and cover it with at least a hand's breadth of dry material. This reduces odours and protects the compost from pests.
How do you control moisture and airflow in the compost?
The microorganisms in compost only work actively when water and oxygen are available. A wet pile turns into oxygen-poor decomposition. A dry pile stops breaking down. Therefore, check both factors regularly, especially after long periods of rain or heat.
The sponge test shows the right moisture level
Take a handful of material from the middle of the pile and squeeze it. If it feels like a wrung-out sponge, the moisture level is right. If water drips out, mix in dry leaves, cardboard or wood chippings. If the sample crumbles into dust, water it sparingly and distribute the water while turning the pile.
Do not water only the surface. Loosen the pile first and moisten dry layers evenly. Rainwater is well suited to the task. After heavy rain, a loose cover that allows air to circulate while keeping out additional water can help.
Oxygen prevents decomposition problems
Grass clippings and wet kitchen scraps quickly clump together. Therefore, mix them with around two parts dry structural material. Chopped branches create air pockets through which air can circulate. Cut up whole branches or very coarse stems beforehand.
- A rotten or sulphur-like smell indicates a lack of oxygen.
- Lots of flies on the surface suggest that kitchen scraps have been left uncovered.
- A dusty, warm surface indicates a lack of water.
- Very slow decomposition is often caused by material that is too coarse or too dry.
“Compost is a valuable soil improver and fertiliser.”
When should you turn the compost?
Turning the compost introduces oxygen into the centre of the pile and moves material from the outside into the warmer zone. This speeds up decomposition and balances moisture and temperature. A small compost pile does not need turning every time you add kitchen scraps, but thorough mixing at regular intervals is worthwhile.
The right time
Check the pile after two to four weeks. If the centre feels warm, decomposition is active. Turn the compost as soon as the temperature drops or dry and wet areas begin to form. In spring and summer, turning every four to eight weeks is often sufficient. In winter, decomposition usually takes longer.
How to mix the pile
- Set aside an empty space or place a second container next to the compost.
- Lift material from the outside towards the centre and break up any compacted clumps.
- Move dry areas from the edges into the moist centre.
- If the pile is wet, mix in dry structural material; if it is dry, add a little water.
- Put the loosened compost back together and cover it loosely.
Use a sturdy fork or compost grabber. With the right garden tools, you can work more comfortably and reach the lower layers. Remove coarse branches, pieces of plastic and other foreign materials as soon as you spot them while turning the compost.
Two chambers keep compost production going
If you want to harvest compost regularly, a two-chamber system can help. Older material matures in one chamber while you fill the other with fresh material. A dual-chamber composter such as
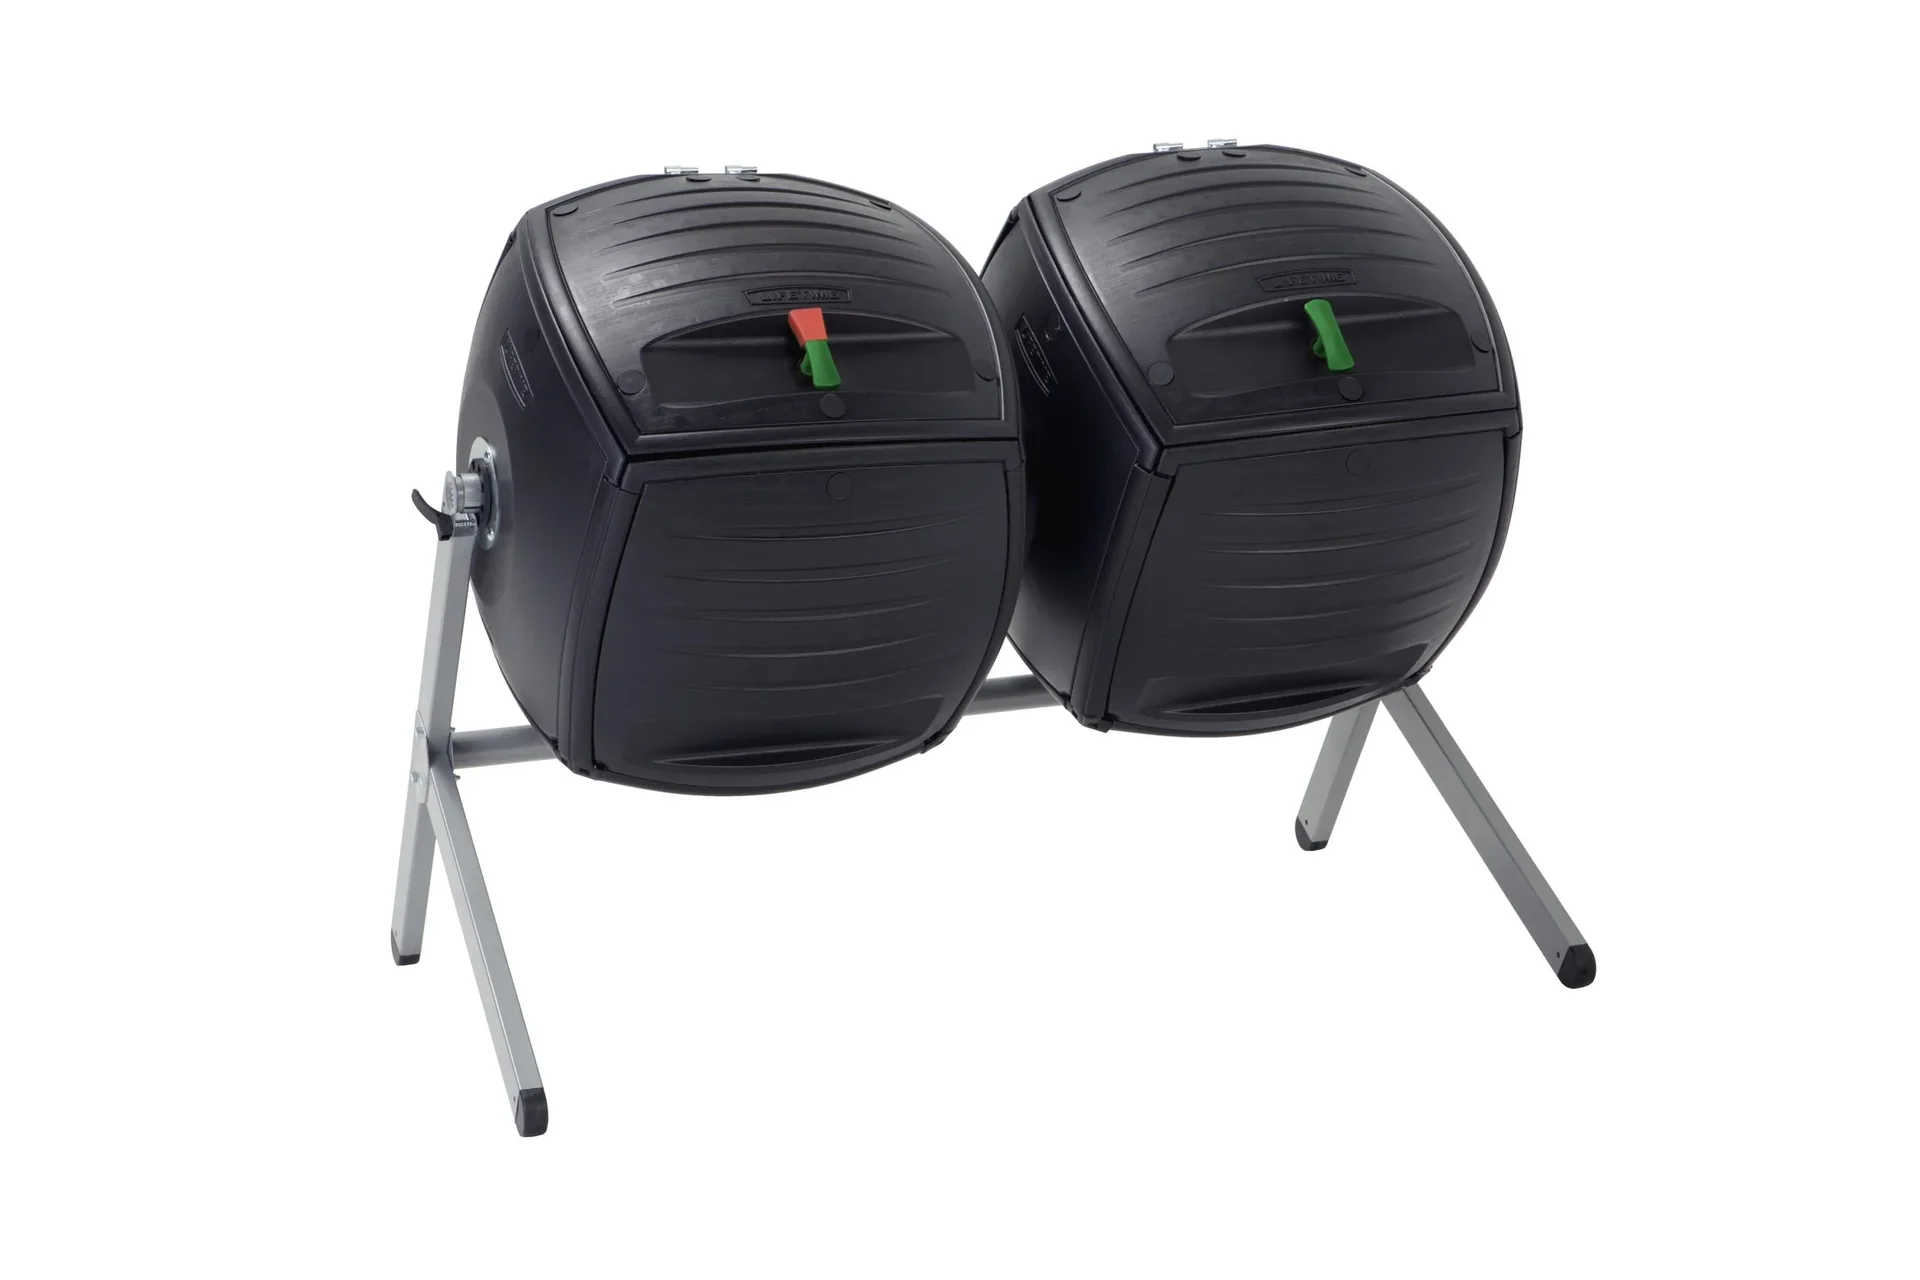
Fill one chamber at a time and leave the second one closed while the compost matures. After removing the finished compost, sift it and return any coarse pieces to the active chamber. This approach keeps the composting cycle organised.
Additional advice
Make a brief note of when you close a chamber. After six months, you can check whether the compost is ready without having to guess the date. A simple monthly note is especially helpful with two chambers and changing seasons.
How can you tell when compost is ready?
Mature compost is dark brown to almost black, loose and crumbly. It smells earthy, not rotten or like ammonia. You may still see individual thin leaf veins, but you should no longer be able to clearly identify kitchen scraps, grass clippings or plant stems.
The maturity and sieve test
Put a handful of compost into a sieve. Coarse branches and undecomposed peelings will remain. Return these pieces to the active compost pile. You can work the fine material directly into garden beds.
For a simple maturity test, squeeze some compost in your hand, then release it. Mature compost holds together briefly and crumbles again when touched lightly. If it remains slimy or smells pungent, it needs more air, structural material and time.
How do you use compost in the garden?
Use mature compost as a soil improver, not as a complete replacement for garden soil. Work it into the top layer of soil in spring or autumn. A thin layer is usually enough because compost contains concentrated nutrients and supports soil organisms over the long term.
- Vegetable beds: Mix mature compost into the surface of the soil before planting.
- Perennials and shrubs: Spread the compost as a thin mulch layer and keep it away from plant stems.
- Lawn: Sift the compost finely and spread it in a thin layer so the grass does not suffocate.
- Containers and propagation: Mix compost with garden soil or a suitable growing medium. Do not use it on its own for sensitive seedlings.
A humus brick such as
can be useful as a separate component in a growing medium. It does not replace fully matured compost or automatically provide the same nutrients. If your soil needs additional nutrients, you will find suitable products in the fertiliser category.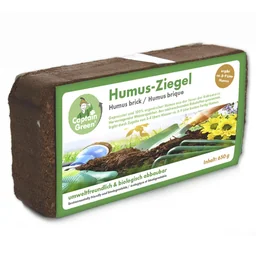
“Mature compost smells earthy and has a crumbly structure.”
The five-step checklist
Check your garden compost before every major addition. This helps you spot problems early and adjust the mix before unpleasant smells or decomposition problems develop.
- The location is partially shaded, sheltered from the wind and not prone to waterlogging.
- Moist kitchen and plant waste alternates with dry structural material.
- The pile feels damp, like a wrung-out sponge.
- When turned, the material remains loose and well aerated.
- The finished compost is dark, crumbly and smells earthy.
With these five steps, you can turn garden and kitchen waste into valuable humus every year. Composting closes nutrient cycles, reduces trips to dispose of waste and improves the soil over the long term.
Frequently Asked Questions
- What can I put in the compost?
- Raw fruit and vegetable peelings, coffee grounds, tea bags without plastic, leaves, grass clippings, shredded branches and untreated plant material can all go in the compost. Mix moist kitchen scraps with dry, bulky material. Meat, fish, cooked food, diseased plants and treated wood do not belong in an open garden compost heap.
- How moist should a compost heap be?
- A compost heap should feel like a wrung-out sponge: moist but not wet. If water drips out, mix in dry leaves, straw or cardboard. If the heap is bone dry, water it sparingly and loosen any compacted areas. Check the moisture level regularly, especially in summer.
- How long does it take for compost to mature?
- Depending on the materials, season and care, mature compost is usually ready after six to twelve months. Coarse material and a heap that is rarely turned take longer. Finished compost has a dark brown, crumbly texture and an earthy smell. Sieve out any uncomposted pieces and return them to the heap.
- Can I put grass clippings in the compost?
- Grass clippings can go in the compost as long as you mix them in in thin layers. A thick, wet layer clumps together, develops an unpleasant smell and prevents oxygen from reaching the compost. Spread the clippings out to dry or mix them with leaves, wood chips, straw or shredded branches. This keeps the garden compost loose.
- What should I not put in the compost?
- Meat, fish, bones, dairy products, cooked food, cat litter, nappies, glass, metal, plastic and treated wood do not belong in an open garden compost heap. Leave out diseased plants and weeds with seeds too if the heap does not reliably reach the high temperatures needed for hot composting. Use your local food waste bin or recycling center instead.
You might also be interested in
- Turning compost: How to make the perfect garden compost
- Make your own compost: How to create high-quality fertilizer
- Composting grass clippings: How to make valuable fertilizer
- How to start a compost heap: Your guide to nutrient-rich garden gold
- How to start a compost heap: Mistakes that can harm your compost
- Speed up composting: Effective fertilizer for your garden