
In brief: A leaking toilet tank often makes a constant, quiet trickling sound, or the water keeps running after a flush. In most cases, the cause is a worn flapper seal or a faulty fill valve. Remove the lid, check the seals and replace any worn parts to stop the leak and save water and money at home.
Why a leaking toilet tank is a problem—and why you should fix it
It’s easy to ignore a quiet trickle from the toilet, but even a small leak wastes drinking water and costs money. A faulty fill valve or worn seal can quickly increase your water use.
The good news: Fixing a toilet is usually straightforward, and you don’t need special tools. With this guide, you can often find and fix the cause in about half an hour, stopping the water waste right away.
How to check for and identify a toilet leak
Listen carefully. Stand next to the toilet in a quiet room. Can you hear a steady hiss or trickle?
Try the dye test. Add a few drops of food coloring to the water in the tank. Wait 20 minutes without flushing. If color appears in the bowl, the flush valve is leaking.
Check your water meter. Note the position of the small red dial, then avoid using water anywhere in the house for one hour. If the dial moves, you have a leak.
A dripping faucet loses about 45 liters a day. A leaking toilet tank can lose ten times as much. Fixing it is one of the most effective ways to save water at home.
Before you start: What you need to fix a leaking toilet
Get the right parts before you start. Carefully remove the toilet tank lid. The flush button can usually be slid or twisted off. Set the lid somewhere safe.
Shut off the water supply by turning the shutoff valve on the wall behind the toilet clockwise. Flush once to drain most of the tank and help prevent spills.
Keep a cloth nearby. A little water will remain at the bottom of the tank. Dry the inside as best you can before working.
Important note
Before working on an electric flush system or sensor toilet, always switch off the circuit breaker. Water and electricity are a dangerous combination. If you’re unsure, contact a professional.
Essential tools at a glance
You don’t need a full tool kit. A pipe wrench or adjustable water-pump pliers is often enough. You may also need a screwdriver to adjust the float arm.
You’ll need replacement parts. It’s best to buy them after identifying the fault. Find matching parts in our Plumbing + Irrigation section.
A small bucket or bowl will catch any remaining water. Use an old cleaning cloth to wipe up drips.
Common causes of a leaking toilet
Most problems involve one of two parts. Water may be leaking through the flush valve into the bowl, or the fill valve may fail to shut off, letting water run into the overflow tube.
Case 1: Water runs into the bowl—the flush valve
The flapper seal is often the cause. This rubber stopper sits in the drain channel and seals it after a flush. Over time, it can become hard, brittle or misshapen.
When that happens, the valve no longer seals tightly and water keeps seeping through. You may hear a trickling sound or see limescale marks around the siphon area of the bowl.
The fix is simple: Replace the flapper seal. It’s usually clipped or screwed in place. Take the old part with you when you buy a replacement. For more complex systems, you can buy complete replacement inserts.
Modern toilet tank components are designed to last, but rubber naturally wears out over time. Replacing the flapper seal every five years as a preventive measure can help prevent costly water damage.
Case 2: Water runs into the overflow tube—the fill valve
A float controls the fill valve. The valve should close when the tank is full. If the float is set incorrectly, stuck or coated in limescale, the valve may stay open.
Water then runs through the overflow tube into the flush valve. You’ll hear a steady rushing sound, and the water supply won’t shut off.
First, check the float arm. Does it move freely? Is the float damaged and full of water? If it no longer floats, the valve will stay open.
Pro tip
Adjust the water level: The float arm can often be bent to change the level. Carefully bend it downward to lower the water level, or upward to raise it. The ideal level is about two centimeters below the overflow tube. This saves water with every flush.
Case 3: The seal between the tank and bowl
This large, ring-shaped seal is hidden from view. You may notice a problem if you see moisture or drops around the base of the toilet or the mounting bolts.
Replacing it takes more work because you have to separate the tank from the bowl. You may need someone to help, but it’s still a manageable repair.
Step by step: How to repair a toilet tank
Follow this step-by-step guide to find the cause.
Step 1: Troubleshoot and identify the problem
Remove the lid and check the water level. Is the water reaching the overflow tube and running into it? If so, the fill valve is faulty.
Can you see a thin stream of water flowing from the flush valve into the center of the bowl? If so, the diaphragm is damaged.
Is there moisture around the mounting bolts? Dab the area dry and check whether it gets wet again. If it does, the tank-to-bowl gasket is leaking.
Step 2: Repair the fill valve
Shut off the water supply valve. Unscrew the nut holding the flexible water supply line to the valve. You may need the line again later. A suitable replacement, such as the
may come in handy if the old connections are covered in limescale.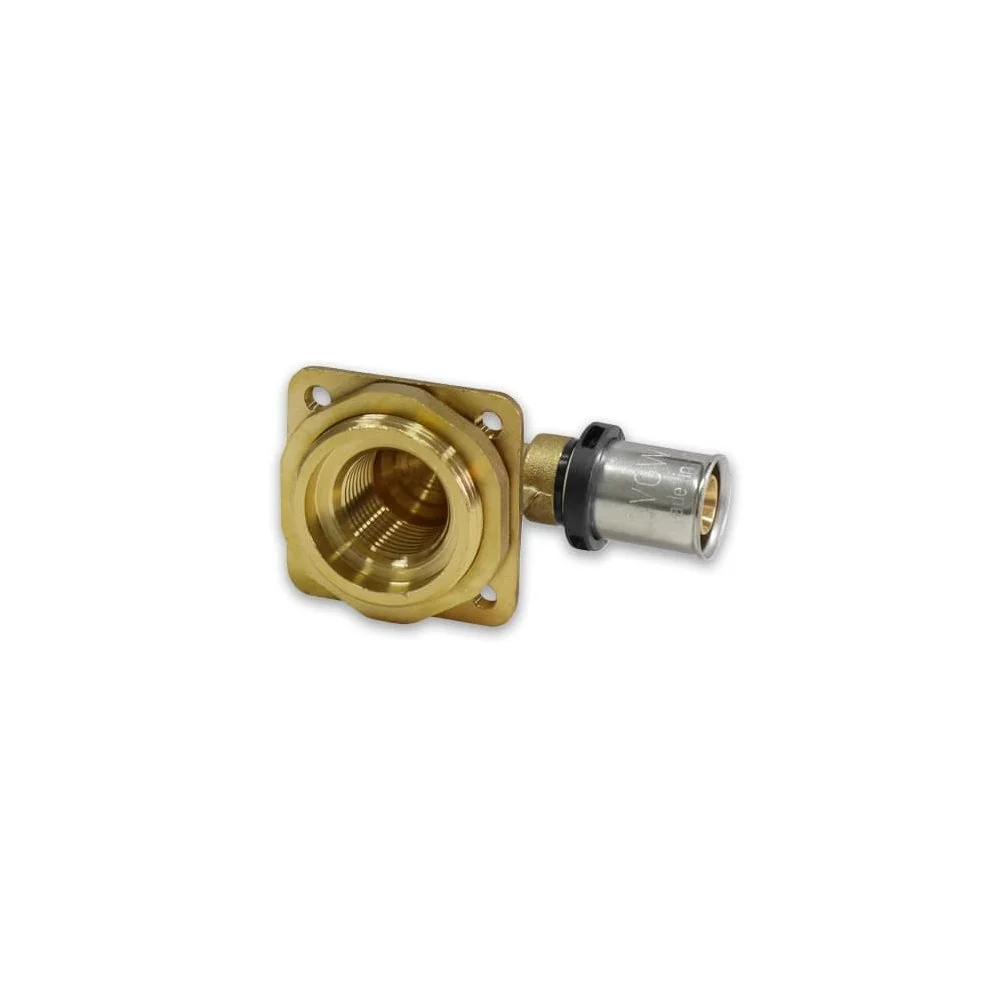
Remove the entire fill valve. It is usually held in place by a large nut underneath the tank. Clean the valve seat with a cloth.
Install the new valve or replace just the float. Adjust the water level as described in the pro tip.
Additional advice
Hard water can quickly cause limescale to build up in the valve. Regularly use a descaling cleaner for toilet tanks, such as
. It gently removes deposits without damaging delicate seals, helping extend the life of all the components.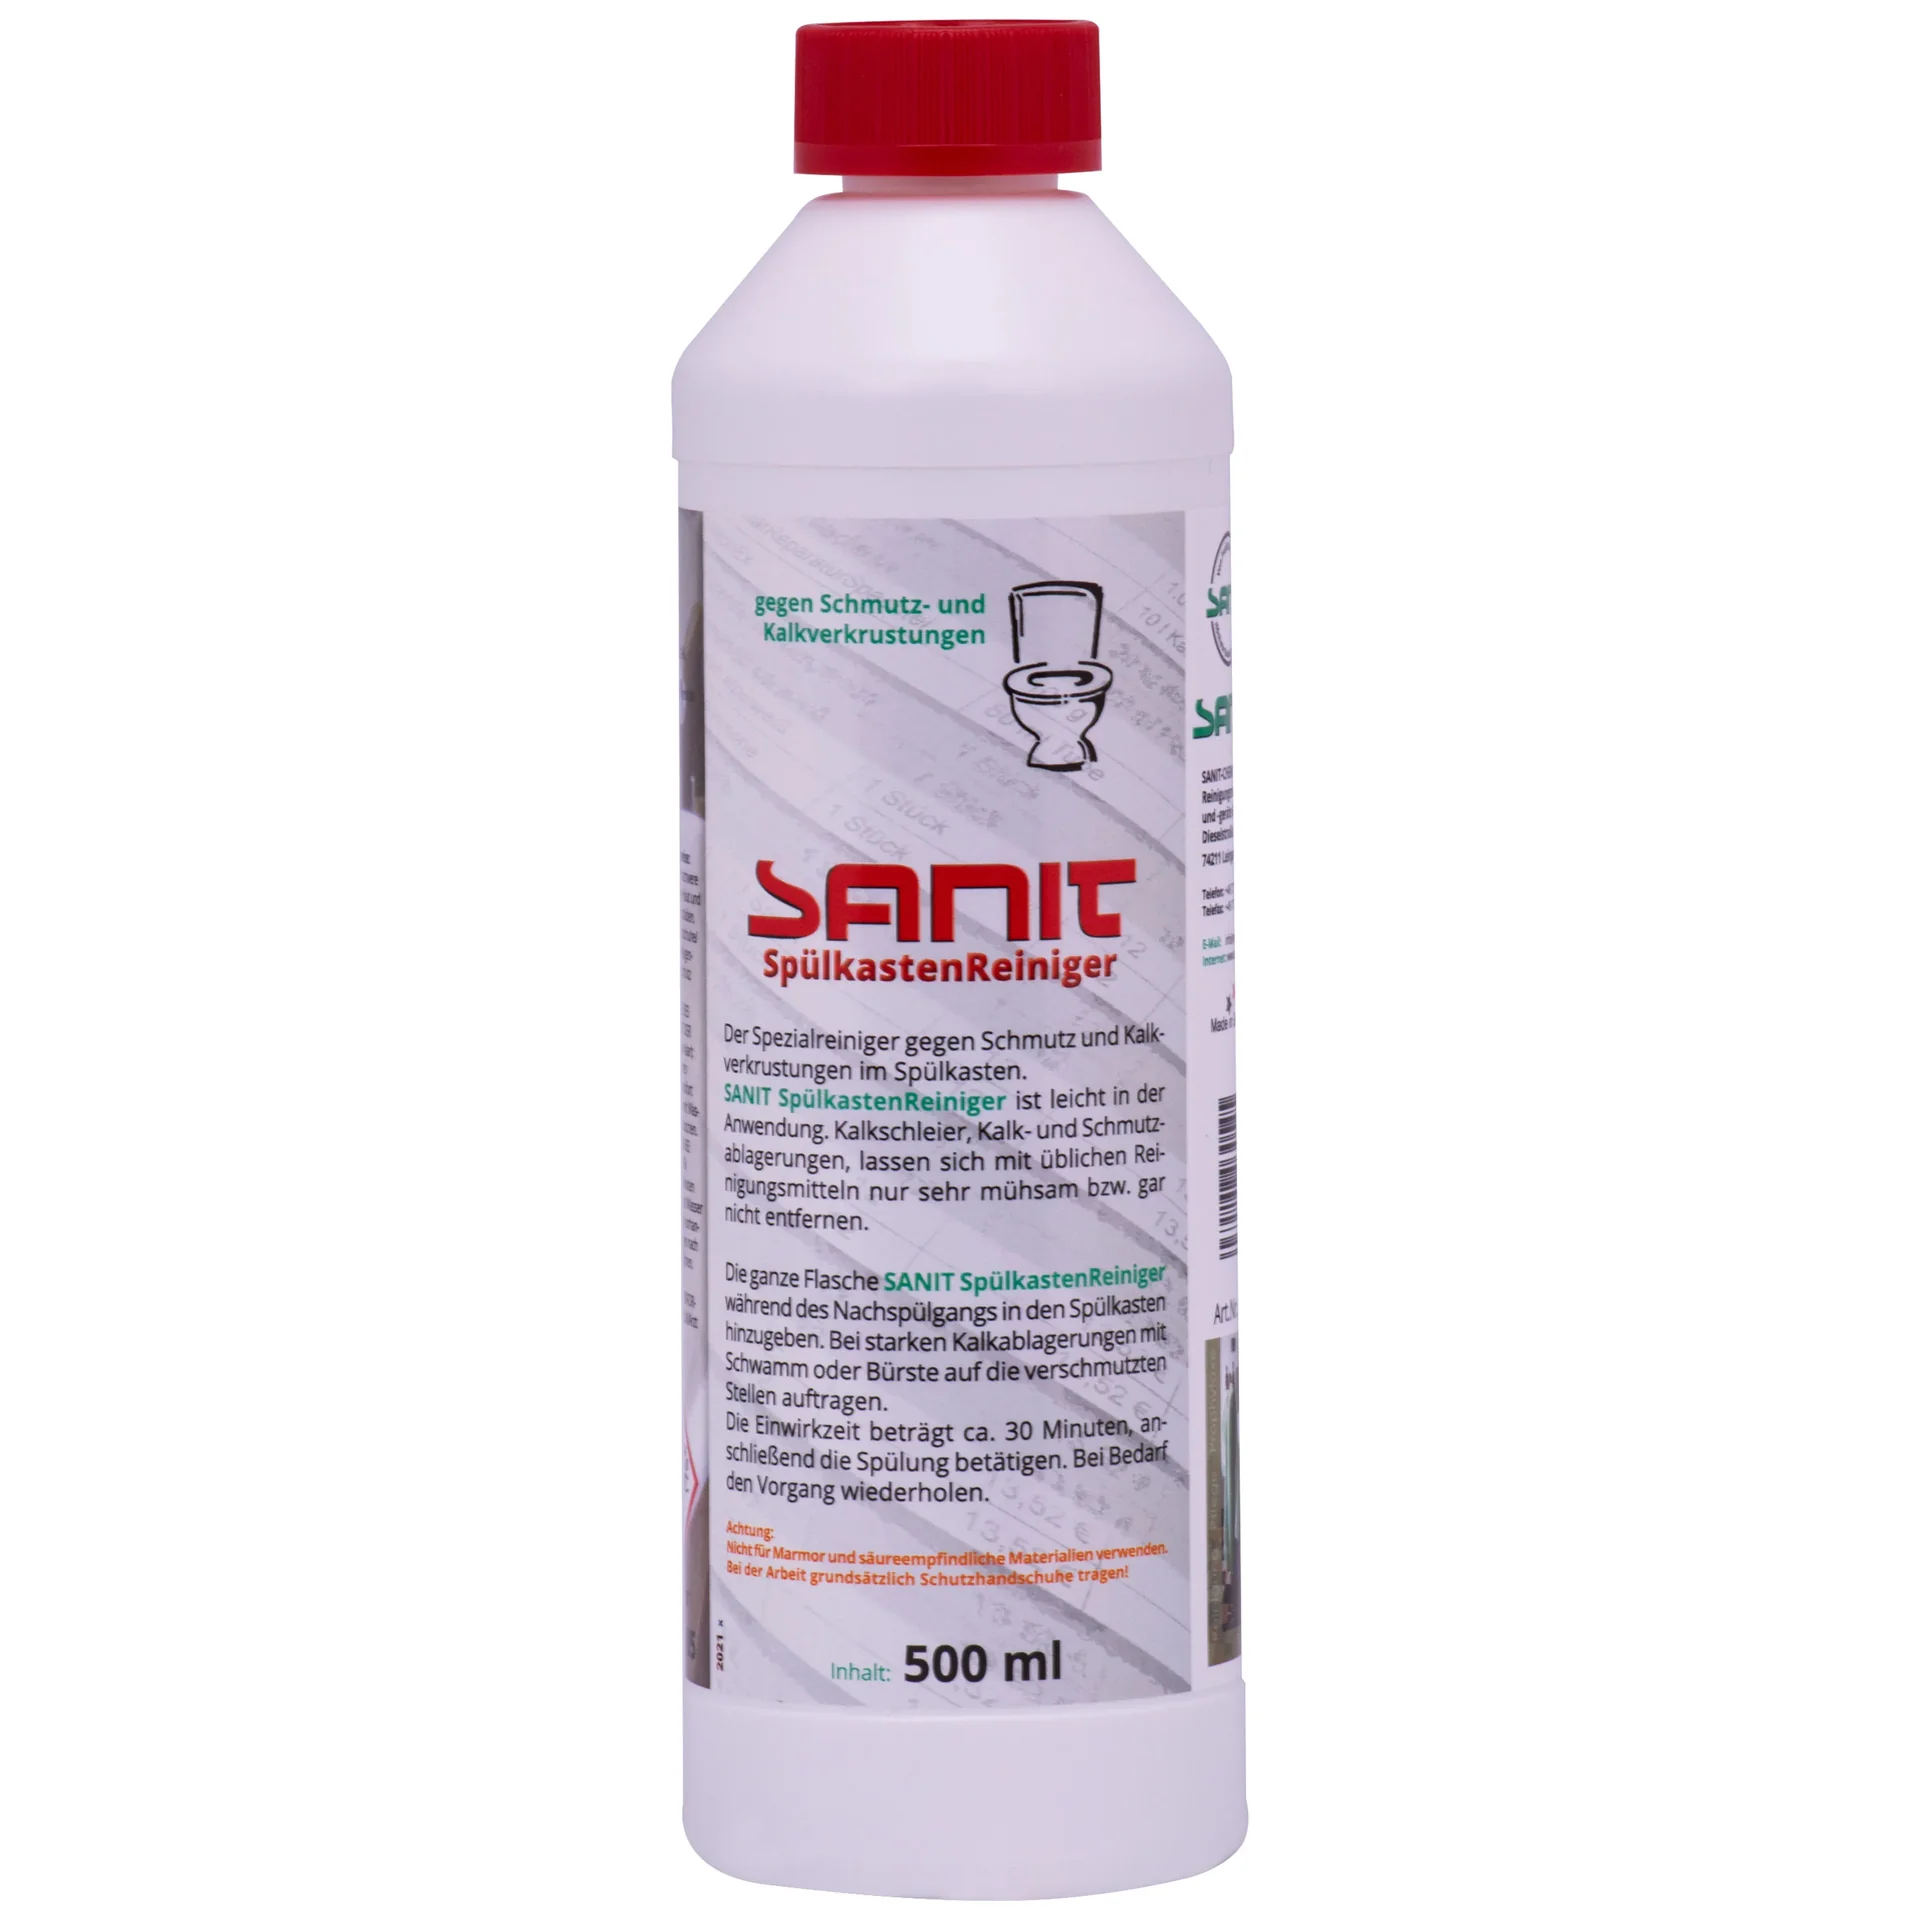
Step 3: Replace the flush valve diaphragm
Carefully lift the flush mechanism out of the tank. It is usually either plugged in or secured with a threaded twist fitting.
Inspect the rubber seal underneath. Is it still flexible, or has it become hard and cracked? Remove it and take it with you as a sample when you buy a replacement diaphragm.
Install the new diaphragm, making sure it is aligned correctly. It should lie flat without any creases. Put the mechanism back in the tank.
Step 4: Replace the tank-to-bowl gasket
Empty the tank completely. Remove the caps covering the mounting bolts and unscrew the nuts. A ratchet can help in tight spaces.
Carefully lift the tank off the bowl. It is heavy, so having someone help is invaluable.
Scrape the old gasket off the tank and bowl. Position the new cone-shaped gasket exactly in the center. Put the tank back in place and hand-tighten the bolts evenly. Overtightening can crack the ceramic tank.
Turn the water back on: Test and optimize
Slowly open the water supply valve again. Check all the new connections for leaks.
Let the tank fill completely and check the water level. It should stop about two finger widths below the overflow tube.
Flush the toilet. The tank should empty quickly and completely. The water should stop running as soon as the flush is complete.
Wait five minutes. Can you no longer hear water running? If so, your toilet repair was successful.
How to adjust your toilet to save water
Modern toilet tanks often have a dual-flush button. Use the half-flush option when possible. On older models, you can intentionally set the water level lower.
Another option is to install a flush stop or an adjustable flush volume regulator. You can find these in our Plumbing + Irrigation category.
Also consider other ways to save water in your garden. Using water responsibly is worthwhile everywhere.
When should you call a professional?
Not every problem can be fixed yourself. Call a plumber if the water supply valve itself is leaking or won't shut off. The water supply to the entire property may need to be turned off for this repair.
If the ceramic tank is cracked, it must be replaced. A crack can fail at any time and cause flooding.
Have you followed all the steps above without success, and is the leak still there? There may be a blocked vent pipe or a problem with the main water connection. In this case, you'll need a professional.
Prevent future problems: Tips for keeping your toilet tank in good condition
Do not use harsh chemical cleaners in the tank. They can damage rubber and plastic parts. A mild descaling cleaner, such as
, is enough.
Check the flexibility of the main seals every one to two years. Replacing them early costs less than wasting water from a leak for a month.
Check the water hardness in your area. If the water is very hard, consider installing a water softener or using descaling products regularly.
For your other home and garden projects, visit our Garden + Outdoor section. From faucets to rain barrels, we have the right accessories.
The right accessories for maintenance
Keep a universal repair kit on hand that is suitable for your toilet tank. That way, you'll be prepared for emergencies.
A good set of sealing rings in different sizes is useful for fixing many minor water leaks around the home.
A pipe wrench and a set of open-end wrenches belong in every household. Keep them close at hand for more than just toilet repairs.
A leaking toilet is more than a nuisance. It wastes water and drives up your bill. With a little know-how and the right parts, such as a new connector () or a gentle cleaner (, ), you can fix the problem quickly. You'll save money right away and help protect a valuable resource. Get started today.
Frequently Asked Questions
- How can I tell if my toilet tank is leaking?
- The clearest sign is a constant, quiet trickling or hissing sound from the toilet, even when you have not flushed. The toilet may also refill briefly on its own. Check your water meter: note the position of the small red dial and do not use any water for one hour. If the dial moves, you have a leak.
- Which replacement part do I need most often?
- In over 80 percent of cases, the rubber or plastic flapper seal in the flush valve has worn out and become hard. It sits in the lower part of the toilet tank and seals the outlet to the toilet. Another common cause is a faulty float or a limescale-covered fill valve that no longer closes completely. Both parts are available as affordable replacement kits.
- Can I repair it myself or do I need a plumber?
- Repairing a leaking toilet tank is one of the easiest household jobs. You only need a cloth and perhaps a pair of pliers. Almost all systems are designed for DIY installation. Simply make sure you securely close the shut-off valve on the wall behind the toilet first. If you are unsure, you can find more accessories and inspiration in our Plumbing + Irrigation category.
- How much water and money do I lose through a leak?
- A small, constant trickle can waste up to 200 liters of drinking water per day. At a current water price of around 5 euros per cubic metre, this adds up to more than 30 euros per month – just for wastewater that serves no purpose. The repair, on the other hand, often costs less than 20 euros for a replacement kit and half an hour of your time. The investment pays for itself within a few weeks.
- How can I prevent leaks?
- Do not use chemical or abrasive cleaning products directly in the toilet tank. They can damage the seals. Instead, clean the inside occasionally with a damp cloth. A specialist toilet tank cleaner such as PRODUCT_59254 or PRODUCT_73266 gently prevents limescale deposits on the valve. Check the flexibility of the main seal every two years and replace it at the first signs of hardening.
You might also be interested in
- Repair a Faucet: Replacement Parts and Step-by-Step Guide
- Stop Drips: Quick Help for Leaks
- Clogged Toilet: How to Solve the Problem and Prevent It Effectively
- Install a Toilet: Step-by-Step Guide for DIYers
- Aqua Dicht: The Invisible Solution for Leaks in Your Home & Garden
- Seal Leaks: The Solution for Roofs, Balconies & More