
In brief: You can install cork flooring yourself in just a few steps. The most important requirement is a dry, level, and solid subfloor. You need click-lock cork planks, the right set of tools, and a little patience. The planks simply click together and are not glued to the floor. After installation, protect the cork flooring with a specialized care product.
How to Install Cork Flooring: Your DIY Guide to a Warm Home
Cork flooring brings warmth, natural beauty, and comfort to your home. With our guide, you can install it yourself. You save money and gain a unique floor covering.
Cork is renewable, warm underfoot, and sound-absorbing. It is ideal for living rooms and bedrooms. Click-lock systems make installation easy.
Why choose cork flooring?
Cork comes from the bark of the cork oak. Harvesting does not harm the tree. The material grows back.
Cork flooring significantly reduces impact noise. Your neighbors and family will appreciate it. Its resilient surface is gentle on your joints.
Cork insulates against the cold. Even in winter, you can walk barefoot on a warm floor. With the right products, it is easy to maintain.
Cork is a living material. It breathes and responds to the indoor climate. This gives every floor its own character.
How do I prepare the subfloor?
Preparation determines the final result. The subfloor must meet three requirements: it must be dry, level, and solid.
Check the moisture level. For screed, a guideline value of 2% CM applies. Old wooden floors must be securely screwed down.
Remove all loose material. Vacuum thoroughly. Sand away any adhesive residue from old flooring.
Important note
Do not install cork flooring over underfloor heating without checking whether the product is suitable. Not all cork floors can withstand direct heat. The maximum flow temperature is often 27°C.
For a perfectly level surface, sand concrete floors or apply leveling compound. For minor unevenness, an impact-noise underlay can help.
In our power tools range, you will find sanders and other helpful tools for preparation.
What tools do I need for installation?
Using the right tools makes the job precise. You do not need professional training.
- Saw: A jigsaw or miter saw with a fine-tooth blade.
- Rubber mallet: For gently tapping the planks together.
- Pull bar: For the final row against the wall.
- Installation spacers: They keep the expansion gap consistent.
- Metal square and tape measure: For accurate measurements and straight cuts.
Store the cork planks in the room for at least 48 hours before installation. This allows them to acclimate to the temperature and humidity.
Take planks from several packages and mix them as you go. This distributes color variations evenly throughout the room.
Setting out the first row correctly
Start along the longest, straightest wall. Place the first plank with its long side facing the wall. The groove faces the wall and the tongue faces into the room.
Place installation spacers between the plank and the wall. These provide the required expansion gap of 8-10 mm.
Measure the length of the last plank in the row. Make sure the remaining piece shorter than 30 cm is not placed at the beginning or end of a row. Stagger the joints by at least 30 cm.
Pro tip
Mark the position of the first row on the subfloor with a pencil. This helps you maintain your alignment, even when dry-fitting planks. Keep checking with a spirit level.
Mark each plank precisely before cutting. Saw with the decorative side facing up to prevent splintering.
How do I install the remaining rows?
First, connect the next plank to the first row along the long-edge profile. Then lift the plank to the correct angle and join it to the short end of the previous plank in the same row.
Position the plank along the long side again and fold it downward. A gentle tap with the rubber mallet on a piece of scrap wood locks the profiles firmly together.
Make sure the joints are evenly staggered. The planks should lie flush against one another.
The most common mistake is using too much force. The click-lock system works through precise alignment, not brute force. If it does not fit, check the alignment.
Continue across the room one row at a time. Every three or four rows, use the square to check that you are still at a right angle to the starting wall.
Cutting the final row
The final row almost always needs to be cut to width. Measure the remaining distance at several points. Subtract the expansion gap of 8-10 mm.
Transfer the measured width to the new plank. Do not forget to saw off the tongue here as well. The groove faces the penultimate row.
Use the pull bar to draw the final row toward the previous row. The bar hooks into the groove on the long side. Lever carefully until the gap is closed.
For complex cuts around radiators or door frames, make a cardboard template. Then transfer the template to the plank.
How do I finish the job?
Remove all installation spacers. Check the entire floor to make sure it is firmly seated and the joints are even.
Now install the baseboards. They cover the expansion gap. Attach the baseboards to the wall, not to the cork flooring.
Cover transitions to other rooms or floor coverings with suitable transition strips. Choose from metal or plastic.
Additional advice
Use so-called T-bars for door transitions. They allow the cork flooring room to move in both directions. Simple thresholds can create pressure points as the floor expands.
First, clean the finished floor thoroughly with a dry broom or a vacuum cleaner with a floor nozzle. Remove all sawdust.
How do I care for my cork floor after installation?
Proper care preserves its beauty and functionality. Only use products suitable for oiled or waxed cork surfaces.
The
gently cleans and cares for the surface in one step. It was specially developed for this type of flooring.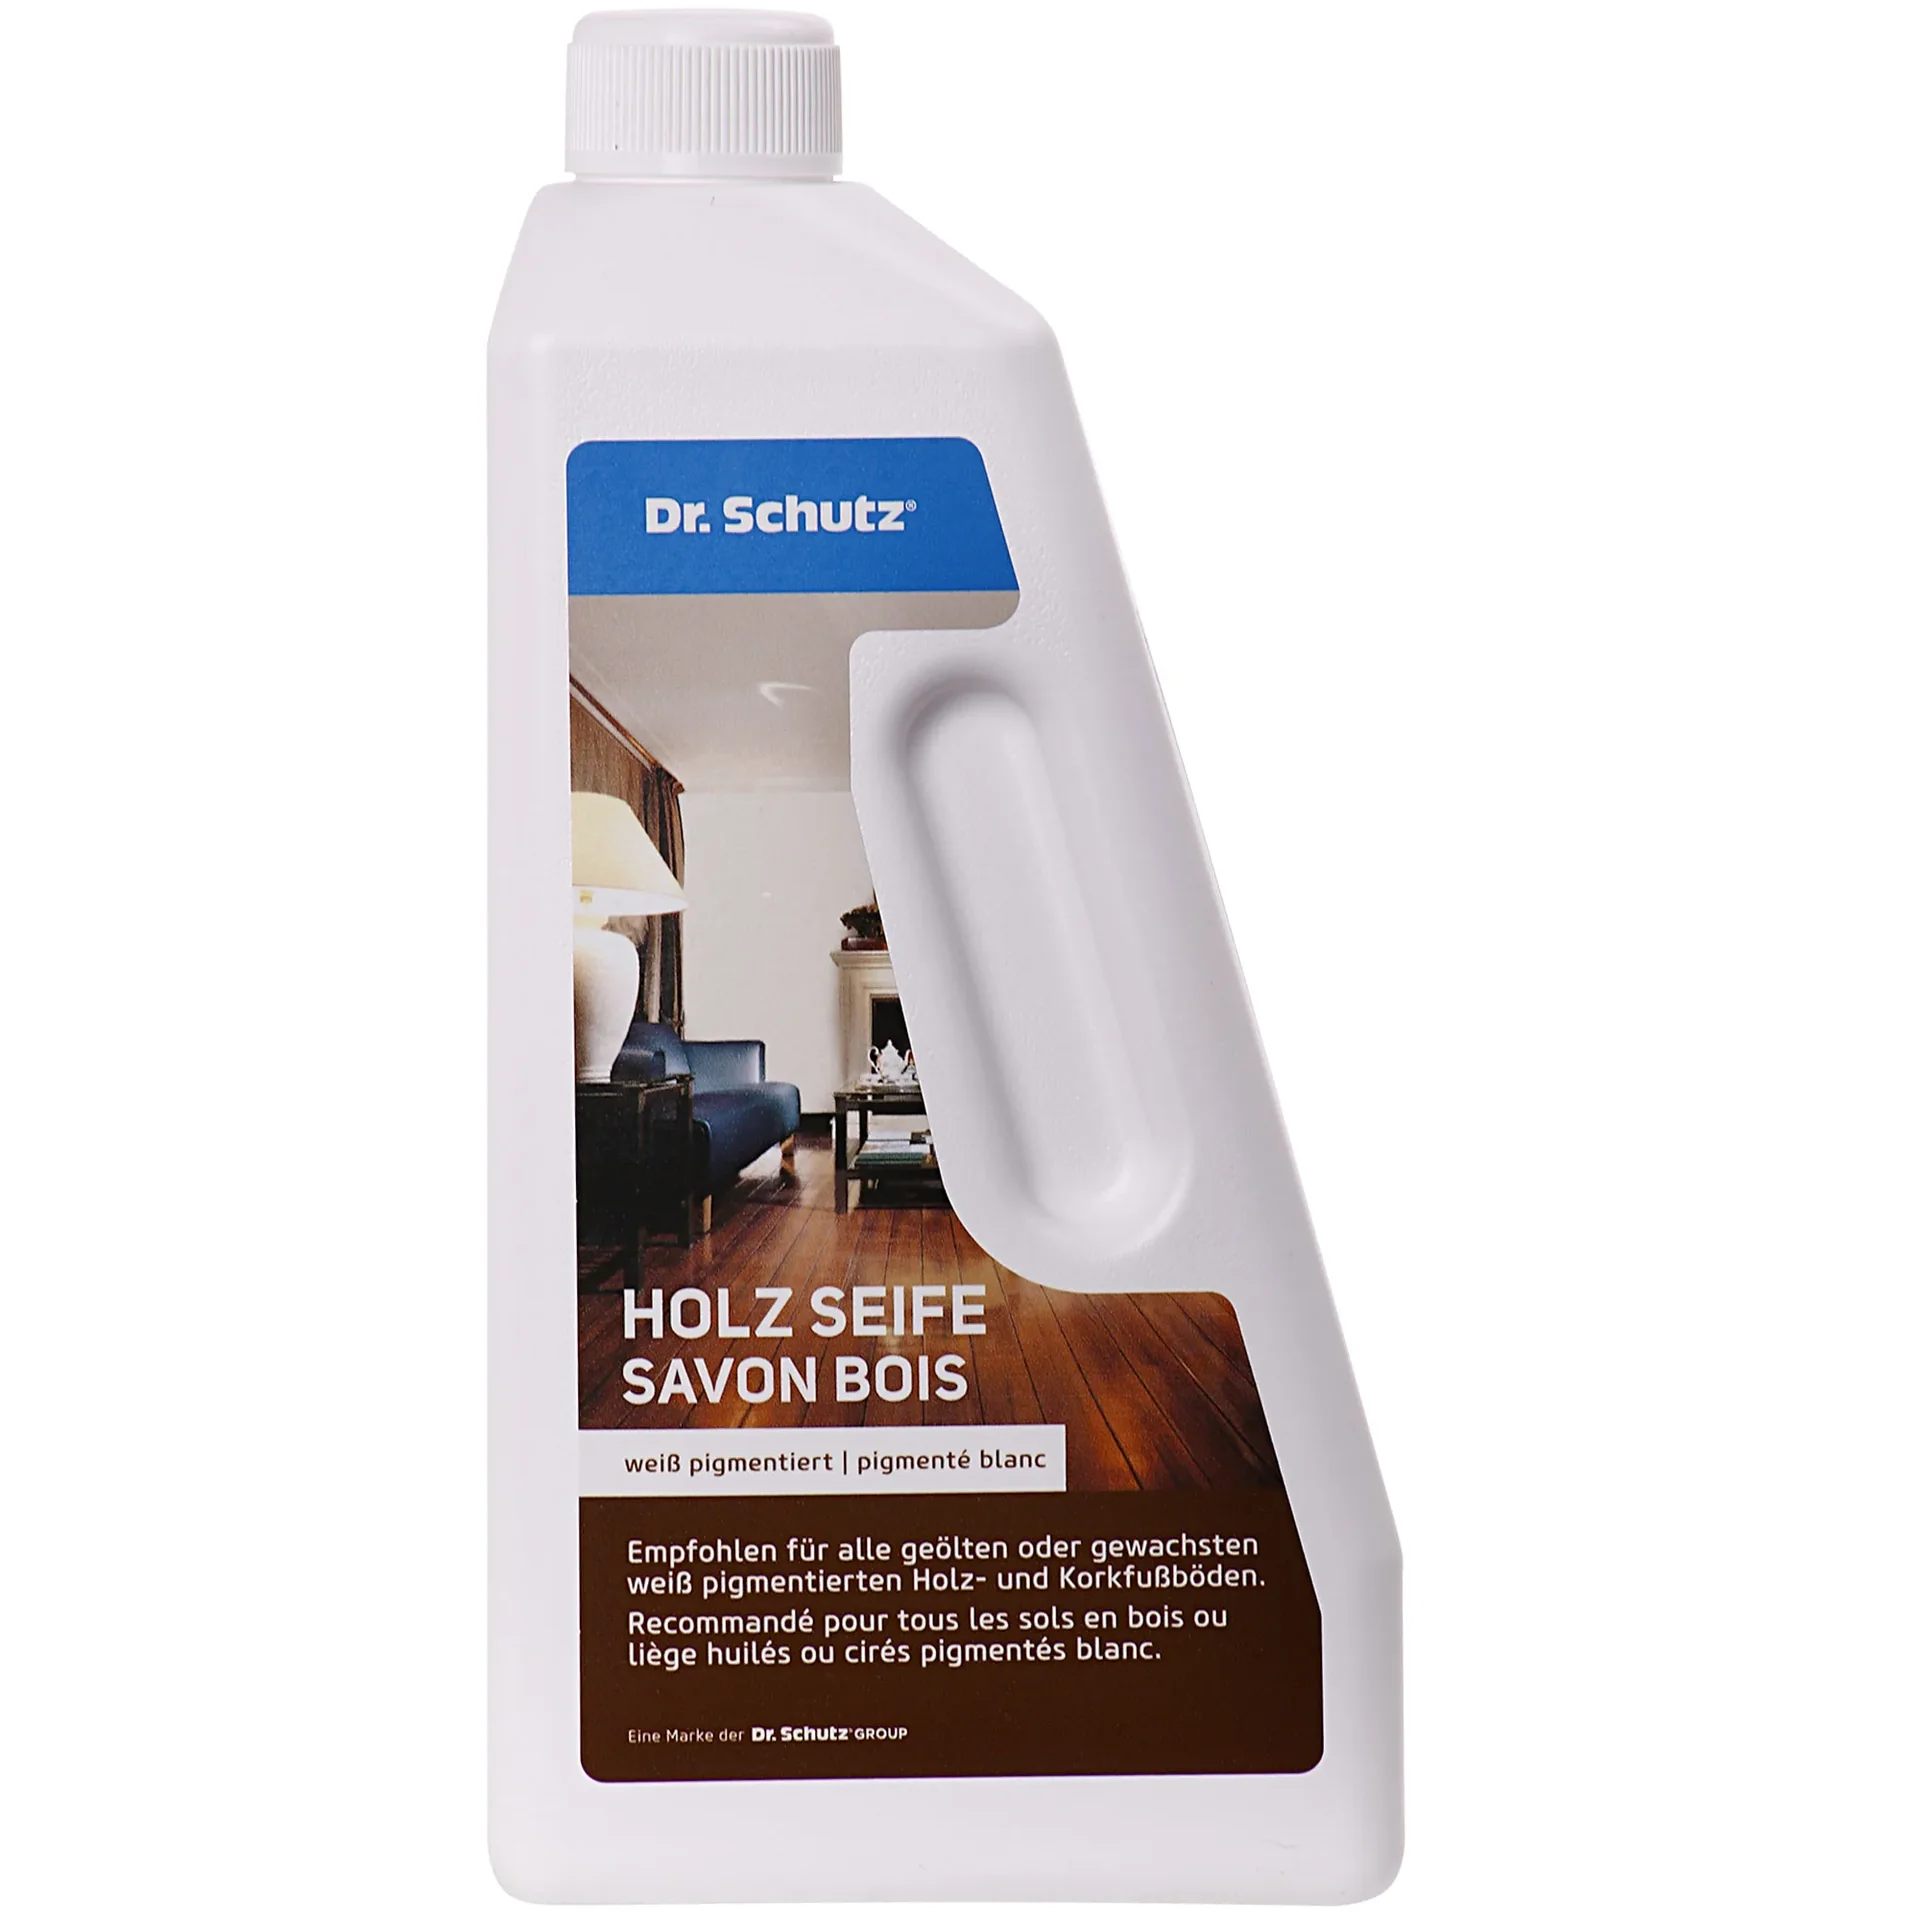
For larger areas or to keep a long-term supply, the
in the 5-Liter container is a worthwhile choice. This keeps you supplied for a long time.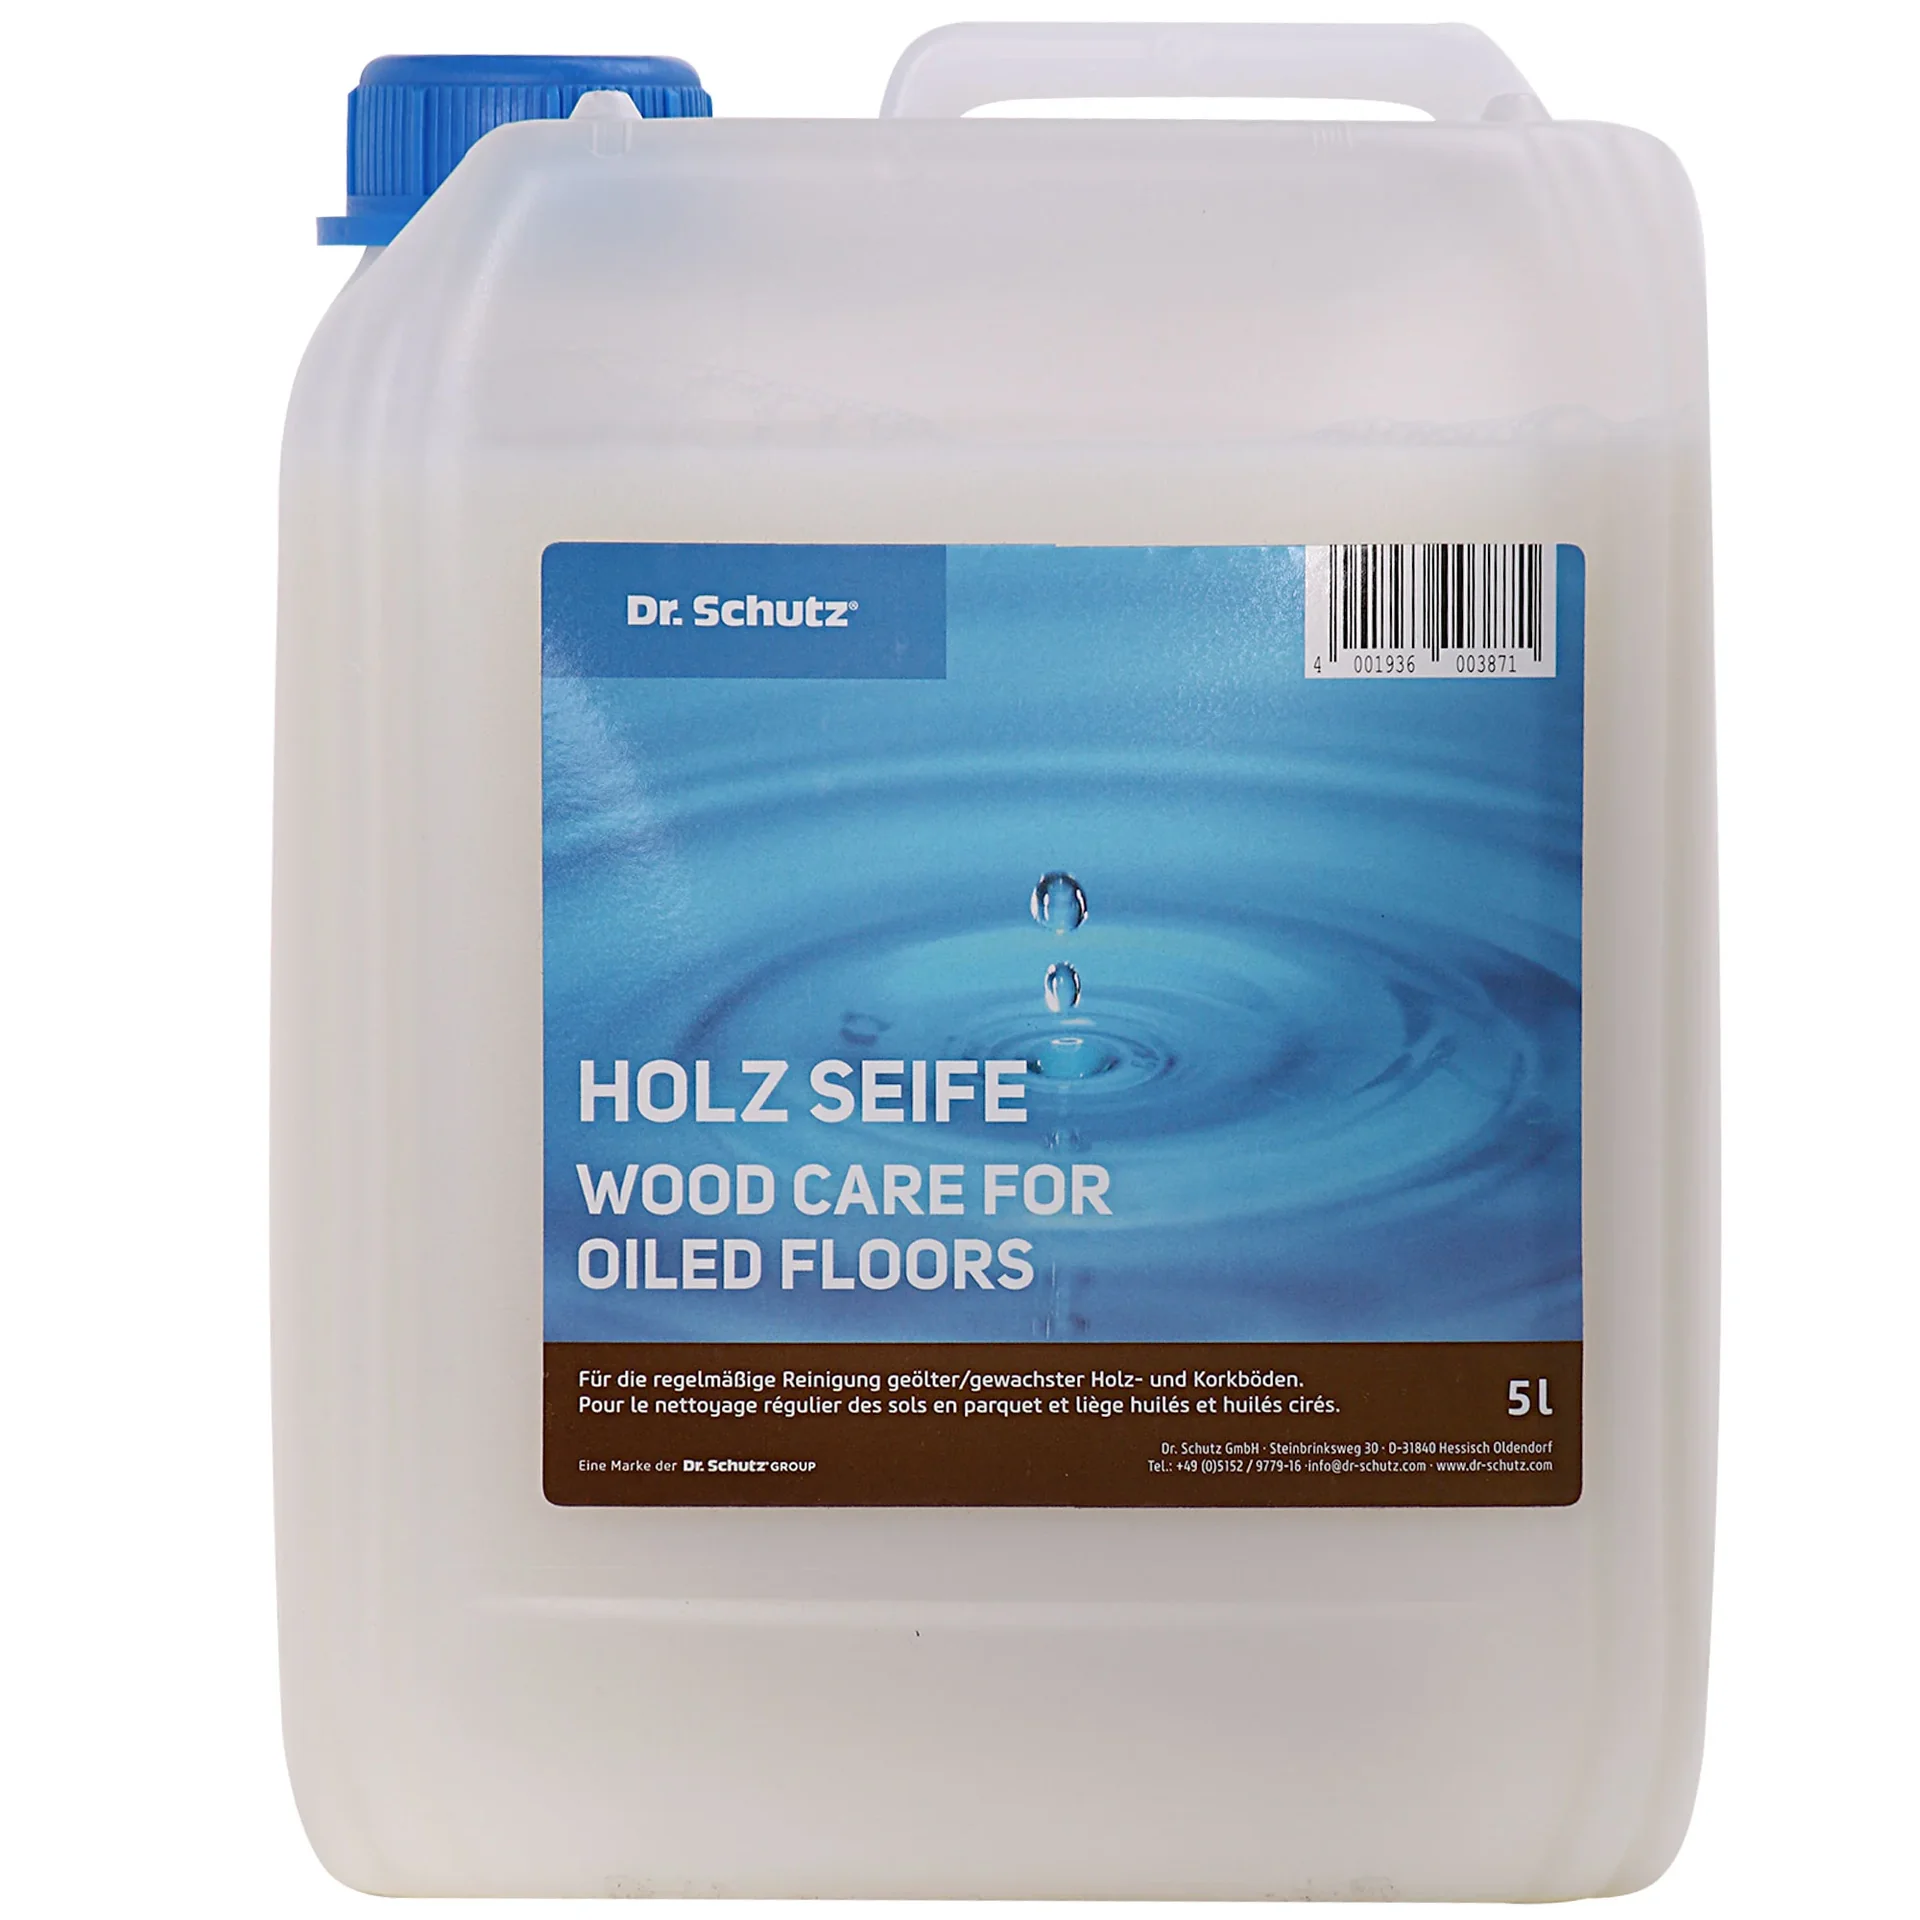
A comprehensive care set such as the
provides cleaner and intensive care in one package. Ideal for getting started after your renovation.
Always wipe with a damp cloth only. Avoid standing water. If stubborn stains appear, treat them immediately with the appropriate cleaner.
Protect chairs and tables with felt pads. Office chair castors should be soft and clean.
In our garden tools and business supplies categories, you will find more useful products for home and floor care.
Where can I install cork flooring?
Cork flooring is suitable for all living areas and bedrooms. It is also ideal for children's rooms thanks to its softness.
In hallways and kitchens, you should make sure the floor has a high-quality sealant. These areas are subject to greater wear and tear.
For damp areas such as bathrooms or saunas, you must choose special, fully sealed cork flooring. Check the manufacturer's specifications carefully.
Combine cork with other natural materials. Under garden equipment, you will find inspiration for a harmonious overall concept indoors and outdoors.
Your new cork floor is a sustainable and attractive flooring solution. With our guide, you have installed it yourself. Enjoy the warm feeling underfoot.
Frequently asked questions
- Can I install cork flooring on any subfloor?
- No. Cork flooring requires a completely dry, clean and level subfloor. Suitable surfaces include cement screed, dry screed panels or an existing tiled floor. Experts advise against floating surfaces such as carpet or PVC. Always check the moisture level with a CM meter.
- Do I need to allow for an expansion gap when installing cork flooring?
- Yes. Cork is a natural material that reacts to changes in climate. Leave an 8-10 mm gap along all walls and around fixed obstacles such as columns. You can later cover this gap with skirting boards. Without it, the floor may buckle.
- What tools do I need to install cork flooring?
- You need a jigsaw or mitre saw for making cuts, a rubber mallet for gently tapping the planks into place, a pull bar for the final row, a metal square as a guide and an installation kit for click flooring. A tape measure and utility knife are also useful.
- How do I care for my new cork floor properly?
- Only clean oiled or waxed cork floors with special care products such as PRODUCT_59072. Standard all-purpose cleaners or too much water can damage the surface. Wipe with a damp cloth, not a wet one. PRODUCT_60674 is suitable for lasting protection.
- Can I install cork flooring in damp areas such as the bathroom?
- This is a critical consideration. Although cork is water-repellent, it is not waterproof. In bathrooms with a high risk of splashing, manufacturers often recommend sealed cork flooring or advise against it altogether. Be sure to check the suitability class of the product you choose.
You may also be interested in
- How do I install and design a cork wall?
- Installing underfloor heating: step-by-step guide
- Installing vinyl flooring: transform your space step by step
- Installing engineered wood flooring: fit your own wooden floor
- How to lay laminate flooring: which direction is best?
- How to install and care for laminate flooring: the ultimate guide