
In brief: A successful window replacement starts with careful preparation. Measure the existing window accurately and order a replacement with an installation frame. After removing the old window, prepare the opening, fit the new window, align it with wedges and secure it. Then install the interior trim, seal the joints and test the window.
How to Replace a Window: A Professional Guide
New windows improve energy efficiency and make your home more comfortable. Installation can seem complex, but with a systematic approach and careful measurements, you can complete the project successfully. This guide takes you through every step.
If you live in an older home, the same basic principles apply. We explain how to replace windows with modern window units and an installation frame.
What preparations are needed before installing a window?
Good preparation helps prevent mistakes. Start by assessing the existing window and documenting its condition, along with the surrounding wall.
Check the wall for moisture or cracks. For very large openings, check whether structural work is needed. Gather all the materials in advance.
Pro tip
Always order windows with an installation frame. It creates a ready-made frame that makes installation and sealing much easier.
Prepare the right tools
Without the right tools, the work can quickly grind to a halt. Gather everything you need before you start.
- Rotary hammer with chisel: For removing the old window and chiselling around the frame.
- Cordless drill: For driving the fixing screws.
- Spirit level: Essential for checking that the window is level and plumb.
- Installation wedges in different thicknesses.
- Utility knife, PU expanding foam and foam gun.
- Sealing tape for the inside and outside.
Find many of these tools in our garden tools section or browse our power tools.
Take accurate measurements
Incorrect measurements can derail the project. Measure the existing window in three places—top, middle and bottom—for both width and height. Record the smallest measurement.
Also measure the depth of the window opening. The new window should be slightly smaller than the opening to leave room for adjustment and sealing.
The most common mistake when replacing windows yourself is taking inaccurate measurements. Don’t measure just once. Record the rough opening size, clear opening size and opening depth. The tolerance is often just a few millimetres.
How do you remove the old window professionally?
Work carefully to avoid damaging the window opening. Start inside the room.
First remove the interior trim, which is usually clipped or screwed in place. Then detach the old window sash from the frame.
Unscrew the sash from its hinges and lift it out. The old frame is now exposed.
Important note
Always wear a dust mask and gloves when removing old windows from the 1970s and 1980s. The seals and coatings may contain harmful substances such as PCB.
Remove the old frame with the rotary hammer and a flat chisel. Work carefully from the inside out, loosening all the anchor points.
Lift out the frame completely. Thoroughly clean the window opening, removing plaster residue, dust and loose masonry. A stable, level surface is essential.
How do you fit and adjust the new window?
Now it’s time to fit the new window. Get help—this step almost always requires two people.
Place the window into the opening from inside. Rest it on the lower installation wedges to provide clearance from the sill and make alignment easier.
Use a spirit level to check that the window is level and plumb. Adjust it by adding more wedges underneath. The window must be perfectly aligned before you start screwing it in.
The window must not be twisted or under tension. The sashes should open and close smoothly once installation is complete.
Getting the window aligned is the most demanding part of the job. Take your time. A crooked window will never seal properly, causing drafts and potentially damaging the hardware. Your spirit level is your best friend.
Install the fixing screws
Secure the window through the predrilled holes in the installation frame. Use screws made specifically for window installation.
Start by lightly tightening the screws in the upper corners, then the lower corners. Fully tighten all the screws only after the window is correctly aligned.
The frame must not warp as you tighten the screws. Check the spirit level and make sure the sash moves freely after each step.
How do you seal the window professionally?
The seal protects against drafts, moisture and heat loss. It has three layers: one on the inside, one in the joint and one on the outside.
Start on the inside. Apply airtight sealing tape between the window frame and the wall to prevent indoor humidity from entering the structure.
Additional advice
Fill the installation gap only two-thirds full with expanding foam. The foam expands, and too much can warp the window frame. For more delicate work, use low-expansion window foam.
Next, apply the PU expanding foam. Lightly dampen the window opening to improve adhesion, then fill the gap evenly from the inside.
Let the foam cure for the time specified on the can. Trim any excess flush with a utility knife.
The outer seal is essential. It must keep out the weather while allowing water vapour to escape. Apply sealing tape designed for outdoor use to direct any moisture that gets in back outside.
Install the interior trim and finish
Fit the interior trim to cover the screw holes and installation gap. It usually clips into place or is secured with a few decorative screws.
Finally, check that everything works properly. Open and close the sash several times. Test all the locking points and check that the weatherstripping is seated correctly.
You can now install the windowsill and finish the interior plaster or paintwork. Take care to keep dirt away from the moving parts of the window.
What mistakes should you avoid when installing windows?
Some mistakes can have long-term consequences. Avoid these common pitfalls.
Avoid direct contact between the wooden frame and the masonry. Always place sealing tape or wedges between them to prevent thermal bridging and moisture.
Never drive the fixing screws through the sash or the visible frame. They must go through the concealed installation frame.
Don’t rush the work. Every step takes time, especially allowing the foam and sealants to cure.
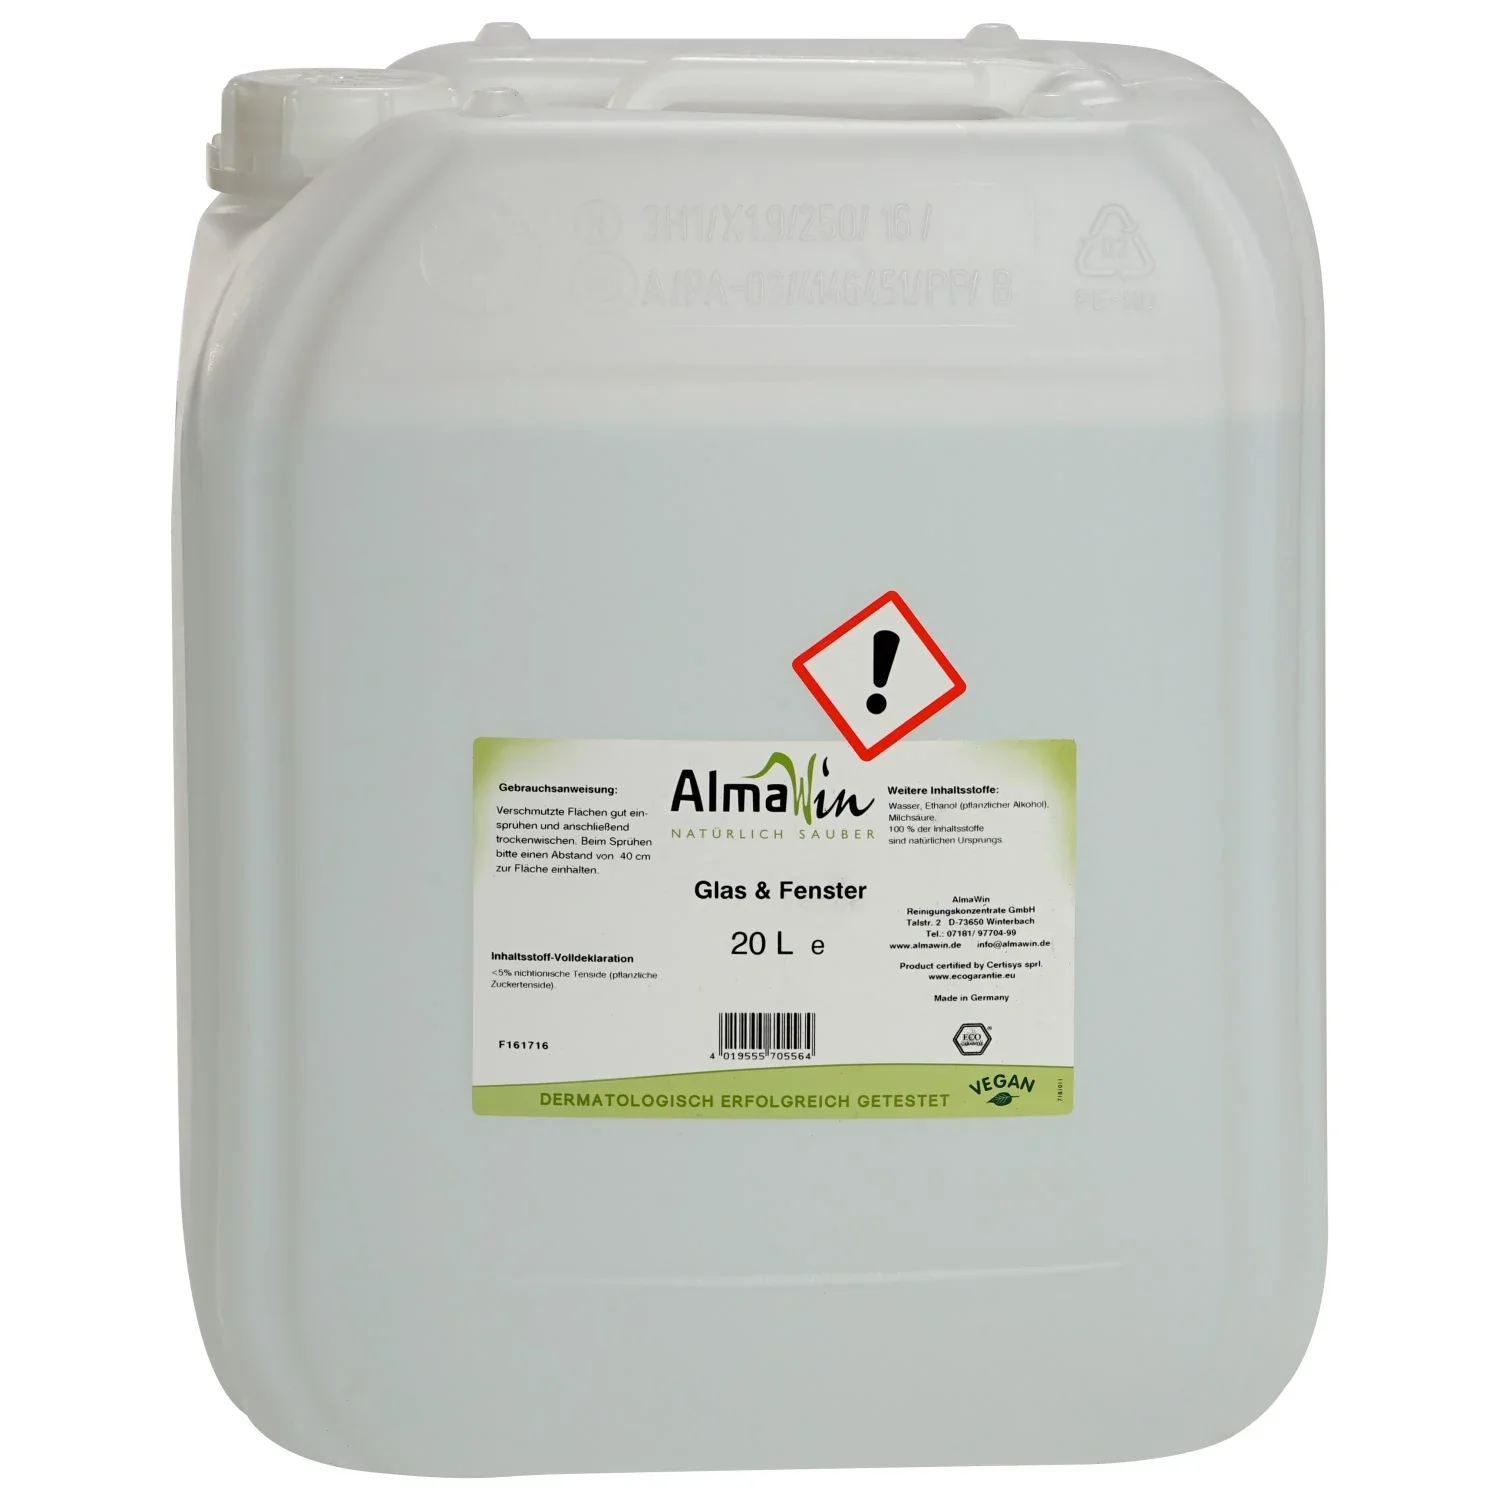
Don’t forget to thoroughly clean the new panes when you’re finished. For spotless results, we recommend professional products such as the
or the larger 20-litre container . For complete window care, try the convenient .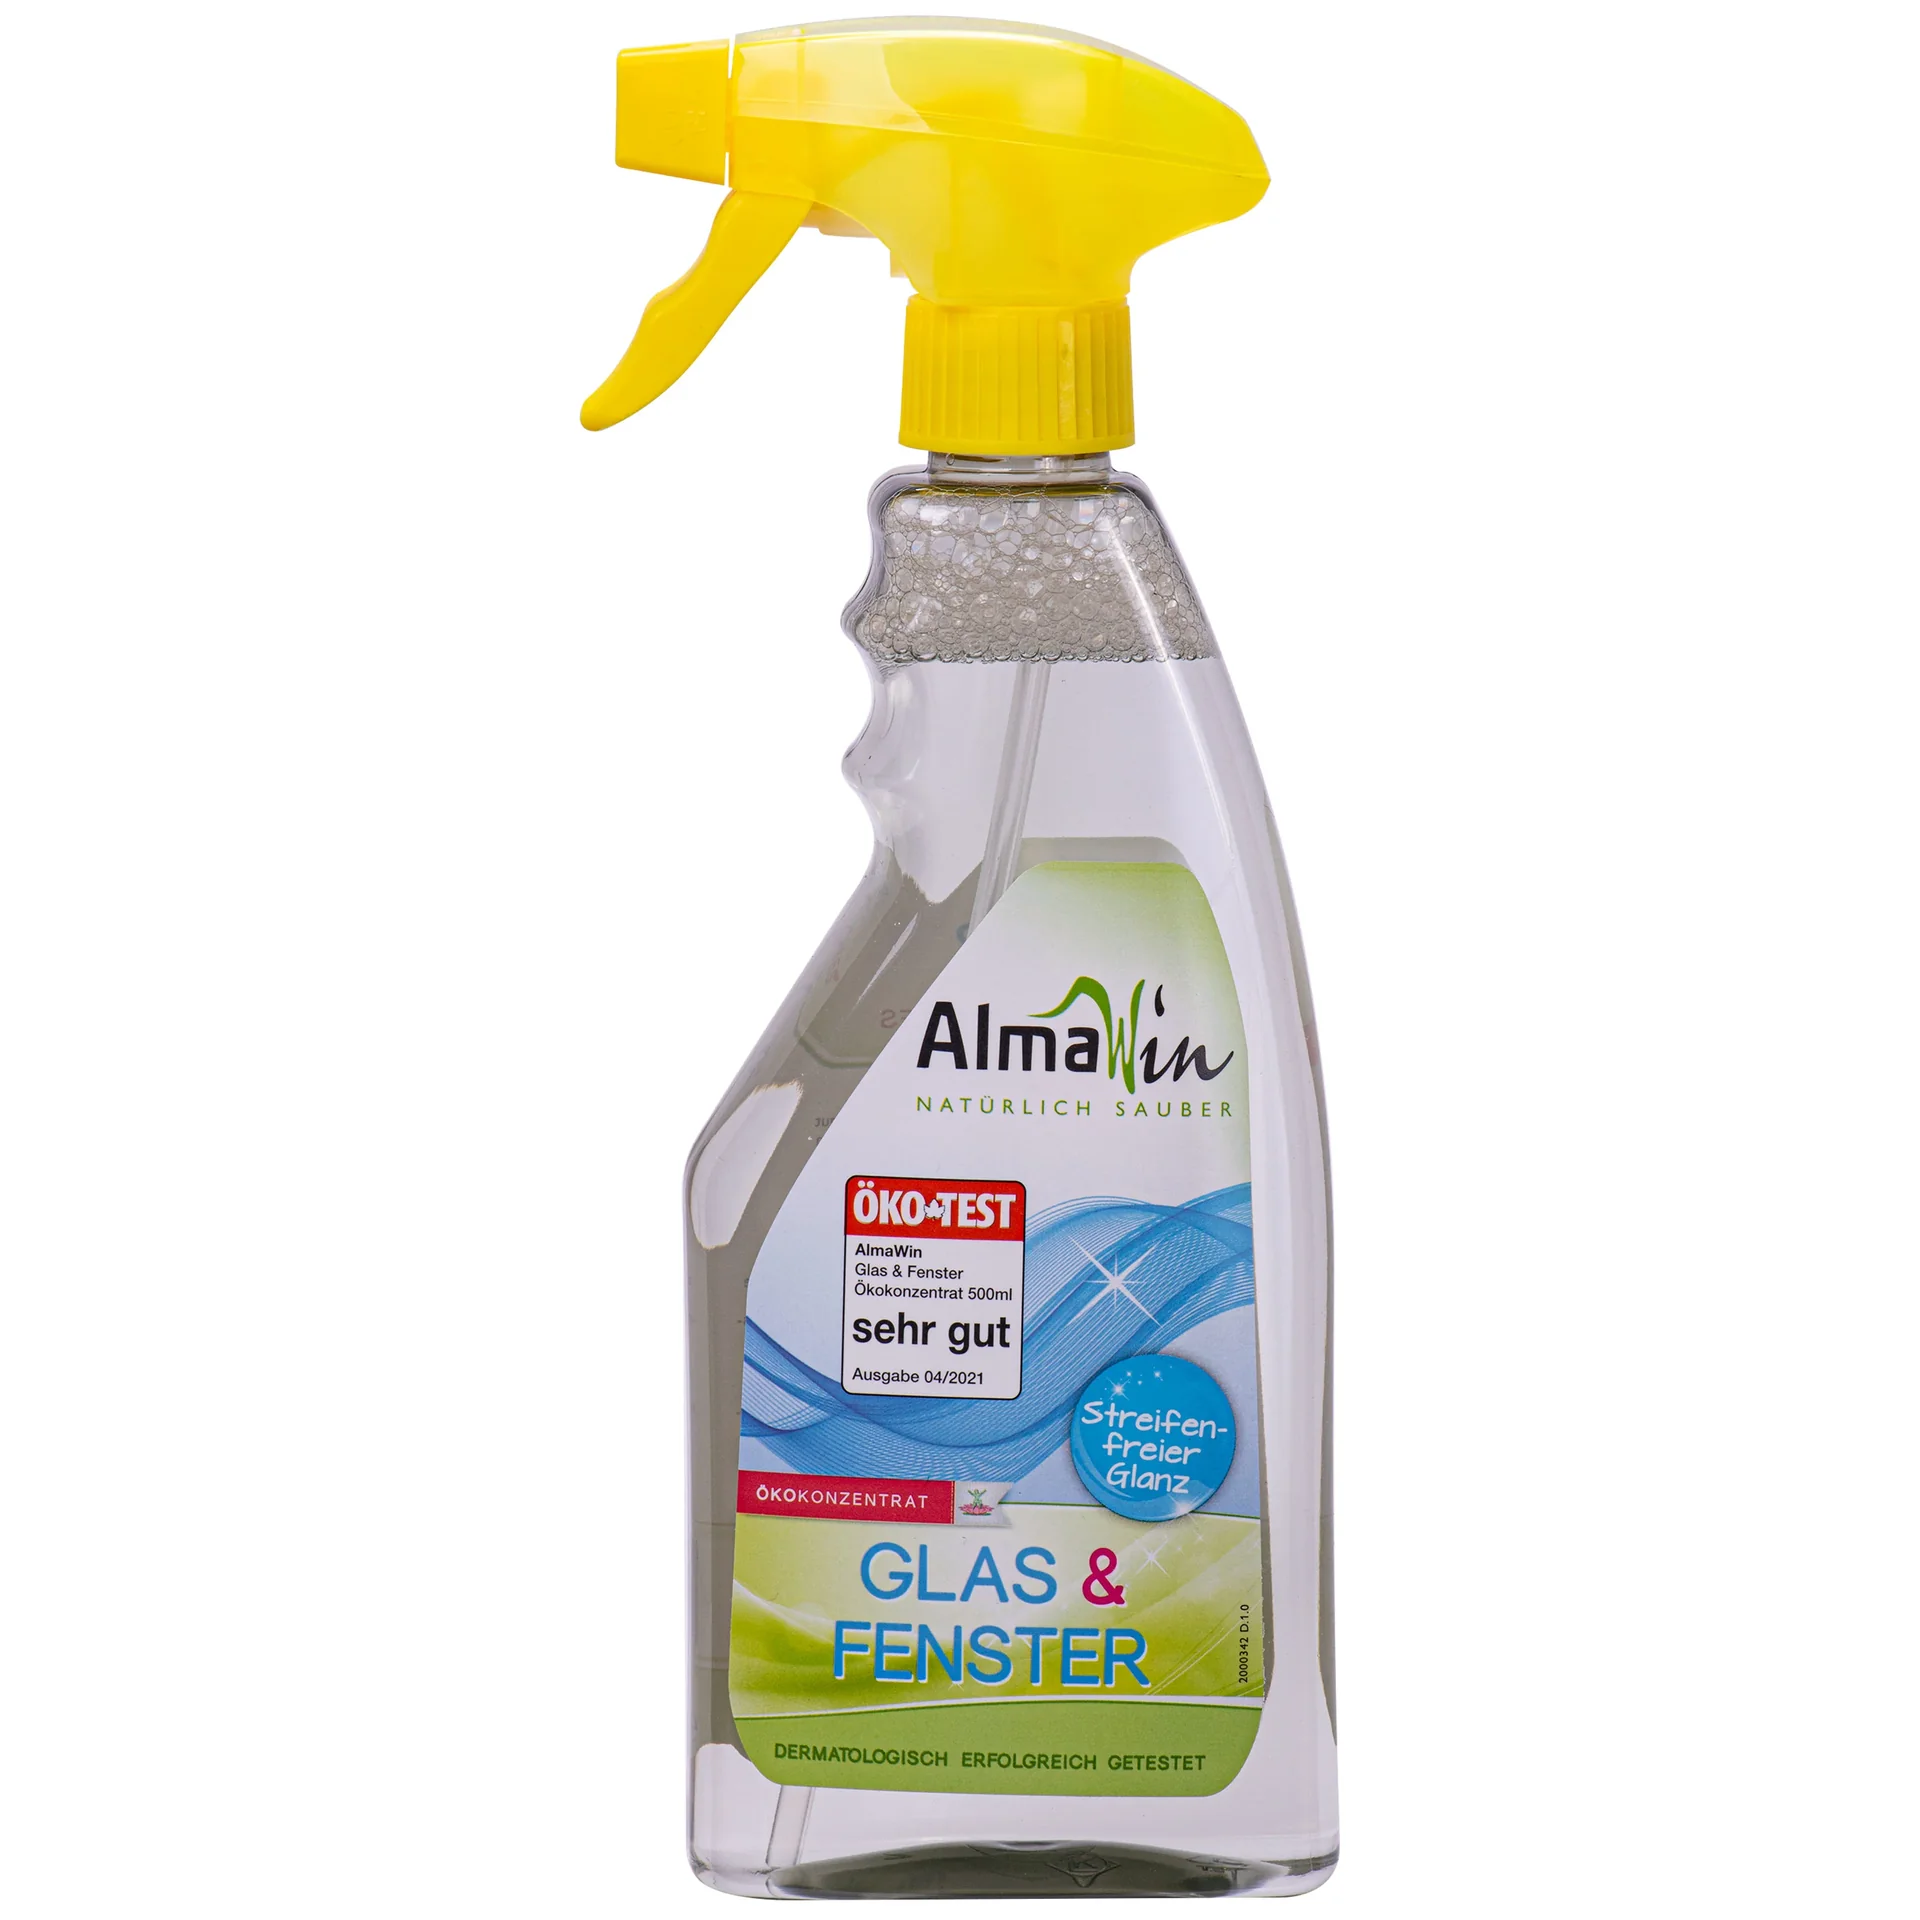

Be sure to get the right supplies for your project. Find plenty more ideas for your home and garden in our extensive store.
New windows are an investment. Professional installation helps them perform well for decades. With patience and this guide, you can replace them yourself.
Frequently asked questions
- Can I install windows myself?
- Yes. With solid DIY skills and the right preparation, you can install windows in an older home. Precise workmanship, the right tools, and an understanding of airtightness are essential. For very large windows, historic homes, or complex structures, we recommend hiring a professional.
- What tools do I need to replace a window?
- You’ll need a rotary hammer with a chiseling function, a cordless screwdriver, a level, installation wedges, a utility knife, a foam gun, PU installation foam, sealing tape, and a sealing membrane. Find suitable power tools in our power tools category.
- How much does it cost to install a window yourself?
- Materials for each window cost between 50 and 150 euros for installation foam, sealing tape, screws, and adhesive tape. The window itself accounts for most of the cost. Installing it yourself saves the 200 to 400 euros per window that you’d pay a contractor, but it takes time and care.
- How do I properly seal a newly installed window?
- Seal the inside with airtight tape and the outside with rain-resistant, vapor-permeable sealing tape. Fill the gap between the window and the masonry with PU installation foam. The exterior seal is essential for protecting against the weather.
- When is the best time to install windows?
- Schedule your window installation during a dry, frost-free period. Temperatures between 10 and 25 degrees Celsius are ideal because installation foam and sealants cure best in these conditions. Avoid working on an open window opening during heavy rain.
You may also be interested in
- How to install underfloor heating: a step-by-step guide
- How to install a front door: a step-by-step DIY guide
- How to prevent mold after replacing windows: tips for a healthier home
- How to winterize your windows: prevent and repair frost damage
- How to paint walls like a pro: the complete guide
- How to renovate windows, get grants, and lower energy costs