
In brief: You can install hardwood flooring yourself if the subfloor is level, dry, clean and ready for flooring, and you choose the right installation system. Measure the room, let the boards acclimate according to the manufacturer's instructions, plan for expansion gaps and install the boards row by row. Finish by fitting the baseboards and caring for the floor according to its surface finish.
Installing hardwood flooring yourself can save on labour costs, and a clear process makes the job easier to plan. The key is choosing the right flooring, preparing the subfloor and using the correct installation method. This guide takes you from choosing your flooring and measuring the room to installation and care. At every stage, also check your flooring's installation instructions: dimensions, gaps and installation requirements can vary by product.
Which hardwood flooring is right for your room and project?
Start by choosing an installation method. Click-lock flooring usually joins the boards with a tongue-and-groove or click system. It is often installed as a floating floor, meaning it is not permanently attached to the subfloor. With fully bonded flooring, you use a suitable adhesive to attach it directly to the prepared subfloor. The manufacturer's instructions determine which method is suitable for your product.
Also check the wear layer, surface finish and suitability for the room. Kitchens, hallways and living areas have different requirements for moisture resistance, wear and cleaning. For underfloor heating, the manufacturer must explicitly approve the combination of flooring, underlay or adhesive. The material alone does not determine whether a wood floor is suitable: the room conditions, subfloor and installation method matter too.
Click-lock or glued boards?
Click-lock flooring suits many DIY projects because you do not need to spread adhesive. You still need accurate cuts, even gaps and a suitable underlay if the system requires one. Depending on the type of flooring, gluing may be recommended or required. Match the adhesive and primer to the floor, wood and subfloor, and follow the application time.
If you want a particular board pattern, check the board lengths and installation instructions before buying. Long boards can make a room appear longer, while shorter pieces may create more offcuts. When planning a DIY flooring project, be realistic about the work involved: simple room layouts are easier to handle than alcoves, multiple doorways or crooked walls.
- Click-lock flooring: often easier to install and can be removed later if it is installed as a floating floor.
- Glued flooring: requires careful subfloor preparation and the right adhesive technique.
- Solid wood boards: require special attention to wood movement and product-specific fastening methods.
Check that the subfloor is level, sound and ready for flooring before you install hardwood flooring.
How do you prepare the subfloor properly?
Clear the room and remove loose debris, dust, nails and old adhesive residue. The subfloor must be sound, level and dry. Check the screed or wood subfloor for cracks, loose areas and uneven spots. Underlay cannot compensate for significant unevenness. Repair damaged areas with a suitable product and let them dry completely.
Check the level with a straightedge or a long, straight board. Compare any deviations with the permitted tolerances in the flooring instructions. Will the doors still close after installation? Measure the clearance from the subfloor to the door and account for the flooring, underlay and, if applicable, adhesive. If a door will catch, plan to trim it before installation.
Check moisture and readiness for flooring
Mineral subfloors such as screed must be sufficiently dry. For critical or larger areas, have moisture checked using a suitable method, such as a CM test, by a qualified professional. Do not assume the subfloor is dry just because the surface feels dry: moisture can remain below the surface and later warp the wood or loosen the bond. If in doubt, confirm that the subfloor is ready before buying or installing the flooring.
On a wood subfloor, check that the boards are secure, do not flex significantly and have adequate ventilation. Replace or fasten any damaged boards. Do not lay hardwood flooring over a soft or unstable subfloor. Also remove carpet unless the flooring manufacturer explicitly approves it as an installation base.
Pro tip
Mark the high and low spots on a simple room plan. This helps you see where to level the subfloor before installation and where cuts or transitions will need extra attention.
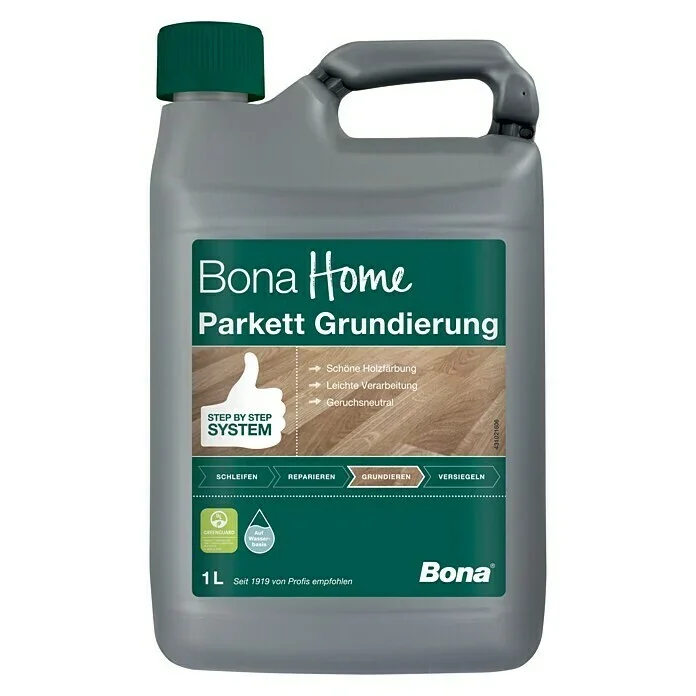
Primer is not required for every floor. Use it only if the flooring system calls for it, and make sure it is approved for the subfloor and adhesive. The BONA Home hardwood flooring primer is suitable only if its product specifications match your system. Follow the coverage, drying time and application instructions.
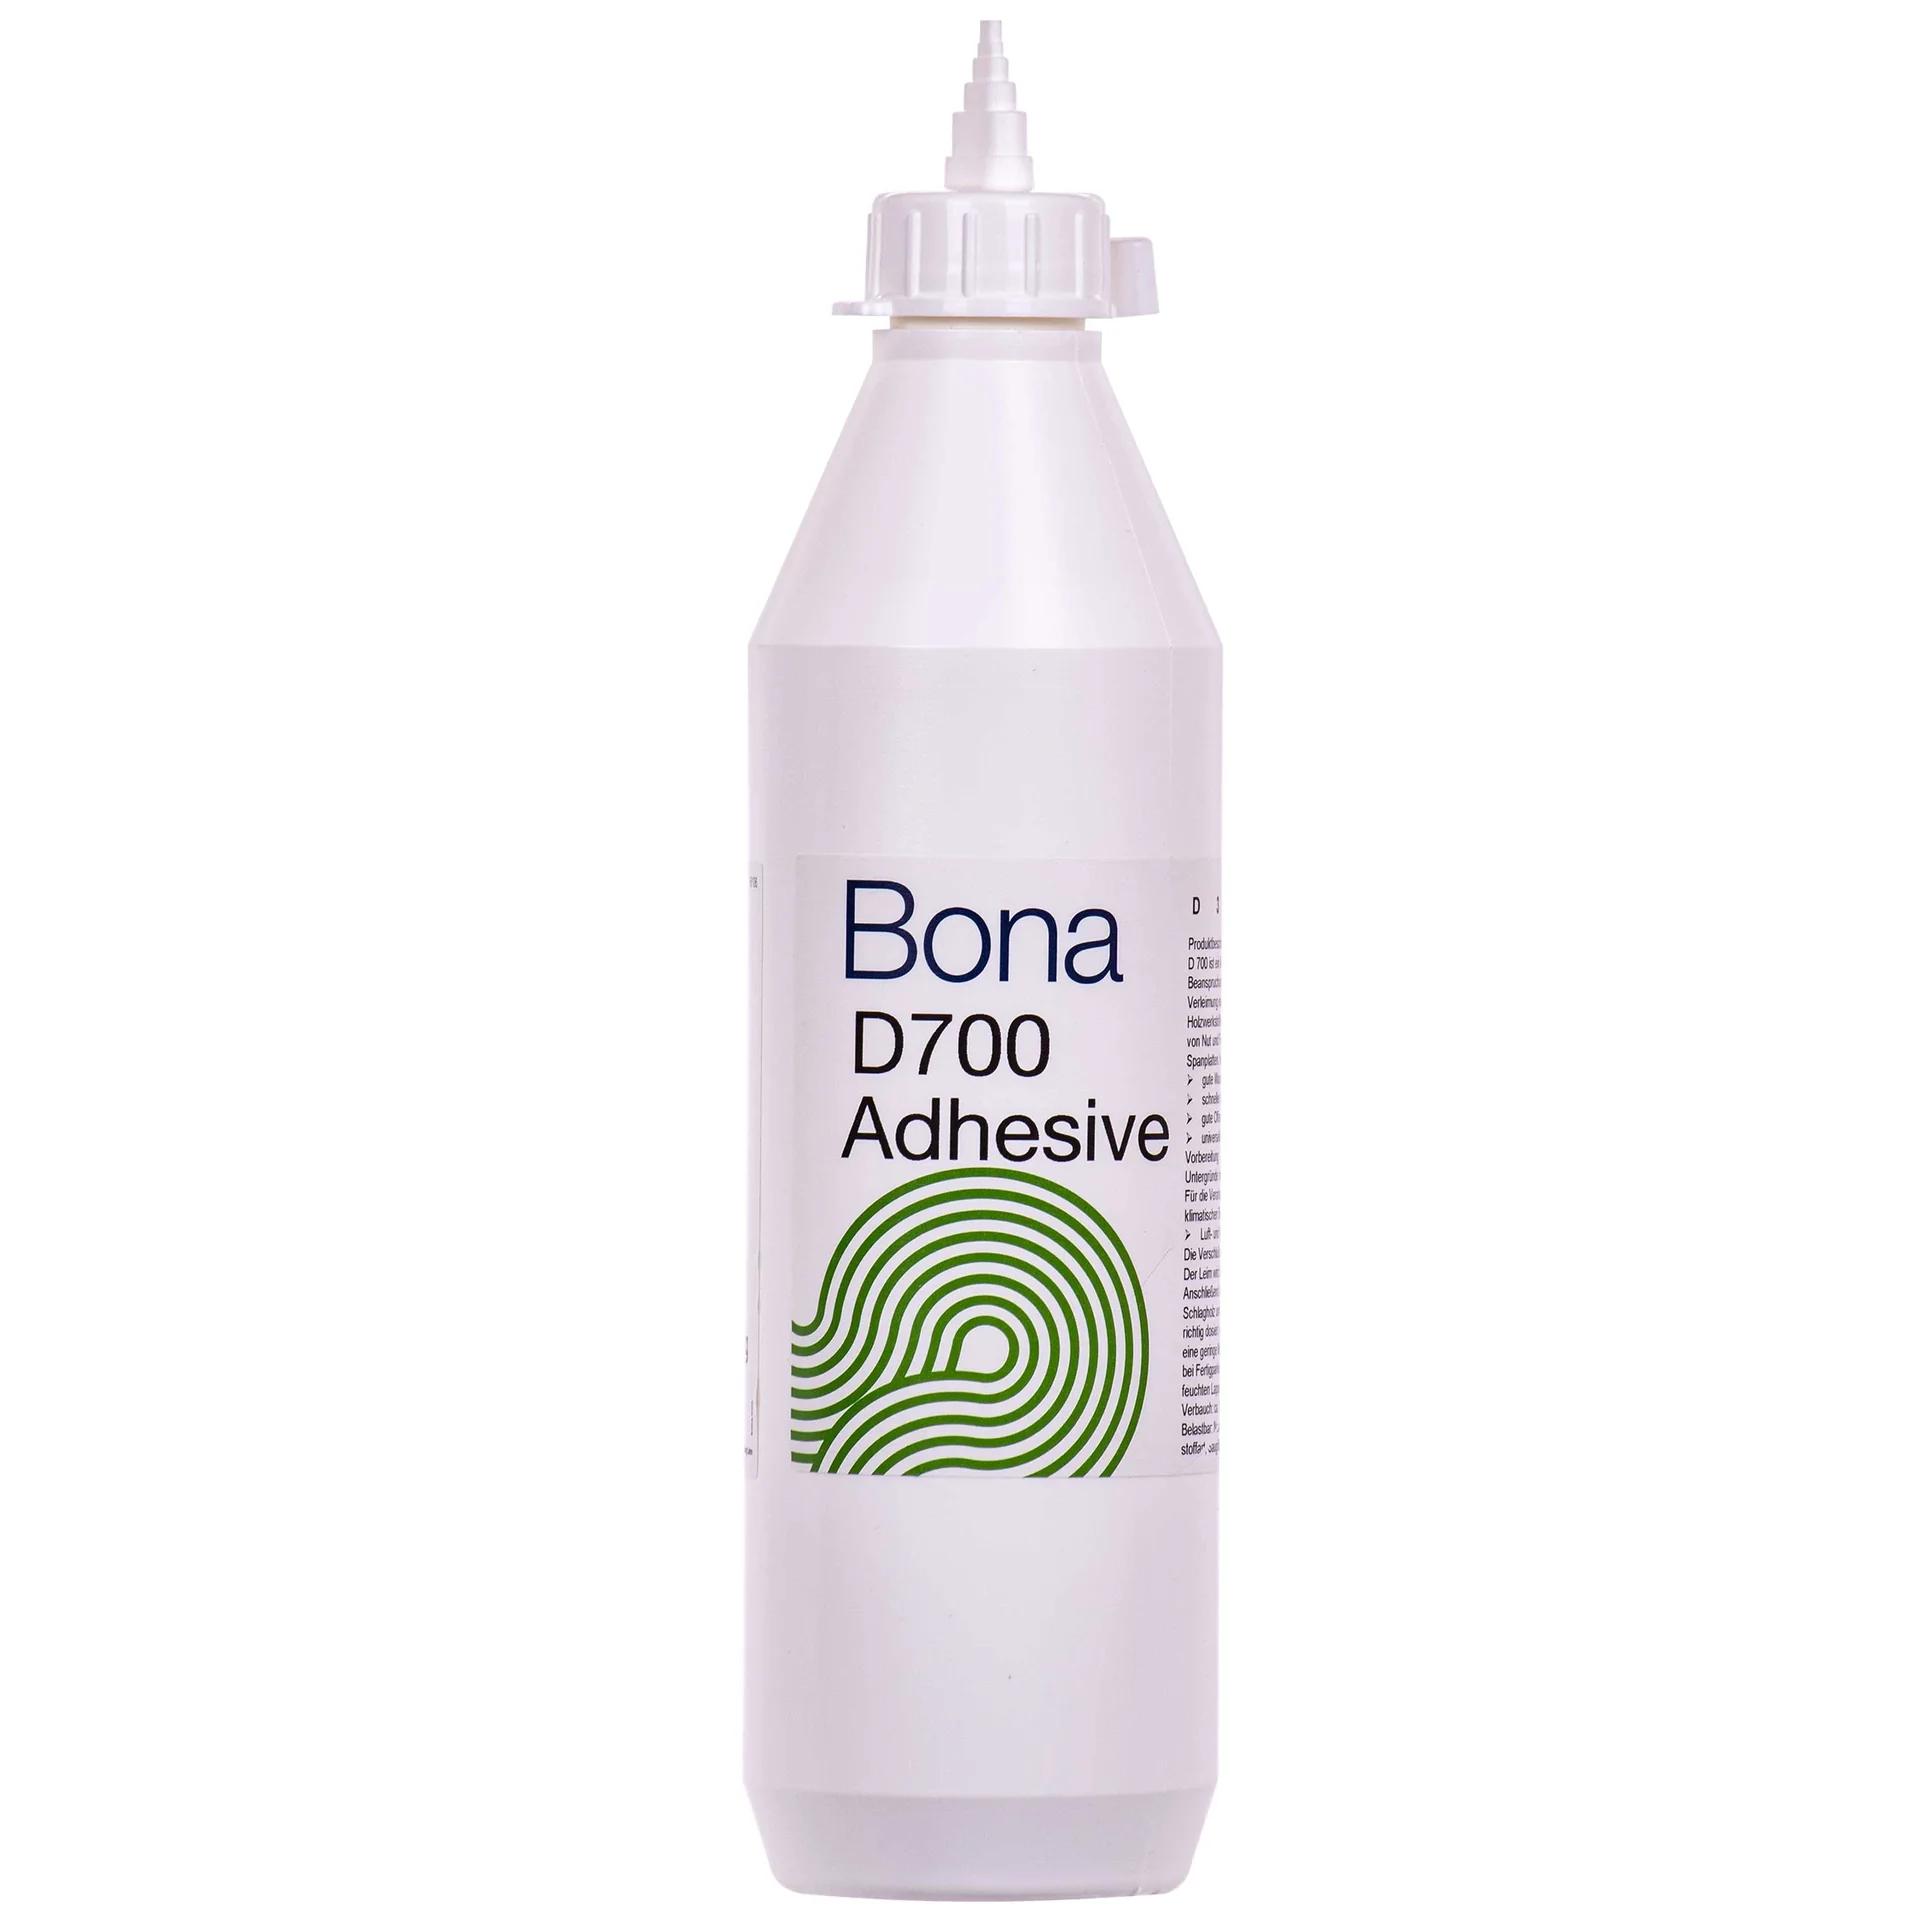
If you are fully bonding the flooring, choose an adhesive suited to the wood species, board format and subfloor. BONA D 700 wood flooring adhesive may be suitable for a compatible system, but it is not a blanket recommendation for all hardwood flooring. Before use, check the approvals from the flooring and adhesive manufacturers.
Important
Do not install over a damp, dusty or significantly uneven subfloor. Wood reacts to moisture and room conditions; a hidden problem can later cause gaps, warping or loose boards. Resolve any unusual moisture readings or damage before continuing.
How do you plan the floorboards, expansion gaps and material requirements?
Measure the room’s length and width in several places. Walls are rarely perfectly parallel. Mark alcoves, heating pipes, doorways and transitions on a floor plan. Divide the room’s floor area by the area covered by one pack, then allow extra for waste. The amount of extra material you need depends on the board size, laying pattern and shape of the room. Diagonal layouts and lots of cuts create more waste.
Open the packs and mix boards from several packs, if the manufacturer allows it. This helps distribute natural variations in colour and grain more evenly across the room. Check each board for damage before installation. Set aside any defective boards instead of using them in prominent areas.
Choose the laying direction and plan the expansion gaps
Many DIYers lay floorboards parallel to the light or along the room’s longest axis. This is a design choice, not a strict rule. Plan the first row so the last row won’t be too narrow. To do this, measure the room’s width and account for the required expansion gap on both sides. If the last row would be very narrow, adjust the width of the first row.
Wood flooring needs room to expand at walls, door frames, heating pipes and other fixed objects. Set the gap width according to the manufacturer’s instructions and use spacers. Larger or irregularly shaped rooms may need additional expansion joints. Also plan for transition strips between rooms if required by the flooring system.
- Check that the skirting boards will fully cover the expansion gap.
- Mark the positions of pipes and door frames on the first row of boards.
- Keep to the specified minimum spacing between end joints.
Store the packs in the room before installation, following the manufacturer’s instructions. Make sure the specified temperature and humidity conditions are met. Not all wood flooring needs the same acclimatisation period, so follow the instructions on the packaging and in the manual. With underfloor heating, prepare the heating system for installation according to its instructions. Don’t switch the heating off or on abruptly without checking the system requirements.
Choose a primer and adhesive that are suitable for both the subfloor and the wood flooring, and follow the application instructions.
How do you install wood flooring step by step?
Get your tools, cutting plan and boards ready before you begin. You’ll generally need a tape measure, pencil, square, spacers, pull bar and tapping block. Use a suitable saw to make cuts. A jigsaw or mitre saw can help; find suitable tools in the Power Tools category. Wear eye and hearing protection when sawing; you’ll find additional equipment under Workshop Supplies.
Align the first row precisely
Start at a straight wall and carefully align the first row. Insert spacers to make sure the expansion gap doesn’t end up too narrow. After laying the first few boards, check the row again with a string line or straightedge. Small alignment errors at the start carry across the entire floor and are difficult to correct later.
If a wall is uneven, mark its contour on the first row and cut the boards to fit. Make your cuts so the visible edge stays neat. Before each cut, check the position of the tongue and groove and the direction in which the click profile fits together. See if the manufacturer specifies which side to start from.
Install the boards row by row
Connect the boards using the specified click or glue system. Never strike the edge of a board directly. Use a tapping block or pull bar only if the installation system allows these tools. Make sure the end joints are sufficiently staggered from one row to the next. The instructions specify the required minimum offset.
For floating click-lock flooring, install a separate underlay only if the flooring requires one and doesn’t have an integrated underlay. Don’t overlap underlay strips or leave gaps between them if the underlay instructions prohibit this. Don’t glue the boards as well if the system is designed for floating installation.
For glued flooring, apply the adhesive in sections using the specified notched trowel. Only spread as much adhesive as you can cover within its open time. Press the boards into the adhesive without forcing it into the joints. Remove any adhesive residue immediately, following the product instructions. Then leave the floor undisturbed for the stated curing time.
Mark the cut-outs for heating pipes precisely and leave enough room for expansion. Cover the openings with suitable pipe collars afterwards. At door frames, either trim the frame to fit or cut the boards carefully to its contour. Check the alignment after every row and clear any debris from the click joints.
If the last row would be too wide, measure the remaining gap at several points and mark it on the boards. Allow for the required expansion gap, then cut the boards lengthwise. A pull bar can help you fit them into place. Check that all rows are secure, then remove the spacers once the floor is complete, following the system instructions.
How do you finish the job and care for the floor?
Fit skirting boards to cover the perimeter expansion gap without trapping the floor. Attach them to the wall or use the specified clip system. Do not screw or nail through a floating parquet floor. Transition profiles must also allow the floor to move. Before moving heavy furniture in, check whether the adhesive or surface treatment requires a waiting period.
Carefully sweep or vacuum up wood shavings and dust. For the initial clean, use only a product suitable for your parquet’s surface finish. BONA Cleaner 1 Liter may be suitable if the manufacturer’s instructions approve it for your floor. Clean with a barely damp mop and avoid standing water, harsh cleaners and abrasive pads.

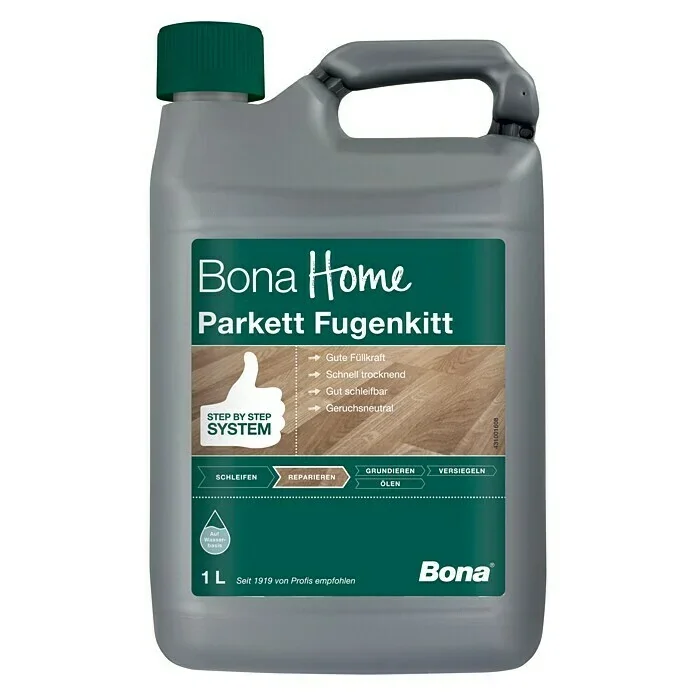
Don’t automatically fill small gaps or defects with filler. First check whether the gap is part of the floor’s design and whether the parquet manufacturer allows repairs. For suitable small gaps, you can use BONA Home Parquet Gap Filler . Use it only as directed, and never to fill required expansion gaps.
Extra tip
Felt pads under chairs and furniture help prevent scratches. Place doormats at entrances and remove sand promptly, as hard particles act like abrasive grit. Wipe up spills straight away, and follow the care instructions for oiled and lacquered finishes separately.
Choose a care product that suits your floor’s finish. BONA Freshen Up is an option only if the product description and parquet care instructions recommend it for your finish. Don’t apply care products to every floor as a precaution: an unsuitable coating can make future cleaning or refinishing more difficult.

Browse the shop for cleaners, care products and other accessories. When laying parquet, the right tools, a precise cutting plan and a suitable subfloor will help more than extra products. Keep a record of the materials you use, and save the packaging and care instructions so you can quickly find the right information if repairs are needed.
Frequently asked questions
- Can I lay parquet flooring myself?
- Yes, many DIYers can install click-lock parquet flooring themselves if they check the subfloor carefully and follow the installation instructions. Fully bonded parquet requires the right tools, experience working with adhesives and a subfloor that is ready for installation. Seek professional advice if you have moisture problems, an uneven surface or underfloor heating.
- How long should parquet flooring acclimatise in the room before installation?
- This depends on the flooring and the manufacturer’s instructions. Keep the unopened packs in the room for the specified time and under the conditions recommended by the manufacturer. Avoid direct sunlight, moisture and major temperature fluctuations. There is no single acclimatisation period that suits every product and room.
- Do I need an underlay beneath click-lock parquet flooring?
- Only if the flooring system requires a separate underlay. Some products have integrated underlay, and adding another layer can put strain on the click joints. Choose an underlay that suits both the flooring and the subfloor. As a general rule, don’t install parquet over carpet.
- How wide should the expansion gap be for parquet flooring?
- The required gap depends on the parquet, room size and manufacturer’s instructions. Leave the specified clearance around walls, door frames, heating pipes and other fixed structures. Use spacers and check whether your room needs transition profiles or additional expansion gaps.
- When can I walk on newly installed parquet flooring?
- For click-lock parquet, follow the manufacturer’s instructions. Bonded parquet needs the curing time specified by the adhesive manufacturer before you walk on it or place furniture on it. Remove the spacers and fit the skirting boards only after the floor and adhesive have had enough time to set.
You might also be interested in
- Installing engineered wood flooring: fit a wooden floor yourself
- How to lay herringbone parquet: a DIY guide
- Parquet flooring patterns: ideas for your wooden floor
- How to lay laminate flooring: a step-by-step DIY guide
- Parquet adhesive: types and uses explained
- How to lay vinyl flooring: step by step to a fresh new look