
In brief: Installing heating pipes requires careful planning, the right materials and precise workmanship. Start by determining the pipe route, choose between multilayer composite pipe and copper, and make sure the slope is planned correctly. Properly insulating all pipes in unheated areas is essential for energy efficiency. This guide takes you through the key steps.
Installing Heating Pipes: DIY Guide to Efficient Heating
Installing your own heating system is an ambitious project. You can save money and gain control over your home's heat supply. The key is thorough preparation.
This guide explains the essential steps. You will learn how to choose materials, install pipes correctly and minimise heat loss.
What you need to plan before installing the pipes
A sketch is essential. Draw the floor plan and mark all radiators and the location of the boiler. The pipe route should connect these points by the shortest possible path.
Take door openings and load-bearing walls into account. Plan access points for any future repairs. Allow plenty of extra pipe length when calculating your requirements.
Your choice of material affects both the amount of work involved and durability. Multilayer composite pipes are particularly suitable for beginners.
Pro tip
First mark out the pipe route on the floor using string or chalk. This helps you spot conflicts with other installations, such as electrical cables, at an early stage and optimise the route.
Which pipe material is suitable for DIY heating installation?
You essentially have two options: multilayer composite pipe or copper pipe. Both have advantages and disadvantages.
Multilayer composite pipe is flexible and easy to work with. Cut it with pipe shears and connect it using special press or push-fit fittings. It is corrosion-resistant and ideal for underfloor heating.
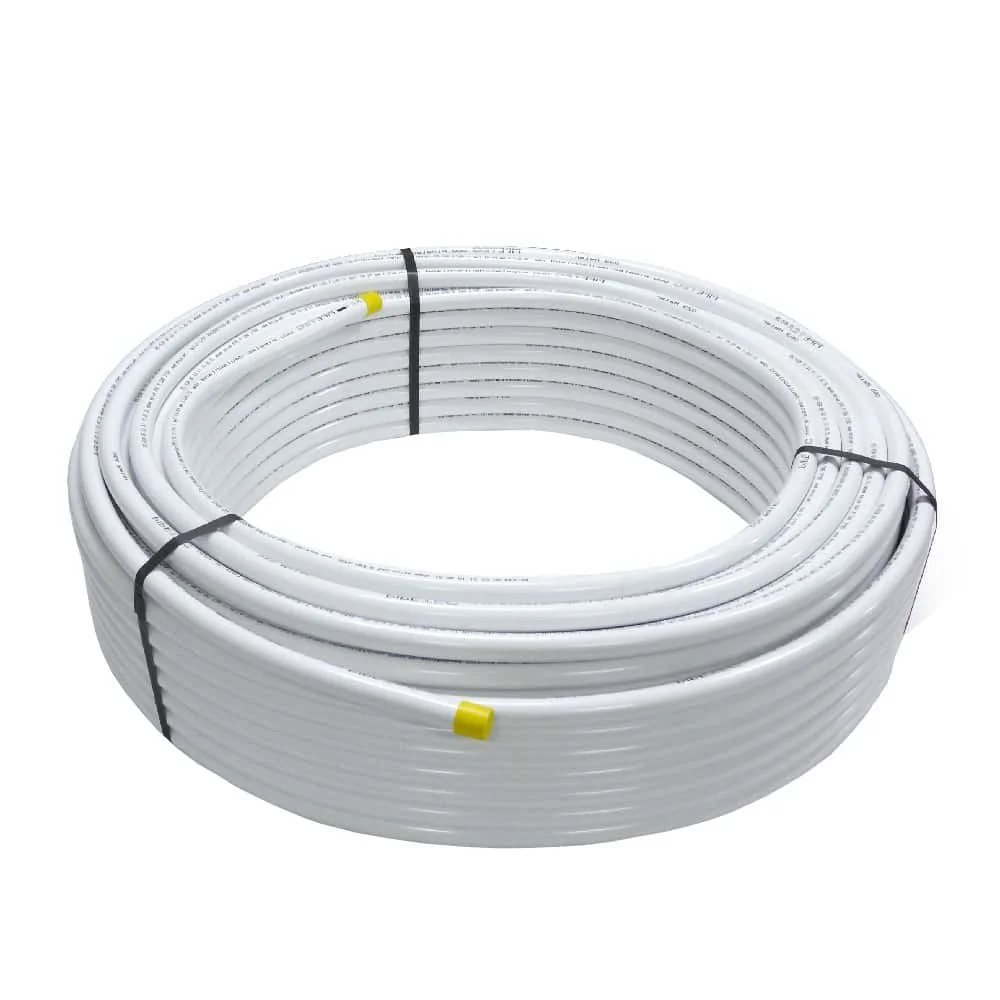
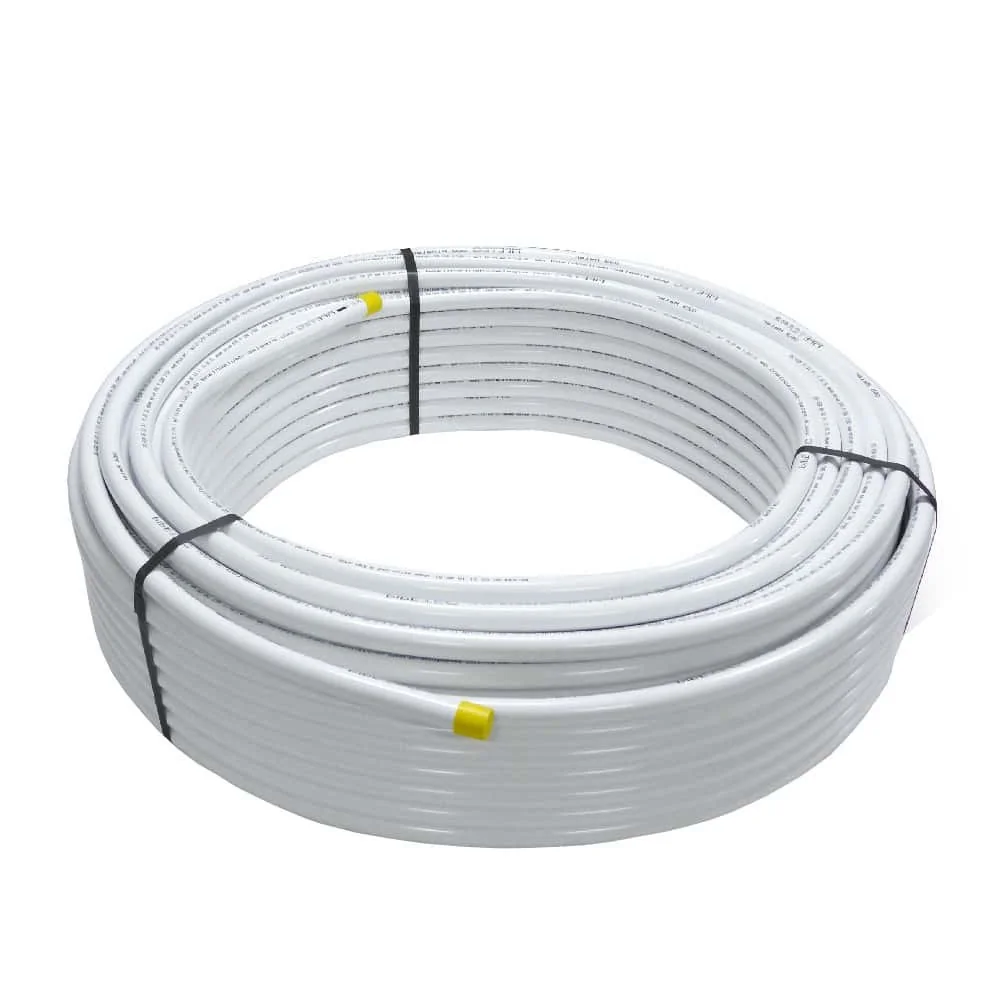
Copper pipe is highly durable and has excellent thermal conductivity. The connections are soldered, which requires more practice. It is also more expensive and prone to limescale in areas with hard water.
“The choice between composite and copper pipe depends heavily on your own DIY experience. For ambitious beginners, a press-fit system with composite pipe is the safer way to create a watertight installation.”
Tools for installing heating pipes
In addition to the materials, you need the right tools. For multilayer composite pipe: sharp pipe shears, a stripping tool for the plastic layer and press pliers for the fittings.
For copper pipe: a hacksaw or pipe cutter, pipe squeezing pliers, a propane-oxygen blowtorch and solder. A deburring tool for the inside edge of the pipe is essential.
Regardless of the material, you will need a spirit level, a pencil, a tape measure and a rotary hammer for wall penetrations. Remember protective clothing such as gloves and safety goggles.
How do you install heating pipes correctly?
Start by mounting the radiators on the walls. This gives you precise connection points for your pipework. Then follow your planned route.
Install pipes in walls in vertical or horizontal chases. After installation, cover the pipes with fast-setting masonry mortar. In floor structures, the pipes are laid in insulation strips or embedded in concrete.
Important note
Always cut pipes at a right angle. An uneven cut prevents a watertight connection in the fittings. Check every cut with a spirit level or a template.
For long, straight runs, you must allow for thermal expansion. Pipes expand as they heat up. Therefore, use fixed and sliding pipe clips alternately or plan in expansion loops.
The connection method is critical. With press fittings, you must complete the pressing process cleanly and fully. An audible click from the press tool confirms that the fitting is seated correctly. With soldered copper connections, the solder must flow evenly into the gap between the fitting and the pipe.
“The most common mistake in DIY installations is rushing the connections. Allow the necessary minute for each fitting. A leak after commissioning creates ten times the work when it needs to be repaired.”
Special considerations for underfloor heating
Underfloor heating is installed according to a different principle. Long, continuous pipe loops are laid without interruption. This prevents a large number of potentially leaking connections in the screed.
Use an installation system with studded panels or insulation mats with a pre-marked grid. This makes the work easier and ensures even spacing. Keep the installation spacing constant, usually between 10 and 20 centimetres.
Pipe loops should not exceed a maximum length, as this would make the flow resistance in the system too high. You can find this information in the technical data for the pipes and the heating pump.
Why is insulating heating pipes essential?
Uninsulated heating pipes are a major waste of energy. In unheated basements, they release heat into the surrounding area, leaving less heat for the radiators. This directly increases your heating costs.
Insulation reduces these losses to a minimum. It also keeps hot water pipes warm for longer and prevents condensation from forming on cold water pipes.
Additional advice
Insulate not only the flow pipes but also the return pipes. Temperatures here can still exceed 30 degrees Celsius. Fully insulating all pipes in unheated areas is the efficient standard.
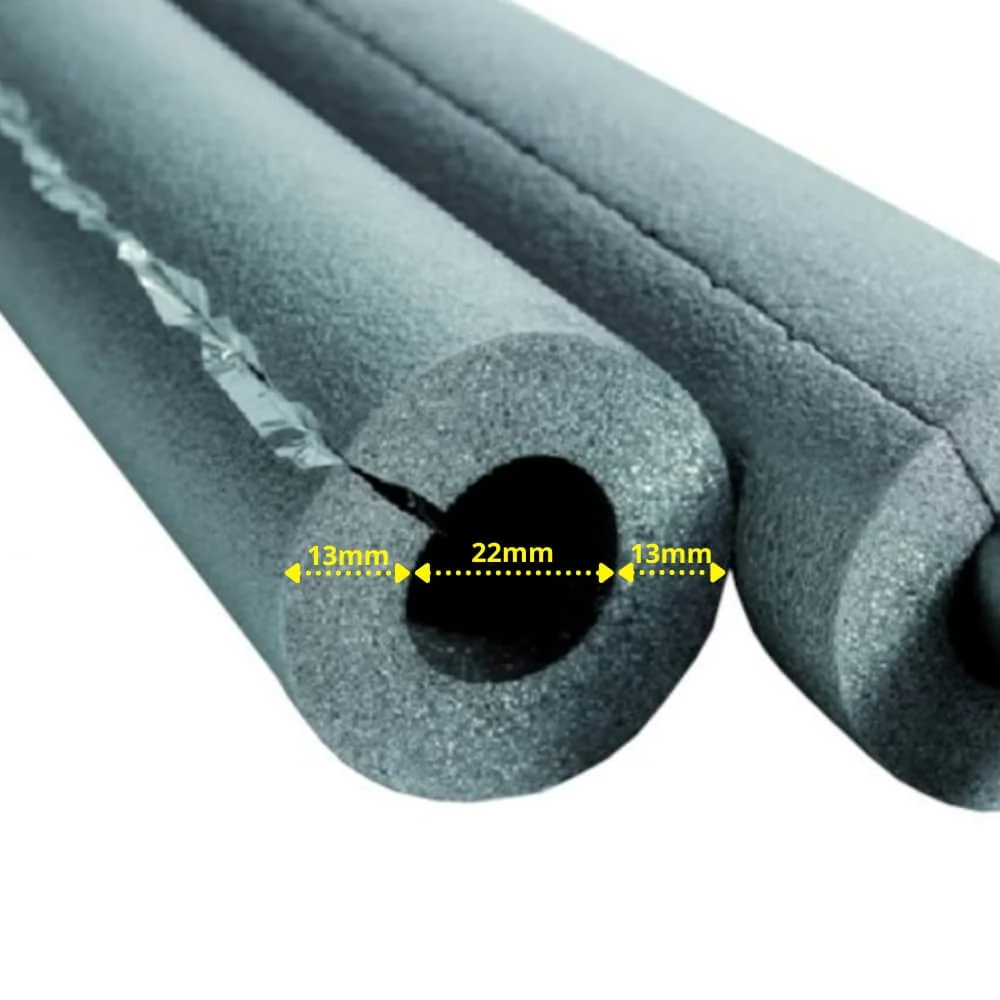
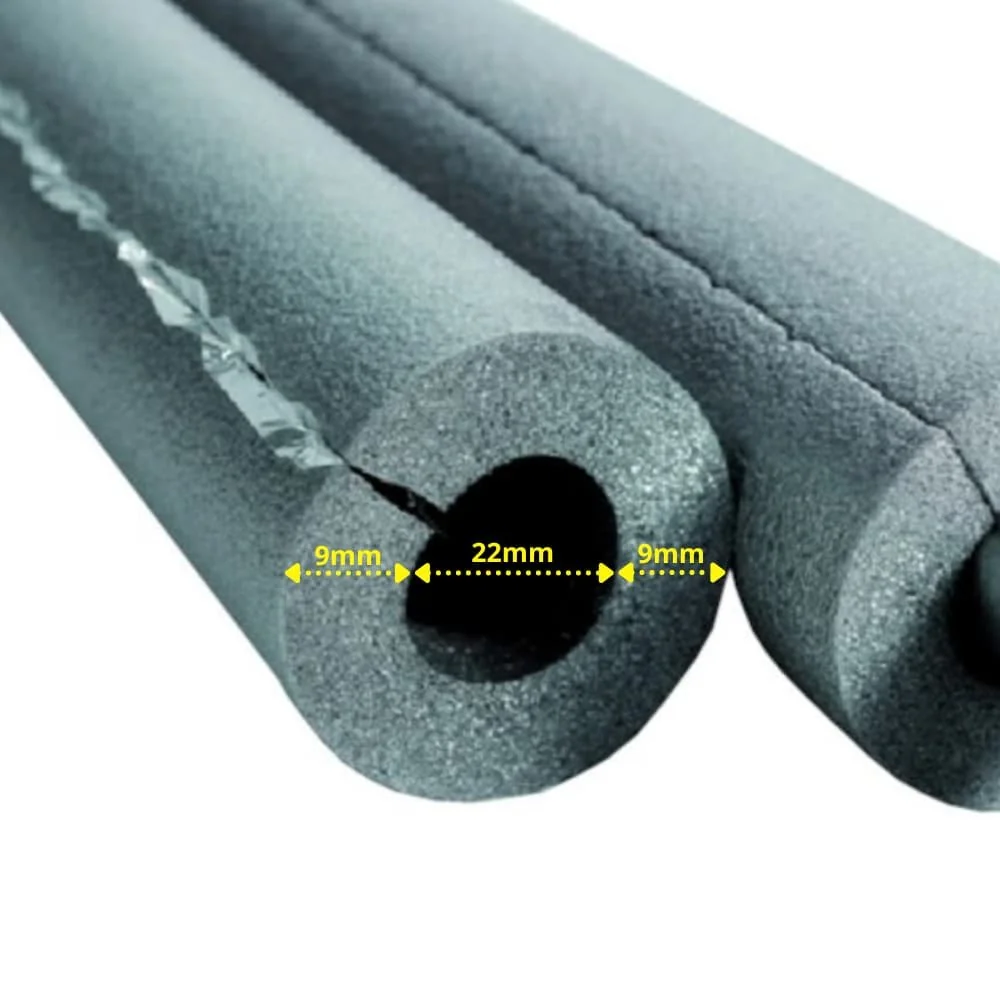
The insulation thickness should match the pipe diameter and the ambient temperature. For standard heating pipes in the basement, an insulation thickness of at least 20 millimetres is recommended. Explore our range of heating pipe insulation.
Self-adhesive insulation sleeves are the easiest solution for retrofitting. Cut the sleeve lengthwise, fit it over the pipe and press the adhesive flap firmly into place. Make sure the fit is seamless, especially around elbows and T-joints.
Insulating valves and connections
Do not forget to insulate valves, pumps and connection points. Specially shaped insulation is available for this purpose, or you can use flexible insulation mats, cut them to size and secure them with tape.
Every uninsulated section becomes a weak point. The German Energy Saving Ordinance (EnEV) legally requires heating and hot water pipes in unheated areas to be insulated.
How do you connect the pipes to the boiler?
This final step must be left to a qualified professional. Connecting the pipes to the heat generator and commissioning the entire system are subject to legal requirements and must be carried out by a licensed heating engineer.
As the property owner, you can complete the preparatory work. Lay the pipes up to the planned connection points on the boiler. Clearly mark the pipes as “flow” and “return”.
The specialist company will then make the final connection, fill the system, bleed it and carry out hydraulic balancing. This balancing is essential for efficient and even heat distribution throughout the house.
Make sure that all necessary components, such as the safety valve, pressure gauge and expansion vessel, are professionally installed and connected.
Pressure testing before plastering
Before permanently closing up pipes installed in walls or floors, you must carry out a pressure test. This applies to all water-bearing pipes.
Close off the entire pipe network with blanking plugs or temporary caps. Fill it with water and increase the pressure to the specified test pressure, usually 1,5 times the operating pressure.
Monitor the pressure for several hours. Constant pressure confirms that the system is leak-free. A drop in pressure indicates a leak that you can still repair easily at this stage. Once the walls have been plastered, locating it would be much more difficult.
With careful planning, the right materials from our Plumbing and Irrigation range and precise installation, you can successfully lay the pipework for your heating system. This creates the foundation for an efficient and comfortable home.
Frequently Asked Questions
- Which pipe material is best for a DIY heating installation?
- Multilayer composite pipe is the first choice for DIY installation. It is flexible, corrosion-resistant and easy to connect using push-fit or press fittings. Copper pipes require more practical skill for soldering. Choose material from our range of pipes that is approved for heating system pressure.
- Do I need to insulate heating pipes in all areas?
- Yes, insulation is both mandatory and advisable. Insulate all pipes in unheated rooms such as basements or attics, as well as the flow and return pipes in the heating room. Our heating pipe insulation section offers suitable solutions such as self-adhesive insulation sleeves.
- What gradient do underfloor heating pipes need?
- Underfloor heating pipes are generally laid level, without a gradient. Air is removed through a separate air vent on the manifold. Conventional heating pipes leading to radiators, on the other hand, need a gradient of 1% to 2% for venting. Plan the route carefully before installation.
- Can I connect heating pipes to the boiler myself?
- The final connection of heating pipes to the heat generator (gas, oil, heat pump) may only be carried out by a registered heating engineer. As a DIY project, however, you can lay and prepare the pipework up to just before the boiler. Clarify the handover point with the specialist company at an early stage.
- How do I test the installed pipes for leaks?
- After laying the pipes and closing all connections, carry out a pressure test. Fill the system with water and increase the pressure to around 4-6 bar (test pressure according to the manufacturer's specifications). Keep this pressure constant for several hours. A drop in pressure indicates leaks that must be repaired before commissioning.
You may also be interested in
- Reduce heating costs: Insulate pipes yourself for greater efficiency
- Install underfloor heating: Step-by-step guide
- Install wall heating: How to achieve a perfect installation
- Fit CLIMAFLEX® insulation sleeves: Insulate heating pipes correctly
- Winter-proof your pipes: Protect your home from frost damage
- Install a wood heating system: Connect and use the boiler efficiently