
In brief: Successful basement renovation starts with identifying the cause of the damp. Identify the source, choose the right waterproofing method and supplement it with suitable insulation. For a permanently dry basement, combine external horizontal damp-proofing barriers, vertical waterproofing and good indoor ventilation.
Renovate Your Basement: Tips for Keeping It Dry
A dry basement is more than just storage space. It protects your home's structure and creates valuable living space. This guide shows you the specific steps to take.
We explain how to combat damp, waterproof and insulate your basement correctly. This allows you to create a safe DIY basement conversion.
How do I diagnose damp in my basement?
Before buying materials, you need to understand the problem. Damp can have various causes.
Water pressing in from outside often appears as a large wet patch. You can identify rising damp by an even damp area along the lower part of the wall. Condensation is caused by temperature differences and forms fine droplets.
Carry out a simple foil test. Securely tape a sheet of plastic foil to the suspect area of wall. If the wall-facing side is wet after two days, the damp is coming from outside. If condensation forms on the room-facing side, there is a ventilation problem.
Expert tip
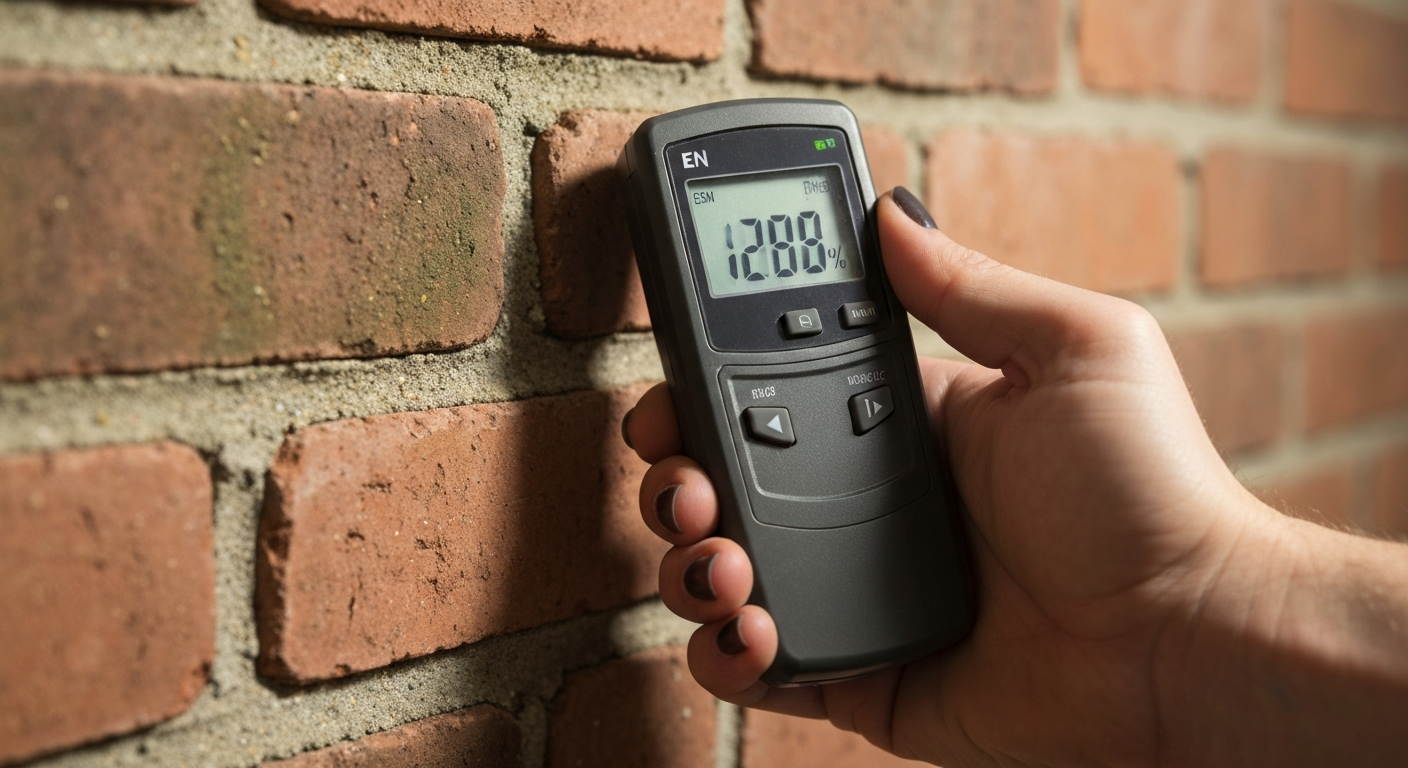
Use a digital moisture meter for masonry. These devices provide objective readings and help you measure the success of the renovation later. Record the readings before and after the work.
Common mistakes when identifying the cause
Many homeowners only treat the symptoms. They paint over damp walls or cover them up. This makes the damage worse.
Mould is always a warning sign. It indicates persistent damp and can pose a health risk. Do not simply remove it from the surface; tackle the underlying cause.
Do not neglect the surrounding area either. Blocked downpipes, ground level that is too high against the house wall or missing drainage systems are often contributing factors. Our range of plumbing and irrigation products can help with drainage.
What methods of basement waterproofing are available?
Choose the method according to the type of damp. In principle, you can distinguish between external and internal waterproofing.
External waterproofing is the traditional and most durable solution. It seals the basement wall from the outside against water pressure. To do this, you must expose the ground down to the level of the basement foundation.
Internal waterproofing works from the room side. It is suitable for rising damp or damp that is not under pressure. Modern waterproofing slurries and barrier plasters create an effective protective layer.
“Retrospective external waterproofing is certainly labour-intensive, but in most cases it is the only reliable solution against pressurised groundwater. It protects the masonry from lasting damage.”
Step by step: waterproofing a basement wall from the inside
For DIY projects, internal waterproofing is a realistic option. You need a clean, sound substrate. Thoroughly remove old plaster and salt deposits.
Apply a primer that regulates absorbency. Then apply the waterproofing slurry with a brush or trowel. Work in at least two crossing coats to create a pore-free layer.
Use sealing tape in corners and around joints. This prevents cracks caused by later movement. You can find suitable tools for all building work in our garden tools category.
Important note
Internal waterproofing only stops damp on the room side. The masonry remains wet. If there is a risk of frost, the surface may flake off. Clarify these risks with a professional beforehand.
Why is the right basement insulation so important?
Insulation does more than protect against cold. Above all, it prevents condensation. Cold walls cool the room air. The moisture in it settles as condensation.
For an unheated storage basement, choose moisture-resistant insulation such as XPS perimeter boards. Install these from the outside directly onto the waterproofed wall.
If you are planning a habitable basement, you need a multi-layer system. An internal vapour barrier is essential here. It prevents moisture from the room air from diffusing into the insulation layer and condensing there.
Comparing materials for basement insulation
Mineral wool is affordable and provides good insulation, but it is sensitive to moisture. It is only suitable for completely dry internal walls with a reliable vapour barrier.
Calcium silicate boards actively regulate indoor humidity and help prevent mould. They are the premium solution for problematic basement rooms.
Vacuum insulation panels offer extremely high insulation performance with minimal thickness. Their high price is justified where space is limited. You can find suitable accessories for installing all insulation materials in workshop supplies.
Additional advice
Do not insulate only the walls. Do not forget the basement ceiling. An insulated ceiling prevents thermal bridges to the ground floor and reduces heating costs. Use special ceiling insulation boards for this.
How do I plan a safe DIY basement conversion?
A conversion transforms your basement into usable space. Ensuring it is dry is the basic requirement. After waterproofing, wait several weeks until the masonry has dried out completely.
For the interior fit-out, use only moisture-resistant materials. Metal stud walls are better than wood. Cement-bonded particle boards or moisture-resistant gypsum fibreboards are suitable for wall linings.
Plan for enough electrical installations. All cables should be routed in enclosed installation ducts. Sockets should be at least 30 cm above the floor.
“The biggest source of moisture in a converted basement is often the occupants themselves. Showers, cooking and plants all release litres of water into the air. Without consistent ventilation, every conversion is doomed to fail.”
Effective ventilation and climate control
In summer, ventilate only at night or in the early morning. The outdoor air is then cooler and drier than the basement air.
In winter, ventilate several times a day by opening the windows fully for five minutes. Leaving them tilted open is ineffective and only cools the walls down.
An electric dehumidifier with a humidistat is a sensible investment. It switches on automatically when the preset humidity level is exceeded. For a cosy atmosphere after your conversion, browse our range of BBQs and fire pits.
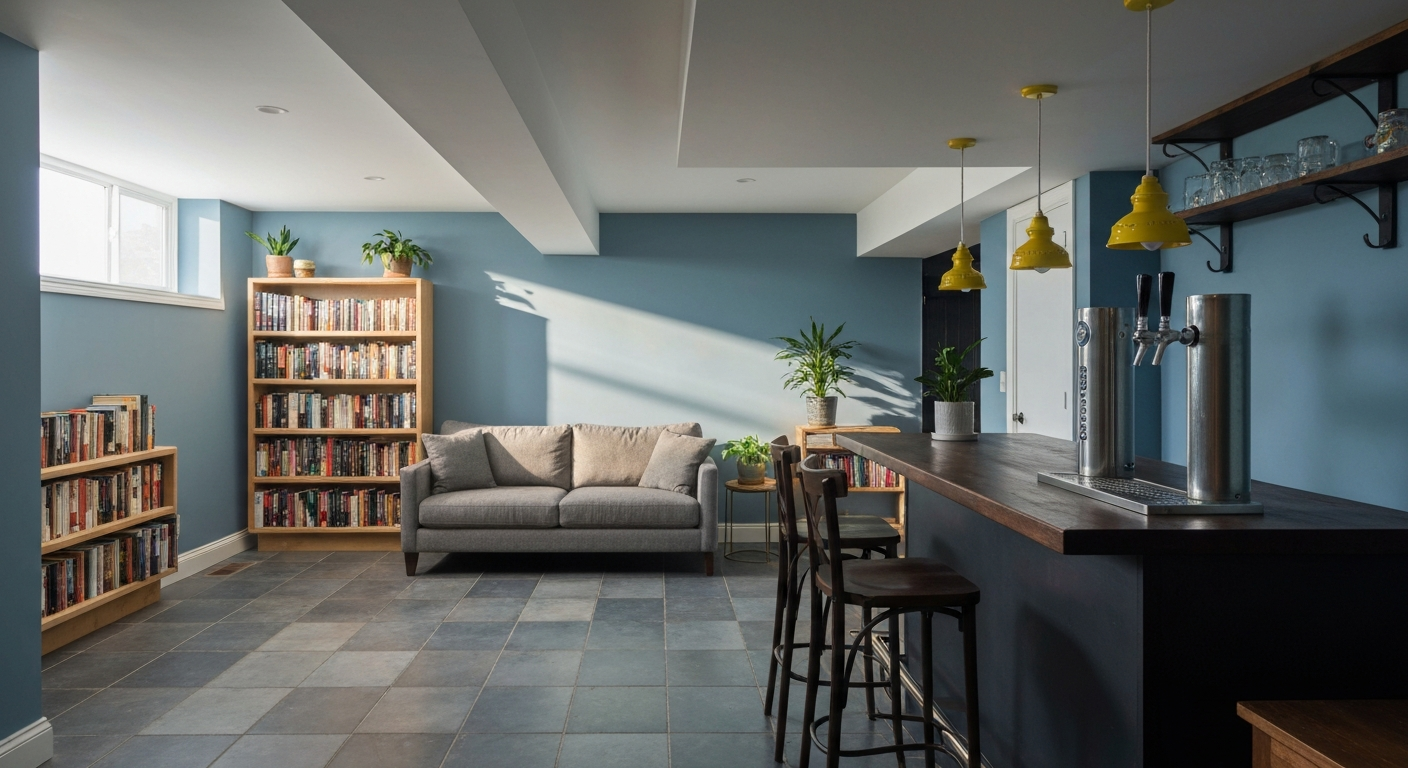
What accessories do I need to renovate my basement?
Along with waterproofing materials and insulation, you’ll need practical accessories to get the job done. The right tools help you work more precisely and efficiently.
A mixing paddle with a suitable drill attachment is essential for mixing waterproofing slurry and waterproofing plaster. Spatulas in various widths make application easier.
Protective gear such as a respirator, safety glasses, and gloves is essential when doing dusty work or handling chemicals. Remember to provide bright work lighting for your dark basement, too.
Practical tools for professional results
A keg tapping system lets you dispense drinks from kegs hygienically. It’s especially useful when celebrating the opening of your newly renovated basement.
Products such as the
(keg coupler - combination fitting) or the (keg coupler - flat fitting) provide a safe, sanitary solution. The (keg coupler - basket fitting) rounds out the range for different connections.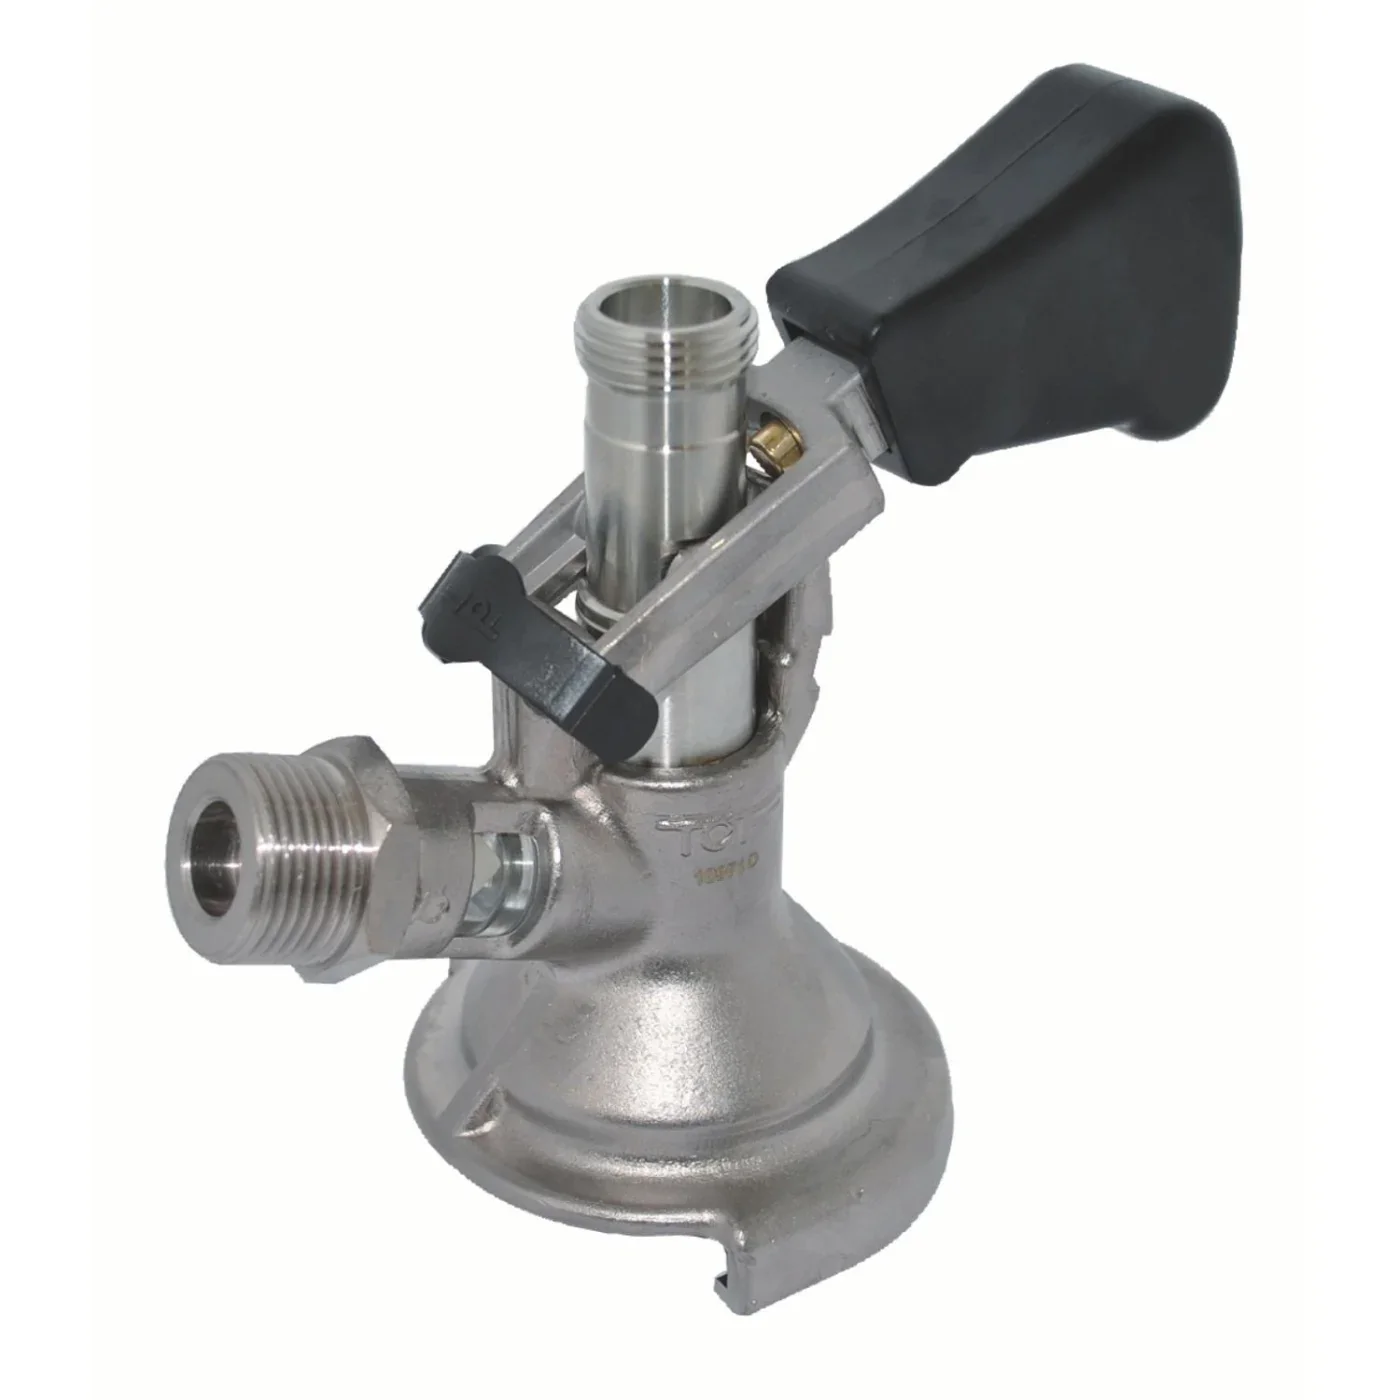
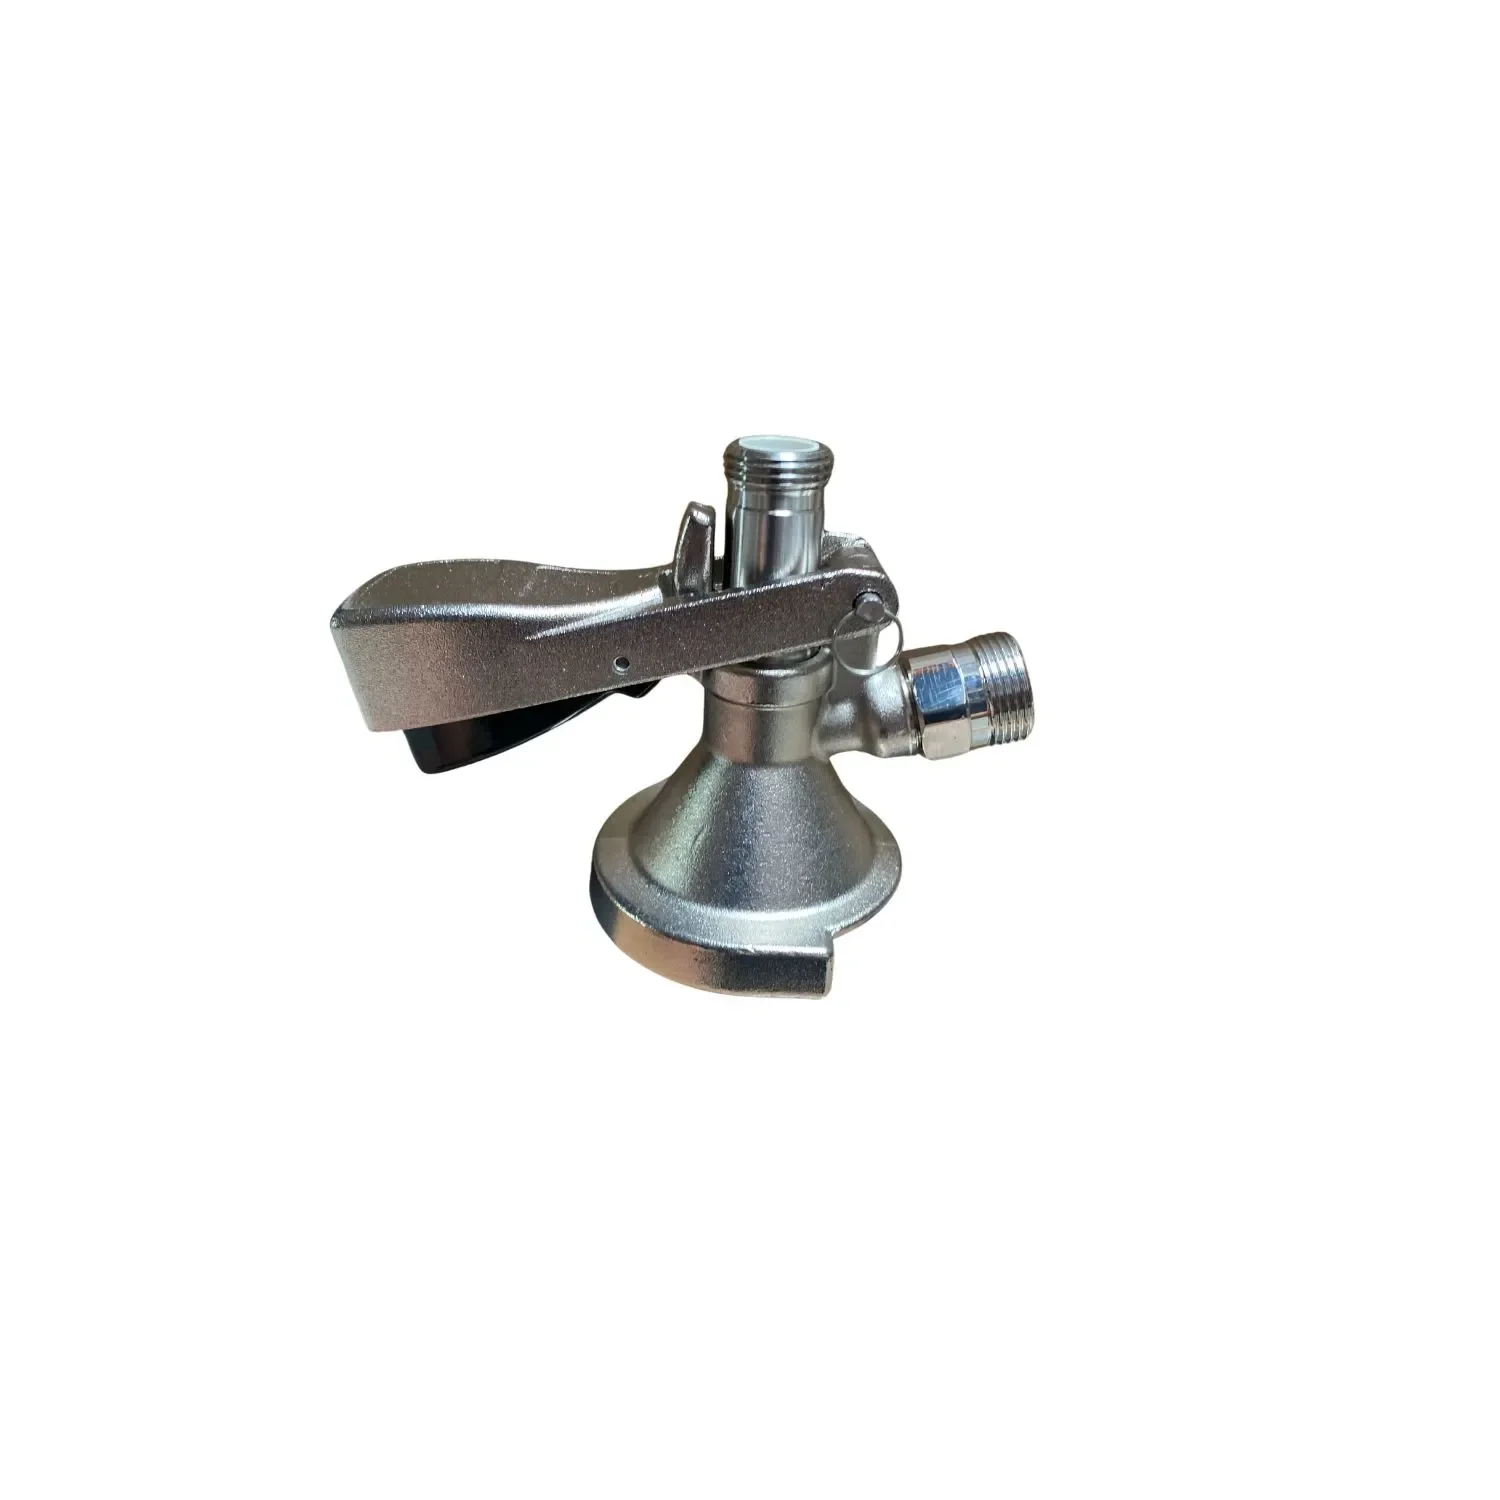
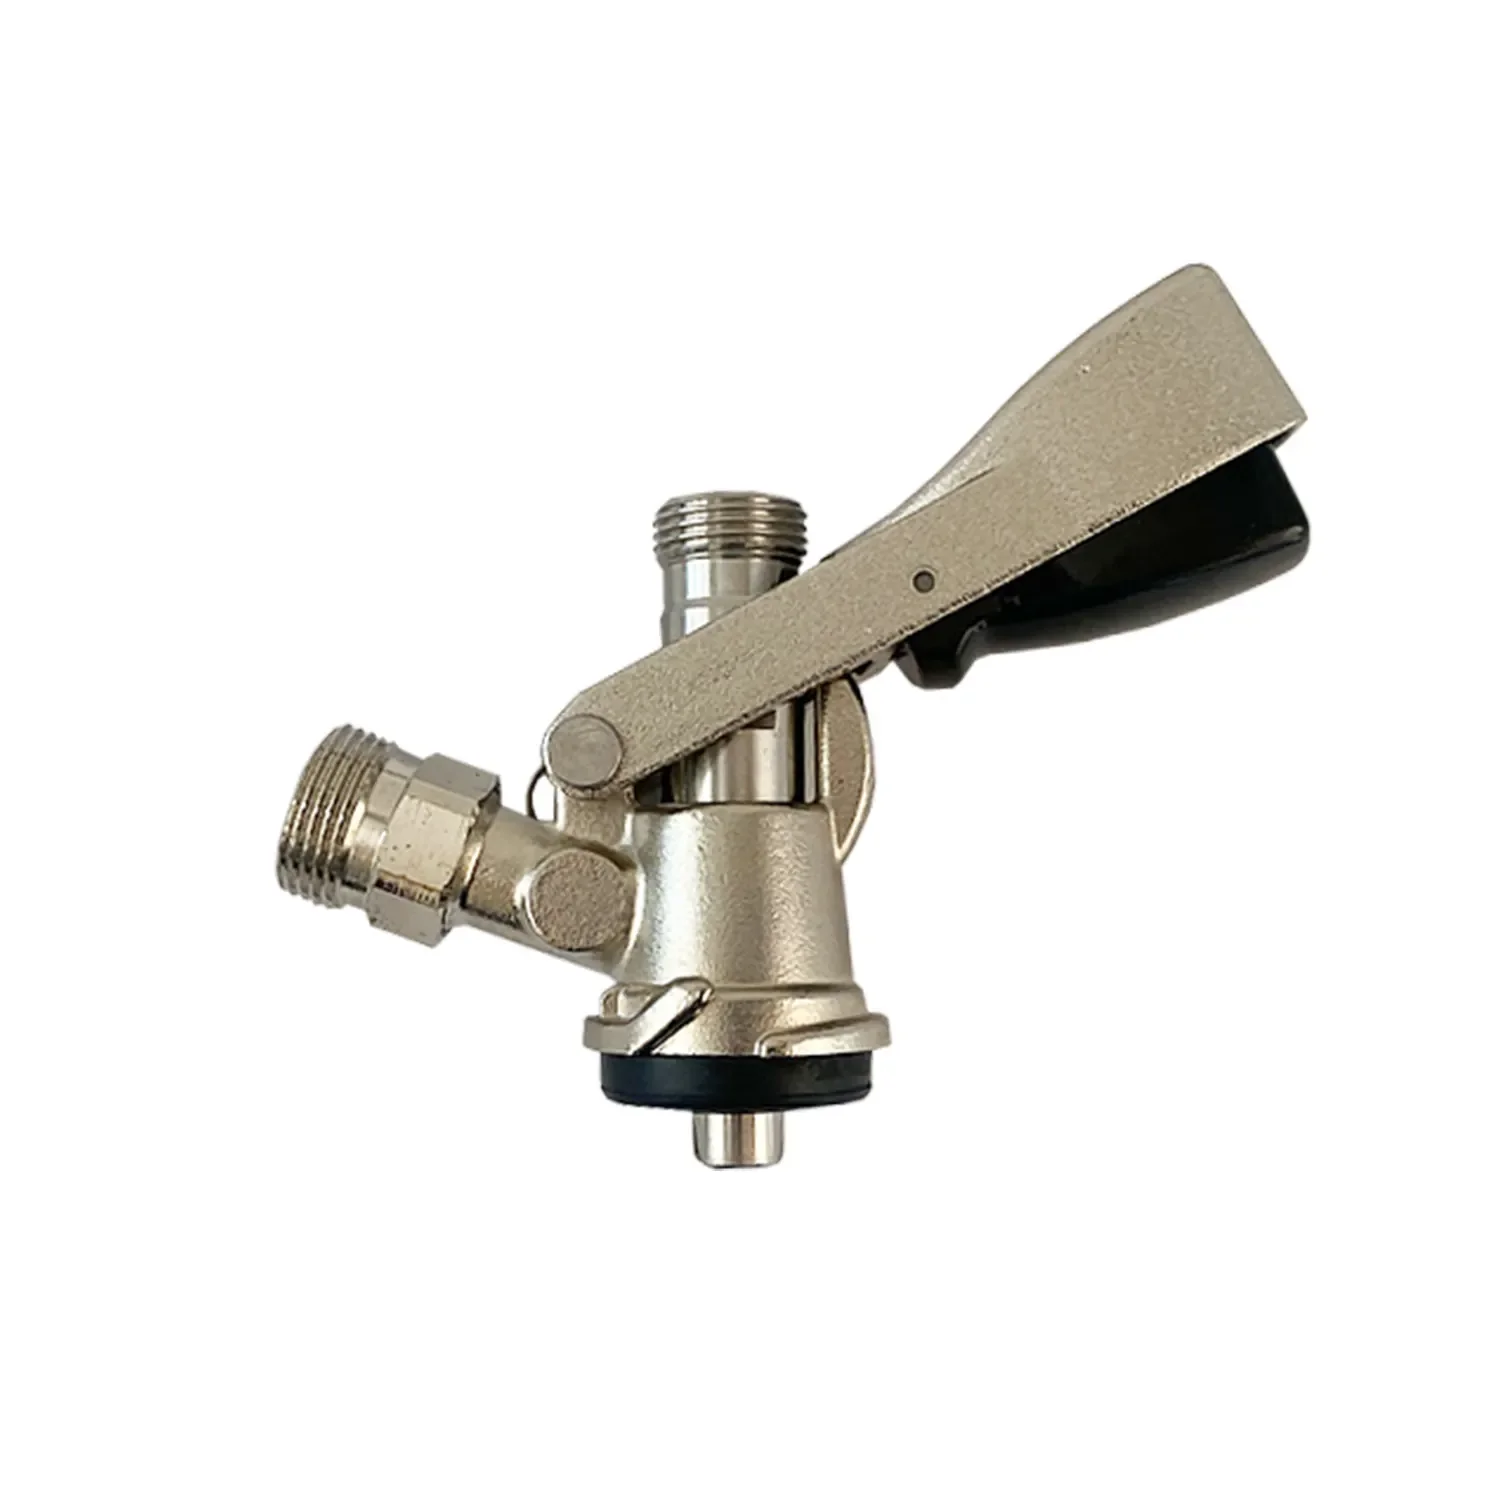
These products are ideal for making practical use of your renovated basement, whether you’re setting up a home brewery or storing drinks. Browse our full store for more ideas.
When should I hire a professional to renovate my basement?
DIY projects have their limits. You’ll need a professional if you find structural cracks in the walls or waterlogged foundations. This damage can threaten the structural stability of your entire home.
If your attempts to waterproof the basement haven’t helped, the cause is often more serious. A basement waterproofing contractor can use diagnostic tools such as inspection cameras.
Hiring a professional is an investment in your safety and your property’s value. Poorly done renovation work can lead to secondary damage costing tens of thousands of dollars. Always get several detailed estimates.
A dry, well-insulated basement can significantly increase your property’s value. It helps prevent structural damage and creates additional living space. Follow these steps: inspection, waterproofing, insulation, and finishing. With these tips and the right accessories from our Garden & Outdoor section, you can tackle your project with confidence.
Frequently Asked Questions
- How can I tell whether my basement should be waterproofed from the outside or inside?
- Exterior waterproofing is usually the most effective, long-lasting solution, but it requires excavating around the basement walls. It’s the right choice when hydrostatic pressure or serious masonry damage is present. Interior waterproofing may work for rising damp or condensation when the outside of the foundation isn’t accessible. A building inspector can help determine the cause.
- Can I waterproof a damp basement myself?
- You can handle minor issues, such as small cracks or isolated damp spots, as a DIY project using a specialized waterproofing slurry. For hydrostatic pressure, widespread mold, or significant structural damage, hire a specialist. The wrong approach can make the problem worse.
- What’s the best insulation for a basement?
- The right choice depends on how you plan to use the space. For a cold storage basement, exterior foundation insulation is often enough. If you plan to turn it into a heated living space, you’ll need exterior thermal insulation and an interior vapor barrier to help prevent condensation. Ask an energy-efficiency professional for advice.
- How can I prevent mold after renovating my basement?
- Mold grows in damp conditions with poor airflow. In addition to proper waterproofing, regular ventilation suited to the conditions is essential. In summer, ventilate during the cooler nighttime hours; in winter, air out the room briefly several times a day. A dehumidifier can help in problem areas.
- How much does a typical basement renovation cost?
- Costs vary widely. Basic interior waterproofing starts at 50-100€/m². Complete exterior waterproofing with excavation, drainage, and insulation can quickly cost 300-500€/m² or more. A professional inspection gives you a clearer picture of costs and helps you avoid a poor investment.
You may also be interested in
- Renovating a house: Comprehensive tips for your renovation project
- Mold in the basement: Causes, treatment, and prevention
- How to dry out a damp basement and waterproof the exterior wall
- How to repair damp walls: Causes, steps, and prevention
- Lower energy bills: Tips for renovating your home
- How to ventilate a damp basement and prevent mold