
In brief: Sew a toiletry bag from an old towel by cutting it to the desired size, folding it and sewing the sides together. A sewn-in zipper or drawstring closes the bag. This DIY method saves money, reduces plastic waste and gives textiles a second life. The project is ideal for sewing beginners.
Sew a Toiletry Bag from an Old Towel: Upcycling DIY for a Plastic-Free Bathroom
Old towels don't have to end up in the trash. Turn one into a practical toiletry bag. This sewing guide walks you through a simple upcycling project. You'll reduce textile waste and create a plastic-free alternative for your bathroom.
Why is upcycling worthwhile for bathroom textiles?
Every year, tons of textiles end up in the trash. Towels wear out, lose their color or no longer match the decor. Throwing them away is the easiest, but worst, solution. Upcycling gives the materials new value.
In the bathroom, a handmade toiletry bag replaces plastic packaging and cheap plastic bags. You control the materials and know exactly what touches your skin. Sustainability starts with small projects at home.
A sewn toiletry bag made from terry cloth is especially absorbent. Damp toothbrushes or bars of soap dry better inside it. Its durable texture lasts longer than thin cotton fabric.
Upcycling is more than crafting. It's a conscious decision against our throwaway society. An old towel becomes a new product with a history and emotional value. This creates a different relationship with the things we own.
What materials and tools do you need?
The success of your DIY project depends on proper preparation. Gather all your supplies before you start sewing. This helps you avoid interruptions and frustration.
Basic equipment at a glance
- An old towel: Choose a clean, undamaged terry towel. Its size determines the finished toiletry bag. A standard bath towel (approx. 100x150 cm) is ideal.
- Sewing machine or needle and thread: A machine creates even, sturdy seams. For hand sewing, use strong thread.
- Zipper or drawstring: Choose one type of closure. A 25-30 cm zipper works for most sizes. For a plastic-free option, use a cotton cord.
- Scissors, pins and measuring tape: These tools are essential for precise work.
- Sewing thread: Match the color to the towel or add a contrasting accent.
Pro tip
Test the fabric first. Sew a test seam in an inconspicuous area. This lets you set the correct stitch length and thread tension on your sewing machine. Terry cloth can stretch slightly while sewing.
Missing some basic materials? Our bathroom shop has a wide range of high-quality textiles. It's also worth browsing for future projects.
How do you cut and prepare the towel?
The right cutting technique determines the finished result. Work carefully and precisely. A straight cut makes the sewing that follows much easier.
Lay the towel flat on a large table. Iron it on a low heat setting if it's very wrinkled. Use tailor's chalk or a washable pen to mark the desired size.
For a classic toiletry bag, cut a rectangle 40 cm wide and 30 cm high. These measurements already include a 1 cm seam allowance on all sides. Cut exactly along the marked line.
Important note
Don't cut along the towel's original woven edge (selvedge) if it's still intact. This edge doesn't fray and is perfect as the finished top edge of your toiletry bag. This saves you from hemming it.
Want to sew one for children? Smaller sizes are more practical. Our range of toiletry bags for children also offers ready-made inspiration.
Which sewing technique is suitable for towel fabric?
Terry cloth is made up of many small loops. These can get caught in the sewing machine. With the right technique, you can still sew it without difficulty.
Step-by-step guide to the basic shape
Fold the cut fabric with the right sides together. The attractive, fluffy side should face inward. Pin the two long sides and the bottom edge together.
Sew these three sides together with a straight stitch. Use a 1 cm seam allowance. Start and finish each seam with a few reverse stitches for extra strength. Leave the top edge open.
Remove the pins after sewing. Trim the bottom corners diagonally. Cut away a small triangle from the seam allowance. This reduces bulk in the corners when you turn the bag right side out.
Now turn the toiletry bag right side out. Press the seams flat with your fingers or an iron. The basic shape is complete.
The biggest challenge when sewing terry cloth is its stretch. Use plenty of pins or even temporary basting stitches first. This stops the fabric layers from shifting while you sew. Patience is the key to a neat result.
You need a little practice to create perfect seams. In our category for children's bedroom textiles, you'll find more high-quality fabrics to practice with.
How do you attach the closure?
The closure makes your toiletry bag functional. You can choose between a zipper and a drawstring. Both methods have advantages and disadvantages.
Method 1: Sewing in a zipper
Sewing in a zipper requires precision. Position the zipper between the inner layer and an additional outer fabric strip for a neat finish.
Cut two strips from the leftover towel. They should be about 4 cm wide and as long as the top edge. Press the long edges of these strips over once.
Pin the strips right sides together to the top edge of the bag. Sew them in place. Then fold the strips outward and press the seam.
Pin the zipper between the folded edges of the strips. It should not be visible from the inside. Sew it in place from the outside using a zipper foot or a zigzag stitch.
Additional advice
Use a zipper with plastic teeth for the bathroom. Metal teeth can rust if they're constantly exposed to moisture. Look for a water-repellent coating.
Method 2: Drawstring channel for a plastic-free option
This method is simpler and completely plastic-free. Press the top edge of the toiletry bag about 2 cm inward. Pin and sew this folded edge in place. Leave a small opening of approx. 1 cm for threading the cord.
Use a safety pin or a cord threader. Thread the cotton cord through the channel you've created. Tie the ends of the cord securely. Pull the cord ends to close the bag.
Your personalized, sustainable toiletry bag is ready. You can enhance the design with appliqués made from other textile scraps or embroider the owner's name.
How can you customize and care for your DIY toiletry bag?
Your personal touch makes your upcycling project unique. At the same time, proper care can significantly extend the life of the bag.
Ideas for personalizing your bag
- Appliqués: Sew motifs cut from old T-shirts or shirts onto the bag. A heart, star or initial adds character.
- Inside pocket: Use a leftover piece of fabric to add a small inside pocket for delicate items such as a razor.
- Handle: A sewn-on handle made from braided cord or fabric scraps makes the bag easy to carry.
- Color accents: Use contrasting thread for the seams or choose a colorful cord.
For more creative ideas, visit our Fresk brand shop. You'll find design inspiration from the professionals.
Cleaning and durability
Your toiletry bag is made from terry cloth. You can wash it at 60 degrees to kill bacteria. Close the zipper before washing to protect the teeth and the machine.
Use a detergent without bleach to preserve the colors. Air-dry the bag or tumble-dry it at a low temperature. Terry cloth doesn't need ironing, and ironing can flatten the loops.
With intensive use, the seams may come loose at heavily stressed points. Check them regularly and repair them with a few hand stitches. This way, your DIY creation will accompany you for many years.
Ready-Made Travel Toiletry Bags
Don't have time to sew? Prefer a thoughtfully designed, ready-made option? Our range includes sustainable, kid-friendly toiletry bags.
The
stands out with its beautiful butterfly print and linen-like finish. It's a plastic-free alternative to conventional toiletry bags.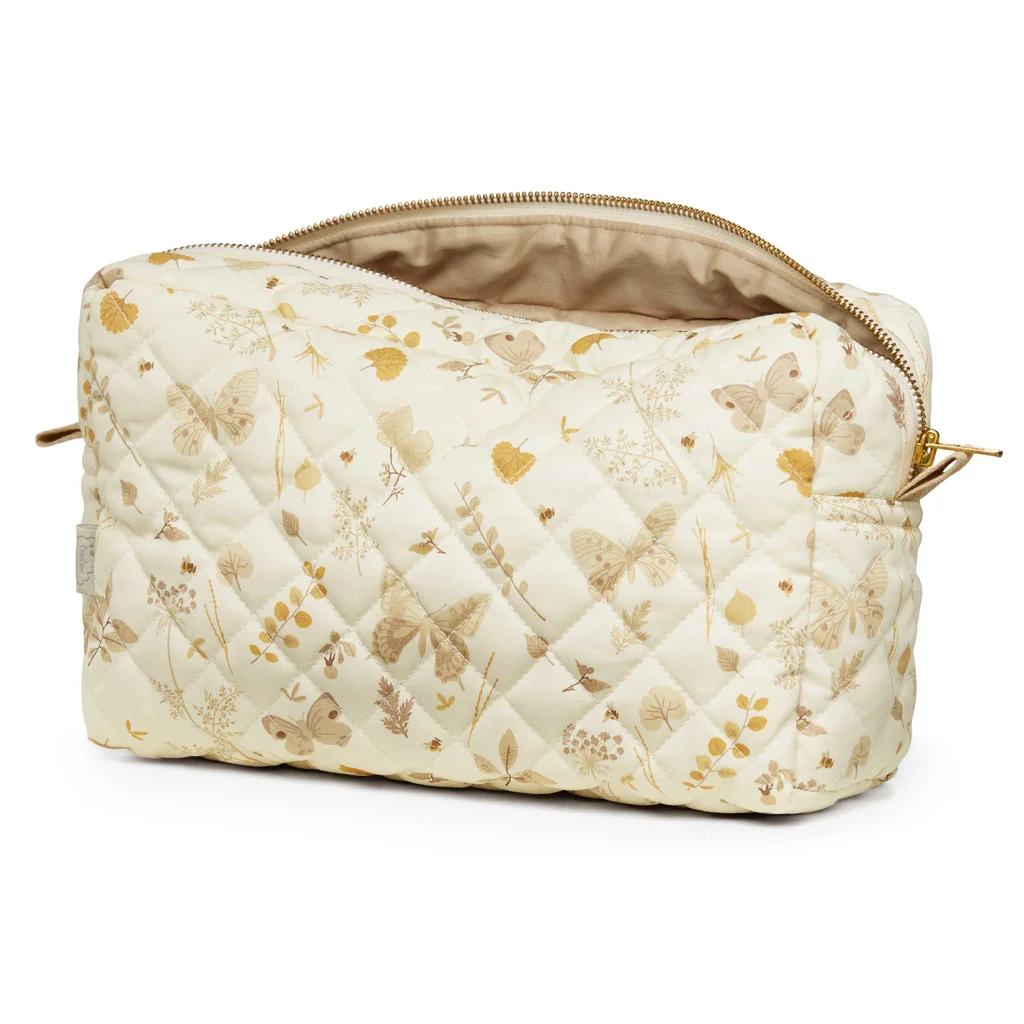
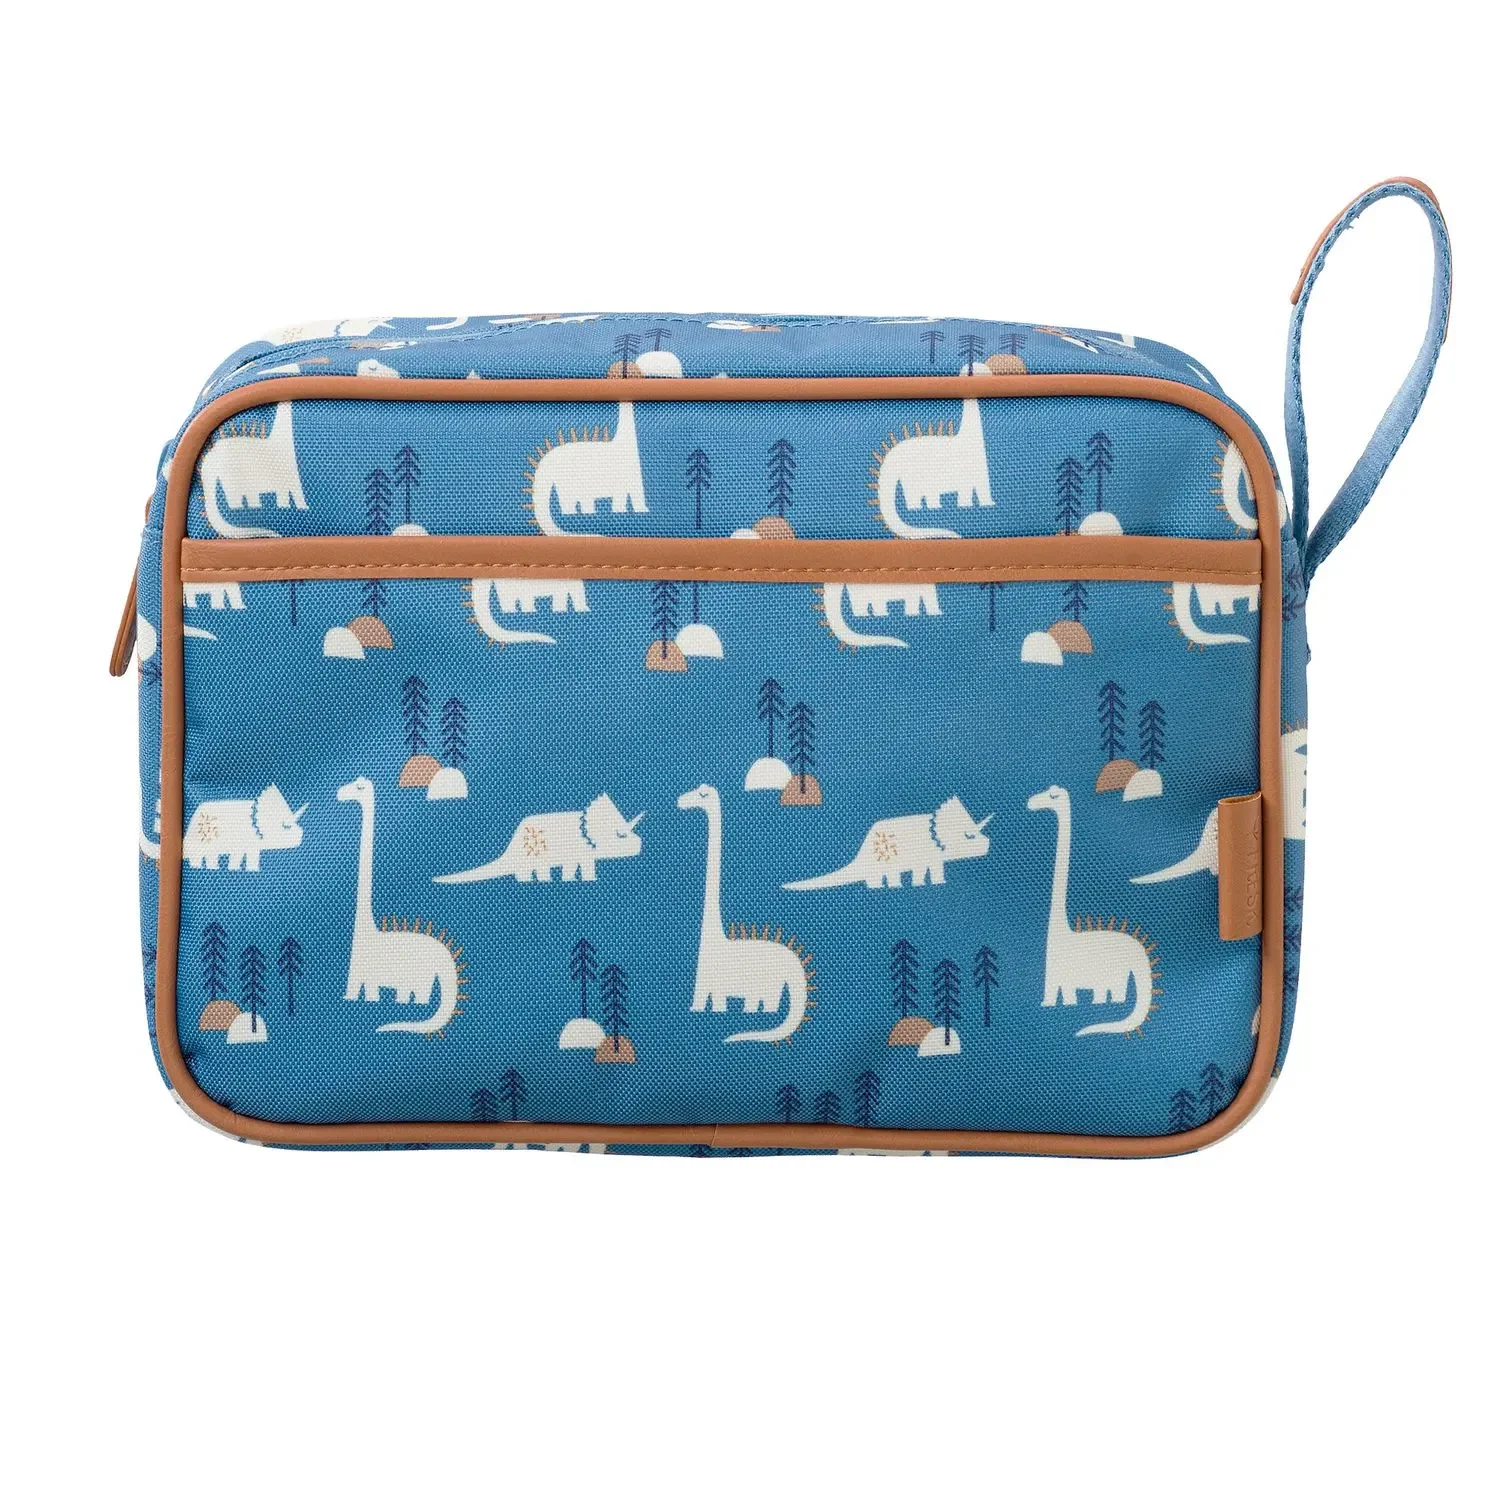
For little ones, the Fresk range features durable, playful designs. The
in a berry print or the with a dinosaur print make packing fun. These roomy bags hold everything kids need for a day out.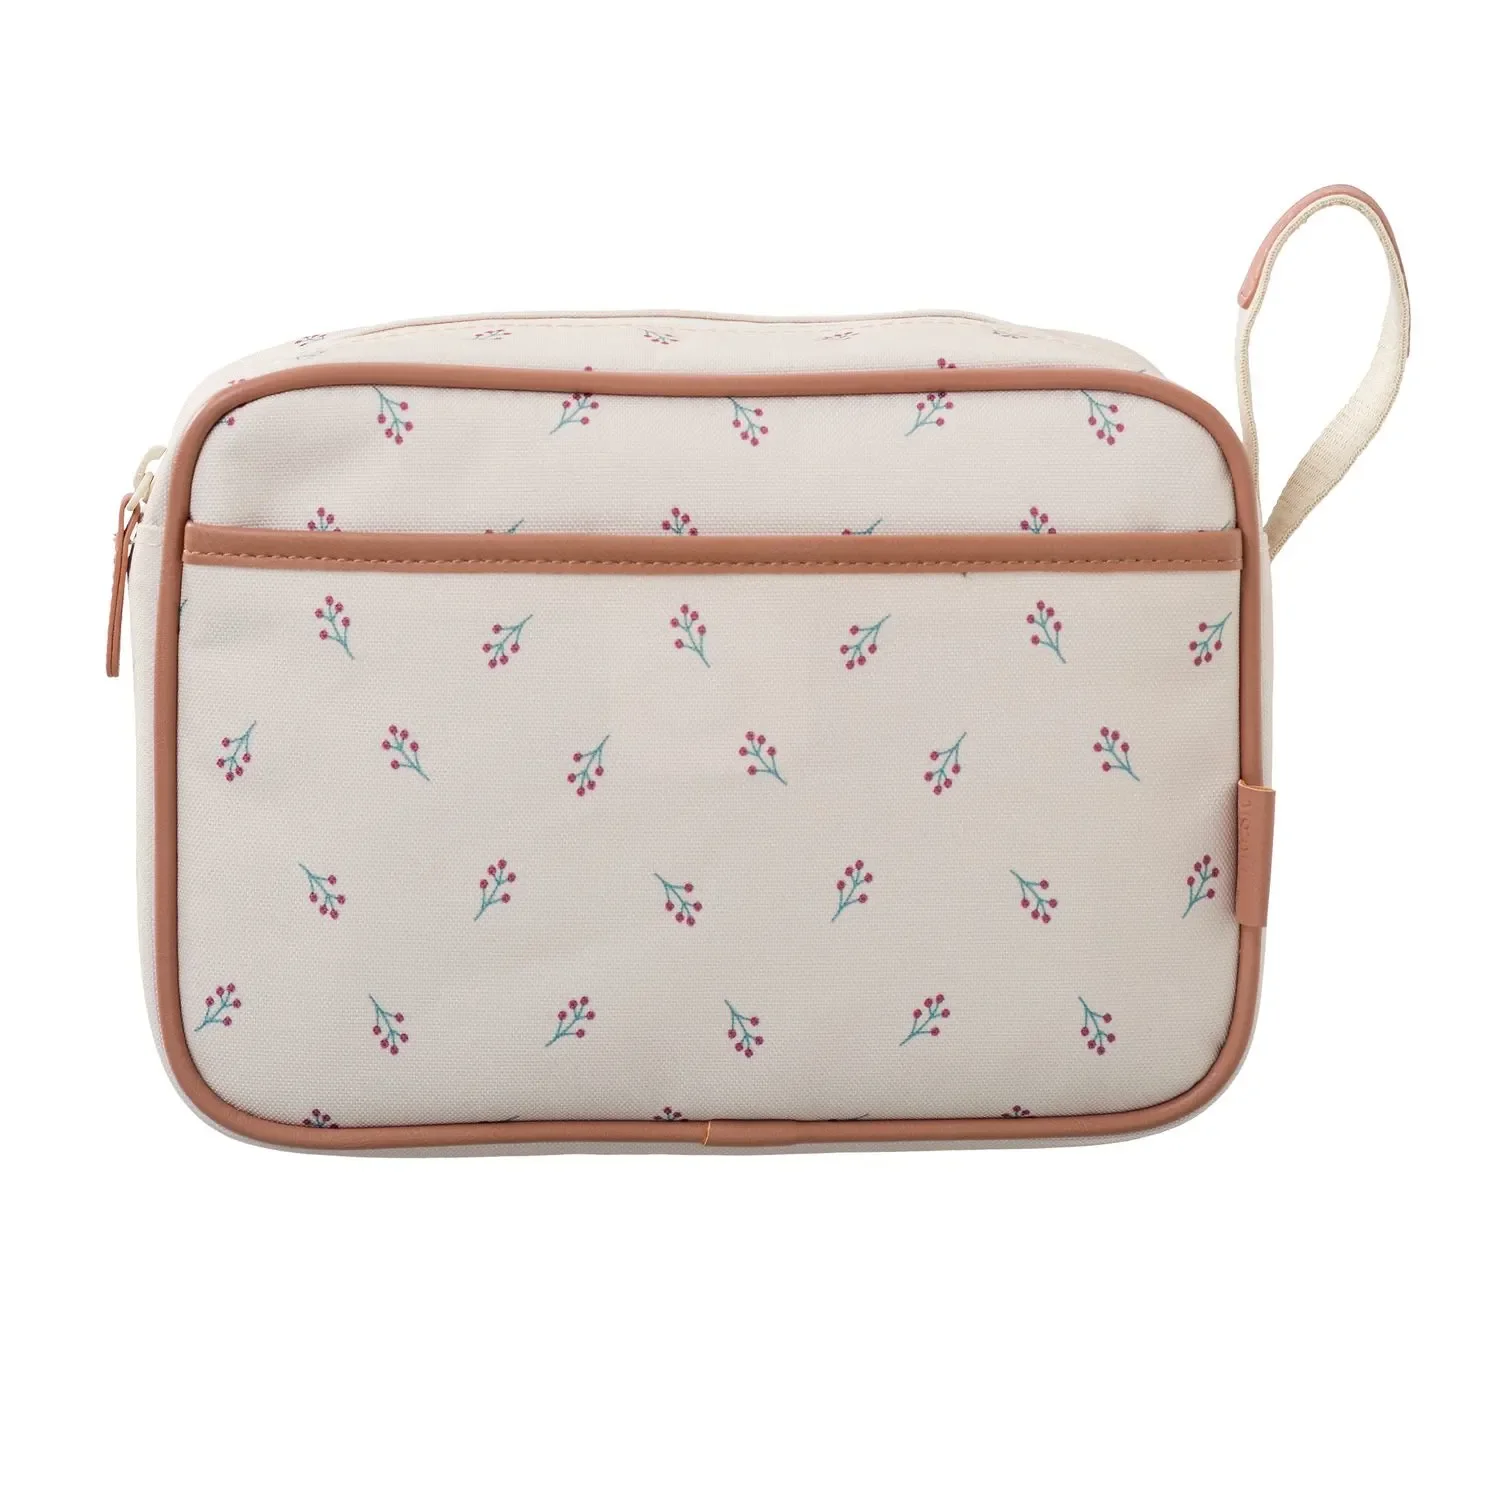
Natural-looking designs like the
in amber brown or the in olive are timeless choices. All Fresk toiletry bags are perfect for day trips and vacations with kids.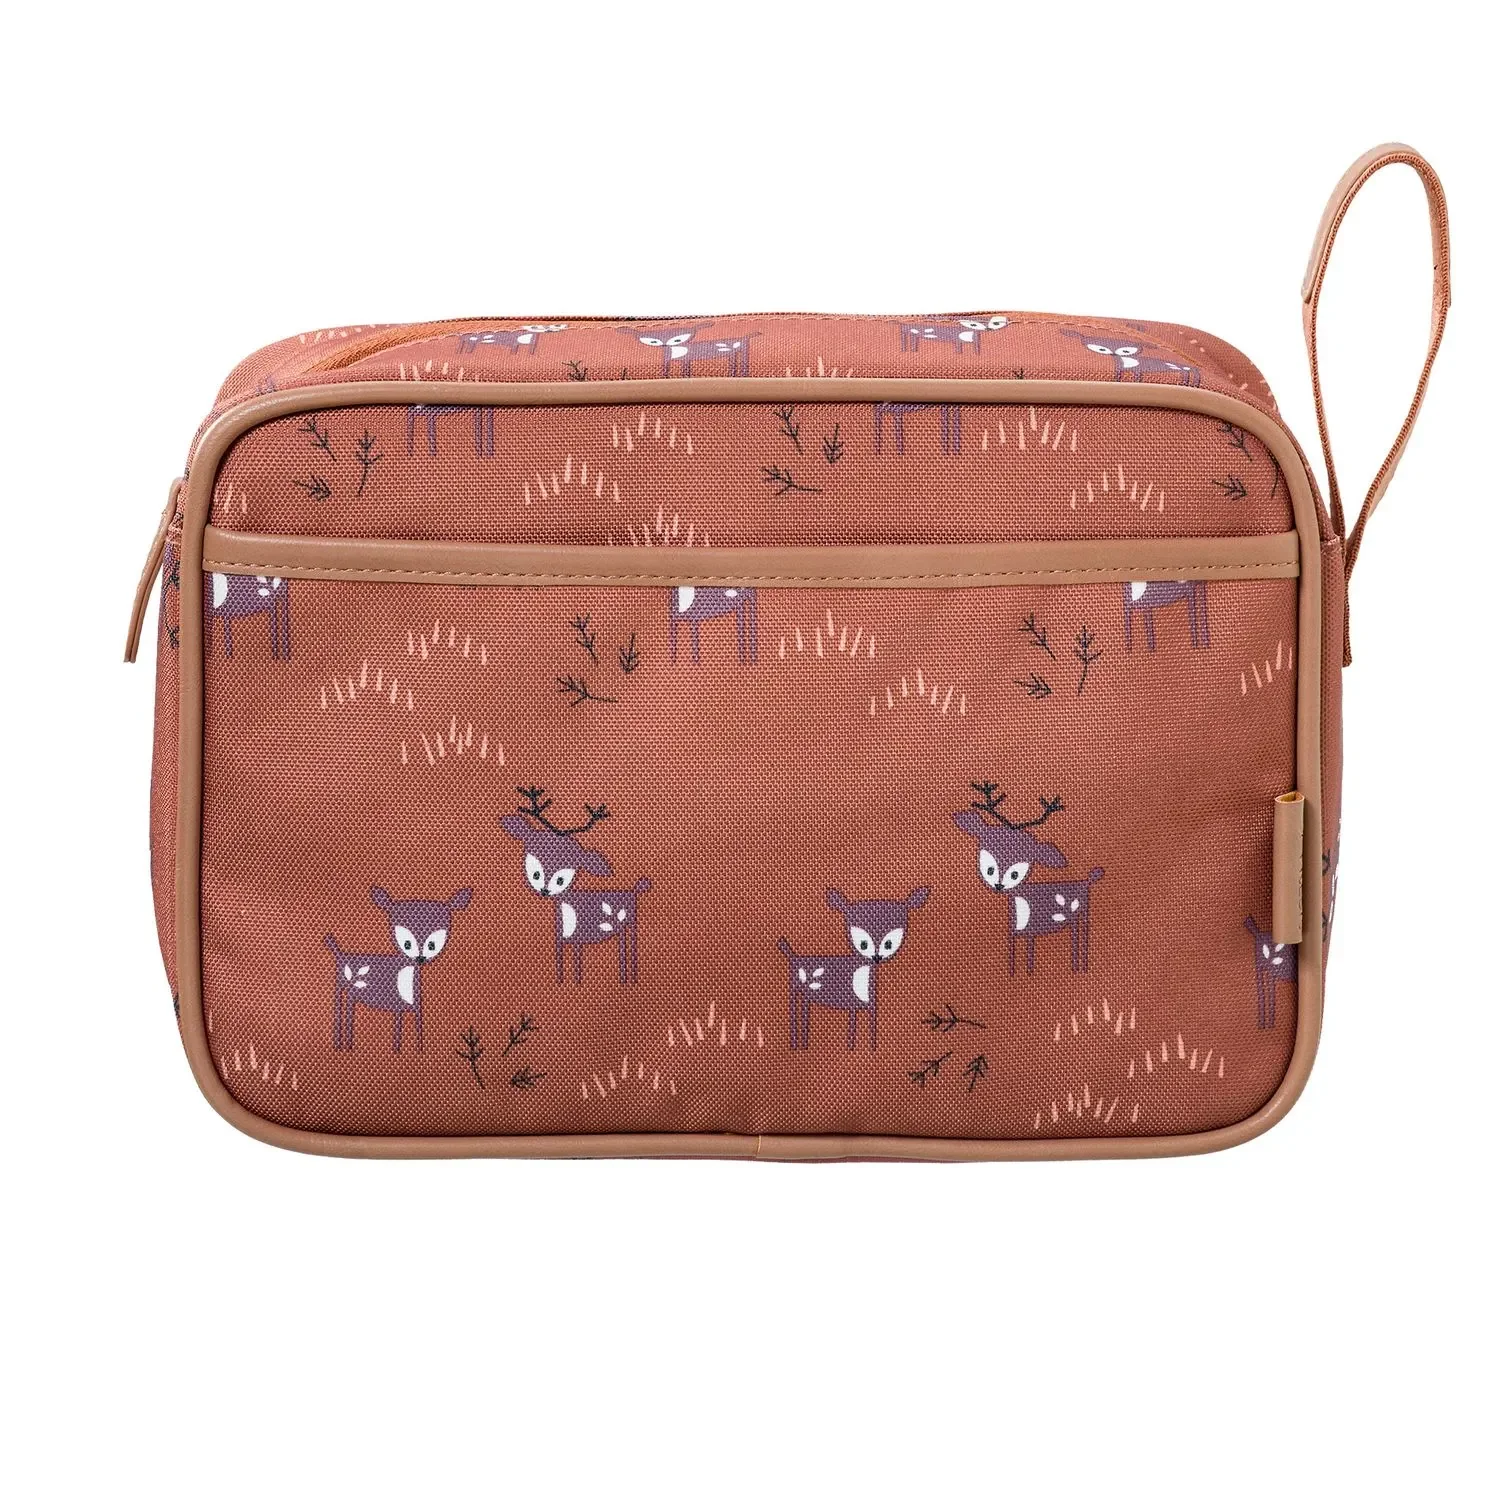
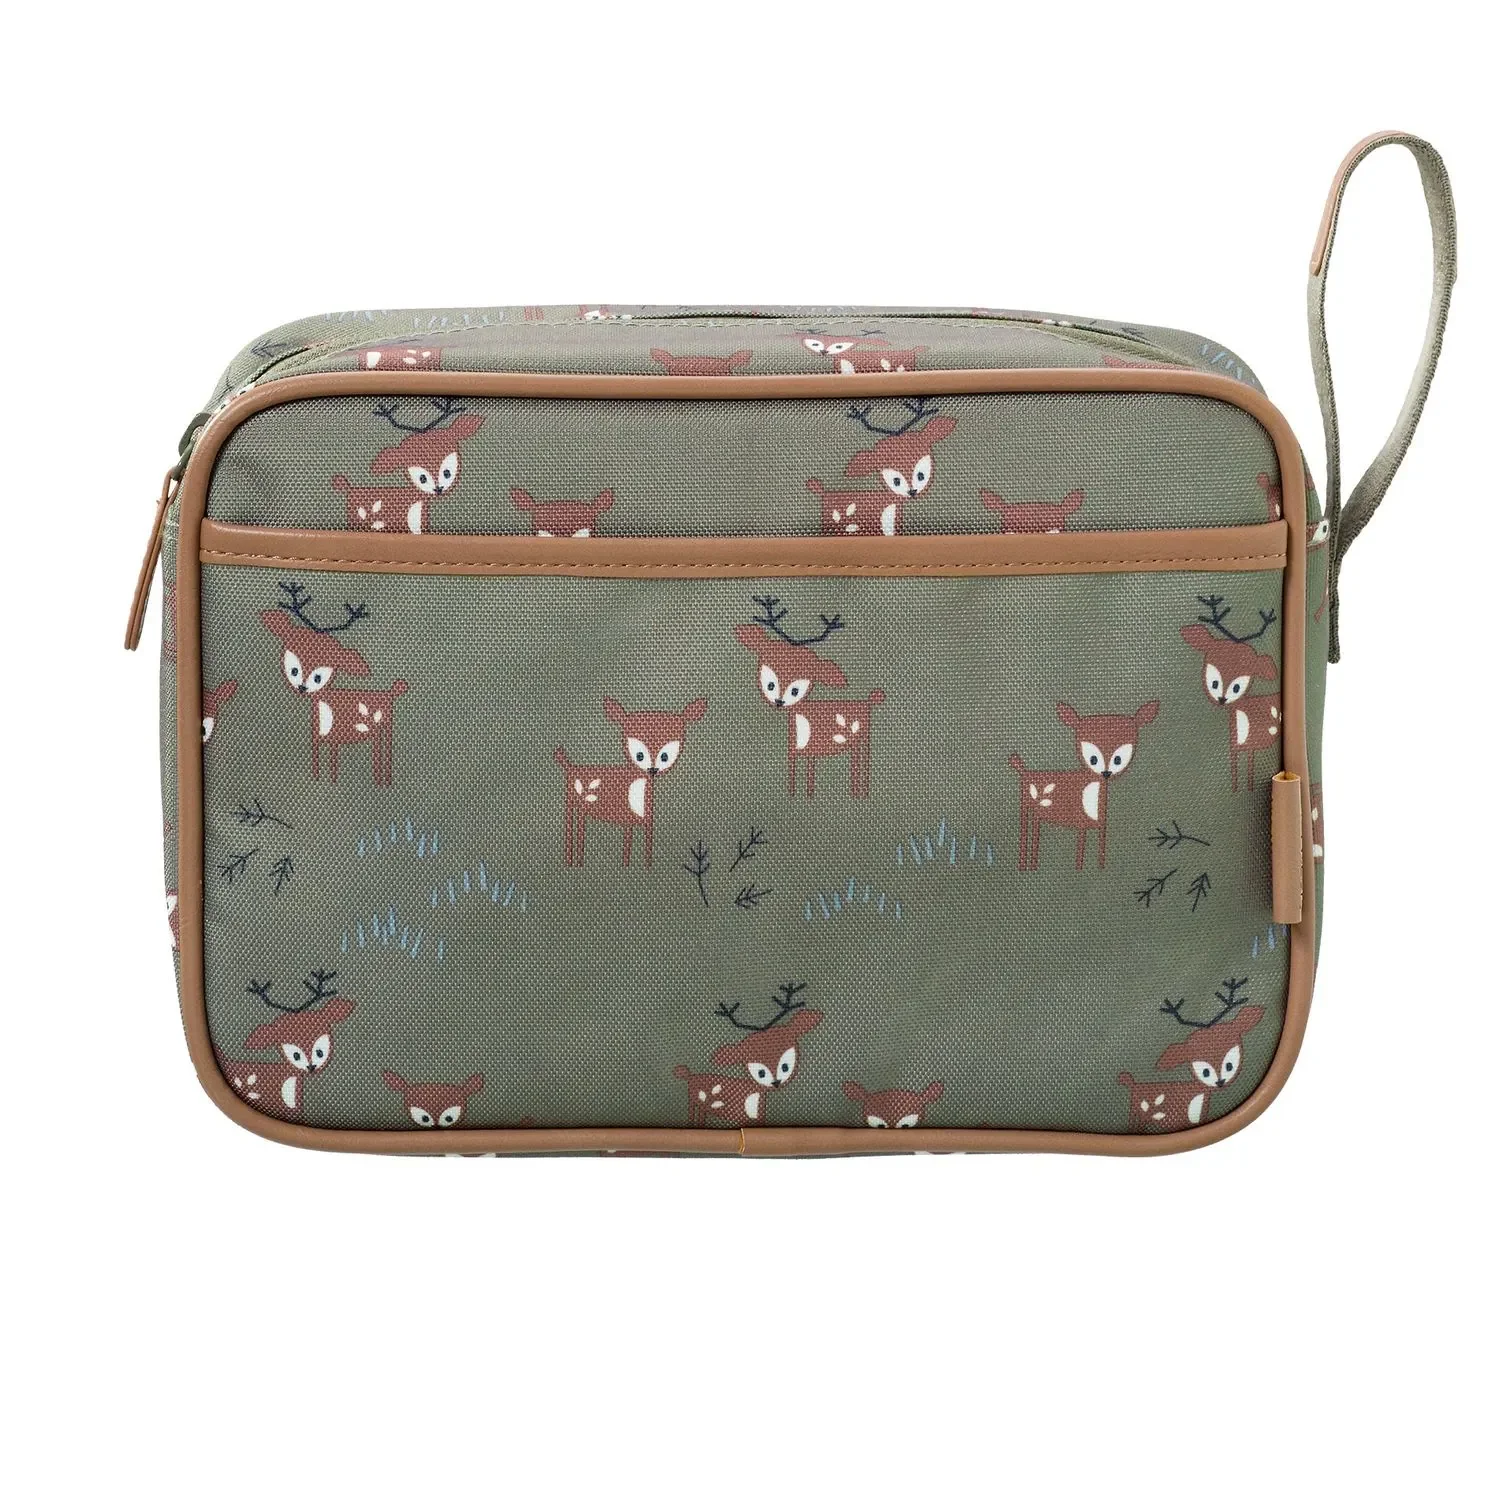
Whether you sew your own toiletry bag or buy one ready-made, it helps keep your bathroom organized and cuts down on plastic. Start your upcycling project today or choose a sustainable, ready-made option.
Frequently Asked Questions
- Which towel is best for making an upcycled toiletry bag?
- Use a medium-weight terry towel. It's durable, absorbent, and easy to sew. Avoid towels that are too thin or frayed. A standard bath towel provides enough fabric for a medium-sized toiletry bag.
- Do I need a sewing machine to make a DIY toiletry bag?
- A sewing machine is recommended for durable seams, especially when attaching a zipper. You can also sew the bag by hand; use strong thread and a sturdy stitch. Hand sewing is easier for drawstring styles.
- How do I wash a handmade terry-cloth toiletry bag?
- Wash the toiletry bag at 60 degrees if the zipper or drawstring can withstand it. Close the zipper before washing to protect its teeth. Air-drying the bag saves energy and helps preserve the material.
- Can I use children's towels to make small toiletry bags?
- Yes, children's towels or hooded towels are perfect for small makeup bags. Their colorful designs work well for kid-friendly styles. Adjust the pattern size as needed.
- What can I use instead of a zipper for a plastic-free toiletry bag?
- Use a cotton or linen drawstring. Sew a channel along the top edge and thread the cord through it. You can also use metal snaps or a simple flap closure with a fabric tab.