
In brief: Soldering is a practical skill that joins metals by melting a filler material. You need a soldering iron, solder, flux and a clean work surface. Practise on old copper pipes or sheet metal before making important connections in plumbing systems or garden structures. A strong joint forms when the parts are clean and the soldering iron provides enough heat.
Learn to Solder: A DIY Introduction to Soldering
You are repairing a garden hose connector or building a small metal structure. A lasting connection requires more than glue or screws. Soldering creates strong metal joints with easy-to-handle tools. This technique opens up new possibilities in the garden and outdoor area and for home repairs.
What is soldering, really?
Soldering joins metals with a melted filler material called solder. The workpieces themselves do not melt. The solder flows into the gap between the parts and solidifies there. This connection often conducts electricity too, which is why soldering has long been central to electronics. For the DIYer, the benefits lie elsewhere.
You can repair copper water pipes, secure sheet metal to tools or create small metal decorations. The technique is easy to learn. You do not need an expensive welding machine. A soldering iron or torch, the right solder and a little practice are enough to get started.
Important note
Soldering produces heat and fumes. Always work in well-ventilated rooms. Wear safety glasses and heat-resistant gloves. Keep flammable materials away from your work surface. The tip of the soldering iron remains extremely hot long after it has been switched off.
What tools do you need to get started?
The basic equipment is manageable. You can buy it in the shop for trade supplies or from specialist retailers. A soldering iron with adjustable temperature is ideal. Fixed-temperature models are sufficient for simple jobs. For DIY projects, the power should be between 60 and 100 Watt.
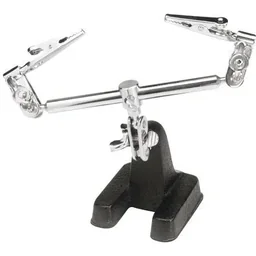
As for solder, choose it according to the material. Standard solder with a flux core is suitable for copper and steel. For stronger joints, such as those used in plumbing and irrigation systems, you need a special brazing alloy. A third hand holds your workpieces securely. It is an indispensable aid.
- Soldering iron or torch: Heat source.
- Solder: Joining material.
- Flux (often included in the solder): Cleans the surface.
- Desoldering pump or braid: For correcting mistakes.
- Protective equipment: Safety glasses, gloves.
How do you choose the right soldering iron?
Pay attention to the wattage. A higher wattage does not automatically mean a hotter iron; it means more power reserve. The iron cools down less when it touches the metal. You need more power for copper pipes or thick cables than for fine electronics. A tip temperature of 400°C is a good guideline.
The tip should be replaceable. Wear is normal. A broad, chisel-shaped tip transfers heat better to larger surfaces. A fine tip is suitable for detailed work. Clean the tip regularly with a damp sponge to remove oxidation residue.
“Choosing the right soldering tip is almost as important as choosing the solder itself. A worn or oxidised tip transfers heat poorly and makes precise work impossible.”
How does the soldering process work, step by step?
The process follows a clear logic. First, prepare the workpieces. Then heat them. Next, apply the solder. Let it cool without moving the joint. Every step affects the result.
- Clean: Remove grease, rust and oxide layers with sandpaper or steel wool. A clean surface is half the joint.
- Apply flux: Apply additional flux if needed. It improves wetting and prevents new oxidation during heating.
- Heat: Hold the soldering tip so that both parts of the joint heat evenly. Do not touch the solder with the tip too early.
- Apply the solder: Touch the hot joint with the solder. It should melt and flow into the gap by itself.
- Let it cool: Keep the parts completely still until the solder has solidified. Any movement creates cold solder joints that are brittle.
Pro tip
Always heat the workpiece, not the solder. Bring the component up to soldering temperature. Then apply the solder to the hot spot. If the solder only melts on the tip of the iron and drips onto the cold metal, the joint will not hold. The heat must come from the metal.
What are common mistakes, and how can you avoid them?
A cold solder joint is the classic mistake. It occurs when the parts were not hot enough or were moved while cooling. The joint looks dull, crumbly or grainy. It has no strength. Rework the joint, clean the parts and start again.
More solder is not better. A large blob over the joint may conduct heat, but it is more likely to break under mechanical stress. The solder should be distributed evenly throughout the joint. A clean seam is the goal. Use the right amount.
Which materials can be soldered?
Not all metals are equally easy to solder. Copper is the ideal candidate. It conducts heat extremely well and oxidizes in a controllable way. That is why copper pipes are so popular in plumbing. Galvanized steel can also be soldered, but it requires a more aggressive flux.
Aluminum is difficult. It immediately forms a stable oxide layer that repels solder. Special fluxes and solder types are necessary. As a beginner, stick to copper, brass or steel.
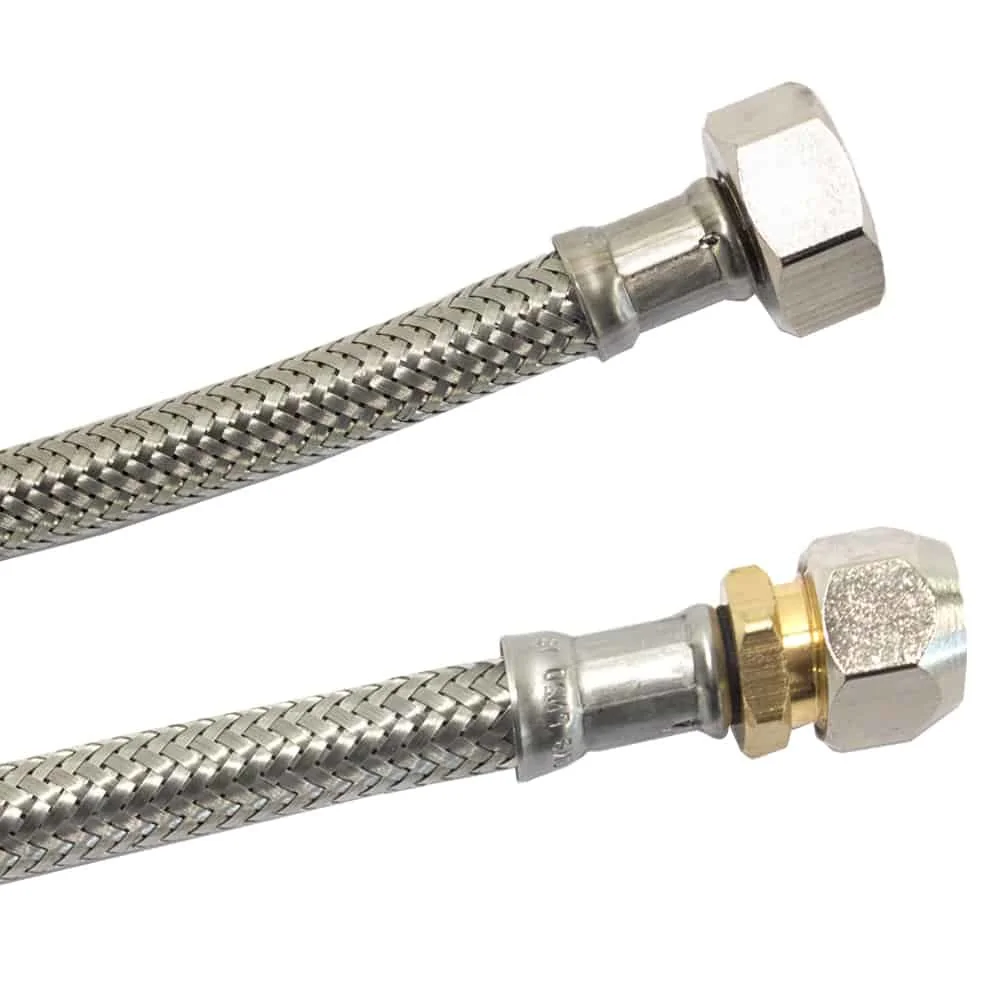
Think about projects involving garden equipment. You might repair a galvanized steel watering can, join wire for a trellis or secure a sheet of metal to a tool handle. Soldering offers a fast, long-lasting solution in these situations.
“Start with copper. Old water pipes or electrical cables are perfect practice materials. The sense of achievement will motivate you before you move on to more difficult metals such as stainless steel.”
Where can you use soldering techniques in the garden and around the home?
The applications are diverse. In the garden, you can repair damaged watering cans, garden tools or fence components. You can build a custom plant trellis from wire. Repairing garden tools with metal parts is also possible this way.
At home, the focus is on plumbing. You can replace a dripping faucet at the sink or install a new section of copper pipe. For this work, you need brazing equipment and possibly a propane torch. The
is specially designed for soldering gutters and shows that soldering also has a role to play in roofing work.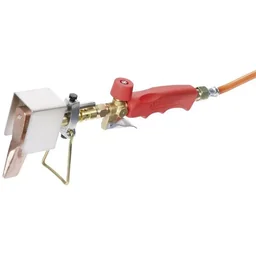
Think about decoration, too. You can create metal sculptures, join jewelry components or repair a metal foot on a piece of furniture. Soldering joins things where glue fails. It is a practical hands-on skill for anyone who likes to make and repair things.
Additional advice
Start by practicing on worthless materials. Collect old copper pipes, electrical cables or scraps of sheet metal. Try soldering two pieces together edge to edge. Test their strength. Only once you have developed a feel for heat, solder flow and timing should you move on to valuable workpieces or functional repairs.
Soldering vs. other joining techniques
When should you solder, and when should you use screws or glue? Screws are removable and do not require a heat-based tool. Glue is simple, but is often not heat-resistant. Soldering creates a permanent, watertight and often electrically conductive joint that can also withstand higher temperatures.
Welding is the big brother. It creates the strongest joint because the base material melts together. However, it requires more expensive equipment, more practice and is often unsuitable for thin materials. Soldering fills the gap between gluing and welding. It is the gold standard for electronics and many DIY applications.
How do you maintain your soldering tools?
A well-maintained soldering iron lasts longer and works more precisely. Clean the hot tip with a damp cellulose sponge after every use. This removes oxidation residue and old solder. Store the cooled iron in a dust-free place.
Always use the right tip for the job. Use a fine tip for electronics and a broad one for sheet metal. Replace worn tips in good time. An iron with a damaged heating element should be replaced. Good tools are an investment in your industrial supplies projects.
Do not handle solder with your bare hands. Grease and perspiration can affect the quality. Store leftovers in a dry, sealed container. Proper storage extends the life of all materials.
Conclusion: Soldering as a practical skill
Soldering significantly expands your DIY skills. You are no longer dependent on prefabricated parts or removable connections. You can create permanent metal joints with relatively simple tools. The learning process starts with theory and culminates in practical practice.
Get started today. Buy a basic soldering iron, standard solder and some copper pieces for practice. Follow the steps described. Your first solid solder joint will motivate you. Soon, you will be repairing and creating metal parts for your home and garden with new confidence.
Frequently Asked Questions
- What type of solder do I need for copper pipes in garden irrigation systems?
- For copper pipes, such as those used in garden irrigation, you need silver-bearing solder suitable for brazing. It only melts at higher temperatures and creates pressure-resistant joints. Soft solder is sufficient for electrical connections, but not for water-carrying pipes.
- Can I join thicker sheets with a simple soldering iron?
- No. An electronics soldering iron does not provide enough power. For thicker sheets, such as when repairing garden tools, you need a soldering torch or a powerful industrial soldering tool. The heat must reach the entire component, not just the surface. Otherwise, the joint will not hold.
- Why won't my solder joint hold and keeps coming loose?
- The most common causes are insufficient cleanliness or inadequate heating. Thoroughly degrease the metal surfaces and remove oxide layers with sandpaper. Heat the base material, not just the solder. The molten solder must flow into the joint rather than simply sitting on top.
- What is the difference between soldering and welding?
- When soldering, only the filler material (solder) melts; the workpieces remain solid. When welding, the components themselves are melted and fused together. Soldering requires less heat, is easier to learn and is suitable for thinner metals and electrical work. Welding creates stronger joints for load-bearing structures.
- Do I always need flux when soldering?
- Yes, in most cases. Flux prevents the heated metal from oxidising again and improves wetting. It ensures that the solder flows evenly and forms a clean, strong joint. Solder with a flux core is available, but for more demanding jobs you will often need additional flux.
You may also be interested in
- Learn to Weld: Basics and Tips for DIY Enthusiasts
- Repair Electrical Appliances Yourself
- Furniture Fittings: The Basics of DIY Furniture Building
- Gas Torches and Gas Soldering Irons: The Ultimate Guide
- Soldering Irons: Design, Types and Selection Criteria
- DIY Solar Power System: Build Your Own Photovoltaic System