
In brief: You can successfully move established plants by choosing the right time, preparing the new planting hole and carefully digging up the root ball. Water the plant thoroughly before and after transplanting. Appropriate pruning reduces water loss and transplant stress. Use high-quality soil and, if necessary, a root stimulator to encourage new roots.
Moving Established Plants: How to Give Them a New Home
A garden is always growing and changing. Sometimes the location of a shrub or perennial bed no longer works. Instead of sacrificing the plant, give it a second chance. Moving established plants requires planning and a gentle touch. With the right technique, you can save valuable garden plants.
Why should you move established plants?
Plants grow. What once seemed ideally placed can cause problems years later. Perhaps a shrub now shades the vegetable garden. Or the perennial has been crowded out by its neighbours. Moving it to a new location can often revive a tired plant. It may receive more light, air or nutrients. This helps rejuvenate it.
When building work or redesigning the garden, transplanting is a sustainable alternative to composting. It preserves established structures and tried-and-tested varieties. Emotional attachment is another reason to move a plant. It may have been with you for years. Give it a new home.
Important note
Not every plant tolerates being moved. Very old, deep-rooted woody plants or species with sensitive root systems have a low success rate. Find out in advance how well your particular plant is likely to tolerate transplanting.
How do you plan the best time to move a plant?
Timing can determine success or failure. The golden rule is to transplant during dormancy. The plant is not investing energy in leaves or flowers at this time. Instead, it can focus fully on forming roots at its new location.
For most deciduous shrubs and perennials, late autumn is ideal, after the leaves have fallen and before the ground freezes. The soil is still warm, which encourages root growth. Spring before new growth begins is the next-best option. It is better to move evergreen plants in late summer or early autumn. They continue to lose water through their leaves in winter and need time to establish roots before the cold arrives.
Avoid periods of extreme heat or drought. The plant is also too weakened during flowering or when it is producing fresh new growth.
“Preparation is the be-all and end-all when transplanting. One year before the actual move, use a spade to cut around the root ball of woody plants. This encourages fine fibrous roots to form inside the root ball—the key to surviving the move.”
What preparations are necessary?
Start at the new location. Dig the planting hole. It should be significantly larger than the expected root ball. Twice the width and depth is a good rule of thumb. Loosen the base and sides with a garden fork. This makes it easier for the roots to grow into the surrounding soil.
Mix the excavated soil with mature compost or high-quality planting soil. This addition of nutrients and structure is crucial. Have all your tools ready: a spade, garden fork, sharp pruners, a hand truck or tarps for transport, and a watering can filled with water.
Water the plant thoroughly one to two days before moving it. A well-moistened root ball holds together better and puts less stress on the plant.
How do you dig up the plant correctly?
Use the spade to cut a circle around the plant. The radius should roughly match the area occupied by the shoots. Larger woody plants may require a step-by-step approach. Work slowly and dig deeply.
The aim is to preserve a compact root ball. Carefully loosen the root ball from underneath with the garden fork. Lift the plant out rather than pulling on the stem. Support the root ball with a piece of burlap or a sheet of plastic. This protects the fine roots.
Pro tip
For very large or heavy plants, first cut around the root ball on all sides. Then dig a narrow trench around the plant and work diagonally underneath the root ball. This allows you to lift it in a controlled way.
Check the root ball immediately. Remove damaged or rotten roots with sharp pruners. A clean cut heals better than a crushed tear.
What should you do when transporting the plant to its new location?
Transport is a critical stage. The root ball must not dry out or fall apart. Wrap it in damp burlap or place it on a tarp. For heavy plants, use a hand truck or pull them on the tarp to the new hole.
Avoid leaving the plant in the sun or wind for long periods. Replant it as soon as possible. If temporary storage is necessary, wrap the root ball in damp cloths and keep the plant in the shade.
Practical helpers are useful for watering at the new location. A sturdy hose holder keeps your garden hose close at hand. Special irrigation connectors and wall mounts help organise your watering equipment efficiently.
How do you plant it in its new location?
Place the plant in the prepared hole. Make sure it is planted at the correct depth. It should be at exactly the same depth as before. Planting too deeply can cause rot. Fill the hole gradually with the soil and compost mixture. Firm the soil down gently to prevent air pockets.
Shape a watering basin from the soil. It directs water straight to the roots. Now water thoroughly, even if the soil is already moist. The water closes any remaining air pockets and brings the roots into contact with the soil.
Additional advice
A root stimulator can be worthwhile for particularly sensitive plants or difficult soil conditions. This product from the plant fertilizer range encourages new fine roots to form and improves water absorption.
What care does the plant need after being moved?
The first establishment phase is crucial. Water regularly and thoroughly, especially during dry periods. The root ball must not dry out. However, waterlogging is just as harmful. A mulch layer made from bark humus or grass clippings protects the soil from drying out.
Avoid heavy applications of fertilizer during the first year. The plant must first develop new roots. Light plant protection may be useful, as stressed plants are more susceptible to disease.
Pruning the shoots helps compensate for the loss of roots. For woody plants, shorten the shoots by about one third. For perennials, cut back the foliage. This reduces the area from which water can evaporate.
“Patience is the most important virtue after transplanting. Some plants show hardly any growth for a year and appear stressed. They are investing all their energy underground. It is only in the second year that they reward you with vigorous new growth.”
Which tools and products can help?
The right tools make the job easier and protect the plant. A sharp spade with a footrest is essential. A sturdy garden fork is ideal for loosening the soil and carefully lifting the root ball.
For subsequent care and preparing the new location, you will find suitable accessories in our shop. Our
, a robust plastic fitting, is ideal for connecting irrigation hoses or containers. This helps ensure a reliable water supply for your newly planted greenery.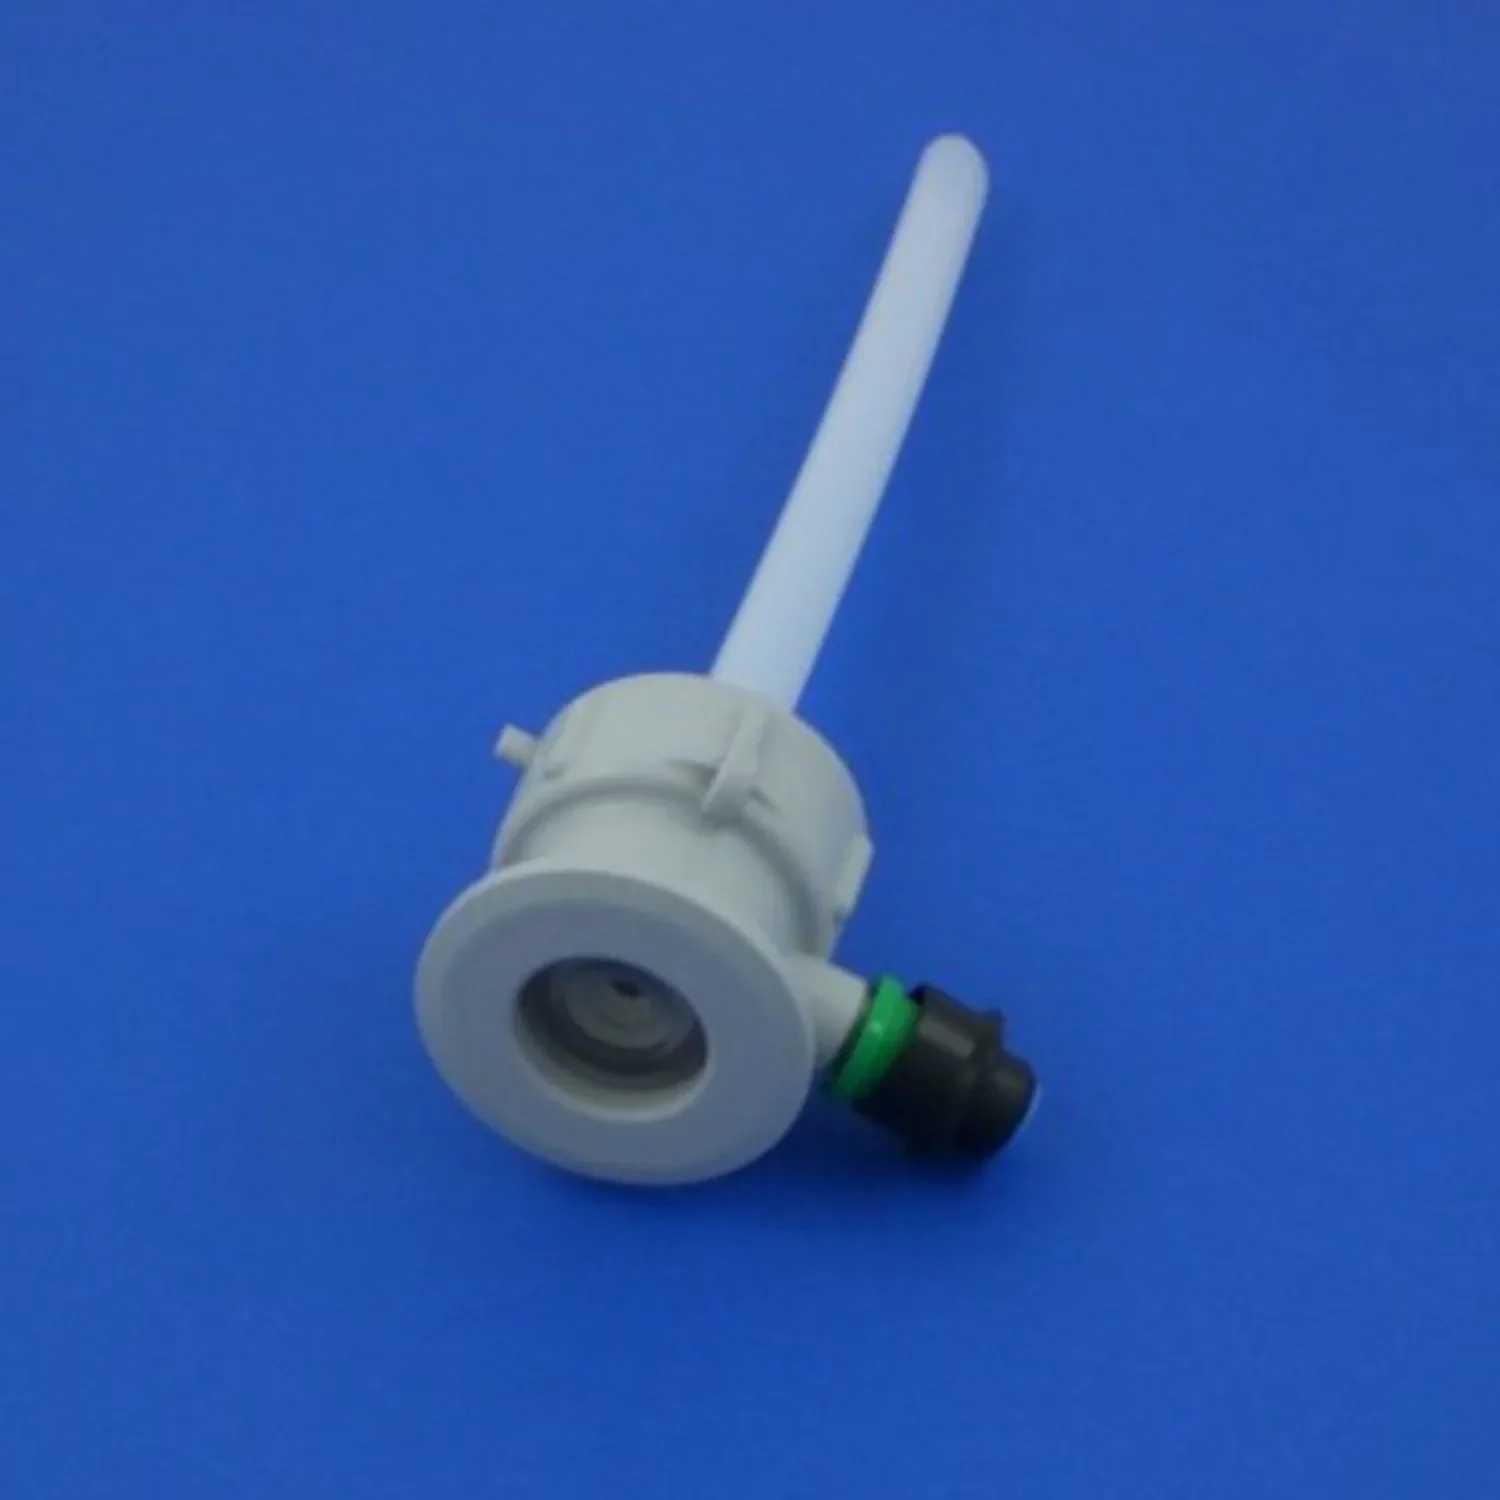
Sometimes, starting from scratch is the better option. Our
Electrical equipment can help when maintaining larger areas around transplanted plants. A
, a reliable switch with overload protection, provides safe control for lawn mowers and other garden equipment during further landscaping work.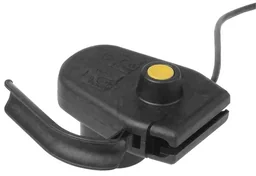
Also remember the basic supplies needed to care for your plants. In our garden and plant care accessories category, you will find everything from planters and potting soil to practical gardening aids.
Conclusion: Planning leads to success
Moving established plants is a major intervention. However, with careful planning, the right timing and gentle handling, it is often successful. You give your garden plants a new lease of life while preserving their established beauty.
Keep a close eye on transplanted plants over the following months. Respond to signs of drought stress, but avoid overdoing it. Give nature time. The reward is a healthy plant in a place where both you and it can feel at home again.
Frequently Asked Questions
- When is the best time to transplant plants?
- The ideal time to transplant plants is during the dormant season. For most trees, shrubs and perennials, this means late autumn after the leaves have fallen or early spring before new growth begins. It is better to transplant evergreens in late summer or early autumn so they have time to establish roots before winter.
- How large should the new planting hole be?
- The new planting hole should be at least twice as wide and deep as the plant's root ball. Loose soil makes it easier for the roots to grow into the new growing medium. Fill the hole with a mixture of excavated soil and high-quality planting soil or compost.
- Can I still transplant a very old and large plant?
- Yes, but the risk is higher. For mature trees and shrubs, preparing the plant over several years with root pruning can be beneficial. In the first year, cut through part of the root circle to encourage the growth of fine roots. Then transplant the plant the following year. Pruning the crown significantly helps compensate for the loss of roots.
- Which plants cope particularly poorly with being moved?
- Deep-rooted plants such as peonies, poppies and lupins often react poorly to being transplanted. Older conifers and some deep-rooted trees such as walnut trees also have a low chance of success. Always check the specific requirements of the plant species before taking action.
- How should I care for a plant after transplanting?
- Regular, thorough watering is essential during the initial establishment period. Avoid waterlogging. A layer of mulch protects the soil from drying out. Do not use complete fertiliser in the first year, but a special plant establishment fertiliser or root stimulator may help.
You may also be interested in
- Transplanting lavender: step-by-step guide
- Repotting houseplants: how to do it correctly
- Transplanting cherry laurel: step-by-step guide
- Repotting container plants: timing, instructions and care tips
- Transplanting pampas grass: timing and instructions
- Planting perennials: your guide to a flower-filled garden bed