
In brief: A durable paved driveway needs a load-bearing sub-base, a slope of around two percent and clean edge restraints. Plan the width, parking spaces, drainage and colour scheme before excavation. Choose frost-resistant paving stones, compact every layer and lay the paving only on the completed bedding.
A paved driveway has to withstand more every day than a garden path. It supports the weight of cars, handles rain and frost and connects the road, parking space and house entrance. If the sub-base, slope and edge restraints are right, the surface stays level and is easy to maintain.
When designing a driveway, first decide on its function and levels, then choose the stone, colour and pattern. This approach prevents costly corrections. The following steps show you how to pave a driveway and integrate it neatly into your garden and home.
How do you plan your driveway before paving?
Start with a scale drawing. Mark the road, property boundary, garage, house entrance, parking spaces, trees, beds and existing inspection chambers. Also mark doors and gates that need additional space when opened. This simple plan shows where the driveway needs to be wide enough and where vehicles need to manoeuvre.
What dimensions does a driveway need?
For a single car, allow at least 3 metres of clear width at the narrowest point. If vehicles are partly parked beside the driving lane or doors open directly onto the paved area, you will need more room to move. In front of a garage, you should plan around 5,5 to 6 metres of manoeuvring space, depending on the property and vehicle.
Do not assess the driveway only from a bird's-eye view. Drive along the planned route with a vehicle or mark it out with stakes and string. This helps you identify early on whether wing mirrors, trailers or larger vehicles can pass fences, walls and beds.
How do you create a cohesive design concept?
Coordinate the stone colour and laying pattern with the façade, roof, fence and garden paths. A calm base colour usually works better on large areas than an irregular mix. Use a second colour sparingly for border strips, parking space markings or a path to the entrance.
Large formats make a narrow driveway appear wider, while small stones suit curved lines and traditional houses. Rectangular stones laid in a stretcher bond create a straight-lined look. A running bond or herringbone pattern emphasises the direction of travel. You can find ideas for integrating paths and beds in the Garden + Outdoor section.
Which preliminary tasks will save effort later?
Mark the finished top edge of the paved area with string lines. Check the level at the garage, front door, road and property boundary. Before excavation, check where electricity, water, gas and telecommunications lines run. Also clarify whether a new dropped kerb, drainage system or larger sealed area needs to be agreed with the local authority.
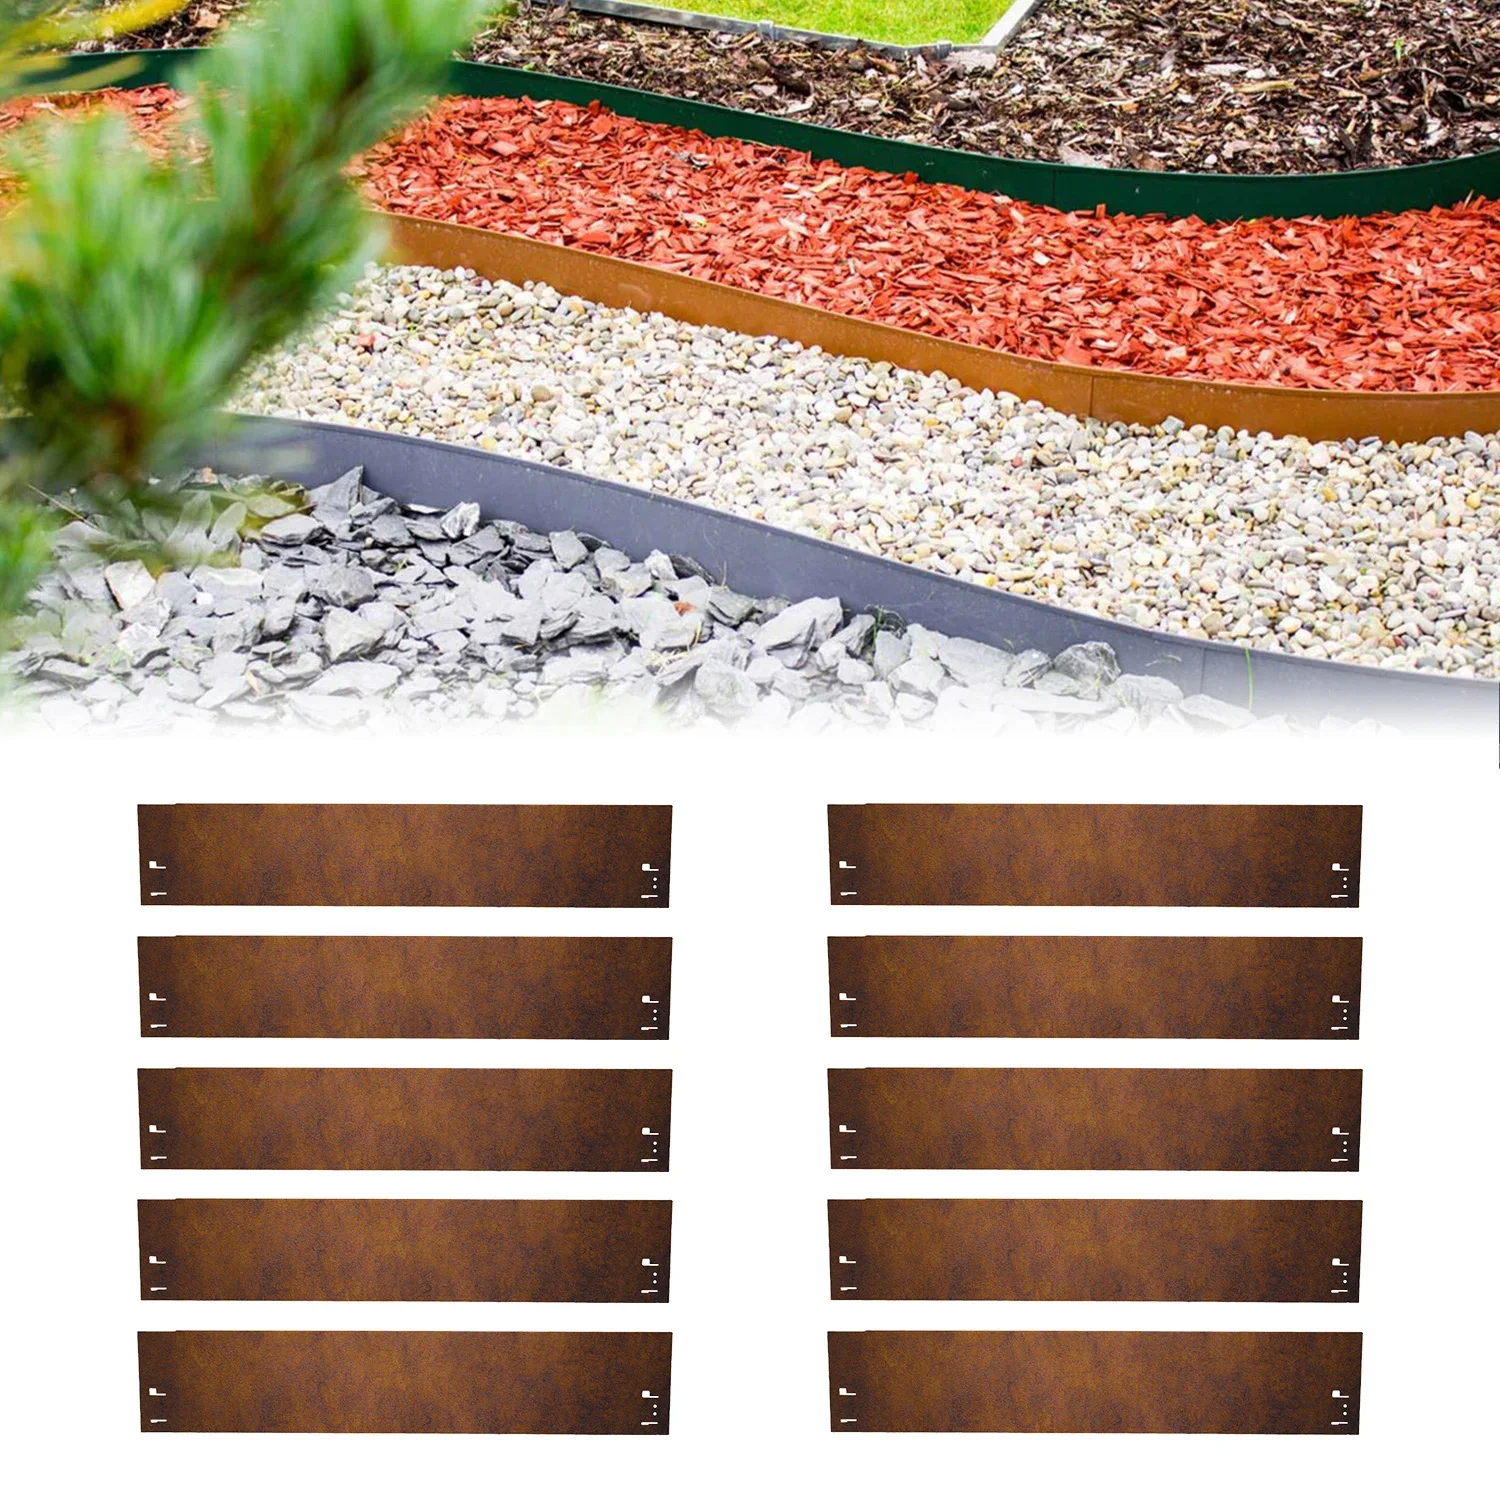
Plan border strips in the drawing from the outset. They separate the paving from the lawn, create clean lines and prevent soil from getting into the joints. For a visible bed edge, consider
Pro tip
Photograph open cable routes and measure their distance from fixed points on buildings. This documentation will help with future repairs. Also check the planned finished level with a long straightedge before installing large quantities of crushed stone.
Which sub-base will support a paved driveway?
The durability of a driveway is created beneath the visible paving. If water penetrates an inadequately compacted sub-base, ruts, sunken areas and split joints will develop. First remove topsoil, roots and soft soil layers until you reach a stable formation level.
How deep do you need to excavate for a driveway used by cars?
For normal car traffic, you will often need a total build-up of 30 to 45 centimetres between the finished paving surface and the load-bearing subsoil. On frost-prone, clay or poorly drained soils, a deeper build-up with a thicker frost protection layer may be necessary. The exact depth depends on the soil, water flow, stone format and load.
Excavating too shallow saves material only in the short term. If the frost protection layer is missing, water in the soil freezes and lifts individual areas. When it thaws, the surface settles unevenly. Excavate the entire area evenly and avoid isolated depressions.
Which layers are needed in the build-up?
- Formation level: The natural ground must be free of topsoil and roots, correctly profiled and load-bearing.
- Separation layer: On soft or highly variable soils, a suitable geotextile can prevent the soil and crushed stone from mixing.
- Frost protection layer: Frost-resistant, well-graded aggregate drains water and distributes the load.
- Base course: A compacted crushed-stone or grit base course forms the stable foundation for the bedding.
- Bedding: Around 3 to 5 centimetres of crushed sand or grit levels out minor unevenness. This layer is screeded but not compacted before laying.
Do not use soil, pure sand or uncrushed gravel without suitable grading for the base course. The material must be compactable and allow water to drain in a controlled way. Match the aggregate grading and layer thickness to the local soil and the paving stone manufacturer's specifications.
How do you compact the sub-base correctly?
Compact each layer separately, making several passes with the plate compactor. Work in layers of around 10 to 15 centimetres rather than installing one large layer at once. The surface should not visibly give way beneath the plate. Check the levels and slope again after each layer.
The plate compactor often has less impact at the edges. Compact these areas especially carefully and install stable edge restraints. A straight string line is no substitute for checking with a straightedge and spirit level. Small errors in the sub-base will later show clearly on the finished surface.
“Paved surfaces and slab coverings must be constructed on a sufficiently load-bearing and frost-resistant base.”
How do you choose paving stones and patterns?
Choose the stones based on how they will be used, not just their colour. A driveway for a car needs different strength requirements than a narrow garden path. Look for frost resistance, abrasion resistance, slip resistance and manufacturer approval for areas subject to vehicle traffic.
What paving stone thickness is right for a driveway?
For a regularly used car driveway, paving stones with a thickness of 8 centimetres are a common starting point. 6 centimetres are more suitable for paths without regular vehicle loads. For heavy vehicles, frequent manoeuvring or particular ground conditions, 10 centimetres may be advisable. The decisive factor remains the combination of paving stone, bedding and sub-base.
Before buying, check several samples in daylight and after rain. Rough surfaces provide grip but collect more dirt. Very smooth stones are easy to clean but may feel more slippery when wet. With natural stone, colour, texture and thickness vary more than with industrially manufactured concrete paving stones.
How do you choose the format and laying pattern?
Large-format slabs create a calm, modern surface. However, they require a very even sub-base and careful bedding. Smaller formats distribute movement better and are easier to adapt to curves. For the wheel tracks, choose patterns in which the joints do not run continuously in the direction of travel.
A border strip made from smaller stones visually frames large interior areas. Make sure the edging stones are not merely decorative but are also secured at the sides. Without a stable border, the outer stones can shift under the forces exerted by tyres.
Which colours work well with your house and garden?
Light-coloured stones reflect sunlight and can make small driveways appear more spacious. Dark surfaces create strong contrasts with the façade but show dust and light limescale residue more clearly. Beige, grey and mixed natural tones usually blend easily into planted areas. Limit yourself to two or three coordinated shades.
Include transitions to lawns, gravel and flower beds in your plans. A clear line looks neat and makes mowing easier. Suitable solutions for edging, planting areas and other elements can be found in the Garden equipment category.
Important note
Do not build over unknown utility lines, manhole covers or inspection openings. Also check whether the chosen surface is recognised as permeable paving. Local authorities may have requirements concerning sealed surfaces, rainwater, dropped kerbs and connections to the public road.
How do you drain water and edge the driveway?
Rainwater needs a planned route. Do not allow it to run uncontrolled towards the house wall, onto neighbouring property or onto the pavement. A paved surface can drain water using a gradient, open joints, drainage channels or a combination of these solutions.
What gradient does a driveway need?
A gradient of around 2 percent is often recommended. This corresponds to a height difference of 2 centimetres per metre. As a general rule, direct the surface away from the building unless the site conditions require otherwise. For a driveway with a gradient to the side, the highest point at the house must be sealed and drained particularly carefully.
Transfer the gradient to the subgrade, sub-base, bedding and finished surface using string lines, a laser or a levelling device. Do not check the levels only after laying the paving. Even a few millimetres can determine whether water runs into the garage at the door.
When does a driveway need a drainage channel?
A channel in front of the garage door or at the transition to the road catches water where a simple gradient is not sufficient. Choose a load class suitable for the location and install the channel body on a stable concrete foundation. The grating must be flush with the paving and must not create a trip hazard.
For a suitable corner solution in a compatible drainage system, the following can be used:
The graphite-coloured corner piece for System 100 connects the internal corner and drainage area. Before installation, check the system dimensions, connection and load capacity. You can find further solutions for drainage and water management under Plumbing + Irrigation.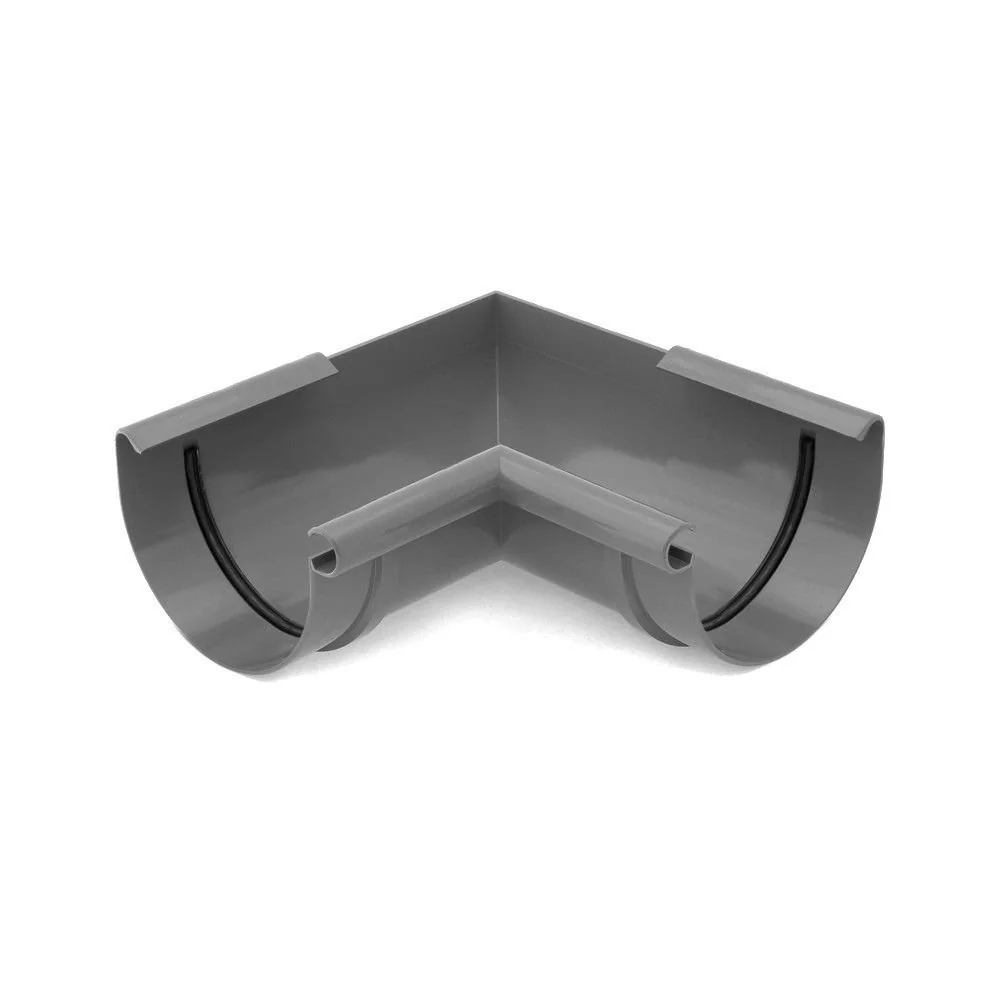
How do you edge a paved surface for long-lasting stability?
Set edging stones, concrete kerbs or suitable metal edging on a stable foundation. The edging must withstand lateral pressure so that tyres cannot shift the outer stones. At transitions to flower beds, a narrow, neatly installed edge helps keep soil and mulch out of the joints.
For adjacent planted areas, allow a small gap from the house wall and prevent splash water from running directly onto sensitive façades. A well-planned combination of paving, drainage and planting creates a calmer look than solutions added later. Suitable garden and plant accessories complete the design.
Additional advice
Check the drainage after the first heavy rainfall. Observe whether water collects around the channels, garage door or corner of the house. Small adjustments to the outlet, gradient or joints are easier to make immediately after installation than after the first frost.
How do you pave a driveway step by step?
Once the levels, sub-base, edge restraints and laying pattern have been decided, the actual paving work can begin. Work in sections and keep your materials, strings and tools close at hand. Only step onto the levelled bedding from areas that have already been paved, so you do not create depressions.
What order of work is recommended?
- Mark out the area: Mark the width, curves, finished levels and planned gradient.
- Excavate the ground: Remove topsoil and soft layers down to the load-bearing formation level.
- Prepare the formation: Shape and compact the subsoil. Add a separation layer if necessary.
- Install the frost protection and sub-base: Spread the mineral aggregate in layers and compact each layer thoroughly.
- Install the edge restraints: Secure kerbstones or edging before levelling the bedding.
- Level the bedding: Apply 3 to 5 centimetres of grit or crushed sand and level the area using screed rails.
- Lay the paving: Work from the firm edge and maintain the joint width and laying pattern. Cut edge stones with a suitable masonry saw.
- Fill the joints and compact: Sweep jointing sand into the joints, compact the surface using a protective mat and refill the joints.
How do you finish the joints and surface?
Use jointing sand suitable for the type of stone. Sweep it diagonally across the surface so that the joints are completely filled. Remove excess material before compacting. Then refill any open joints and clean the surface with a soft broom.
Do not compact directly on sensitive natural stone or coated surfaces without checking the manufacturer's instructions. A protective mat reduces scratches and distributes the pressure. If you use a rubber mallet to adjust the edge stones, the following product is

How does a paved driveway stay looking good for years?
Regularly sweep away leaves, soil and road salt. Remove weeds early, before their roots widen the joints. Clean oil and tyre marks with a product suitable for the stone. Pressure washers can wash out joints and damage surfaces. Therefore, keep a sufficient distance and work at reduced pressure.
Inspect the edges, drainage channels and joints after the first winter. Refill washed-out jointing sand and repair minor subsidence early. If individual stones become loose, remove them, top up the bedding and replace them at the same level.
“Rainwater should infiltrate or trickle away locally, or be discharged directly or via a sewer system into a body of water without mixing with wastewater.”
Conclusion: A successful driveway starts with accurate measurements and ends with filled joints. Invest in a frost-resistant, compacted sub-base, manage rainwater drainage carefully and secure all edges. This combines durable paving work with a design that complements your house, garden and driveway.
Frequently asked questions
- How deep do I need to excavate a driveway for a car?
- For a normal car driveway, a construction depth of 30 to 40 centimetres above the undisturbed, load-bearing ground is often sufficient. In areas prone to frost, or on clayey or wet ground, plan for greater depth and a thicker frost protection layer. The decisive factors are the soil, drainage and load. Have the construction build-up professionally assessed if the ground conditions are uncertain.
- Which paving is suitable for a driveway?
- For a driveway that is used regularly, choose frost-resistant concrete or natural stone at least 8 centimetres thick. Check slip resistance, abrasion resistance and the manufacturer's approval for car traffic. Ten centimetres provide more reserve for higher loads. Light-coloured surfaces show fewer oil marks, while dark stones create a calmer visual effect.
- What gradient does a paved driveway need?
- Usually plan for a gradient of around two per cent so that rainwater drains away in a controlled manner. Direct water away from the house and take the garage door, road, neighbouring property and drainage channel into account. Permeable paving is also subject to local requirements. Check the levels with a string line and levelling device before excavation.
- How can I prevent weeds growing between paving stones?
- You can reduce weeds with a stable, cleanly compacted sub-base, suitable joints and regularly topped-up jointing sand. Remove seedlings mechanically at an early stage and keep the surface free from leaves and soil. A root-resistant separation layer is no substitute for compaction and will not prevent every later deposit of seeds.
- Do I need planning permission to pave my driveway?
- This depends on the local authority, property and project. A new dropped kerb, rainwater drainage or a heavily sealed surface may require permission or consultation. Before starting, ask your local planning or highways authority and clarify the location of utilities, boundary distances and the connection to the public road.
You might also be interested in
- Redesigning your driveway: Ideas for an attractive entrance
- How do you choose the right paving for garden paths and driveways?
- Laying paving stones: Step-by-step guide for your garden path
- Front garden design: From the initial idea to your dream courtyard garden
- Paving a stone terrace: Step-by-step guide for DIY enthusiasts
- 5 brilliant ideas for driveable grass: Parking spaces, driveways and paths