
In brief: Repair PVC windows with FENOPLAST 2K repair resin. Clean and sand the damaged area, mix the resin and hardener, apply the compound, and let it cure. After sanding and polishing, the damage is repaired virtually invisibly.
A deep scratch in a bright white PVC window frame, a drill hole in the wrong place, or a chipped corner. These types of damage are frustrating, but they are no reason to replace the entire window. Buying a new window is often unnecessary. With the right tools and materials, you can repair most cosmetic damage to your PVC windows yourself. You save money, conserve resources, and restore your windows to their flawless appearance.
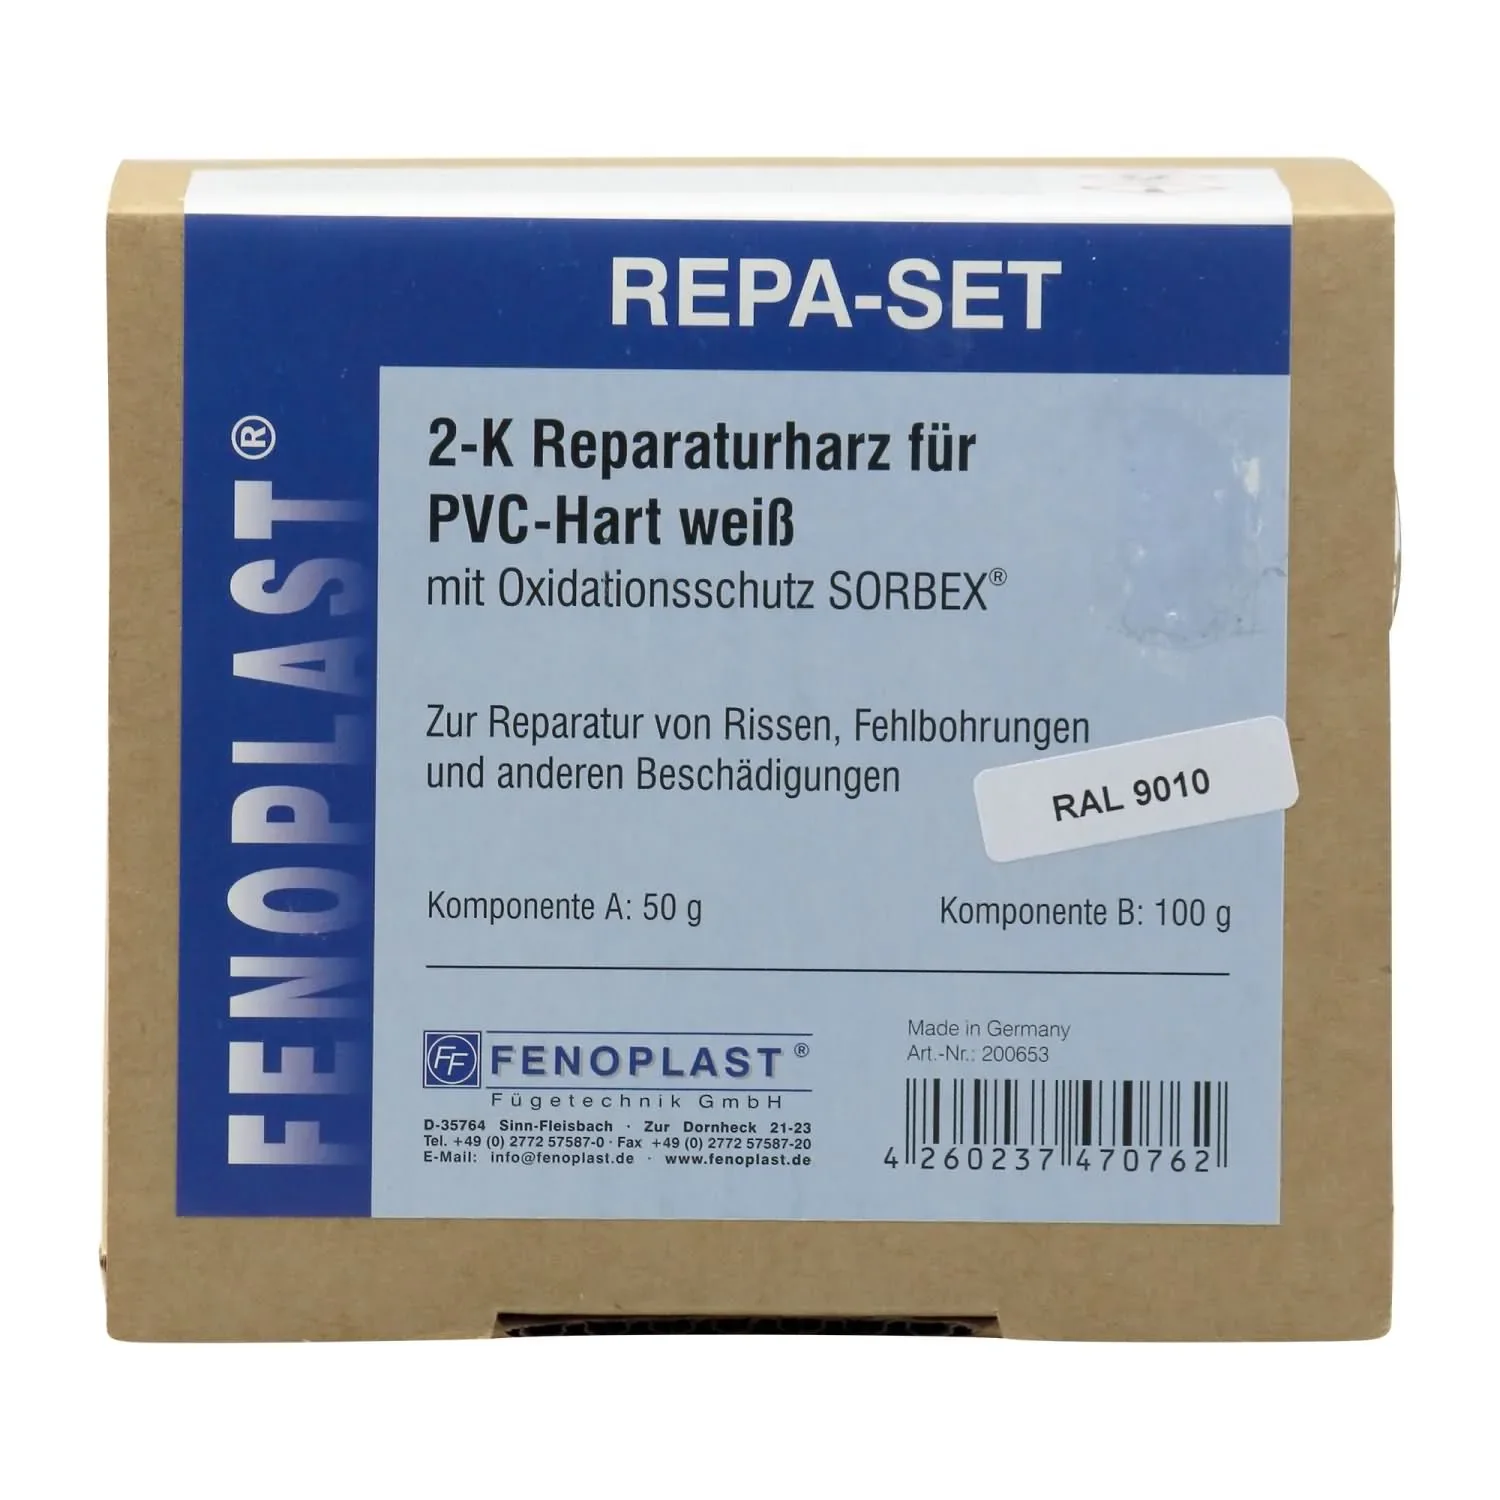
The solution for a durable, professional window frame repair is a special two-component system. The contains everything you need to repair white PVC profiles in RAL 9016 (Traffic White). This kit makes repairing cracks, scratches, and misplaced drill holes straightforward, while delivering a long-lasting result.
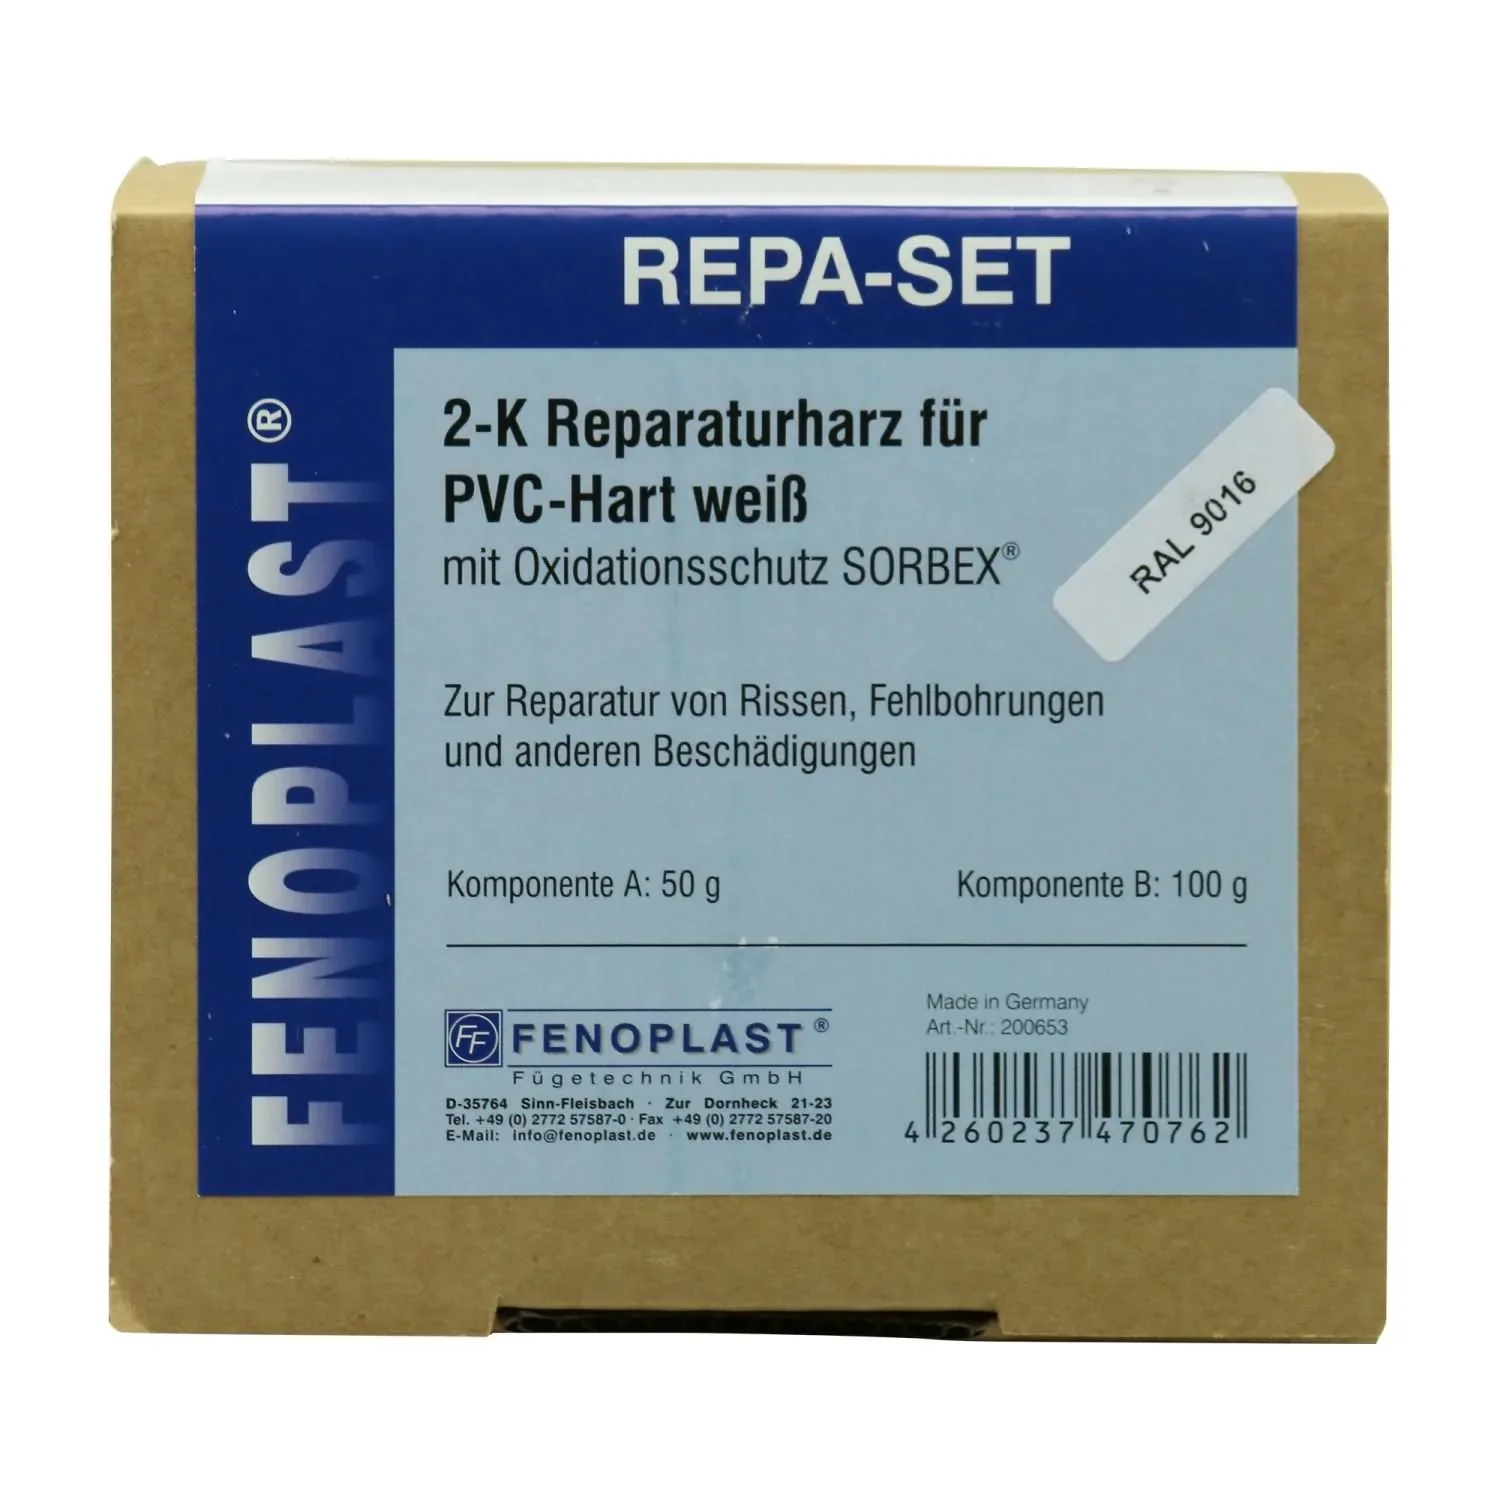
Table of contents
How can you tell if a PVC window needs repair?
Damage to PVC windows is not always merely cosmetic. It can affect their operation and weather resistance. Look out for typical signs that indicate a repair may be needed. The sooner you act, the easier and more affordable the repair will be.
Typical window frame damage includes:
- Deep scratches and gouges: Often caused by carelessness during construction work, watering plants, or pets.
- Chipped corners and edges: Impact damage from furniture or other hard objects can break material away from the frame.
- Drill holes: Incorrectly positioned holes for blinds, handles, or security devices detract from the appearance and create a weak spot.
- Cracks in the profile: Material fatigue or mechanical stress can cause fine hairline cracks or even larger breaks.
- Installation damage: Damage that occurred when the window was installed can be corrected afterward.
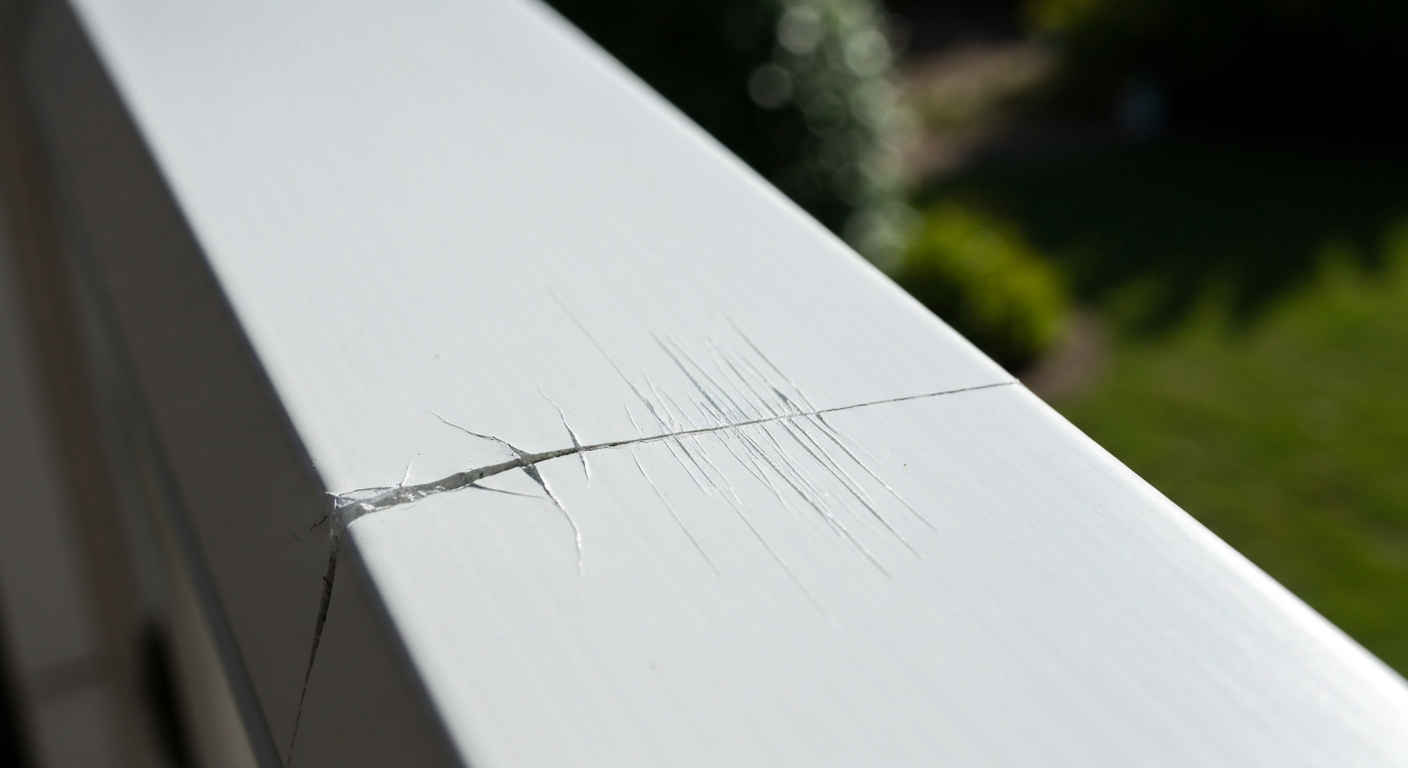
Discoloration caused by aggressive cleaning products or signs of surface wear can also be reasons for a cosmetic repair. While light scratches can sometimes be polished out, deeper damage requires filling with a strong material such as 2K resin to restore the frame's integrity.
An intact window frame is about more than appearance. It is an important barrier against the elements and makes a major contribution to the energy efficiency of the entire home.
Why is it important to repair the window frame promptly?
Ignoring a small scratch may be tempting. However, even minor damage can develop into serious problems. Proactive repairs protect not only your wallet but also your home.
The first and most obvious reason is appearance. A flawless window frame contributes to the well-maintained overall look of your home. However, the functional aspects are even more important. Deep cracks or holes can impair the insulating performance of the window profile. The chambers inside the PVC frame are crucial for thermal insulation. If this barrier is breached, cold air can enter and warm air can escape, driving up your heating bills.
Protection against moisture is even more critical. Water entering the frame through cracks can cause mold over time or freeze in winter, making the damage worse through freeze-thaw expansion. Prompt repairs seal the weak spot and prevent expensive consequential damage. Ultimately, careful maintenance helps preserve your property's value. Well-maintained windows are a sign of quality that can pay off if you sell your property.
Additional advice
When inspecting your windows, check not only the frames but also the seals and hardware. Brittle seals or stiff mechanisms are also potential weak spots that you should service or replace at the same time.
Repair PVC Windows: A Step-by-Step Guide with FENOPLAST
The FENOPLAST repair kit enables you to carry out a professional repair. Take your time and work carefully. The result will speak for itself. The following guide takes you through the entire process.
Step 1: Preparing the damaged area
A clean, well-prepared surface is the basis for a lasting repair. First, remove any coarse dirt. Then thoroughly clean the area around the damage with a PVC-compatible cleaner to remove grease, wax and silicone residue. The surface must be completely dry and free of dust.
Roughen the damaged area and the immediate surrounding edge with the enclosed sandpaper or an abrasive fleece. This creates a mechanical bonding surface for the resin. Remove all loose particles and clean the area again. Mask the area around the repair with painter's tape to create clean edges and protect the intact frame. You can find useful accessories for this in our industrial supplies category.
Step 2: Mixing the FENOPLAST 2K repair resin
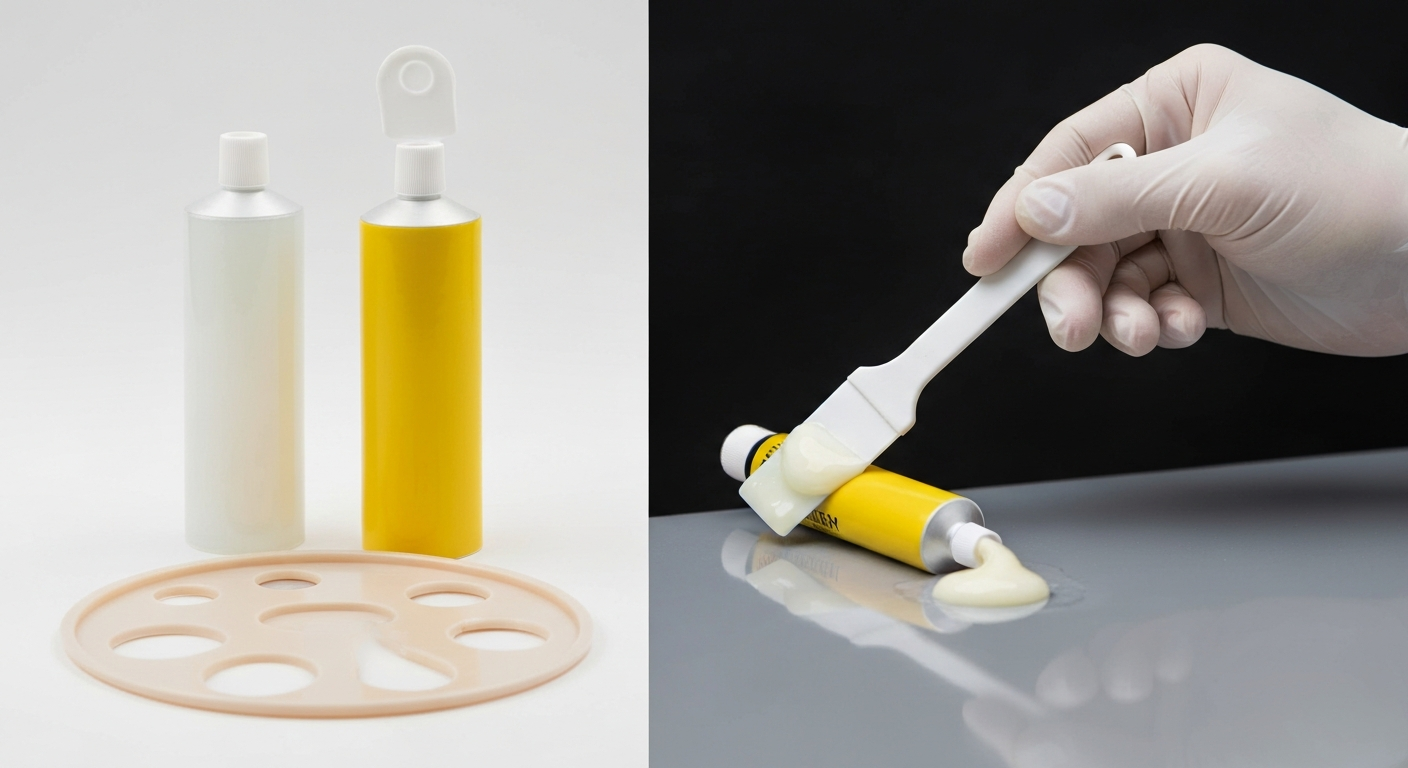
The kit consists of two components: the resin (Component A) and the hardener (Component B). They must be mixed in an exact ratio to start the chemical reaction that causes the resin to cure. Dispense the required amount of both components according to the instructions onto a clean, non-absorbent mixing surface, such as a piece of cardboard or the lid of an old tin.
Mix both components quickly and thoroughly with the spatula until an even compound is formed. Be careful not to mix too much at once. You only have a limited working time, known as the pot life, before the resin begins to set.
Important note
The pot life of the 2K resin is only a few minutes, depending on the ambient temperature. Only mix as much material as you can apply within 3-5 minutes. Work quickly and prepare everything before you start mixing.
Step 3: Applying the 2K resin
Apply the mixed compound directly to the damaged area with the spatula. Completely fill scratches, cracks or holes. Press the material firmly into the recess to prevent air pockets. It is advisable to slightly overfill the repair area by applying a small excess of material. This excess will be sanded down later to create a perfectly flush surface.
Spread the surface as smoothly as possible. The more neatly you work at this stage, the less sanding will be required later. Remove the painter's tape before the resin has fully cured to ensure clean edges.
Step 4: Allowing it to cure and dry
Now allow the repair resin to cure completely. The exact time depends on the layer thickness and ambient temperature. At room temperature, the area is generally sufficiently cured for sanding after around 30 to 45 minutes. The final chemical strength, at which the material reaches its maximum stability, is usually achieved after 24 hours. Do not subject the repaired area to mechanical stress during this time.
Step 5: Finishing for a perfect result
Once the resin has cured, the finishing work begins. Carefully sand away the excess material. Start with medium-grit sandpaper (e.g. 180 grit) and work up to finer grits (e.g. 240 to 400 grit). Always sand with light pressure and in circular motions until the repaired area is completely level with the surrounding surface. For larger areas, you can use suitable power tools such as a detail sander.
Run your fingertips over the area to feel for any unevenness. After fine sanding, you can restore the original level of shine with a suitable PVC polish. The result is a barely visible, durable repair.
Pro tip
For an especially smooth finish during application, you can lightly wet the spatula with a release agent (e.g. soapy water). This prevents the resin from sticking as much to the tool and makes it easier to smooth. However, only use this for the final smoothing stroke.
What is 2K repair resin and how does it work?
2K stands for “two components”. Unlike one-component sealants or fillers, which cure through contact with moisture in the air, 2K resin works through a chemical reaction. The two separately stored components, the resin itself and the hardener, only react with each other once they are mixed. This process, known as polyaddition, creates an extremely strong and durable molecular bond.
The result is a thermosetting plastic with exceptional strength after curing. It is resistant to water, UV radiation, temperature fluctuations and many chemicals. The material forms a strong bond with the PVC of the window frame, effectively becoming part of it. This means the repair is not merely a cosmetic fill but a structural restoration. Unlike flexible fillers, 2K resin does not shrink and will not crack again under stress.
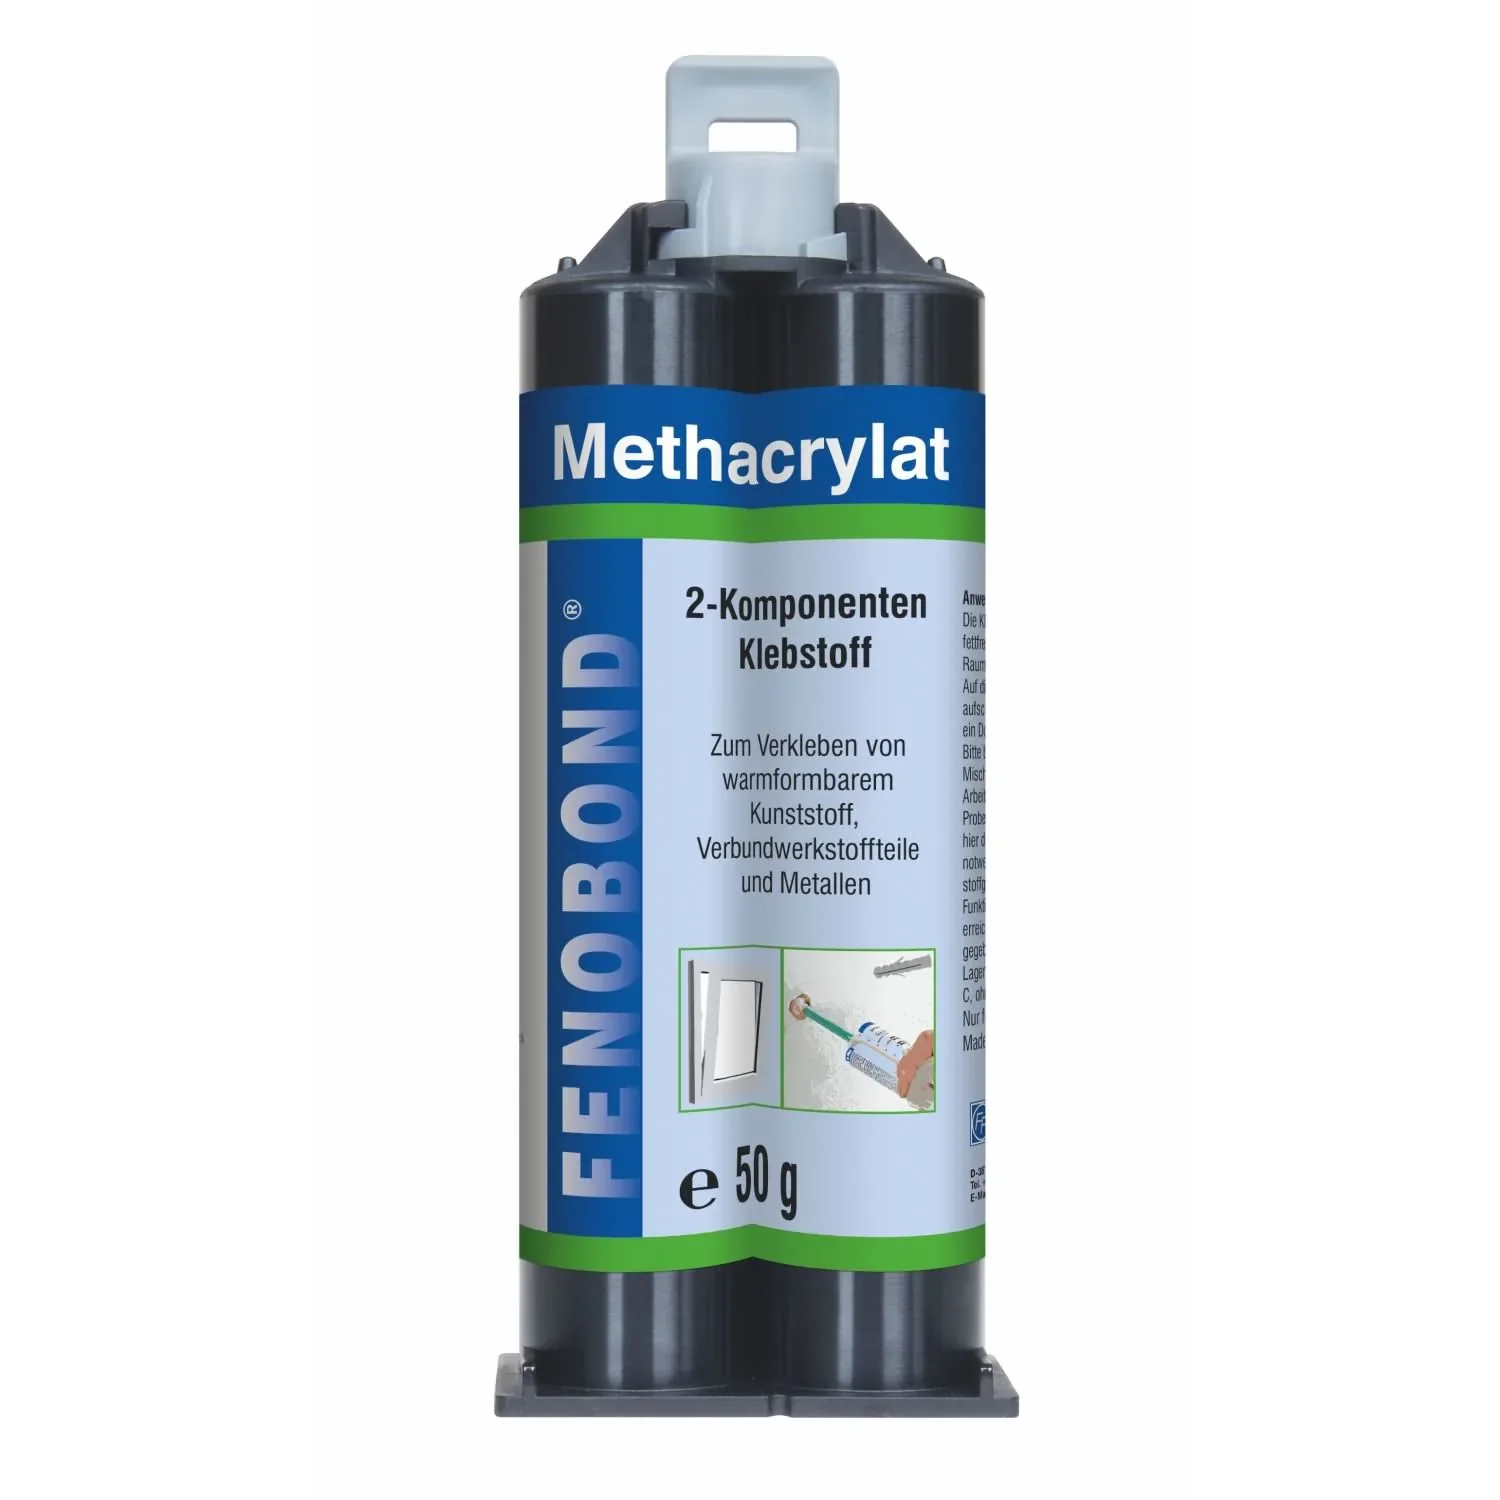
For other bonding applications requiring extremely high strength, there are specialised products such as the , a methacrylate 2K adhesive suitable for structural bonds between a wide range of materials.
Common Window Repair Mistakes and How to Avoid Them
DIY is all about learning from your mistakes. To make sure your first window repair is a success, here are the most common sources of error and tips on how to avoid them.
- Inadequate preparation: This is the most common cause of a failed repair. If the surface is not free of grease and roughened, the resin cannot form a strong bond and will later flake off. Take enough time to clean and sand the area thoroughly.
- Incorrect mixing ratio: Too much or too little hardener will cause the resin to remain uncured, stay sticky or become brittle. Follow the manufacturer's instructions exactly.
- Pot life exceeded: The resin becomes thick and crumbly while it is being applied, making it impossible to work smoothly. It is better to mix several small batches fresh than one large batch.
- Too little material applied: Anyone who applies too little material to avoid extra sanding may be left with a dent after sanding. Always fill the damaged area with a slight excess.
- Impatience during curing: Sanding too early will smear the still-soft material and ruin the surface. Be sure to wait for the recommended curing time.
Make sure you also choose the right colour. While Traffic White (RAL 9016) is very common, some windows are Pure White (RAL 9010). The matching is ideal for avoiding colour differences.
Proper Care After the Repair
A successfully repaired area does not require any special care. It is just as durable as the rest of the window frame. Nevertheless, regular and proper window cleaning is essential for a long service life. Use mild household cleaners or special PVC cleaners and soft cloths on your uPVC windows. Avoid abrasive cleaners, scouring sponges and aggressive solvent-based substances, as these can damage and dull the surface.
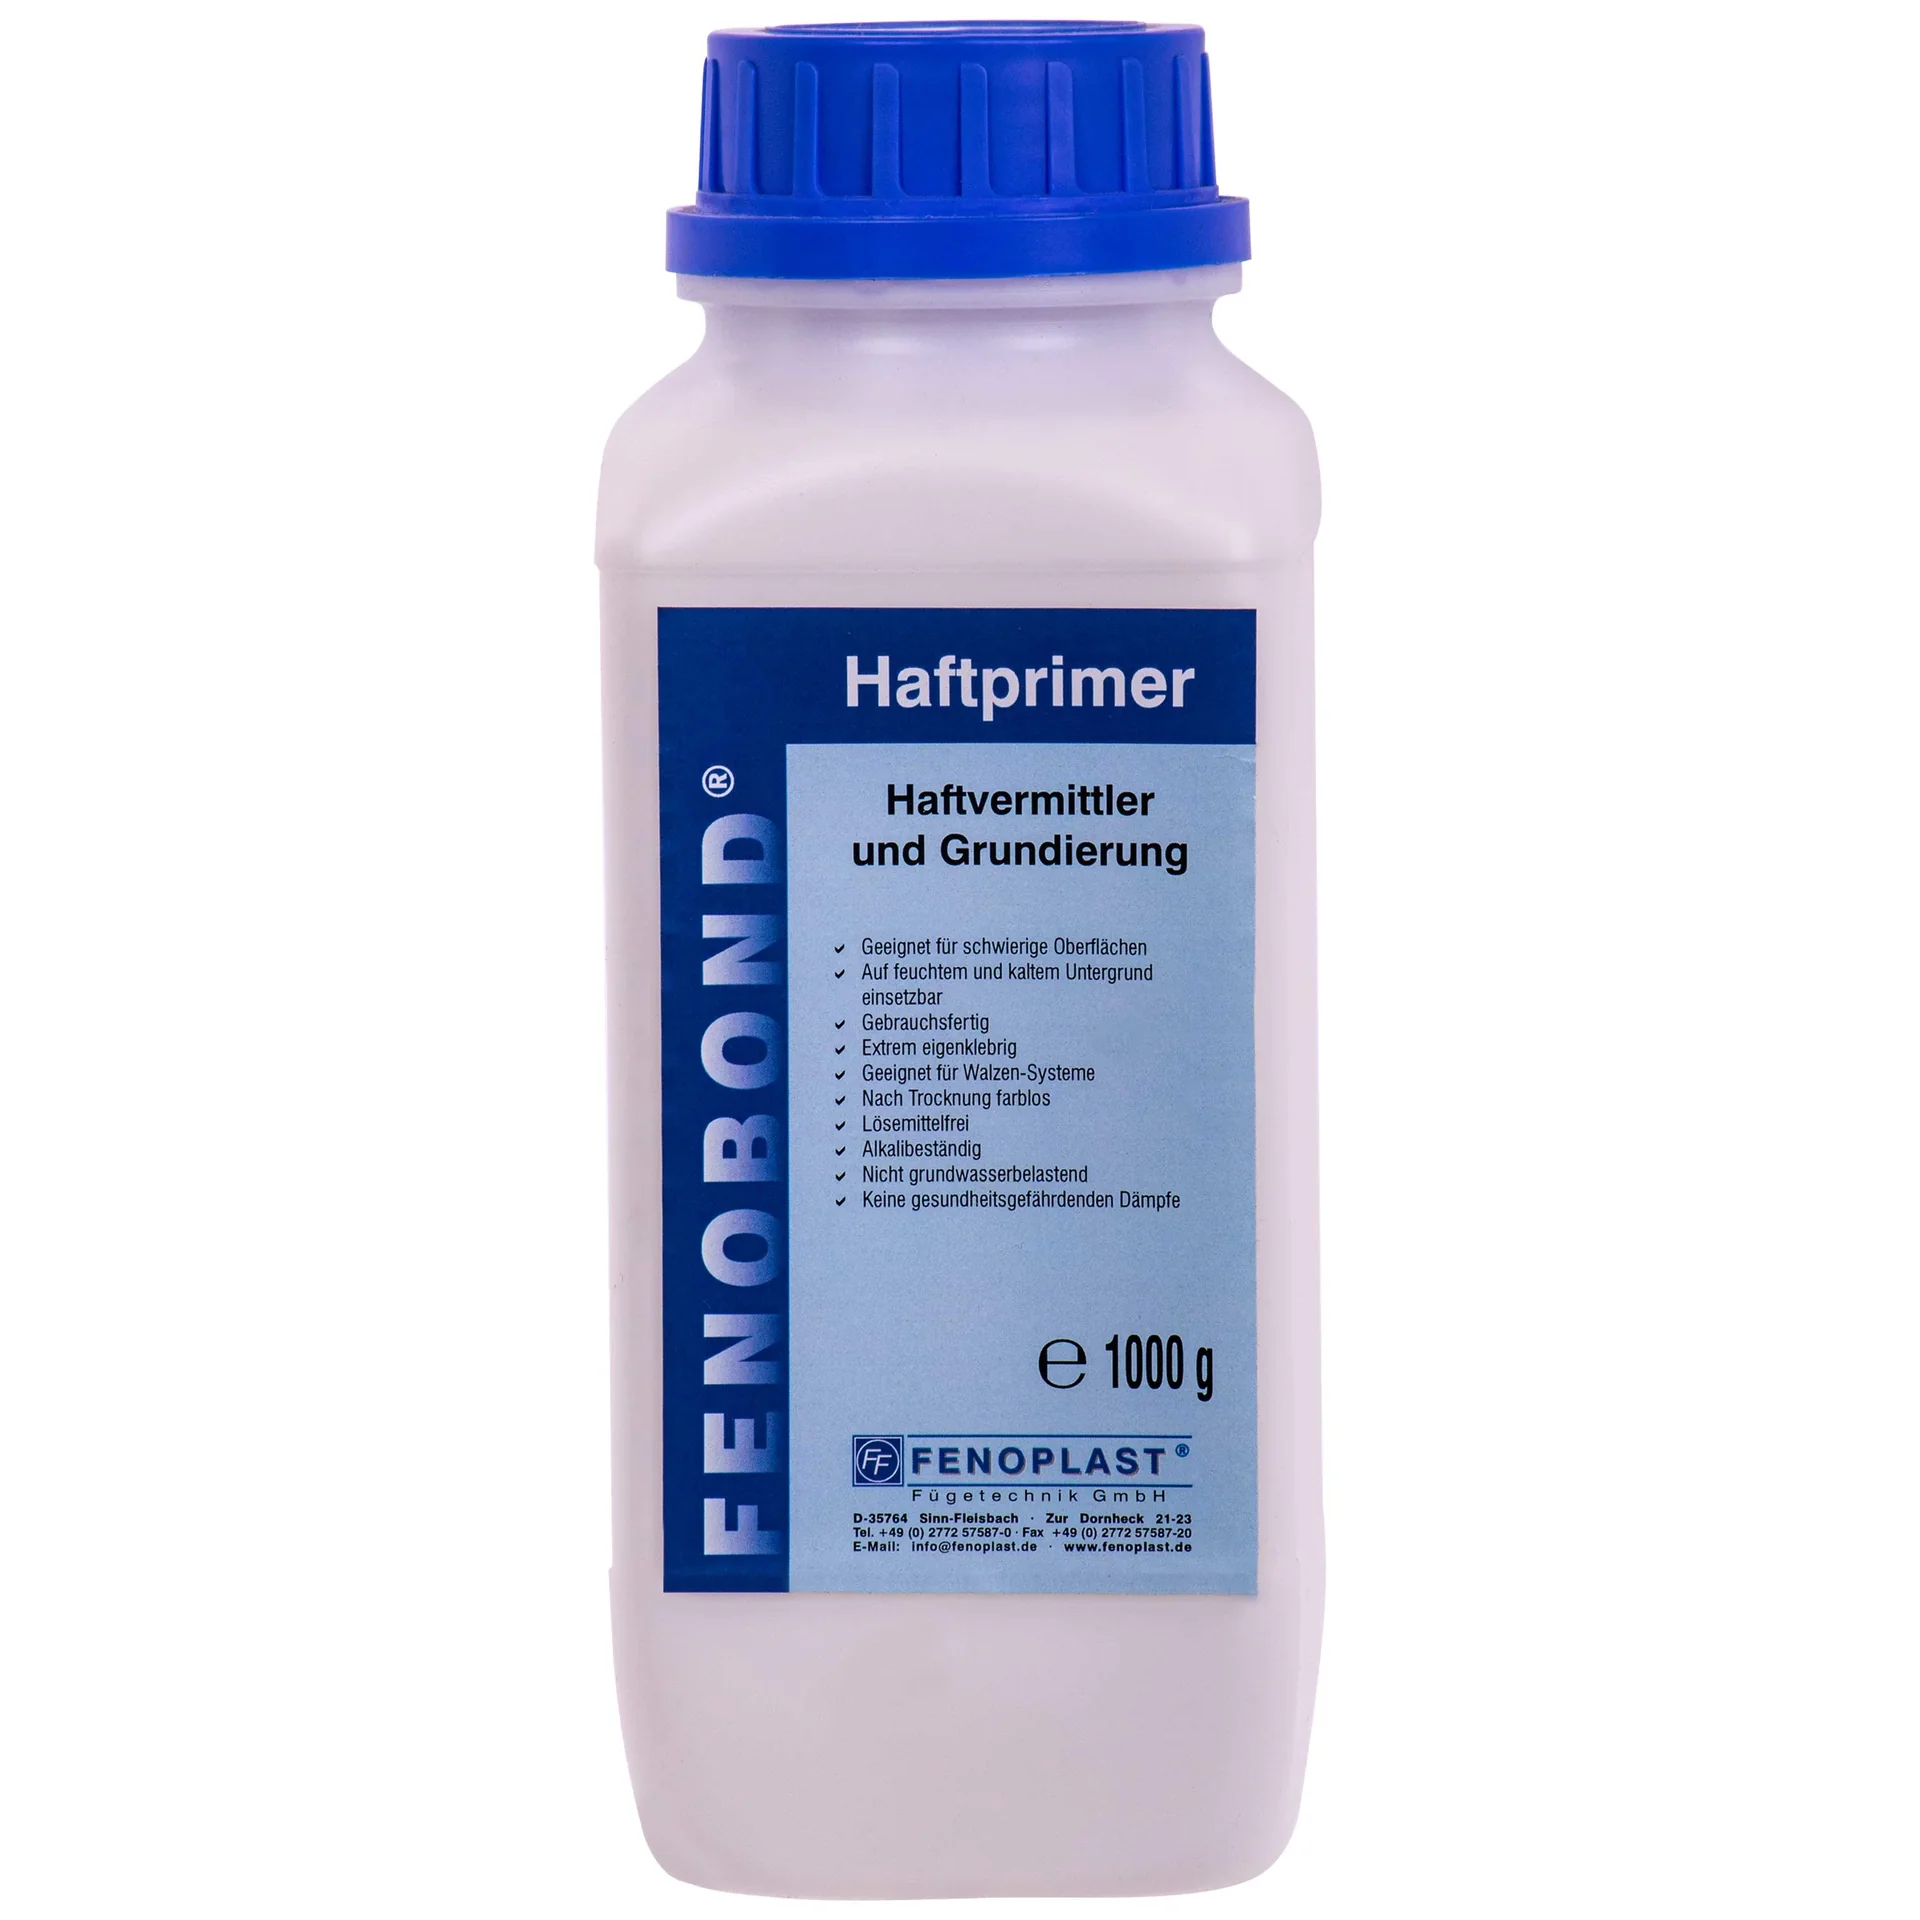
Take the opportunity to inspect all your windows regularly, including those in the Garden + Outdoor section. A small chip discovered today can be fixed quickly before it develops into a bigger problem. For particularly difficult surfaces or when repairing other materials on the window, an adhesion promoter such as the can improve the adhesion of adhesives and sealants.
You can do it yourself. With the right system, repairing a window is not rocket science but a rewarding task that delivers instantly visible results and increases the value of your home.
Repairing uPVC windows is a worthwhile and manageable task for any DIY enthusiast. With systems such as the FENOPLAST repair set, you have a professional tool at hand for permanently repairing damage with a flawless finish. Discover more useful products for your home and garden in our shop.
Frequently Asked Questions
- How long does the FENOPLAST 2K resin take to cure?
- The curing time depends on the ambient temperature. At 20°C, the resin can be sanded after approximately 30-45 minutes. Full chemical strength is generally reached after 24 hours. Avoid putting any strain on the repaired area during this time.
- Can I also repair coloured window frames with the set?
- The FENOPLAST repair set is designed for common shades of white such as RAL 9016 (Traffic White). For frames in other colours, the repaired area would need to be painted with a suitable window paint after curing and sanding to achieve a matching colour.
- Is the repair resin weather-resistant?
- Yes, once fully cured, the 2K repair resin is extremely resistant to weather, UV radiation and ageing. It does not yellow and retains its stability and colour for many years, just like the original hard PVC window frame.
- What should I do if the scratch is only superficial?
- For very fine, superficial scratches, 2K resin may not be necessary. Special PVC polishes or cleaners with abrasive particles are often sufficient to smooth the surface and remove the scratch visually. The set is suitable for deeper damage.
- Can I store leftover mixed resin?
- No. Once mixed, the chemical reaction begins and the resin cures completely. Only mix as much material as you can use within the specified pot life (working time) of a few minutes. Leftovers cannot be reused.
You may also be interested in
- Repairing laminate: Easily fix scratches and dents yourself
- Repairing PVC and vinyl: The step-by-step guide
- Caring for uPVC windows: Extend their service life
- FENOSOL hinge spray: Quiet doors and smooth-running windows
- Fix cracks and leaks quickly: Allesdichter spray in action
- Remove yellowing from PVC: Restore a bright white finish