
In brief: You can easily repair tears and holes in vinyl and PVC on pools, boats, or patio furniture yourself. Clean the area, use a specialty repair kit with patches or liquid vinyl, and let the repaired area cure. This saves money and extends the life of your equipment.
A small tear in a pool liner, a hole in an inflatable boat, or a scratch on your new vinyl patio furniture. This kind of damage is frustrating, but there is no need to panic. Instead of buying expensive replacement parts or calling a professional, you can quickly and permanently fix many of these problems yourself. You will save money and extend the life of your valuable equipment for the garden and outdoors.
Repairing vinyl and PVC is easier than you might think. With the right tools and clear instructions, restoring the material is simple. Whether you're by the water or in the garden, knowing how to patch minor damage puts you back in control and means the fun doesn't have to stop.
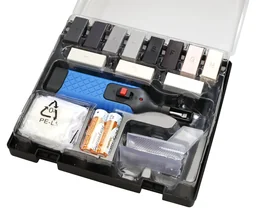
For a professional, long-lasting repair, you need a specialty kit. The PVC and vinyl repair kit including wax melter is an all-in-one solution for almost any type of damage. It includes wax in several colors, so you can fill holes and closely match the material's color. The battery-powered wax melter helps you apply it precisely and cleanly.
- How can I spot damage to vinyl and PVC early?
- Which tools and materials do I need for the repair?
- Step-by-step guide: How do I patch a hole in an inflatable boat?
- How do I repair tears in a pool liner?
- What should I do about scratches on vinyl patio furniture?
- Prevention is better than patching: How can I protect my vinyl products?
How can I spot damage to vinyl and PVC early?
The key to an easy repair is catching damage early. Check your equipment regularly, especially before and after the season. Look for visible signs of wear to prevent bigger problems.
Common types of damage
- Small holes and tears: Often caused by sharp objects. In inflatable boats or pools, they can lead to a slow loss of air or water.
- Porous areas: UV rays and weathering can make the material brittle over time. Look for a rough surface or fine hairline cracks.
- Abrasion and scratches: Common on patio furniture and boat hulls from everyday use. They are usually cosmetic, but can lead to deeper damage.
- Leaking seams: Welded seams are often the weakest points. Check them especially carefully for leaks.
For inflatable items, try this simple trick: wet the surface with soapy water. If bubbles form, air is escaping. Mark the spot right away so you can find it easily later.
Regular inspections, especially along seams and in high-stress areas, can keep a minor problem from turning into irreparable damage.
Which tools and materials do I need for the repair?
Good preparation is half the job. Gather everything you need before you start the repair. The most important item is a high-quality repair kit designed for the material.
Basic equipment for vinyl repair
- Repair kit: The PVC and vinyl repair kit includes the tools and materials for different types of damage, from patching to color matching.
- Cleaning agent: Isopropyl alcohol or a specialty vinyl cleaner works best to remove grease and dirt from the repair area.
- Sandpaper: Fine-grit sandpaper (approx. 240 grit) for lightly roughening the surface to improve adhesion.
- Clean cloths: Lint-free cloths for cleaning and drying.
- Scissors or utility knife: For cutting patches to size.
- Pressure roller or smooth object: For applying patches without bubbles.
Work in a well-ventilated area, especially when using adhesives and solvents. Read the instructions for your repair kit carefully.
Important note
Never use superglue or other unsuitable adhesives on vinyl and PVC. They cure rigid, crack when the material flexes, and can chemically damage the plastic, making the problem worse.
Step-by-step guide: How do I patch a hole in an inflatable boat?
A hole in an inflatable boat is a classic vinyl repair. With the right technique, you can fix it quickly and get back out on the water safely.
Step 1: Locate and prepare the leak
Let all the air out of the boat. If you haven't marked the leak yet, inflate the boat slightly and use soapy water to find it. Thoroughly clean the area around the hole with alcohol, then let it dry completely. The surface must be completely clean, dry, and free of grease.
Step 2: Cut the patch to size
Cut a patch from the material included in your repair kit. The patch should extend at least 2-3 cm beyond the hole on all sides. Round off the patch's corners to keep them from lifting later.
Step 3: Apply the adhesive
Apply a thin, even layer of specialty adhesive to both the rough side of the patch and the prepared area on the boat. Let the adhesive air-dry briefly until it is no longer wet but still tacky. Follow the manufacturer's instructions exactly.
Step 4: Press on the patch and let it cure
Center the patch over the hole and press it down firmly. Work from the center outward to remove any air bubbles. Use a pressure roller or a rounded object. Place a weight on the area for several hours. Let the repair cure fully for at least 24 hours before inflating the boat again and putting it in the water.
Pro tip
For an even stronger bond, lightly roughen the surfaces to be joined (the boat and the patch) with very fine sandpaper. This helps the adhesive penetrate the material and form a more durable bond.
How do I properly repair tears in a pool liner?
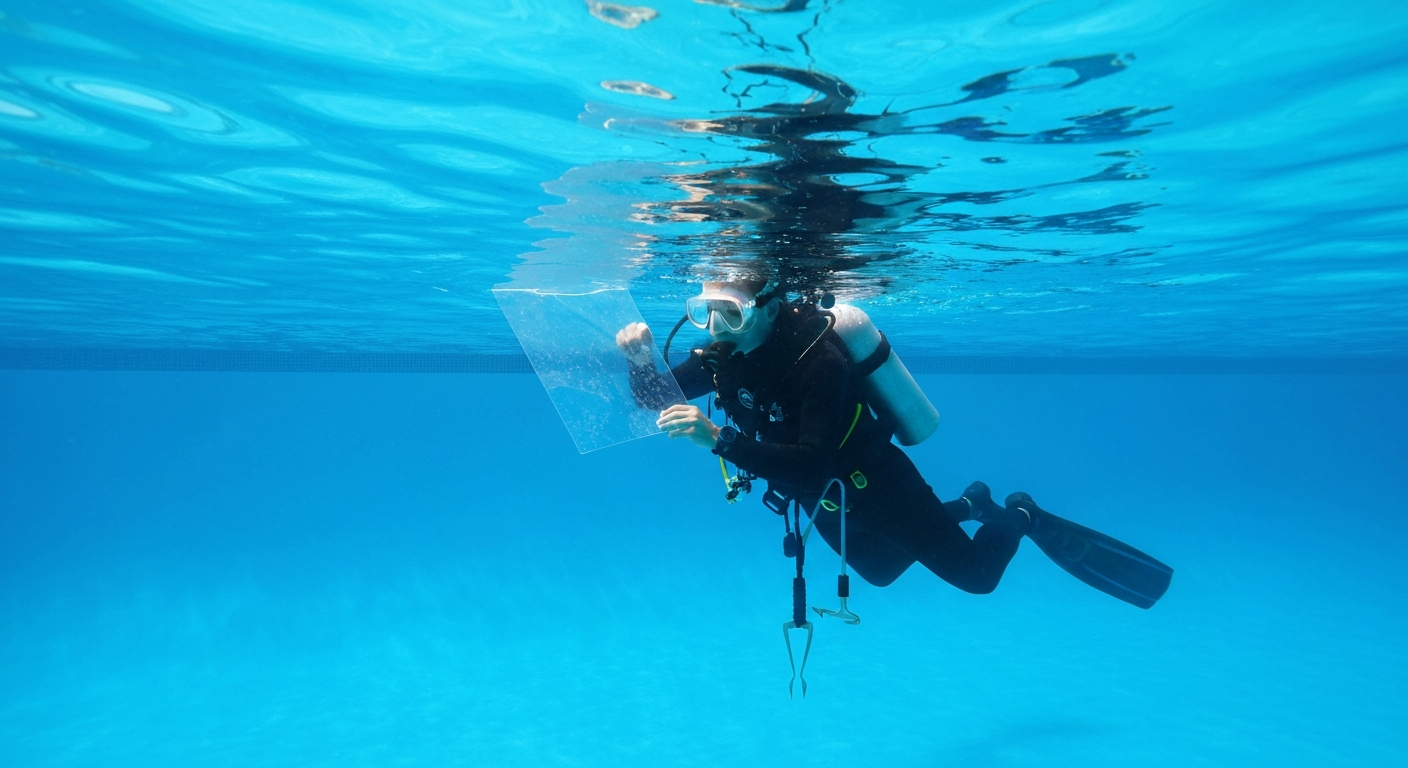
A tear in a pool liner causes water loss and can endanger the entire pool structure. Act quickly. Many repairs can even be carried out underwater, without having to empty the pool.
Repairing above the waterline
If the damage is above the waterline, lower the water level slightly. The procedure is the same as for repairing an inflatable boat: clean the area, cut the patch to size, apply the adhesive and press it down firmly. Make sure the area is completely dry.
Repairing underwater
For damage below the waterline, you need a repair kit with waterproof adhesive. Clean the area as thoroughly as possible with a brush. Apply plenty of adhesive to the patch. Fold the patch in half to protect the adhesive while guiding it underwater to the damaged area. Open the patch directly over the tear and press it down firmly immediately. As before, smooth it from the center outward to push out the water.
Prevention is key to avoiding future damage. A sturdy pool cover such as the pool cover for frame pools with a diameter of 3,66 m protects the liner from UV radiation and falling branches.
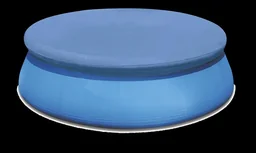
UV radiation is the greatest strain on a pool liner. A good pool cover not only reduces cleaning effort, but can practically double the liner’s lifespan.
What should you do about scratches on vinyl patio furniture?
With patio furniture, truck tarps or vinyl flooring, the issue is often cosmetic damage. Patches are usually not an option here. Instead, fill the scratches and tears with a special filler that can be color-matched.
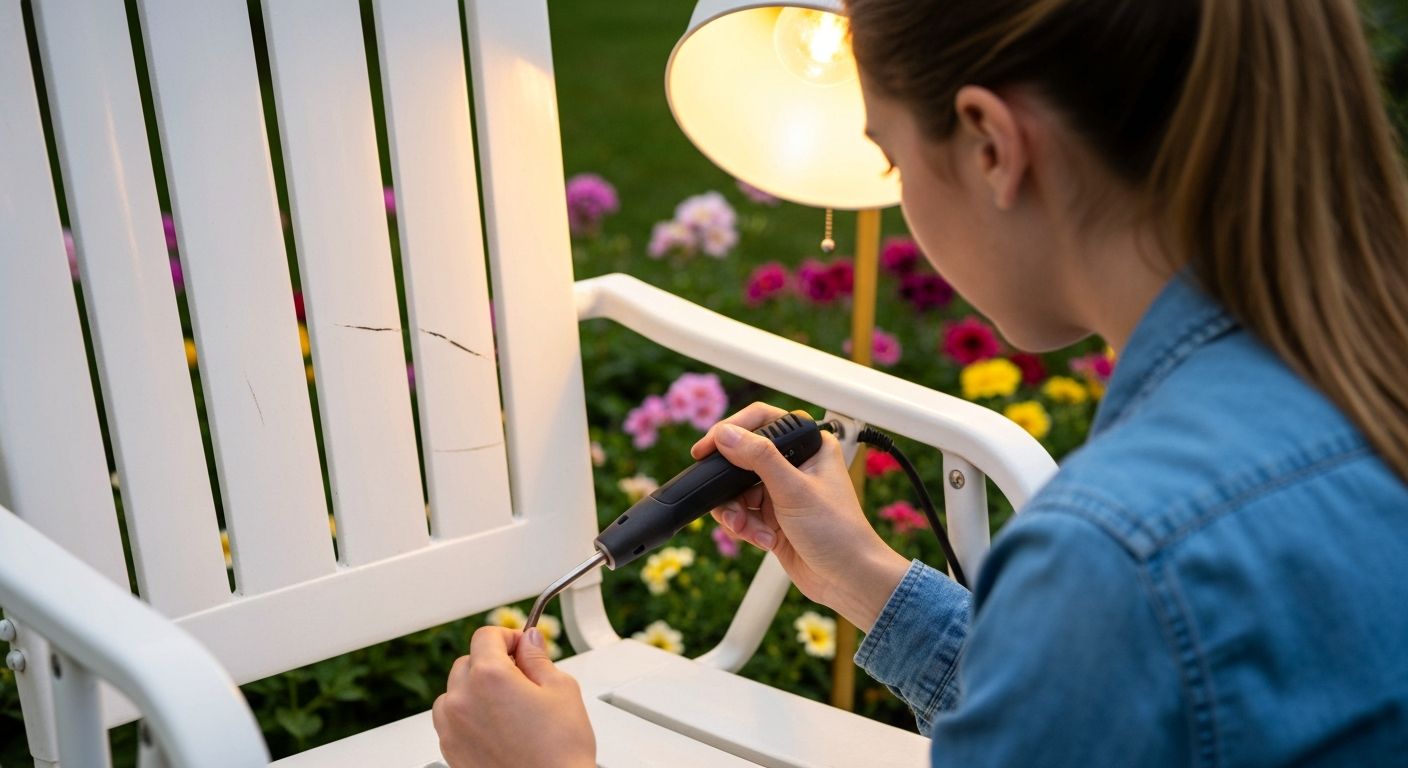
This is where the PVC and vinyl repair kit really comes into its own. The included wax melter and range of colors allow for an almost invisible repair.
Step 1: Clean the surface
Clean the damaged area thoroughly. Remove any loose particles from the scratch. The surface must be dry and free from grease.
Step 2: Mix the right color
Switch on the battery-powered wax melter. Melt small amounts of the hard wax sticks directly over the damaged area and mix the colors until you match the exact shade of your furniture. Work in small steps.
Step 3: Fill and smooth the scratch
Fill the scratch or hole with liquid wax, leaving it slightly raised. Allow it to cool and harden briefly. Then use a small spatula or the grooves on the supplied tool to carefully remove the excess material and level the surface.
Step 4: Seal the repair
Polish the area with a soft cloth to match the level of shine. If necessary, seal the repair with a clear lacquer pen to make it more durable.
Protecting your furniture from the elements is essential. Use suitable patio furniture covers to protect the surfaces from sun and rain.
Prevention is better than patching: How can I protect my vinyl products?
Careful maintenance and storage can prevent most damage from occurring in the first place. With just a few simple measures, you can preserve the value and functionality of your equipment for many years.
Additional advice
Store inflatable items such as boats or air mattresses slightly inflated in a dry, cool place during winter. This prevents creases and folds that can weaken the material and lead to cracks.
- Regular cleaning: Dirt, sand and chemicals (such as sunscreen or chlorine) attack the material. Clean your vinyl products regularly with mild soapy water and a soft sponge. Rinse everything thoroughly, for example with a flexible garden hose.
- UV protection: Whenever possible, store your equipment in the shade or under a protective cover. Special UV protectants for vinyl can extend its lifespan even further.
- Proper storage: Avoid sharp edges and heavy objects resting on the material. Fold covers and boats loosely and avoid sharp creases.
- Correct air pressure: Do not inflate inflatable boats or pools beyond the recommended pressure. Strong sunlight increases the pressure further and puts strain on the seams.
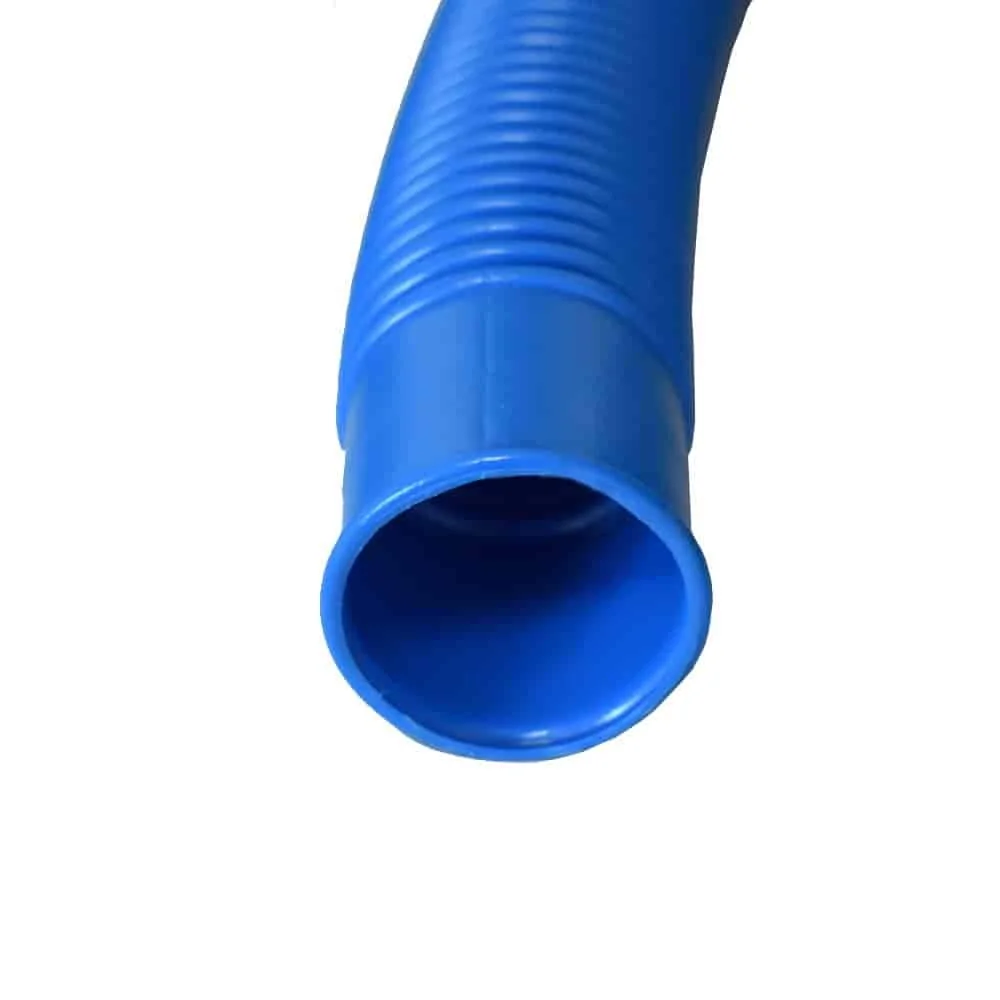
Handling accessories correctly is also important. A good pool vacuum hose, such as the 38 mm pool and vacuum hose, should be stored without kinks to prevent cracks. Such pipes and hoses are the backbone of pool maintenance.
With a little care and the right repair kit at home, you do not need to worry about minor mishaps. You will be well prepared to preserve the value of your leisure and garden equipment for a long time.
Frequently asked questions
- Can I repair a pool liner underwater?
- Yes, many repair kits include adhesives that cure underwater. Thoroughly clean the area with a brush, apply adhesive to the patch, fold it, and press it firmly over the hole underwater.
- How do I find a small hole in an inflatable boat?
- Mix some soapy water and apply it to the inflated boat. Bubbles will form where the air is escaping. Mark the area right away with a waterproof pen before deflating the boat and starting the repair.
- Will a repair made with a vinyl repair kit last?
- When applied correctly, a repair can last a very long time. It’s essential to have a clean, dry, grease-free surface and allow enough time for the adhesive to cure. The repaired area is often just as strong as the surrounding material.
- What adhesive do I need for PVC and vinyl?
- Always use a specialty PVC or vinyl adhesive. These adhesives chemically “weld” the material instead of simply sticking to the surface. Standard household all-purpose adhesives aren’t suitable for these flexible plastics and won’t hold.
- Can I also use the repair kit to fix inflatable toys?
- Absolutely. A good PVC and vinyl repair kit is ideal for air mattresses, kiddie pools, pool floats, and other inflatable products. The repair process is the same as for an inflatable boat or pool.
You may also be interested in
- Repairing PVC and vinyl: remove scratches, holes, and tears
- Liquid vinyl or repair kit: how to repair vinyl flooring
- Repairing laminate: easily fix scratches and chips yourself
- Fix tears and leaks fast: Allesdichter spray in action
- Air mattress losing air? Care tips and repairs
- Installing vinyl flooring: step by step to a fresh new look