
In brief: Repair cracks in exterior render by raking out the damaged area, cleaning it thoroughly and filling it with specialist render repair mortar or jointing mortar. An elastic crack filler is suitable for fine hairline cracks, while larger areas require repair in several layers. Identifying the cause is crucial: determining whether the damage is caused by settlement or is merely a superficial stress crack ensures a lasting repair.
Repair Cracks in Exterior Render: A Guide to Facade Maintenance
An intact facade is about more than appearance. It protects your home from rain, wind and cold. Cracks in exterior render allow moisture to penetrate. This moisture freezes in winter, causes the render to break up further and can damage the masonry in the long term. It is therefore important to repair minor damage early and keep your home's facade in good condition.
With the right preparation and suitable materials, you can carry out many repairs yourself. This guide shows you how to proceed.
What Types of Cracks Can Appear in a Facade?
Not all cracks are the same. Their type and appearance provide clues about the cause and determine the repair method. Making the correct assessment is the first step towards lasting maintenance.
Hairline and Fine Crazing Cracks
These fine, often network-like cracks remain on the surface. They are frequently caused by rapid drying or slight stresses in the render. They are usually a cosmetic problem, but can still increase susceptibility to moisture. Repair them with thin, penetrating products.
Deep Isolated Cracks and Flaking
Here, the damage extends down to the substrate. Common causes include driving rain, frost or mechanical impact. You must completely replace the render in this area. This requires more work, but protects the building fabric.
“A crack is always a symptom. The skill lies not only in sealing it, but in understanding the cause. The shape and direction of a crack often reveal more about the condition of a building than any description.”
Settlement and Structural Cracks
These cracks often run diagonally or vertically across large sections of the facade. They can widen over time and indicate movement in the building. Before carrying out a repair, you should always consult a structural engineer or building surveyor. Simply covering them with render will not provide a lasting solution.
Important note
Work at height requires special safety precautions. Use stable ladders or scaffolding. Scaffolding is compulsory for work above three metres. To secure your work area, you can find sturdy tarpaulins and nets in our shop.
How Do I Prepare the Damaged Area for Repair?
Preparation is crucial for ensuring the repair adheres properly. A poorly prepared substrate quickly leads to new cracks. Take your time with this step.
Start by removing loose render around the crack. Carefully tap the area with a hammer. Any hollow-sounding sections must be removed completely. Continue until you reach a firm substrate.
Now rake out the crack with a joint scraper or a pickaxe. Widen it into a funnel shape. The opening should be wider at the bottom than at the top. This gives the new material a better grip. A straight, narrow groove is not sufficient.
Cleaning and Priming
Brush out all dust and render residue thoroughly. Use a stiff brush and, if necessary, a broom. For the best adhesion, rinse the area with water. Allow it to dry completely before continuing.
Apply a bonding primer to the mineral substrate. This improves adhesion and prevents the dry old render from drawing water out of the new material too quickly. Use a brush or roller.
Pro tip
Test the adhesion of the old render with Tesafilm before priming. Stick a strong piece of tape to the render and tear it off quickly. If a lot of render remains on the tape, the substrate is friable and must be removed over a larger area.
Which Materials Are Suitable for Repairing Cracks?
Choosing the right material is the second key to success. Never use interior plaster or ordinary mortar on a facade. These materials are not weather resistant.
Elastic crack fillers or liquid synthetic resin solutions are suitable for fine hairline cracks. They penetrate the crack and seal it from the inside. For larger areas, you need mineral-based facade repair render or jointing mortar. These materials are breathable and frost resistant.
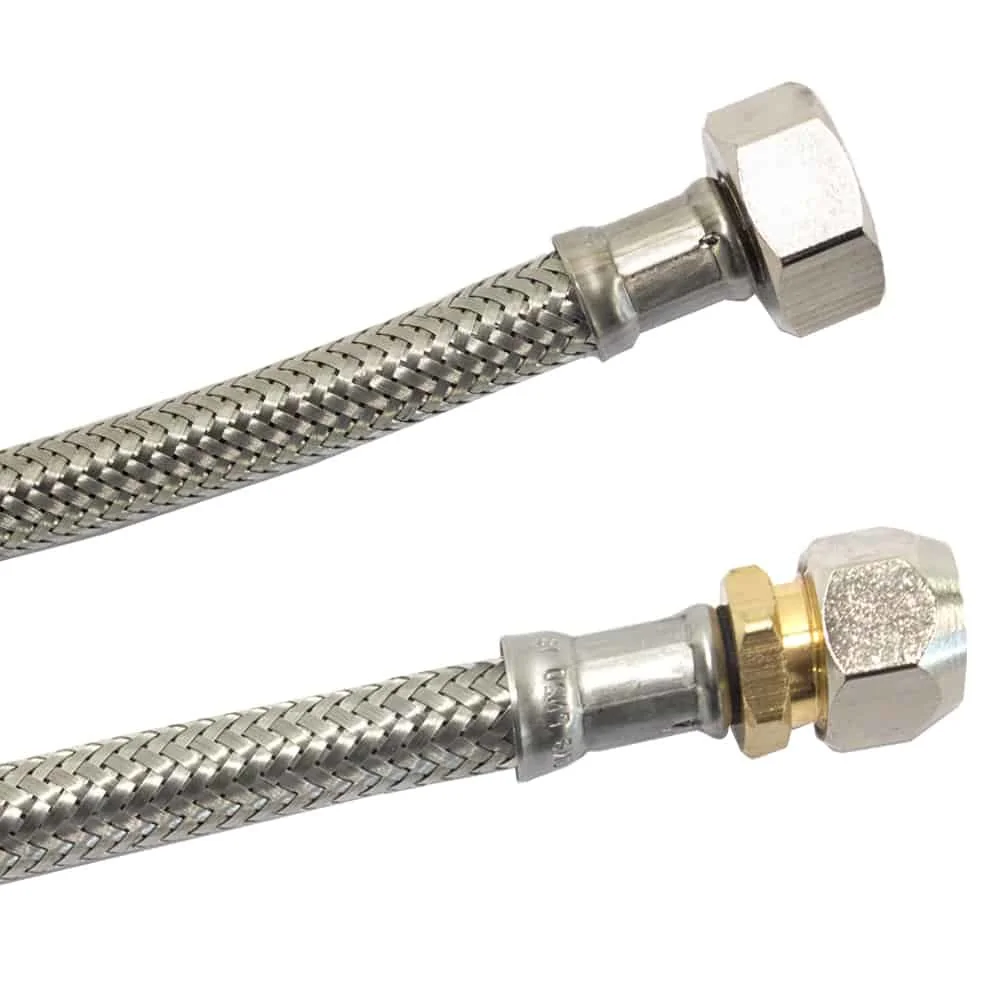
Very wide cracks or flaking areas require a build-up in several layers. First apply a spatterdash coat, followed by the levelling render and finally a finish render. A stainless steel- can be helpful when mixing the material with water.
“Haste is the most common enemy of a successful facade repair. Every stage needs time to dry and harden. If you cut corners here, you will see the result in new cracks as early as the following spring.”
Tools for the Repair
You do not need specialist tools. A few basic items are enough: a suitably sized filling knife, a smoothing trowel, a mortar tub or bucket for mixing and a spirit level for larger areas. High-quality tools make the work easier and produce better results. Browse our garden tools category for robust accessories.
Step-by-step: How to fill and smooth the crack
Now it’s time to make the repair. Mix the stucco repair compound according to the manufacturer’s instructions. It should be firm but still easy to work with. If the mix is too runny, it can sink into deep cracks and leave voids.
Using a putty knife, apply the compound to the crack in small amounts. Press it firmly into the crack to prevent air pockets. Work from the bottom up, filling the area slightly above the surface of the existing stucco.
Smooth the surface right after applying the compound with a finishing trowel, removing any excess as you go. Blend the edges neatly into the existing stucco so the transition is barely noticeable once the repair is complete.
Additional tip
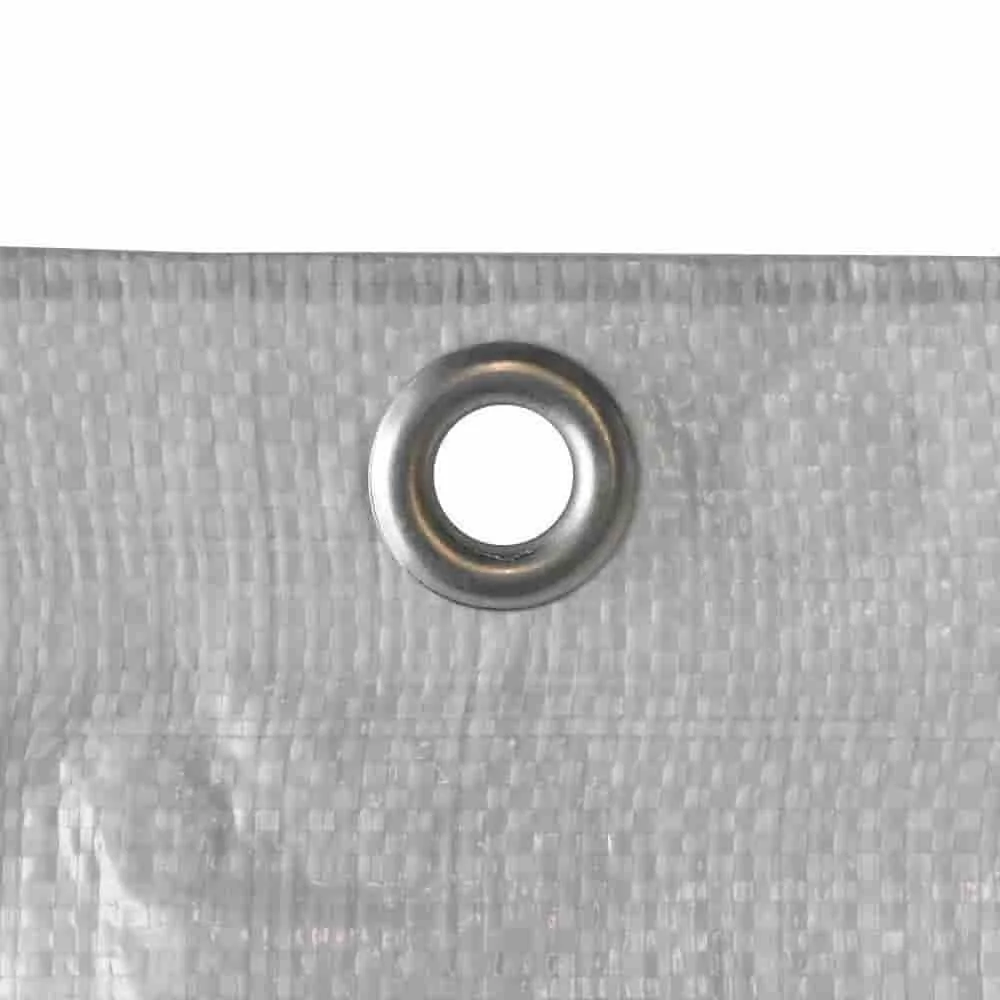
Protect the fresh repair from drying too quickly, direct sunlight, and rain. Loosely covering it with a breathable tarp, such as the , works well. It helps prevent cracks caused by the compound drying too quickly.
Aftercare and finishing
Give the repaired stucco enough time to cure. Depending on the material and weather, this can take several days. The repair won’t be fully set until then.
If the texture or color doesn’t match the existing stucco, you may need to recoat the entire surface or section. Factor this into your repair plans. A fresh coat of exterior paint is often the best way to achieve a uniform finish.
How can I protect exterior walls from future cracks?
The best repair is one you don’t need to make. Regular maintenance and a little attention can help keep your home’s exterior walls in good shape for years. Inspect the facade at least once a year, ideally in spring after the last frost.
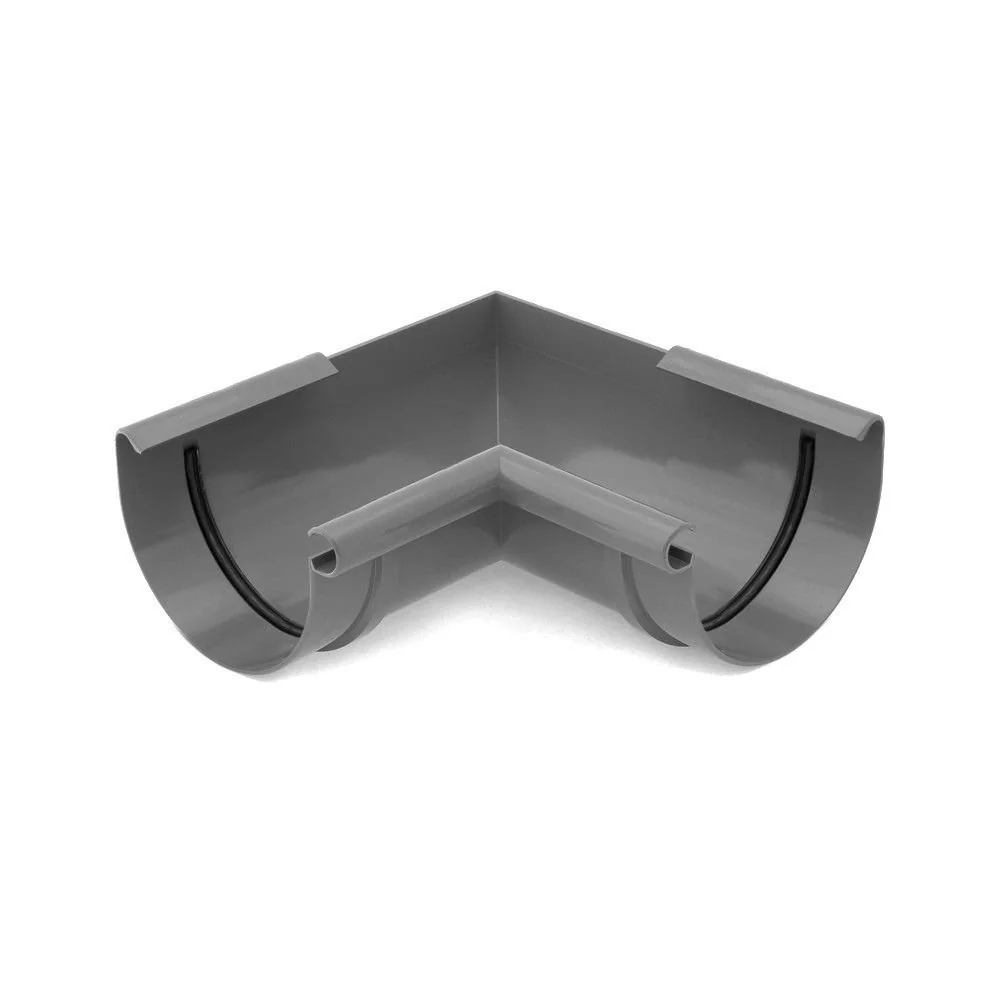
Check that your gutters and downspouts are working properly. Standing water and overflowing rainwater can put a lot of stress on stucco. A damaged , for example, can leave the exterior wall constantly damp. Replace damaged parts promptly.
An intact roof and properly sealed window joints are just as important. Moisture from above or from leaking connections can find its way into the facade. Plumbing and irrigation supplies also help keep the area around your home dry.
When to do the work
Make repairs in dry, mild weather. Temperatures between 10 and 25 degrees Celsius are ideal. Avoid direct sun, strong winds, and freezing temperatures. Don’t apply stucco when it’s below five degrees Celsius.
With this guide, you can repair many types of facade damage yourself and help protect your home’s structure. If you’re unsure what’s causing the cracks, consult a professional. That can help keep your home’s exterior walls stable and looking good for years to come.
Frequently asked questions
- Can I repair cracks in exterior stucco myself, or should I hire a professional?
- You can repair hairline cracks and minor surface damage yourself with standard stucco repair compound or flexible crack filler. If cracks are deep, changing, or may indicate settling or structural problems, have a professional assess them before starting repairs.
- What do I need to repair cracks in stucco?
- You’ll need a dusting brush, a hand brush, a putty knife, a joint scraper, and a suitable stucco repair compound. Surface preparation may also require a bonding primer and reinforcing mesh for larger cracks. Find quality tools in our selection of garden tools.
- What causes cracks in a facade?
- Cracks usually form when temperature changes, moisture, or slight building settlement create stress between the stucco and masonry. Aging and stucco that has lost its flexibility can also be factors. An intact facade protects your home from the weather, so repair damaged areas promptly.
- How can I keep a repaired crack from coming back?
- Open the crack into a deep V shape to create a stable base for the repair. Use a flexible, elastic filler for cracks that move. For larger areas, add reinforcing mesh. Make sure the materials are compatible and apply a bonding primer before filling the crack.
- How wide can a crack be before it threatens the building’s structure?
- Cracks narrower than 0.2 mm (hairline cracks) are often only a cosmetic issue. Cracks 0.5 mm wide or more can let moisture in and should be repaired. Cracks wider than 2 mm, or cracks that continue to widen, may point to serious issues such as settling. Have a professional assess them before renovating the facade.
You may also be interested in
- How to apply reinforcing adhesive to facades and stucco
- Exterior paint: How to paint outdoor surfaces
- How to apply stucco to walls: A step-by-step DIY guide
- How to apply and paint mineral stucco: A step-by-step guide
- Seal leaking joints before winter to protect your home from frost
- Heating maintenance: How to prevent heat loss and cracks