
In brief: A mini jigsaw is ideal for detailed and curved cuts in thin materials such as wood, plastic and soft metals. It excels at model making, crafts and delicate decorations where a standard jigsaw would be too bulky. It gives you greater control and precision for small projects.
Not every project calls for heavy-duty equipment. Sometimes, great craftsmanship comes down to the details: a fine line and the perfect curve. That’s where large, unwieldy tools fall short. You need a tool that offers precision and control. That’s exactly what the mini jigsaw is designed for: a compact powerhouse for anyone who wants delicate, precise results.
This handy tool bridges the gap between a rough-cutting handsaw and a bulky workshop machine. It’s a go-to choice for toy repairs, model-making projects and creative decor that call for a steady hand. Instead of brute force, you get agility and accuracy.
If you’re getting started with precision cutting, the 75 Watt Mini Jigsaw is an ideal partner. Its 75-Watt motor delivers enough power for thin wood panels, plastic and non-ferrous metals. Its compact design and light weight make it easy to handle, even when cutting intricate patterns. It fits comfortably in your hand, so you can focus on the cut line.
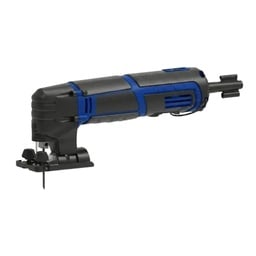
For a perfect result, the size of the tool matters less than how precisely you can work with it. The mini jigsaw shows that real strength lies in control.
What can you use a mini jigsaw for?
A mini jigsaw’s versatility shows in its many applications. It doesn’t replace a full-size jigsaw; it’s a specialist tool for delicate tasks. It shines wherever conventional saws are too inaccurate or cumbersome.
Fine woodworking and model making
In model making, precision is everything. Whether you’re cutting ribs for a ship model, windows for a dollhouse or intricate parts for an architectural model, every millimeter counts. A mini jigsaw lets you cut tight curves and complex shapes from thin plywood, balsa wood or strips. Its fine blades make clean cuts with minimal splintering, so you spend less time sanding and finishing.
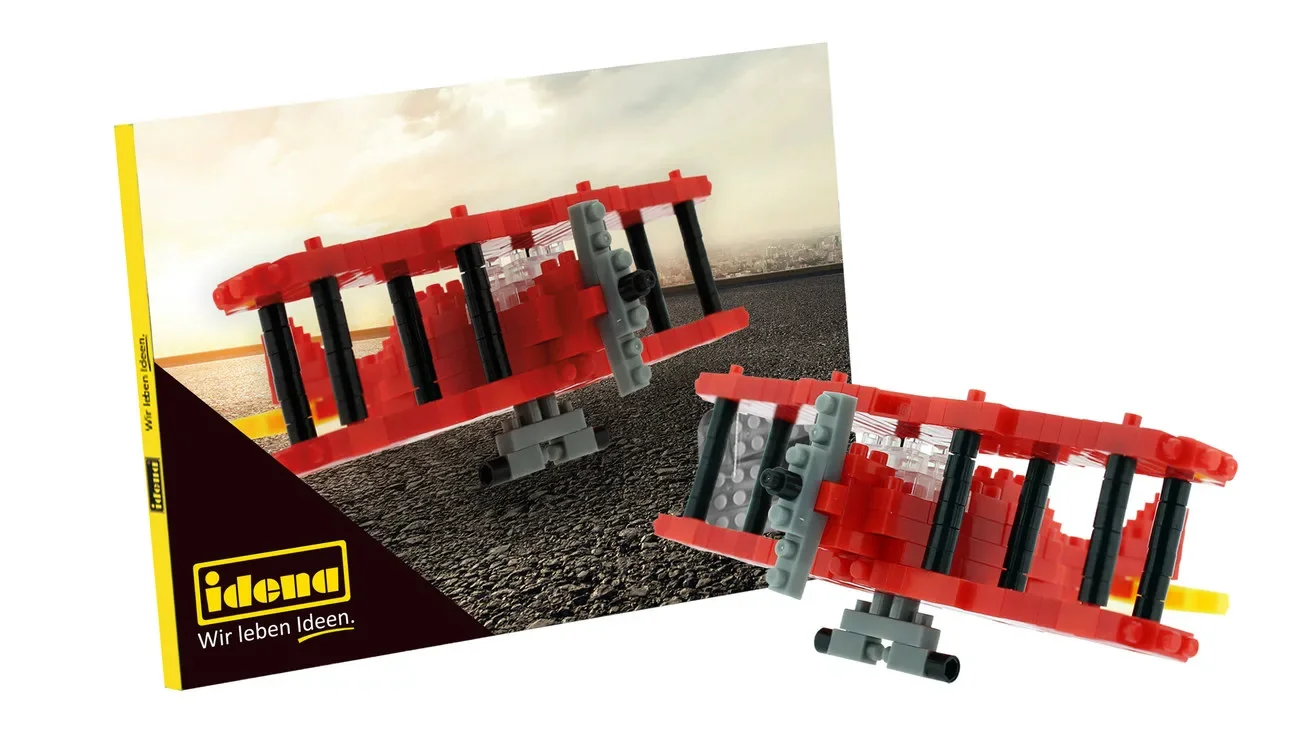
It’s also a great tool for making personalized wooden decorations, such as custom door signs, delicate Christmas tree ornaments and detailed inlay work. Bring your creative ideas to life without the limitations of a coarse tool. These detailed projects pair well with other creative Idena building kits, such as the Idena Biplane mini building blocks, which also call for patience and precision.
Extra tip
Match the cutting speed to the material. For plastic and metal, a lower speed helps prevent the material from melting and the blade from overheating. Start slowly and adjust until you get a clean cut.
Creative projects with plastic and Plexiglas
A mini jigsaw works especially well for cutting acrylic and Plexiglas. Make custom shapes for keychains, small enclosures for electronics projects or stencils for painting. Choosing the right blade is essential: a fine-tooth blade made for plastic helps prevent melting and leaves a smooth edge. The saw’s low vibration also reduces the risk of cracking or breaking this brittle material.
Cutting thin metal and circuit boards
A mini jigsaw can also cut thin sheets of aluminum, copper and brass. Make precise parts for model making, jewelry making and technical crafts. Electronics hobbyists also use mini jigsaws to cut printed circuit boards (PCBs) to size. For this task, use a metal-cutting blade with a high tooth count. It cuts cleanly without fraying the base material.
How does a mini jigsaw differ from a standard jigsaw?
At first glance, the tools look similar, but the details reveal some important differences. These differences determine what each tool is best suited for and make the mini jigsaw a handy specialist tool.
- Size and weight: This is the most obvious difference. A mini jigsaw often weighs less than one kilogram. You can guide it like a pen and use it in hard-to-reach areas. Its light weight helps reduce fatigue during long, focused tasks.
- Power and cutting depth: A standard jigsaw has 500 Watts or more, while a mini jigsaw operates in the 50-100 Watt range. This limits its cutting depth. It’s designed for materials up to around 10 mm of wood or a few millimeters of plastic and metal—not for wooden beams or kitchen countertops.
- Precision and control: This is where the mini jigsaw has its biggest advantage. Its slim body, grip close to the blade and low vibration give you excellent control over the cut. You can cut tight curves and fine details cleanly and accurately.
- Saw blades: Mini jigsaws often use special, smaller and thinner blades. These make finer cuts and tighter curves than the wider blades of a standard jigsaw.
In professional model making, hundredths of a millimeter matter. A large saw creates too much vibration and isn’t precise enough. Only a light, precise tool like a mini jigsaw lets me create the delicate details that bring a model to life.
How do you choose the right jigsaw blade for your project?
Even the best tool is no use without the right accessories. Your jigsaw blade plays a crucial role in the quality of the cut, so choosing the right blade for your material and project is key. Browse our shop to find a wide range of accessories.
Jigsaw blade materials
The abbreviations on the packaging tell you what a blade is made of and what it is designed to cut:
- HCS (High Carbon Steel): Carbon steel. Ideal for softer materials such as wood, wood fiberboard and plastics. These blades are flexible but not especially heat-resistant.
- HSS (High Speed Steel): High-speed steel. This hardened steel is ideal for harder materials such as aluminum, non-ferrous metals and hard plastics.
- BIM (Bi-Metal): A combination of HCS and HSS. The blade back is made from flexible HCS, while the toothed edge is made from hard HSS. The result is a durable, flexible, break-resistant blade for demanding tasks.
Tooth pitch (TPI)
The number of teeth per inch (TPI) affects the speed and finish of the cut.
- Low TPI (e.g. 6-10): Large teeth with wide spacing make fast, relatively rough cuts in softwood.
- High TPI (e.g. 20-30): Many small teeth make slower, finer, cleaner cuts. Ideal for hardwood, plastics and metals when you want to avoid tear-out.
Pro tip
For delicate surfaces such as veneered plywood or painted panels, apply masking tape over the cut line and saw through it. The tape supports the wood fibers and helps prevent unsightly tear-out along the top edge.
Step-by-step guide: How to saw a small decorative object
Ready to get started? This simple guide will help you make your first small project in no time, such as a star from 4 mm plywood.
Step 1: Prepare your work and stay safe
Use a pencil to draw a star on the plywood. Secure the piece to a workbench or sturdy table edge with small screw clamps. Make sure the area you need to cut is clear and the workpiece cannot vibrate. Always wear safety goggles.
Important note
Always secure small workpieces! Vibration from the jigsaw blade can catch and throw an unsecured, lightweight piece. Use clamps or a small bench vise to keep it secure.
Step 2: Choose the right jigsaw blade
Choose a fine-tooth HCS blade for wood. Install it according to your mini jigsaw's instructions, then check that it is firmly in place.
Step 3: Make the first cut
Set the jigsaw base firmly on the workpiece without letting the blade touch the wood. Turn on the jigsaw and wait for it to reach full speed. Slowly guide the blade toward the marked line without applying pressure, following the line steadily. Let the jigsaw do the work.
Step 4: Cut curves and corners
The points of the star take a little extra care. Guide the jigsaw slowly toward each point. Stop just before the tip, pull the jigsaw back, then cut along the other side of the point. This gives you a clean corner. For inside corners, drill a small hole first to make it easier to turn the jigsaw blade.
Step 5: Finish your project
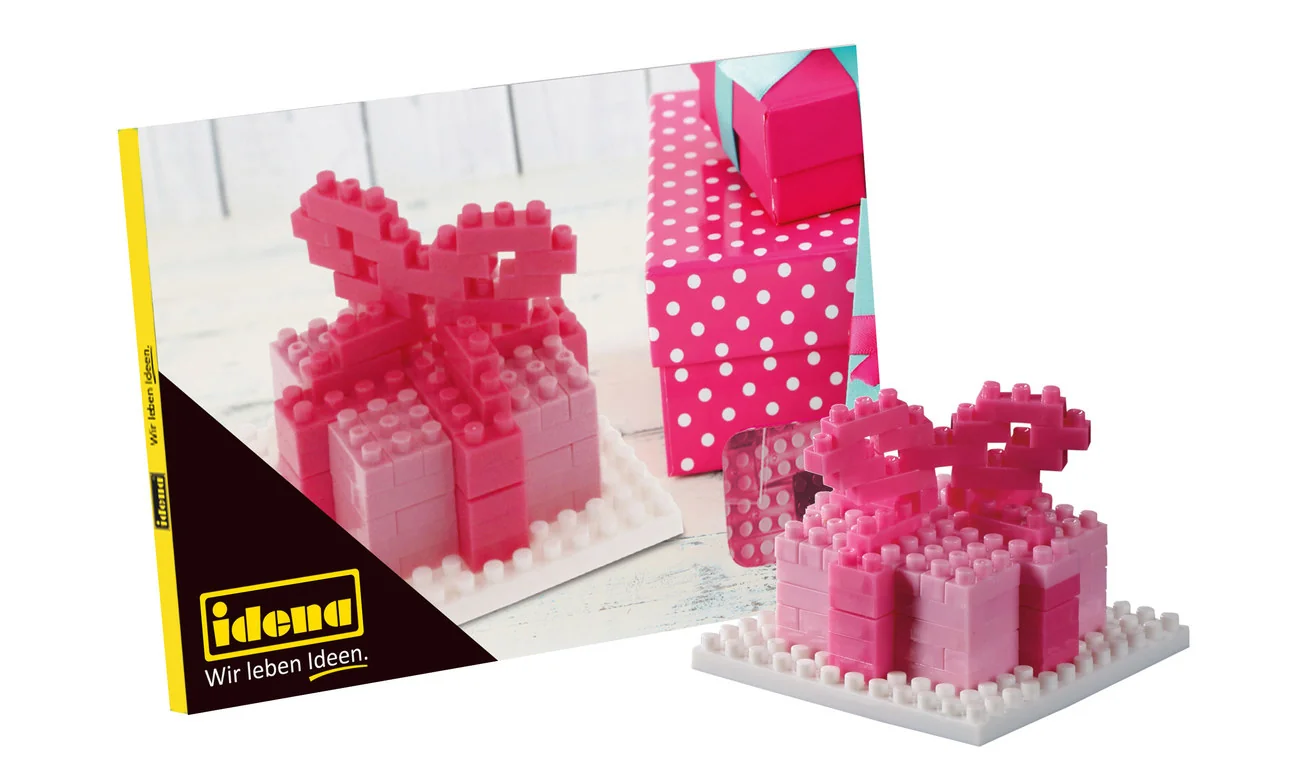
After cutting out the star, the edges may still be a little rough. Use fine-grit sandpaper to smooth all the cut edges. You can paint or varnish your workpiece, or leave it unfinished. Projects like this make wonderful, personal gifts and fit right in with the small & fine brands category. They also pair well with other craft ideas, such as the Idena Mini Building Blocks Angel.
A mini jigsaw is more than just a tool. It gives your creativity room to grow, opening up detail and possibilities that larger tools can't handle. For model makers, crafters and DIYers who value precision, it's a worthwhile investment that brings accuracy and enjoyment to the workshop.
Frequently Asked Questions
- Can I use a mini jigsaw to cut thick wood?
- No. Mini jigsaws are designed for thin materials, and their power and cutting depth aren't sufficient for thick wooden beams or countertops. For those jobs, use a standard, more powerful jigsaw or a circular saw.
- Which jigsaw blades fit a mini jigsaw?
- It depends on the model. Many mini jigsaws use specially sized blades. Check the shank shape and the manufacturer's specifications. Most models have blade options for wood, plastic and metal.
- Is a mini jigsaw suitable for beginners?
- Yes. Its light weight, compact size and lower power can make it easier to handle than a full-size jigsaw. It's ideal for learning to guide a saw and make precise cuts.
- Do I need special protective equipment when using a mini jigsaw?
- Yes. Basic protective equipment is always recommended. Wear safety goggles to protect your eyes from chips. For longer jobs or work in enclosed spaces, hearing protection and a dust mask are also a good idea.
- How do I maintain my mini jigsaw?
- After each use, clean the tool with a dry cloth or compressed air to remove sawdust. Check the blade regularly for wear and replace it when needed. Store the jigsaw in a dry place.