
In brief: Lay stone slabs on a multi-layered base made from compacted aggregate and sand. After carefully planning the project, excavate the ground, compact the subsoil and add a frost protection layer. Then add bedding material such as grit or sand, set the slabs into it and fill the joints with jointing material. Correctly planning a gradient of around 2% is essential for drainage.
How to Lay Patio Slabs: Guide for Patios & Paths
A new path or patio made from stone slabs can transform your garden. This guide takes you through every step precisely. You will learn how to lay paving slabs, build a patio yourself and create garden paths.
The result is a durable surface that can add value to your property.
What are stone slabs?
Stone slabs are flat, large-format slabs made from natural stone or concrete. Typical materials include granite, sandstone, quartzite or frost-resistant concrete. They are usually between 2 and 4 centimetres thick.
They are ideal for patios and heavily used paths. Their large format makes laying them considerably quicker.
How do I plan my stone slab project?
Planning determines the success and durability of your project. Start with a sketch. Measure the area precisely. Allow for 5% waste when calculating the amount of material you need.
Determine the gradient. A patio needs a gradient of 1,5% to 2,5% away from the house. This is approximately 1,5 cm of height difference per metre.
Important note
Before you begin, check whether your project requires planning permission. In many areas, a permit is required for paved surfaces above a certain size. Contact your local planning or building authority for information.
Choose your material. Make sure it is frost-resistant (F1). The surface should be slip-resistant, especially for patios. Remember accessories such as patio covers for winter.
Materials and tools checklist
You will need these materials: stone slabs, aggregate (0/32 or 0/45), bedding sand or grit (0/5), jointing material, lawn edging stones or edging profiles.
The tools required are: spade, shovel, compactor plate with rubber protection, rubber mallet, spirit level, straightedge, string, paving spacers, broom.
“Investing in a good compactor plate with rubber protection is always worthwhile. It compacts the subsoil evenly and sets the slabs gently into the bedding. Hiring one is a good option for individual projects.”
How do I prepare the ground properly?
The sub-base is the foundation of your patio. It supports the load and drains water away. Start by excavating the ground.
Excavate the ground to a depth of about 25 to 35 cm. The exact depth is calculated as follows: slab thickness + 3 cm bedding + 20-25 cm frost protection layer. Remove all roots and plant debris.
Pro tip
Store the topsoil (the uppermost, humus-rich layer) separately. You can use it later elsewhere in the garden. Store the compactable soil underneath for use in the side areas of the excavation.
Compact the bottom of the excavation with the compactor plate. This prevents later settlement. Now lay a tarpaulin or weed control fabric. It helps suppress weed growth through the sub-base.
Installing the frost protection layer
Now add the aggregate. Spread it roughly with the shovel. After compaction, the layer should be at least 20 cm thick.
Compact the aggregate in layers. Work in layers of about 10 cm. Use the compactor plate. Check the height with the spirit level and a string.
The surface must be level and have the planned gradient. Correct it by adding more aggregate where necessary.
How do I lay the stone slabs correctly?
Now it is time for the visible layer. First, install the side restraints. Set lawn edging stones in a concrete bed or drive in edging profiles.
This edge restraint prevents the paving from sliding sideways. It gives your patio or path a neat finish.
Add the bedding layer. Use screeding sand or fine grit (particle size 0/5 mm). Build the material up to the required height.
Strike it off with a straightedge. Work backwards so that you do not step on the levelled surface. The bedding layer is now perfectly level and has the correct gradient.
“Screeding the sand layer is the trickiest step when aiming for an even result. A long, rigid aluminium profile makes an ideal straightedge. Pull it in one smooth, steady movement. Then make only minimal corrections.”
Setting and aligning the slabs
Start at a fixed edge, such as the house. Carefully place the first stone slab in the sand. Tap it evenly into place with the rubber mallet.
Check the height and gradient with the spirit level. Lay the next slabs. Use paving spacers to create even joints.
Work your way forward row by row. Only step on slabs that have already been laid. Regularly check the level with a long spirit level or straightedge.
Additional advice
For complex patterns or offsets, lay the slabs out dry first. This lets you see the laying pattern in advance and plan cut pieces more effectively. Mark cut lines directly on the slabs.
Cut slabs with a wet saw or stone cutter. Always wear safety goggles and hearing protection. Fit the cut pieces for edges and corners last.
How do I finish the work?
After laying the slabs, the joints must be filled and the surface cleaned. First, sweep coarse dirt off the area.
Spread dry quartz sand (grain size 0/2 mm) or special jointing compound evenly over the slabs. Sweep the material into the joints.
Now run the plate compactor (with rubber protection!) over the entire surface. The vibration draws the sand deeper into the joints. Sweep on more sand and repeat the process until the joints are completely filled.
First watering and maintenance
When using jointing compound, moisten it according to the manufacturer's instructions. With quartz sand, a light spray is useful to help the sand settle.
Give the surface a final clean with a broom. Remove all remaining sand. Your new patio or path is now finished.
Protect the area from extreme loads during the first few days. The material still needs time to settle. For long-term maintenance, you will find suitable products in the Garden + Outdoor section.
Winter protection and storage
Stone slabs are frost-resistant, but benefit from winter protection. Salt should not be used for gritting, as it can damage the surface.
Non-abrasive gritting materials such as granules are a better choice. Robust tarpaulins are suitable for covering garden furniture or a patio heater. A (1,5x10m) or the smaller (1,5x6m) reliably protects large areas.
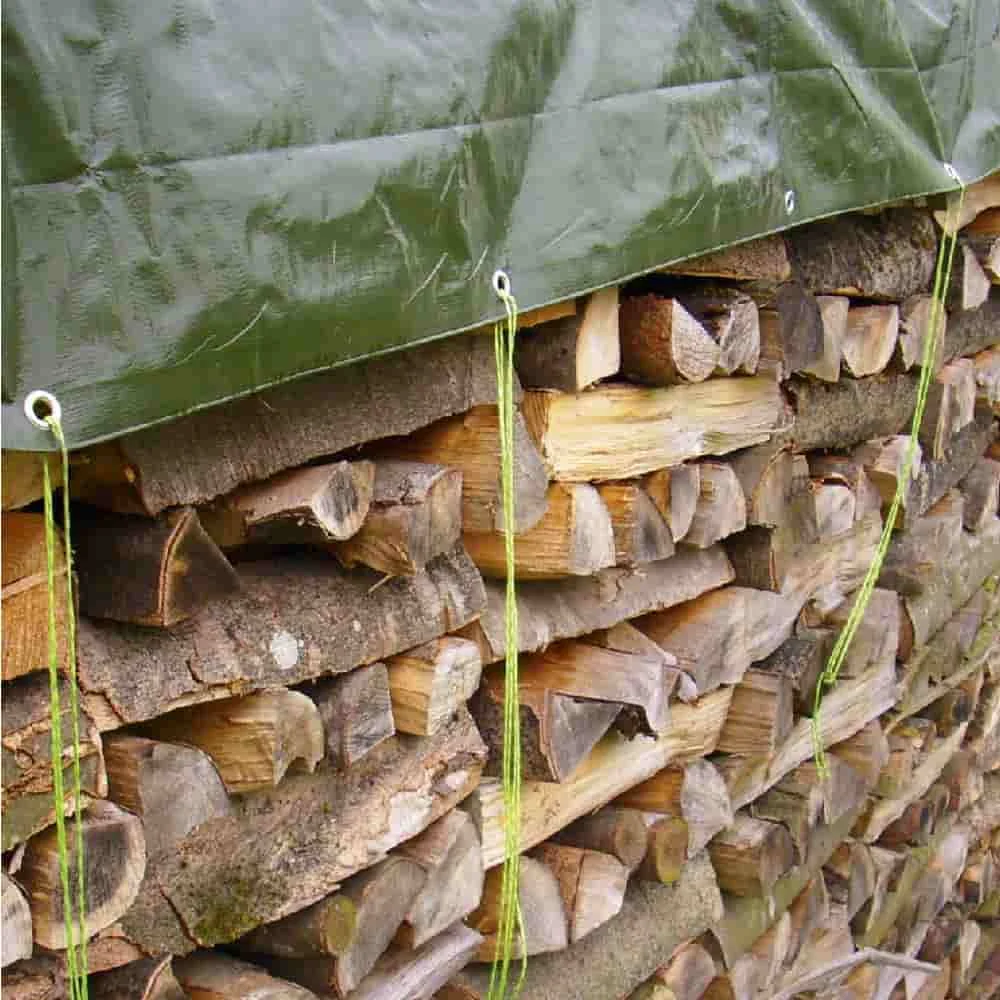
For very large patios, the (4x8m) is the ideal choice. These waterproof and tear-resistant tarpaulins protect against moisture and dirt.
Store leftover movable stone slabs flat and dry. Place them on edge strips to prevent moisture from rising underneath.
Common mistakes and how to avoid them
An inadequate sub-base is the most common mistake. Do not skimp on the base layer. 20 cm of compacted crushed stone is the minimum.
An incorrect or missing slope leads to standing water. Check the levels during every construction layer. Use a string as a precise reference.
Do not forget the edge restraint. Without it, the paving will spread apart over the years. The edges will become untidy.
For specific requirements, such as insulating cables running beneath the patio, use suitable materials from the self-adhesive insulation range.
With patience, the right preparation and this guide, you can build a patio or path that will last for decades. The work is worthwhile for every square metre.
Frequently asked questions
- What slope does a patio made of stone slabs need?
- Plan for a slope of 1.5% to 2.5% away from the house. This corresponds to a drop of approximately 1.5 to 2.5 cm per metre of length. This slope ensures reliable water drainage and prevents puddles and frost damage in winter.
- Can I lay stone slabs directly on soil?
- No. Laying slabs directly on soil inevitably leads to settlement and unevenness. A load-bearing sub-base of compacted crushed stone or gravel for frost protection, plus a level bedding layer of sand or chippings, is essential for a permanently stable and even surface.
- Which is better for the bedding layer: sand or chippings?
- Fine-grained chippings (0/5 mm) are often the better choice. They compact well, are frost-resistant and are less likely than sand to be washed out by rain. Sand can be washed away during heavy rain, creating voids beneath the slabs.
- How wide should the joints between stone slabs be?
- The joint width depends on the slab format. For large-format stone slabs, 3-5 mm is usual; for smaller formats, 5-8 mm. Consistent joints are essential for the appearance. Use tile spacers or wedges as spacers while laying the slabs.
- How do you seal the joints of a stone slab patio?
- Fill the dry joints with quartz sand or special jointing compound for drainage systems. Compact the sand using a rubber mallet and a plate compactor. Sweep in the jointing compound and activate it with water. Both methods prevent weed growth and stabilise the paving.
You might also be interested in
- How to Lay a Stone Patio: Step-by-Step Guide for DIYers
- How to Lay a Lawn Edge: Your Step-by-Step Guide
- How to Build a Decking Patio: Creating Your New Wooden Patio
- Wooden Decking Substructure: Build It Stably and Easily
- Build Your Own Patio Cover: Step by Step
- How to Build a Dry Stone Wall in the Garden: The Sustainable Guide