
In brief: The best time to repot succulents is in spring, when they are outgrowing their old pot. Choose a new pot with a drainage hole that is only slightly larger, and use special succulent soil. After repotting, wait about a week before watering the plant so any damaged roots have time to heal.
Succulents are easy to care for, hardy and look fantastic. But even the toughest plant occasionally needs a new home. If your succulent stops growing, water runs straight through the pot or roots are sticking out, it is time to act. Repotting not only provides your plant with fresh nutrients, but also helps prevent disease and gives it the space it needs to thrive. With the right technique and materials, this important care step is easy to manage.
Why do succulents need repotting at all?
Repotting is more than just a cosmetic measure. It is a fundamental step in keeping your plant healthy. Over time, the succulent uses up all the nutrients in the growing medium. The soil becomes compacted, allows less air to reach the roots and can no longer retain water properly. This causes growth to stop and makes the plant more susceptible to pests.
Another crucial reason is lack of space. When roots grow in a circle around the bottom of the pot, this is known as root binding. The plant can no longer get the nutrients it needs and begins to decline. A larger pot gives the roots the room they need to absorb water and nutrients effectively. Fresh soil also provides better drainage, which is vital for succulents because they cannot tolerate waterlogging.
The right growing medium is vital for succulents. It not only keeps the plant stable, but also regulates moisture levels and helps prevent the dreaded root rot.
When is the best time to repot your succulents?
The ideal time to repot is spring. With the first warmer days and longer hours of sunlight, the growing season begins for most succulents. During this period, they recover from repotting stress fastest and establish themselves quickly in the new growing medium. Repotting in autumn or winter is advisable only in an emergency, such as a pest infestation or root rot.
Look out for these clear signs from your plant:
- Roots are growing out of the drainage holes: The clearest sign of an urgent lack of space.
- The plant fills the entire pot: There is barely any soil left visible between the base of the plant and the rim of the pot.
- Growth has stalled: Despite good care, the plant shows no growth over an entire season.
- Water runs straight through: The root ball is so compact that it can no longer absorb water.
- The soil is old and mineralised: White or yellowish deposits on the soil surface indicate exhausted growing medium.
Additional advice
Repot newly purchased plants such as the Succulent Mix
promptly. They are often planted in pure peat soil, which is unsuitable for long-term cultivation. Fresh growing medium gives them the best start in their new home.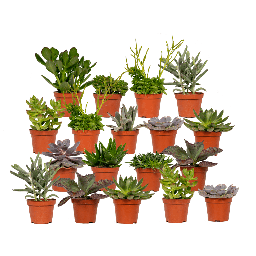
The right materials: What do you need for repotting?
Good preparation is half the battle. Gather all the necessary tools before you begin. This helps reduce stress for both you and the plant. A clean workspace, for example protected by a durable tarpaulin
, makes tidying up afterwards much easier.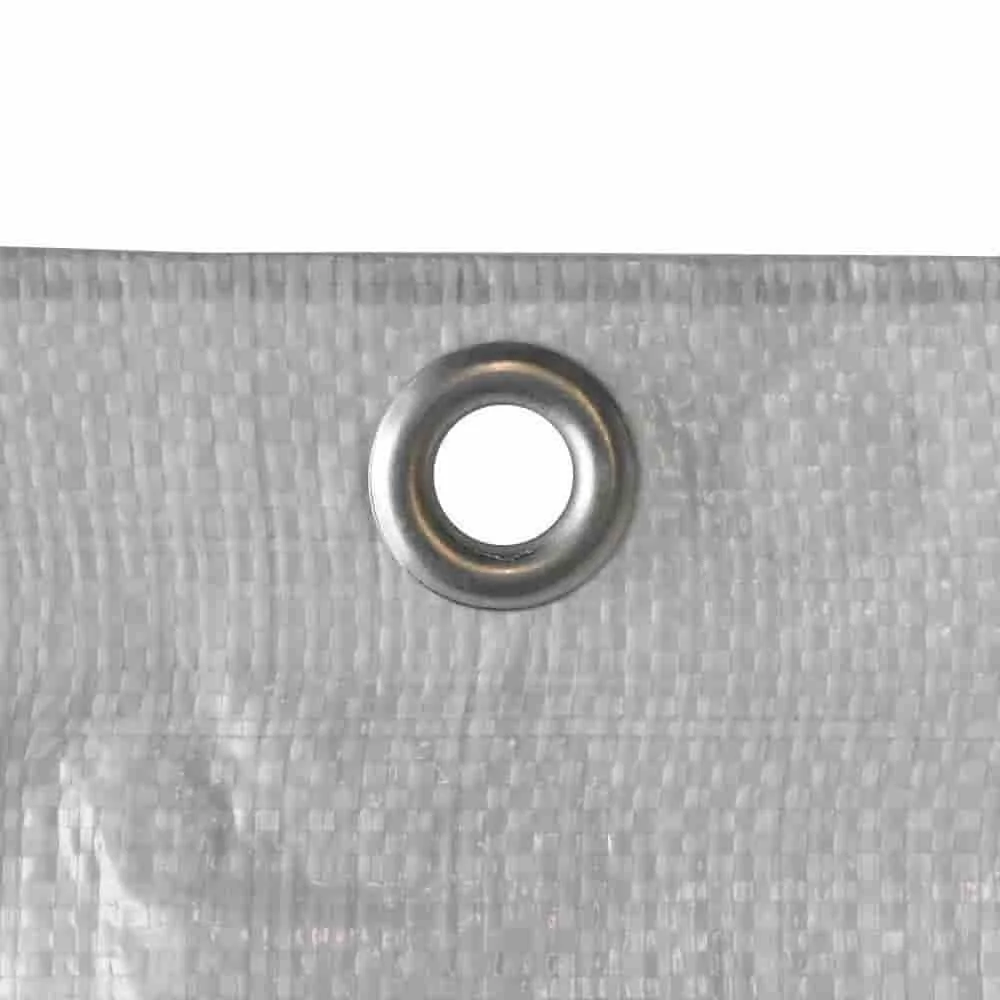
The right pot
Choose a pot that is only about two to three centimetres wider in diameter than the old one. A pot that is too large contains a lot of soil that stays damp for a long time, increasing the risk of root rot. The most important feature is a working drainage hole. Without drainage, your succulent will inevitably drown. Terracotta pots are ideal because the porous material encourages evaporation and allows the soil to dry out faster.
The right soil mix
Standard potting soil is unsuitable for succulents because it retains too much water. Choose special cactus or succulent soil from a specialist retailer. These mixes contain a high proportion of mineral components such as sand, pumice or lava, which provide excellent drainage. In our Garden + Plant Accessories category, you will find everything you need to give your plants the best possible care.
Tools and accessories
A few simple tools make the job easier. You will need gloves, especially for spiny specimens, a small trowel or spoon, a stick to loosen the soil and, if necessary, a soft brush to remove old soil from the roots. A sharp, clean pair of scissors is important for removing dead root sections. You will also find suitable garden tools in our range.
Pro tip
Mix your own growing medium for complete control. A tried-and-tested mix consists of one part peat-free potting soil, one part coarse sand and one part perlite or pumice. This creates an airy, fast-drying environment for the roots.
Repotting Succulents: A Detailed Step-by-Step Guide
With the right materials at hand, the process itself is straightforward. Take your time and work carefully to keep stress to the plant to a minimum.
Step 1: Prepare Your Work Area
Lay out the protective sheet or some old newspapers. Have the new pot, soil and all your tools within easy reach. This allows you to work efficiently and keeps your surroundings clean.
Step 2: Remove the Succulent from Its Old Pot
Loosen the soil around the edge of the pot with a knife or spatula. Gently squeeze the outside of the pot to loosen the root ball. Then carefully tip the pot and support the plant at its base. Never pull forcefully on the plant itself.
Step 3: Inspect and Clean the Root Ball
Carefully remove the old soil with your fingers or a small stick. Gently loosen the root ball. Examine the roots closely: healthy roots are firm and light-coloured, often white or yellowish. Rotten roots are dark, mushy and have an unpleasant smell.
Important Note
Take particular care when inspecting the roots. Remove all diseased or dead parts. Rot can spread quickly and destroy the entire plant. Clean work with disinfected tools is essential.
Step 4: Prune Diseased Roots
Cut away all mushy or dried-out roots with clean scissors. Make the cut in healthy tissue. After extensive root pruning, leave the plant in a shady place for one to two days so that the cut surfaces can dry and form a protective layer. This step is crucial for preventing rot pathogens from entering.
Step 5: Prepare the New Pot
Place a piece of broken terracotta or a small piece of mesh over the drainage hole. This prevents the new soil from being washed out while still allowing water to drain away. Add an initial layer of fresh succulent soil to the pot. Choose the depth of this layer so that the plant will sit at the correct height later.
Step 6: Plant the Succulent
Place the plant in the centre of the new pot. Hold it steady with one hand and use the other to fill the remaining space around the root ball with soil. Make sure the root collar, where the roots meet the plant, is not covered with soil. The top of the root ball should sit about one centimetre below the rim of the pot.
Step 7: Add and Firm the Soil
Fill the pot with soil to just below the rim. Tap the pot lightly on the work surface several times to settle the soil and fill any air pockets. Only press the substrate down very gently. Soil that is too compacted restricts air circulation.
Step 8: Watering – But Carefully
The most important step, and one that is often done incorrectly: do not water the succulent immediately. Wait about one week. During this time, the small injuries to the roots that inevitably occur during repotting can heal. Immediate contact with water would encourage rot in these wounds. Once the waiting period is over, water the plant thoroughly once, until water runs out of the drainage hole.
Care After Repotting: How to Help Your Succulent Thrive
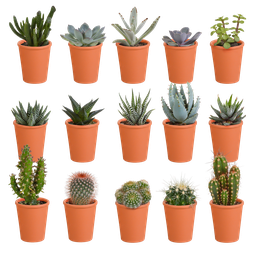
The plant needs a short recovery period after repotting. With the right care, you can ensure that it quickly settles into its new home and soon resumes vigorous growth. This applies to established plants as well as new arrivals, such as those from a Cacti and Succulents Mix
.
Light and Location
Place the freshly repotted succulent in a bright spot without direct sunlight for one to two weeks. The intense midday sun would put additional strain on the stressed plant and can cause sunburn. After that, gradually reintroduce it to its usual sunny spot.
Watering and Fertilising Correctly
After the first watering following the waiting period, the golden rule for succulents applies again: only water once the soil has dried out completely. Wait at least four to six weeks before fertilising. The fresh soil contains enough nutrients to get the plant started. Later, during the growing season, you can use a special cactus or succulent fertiliser every few weeks.
A true gardener learns to listen to the plant and give it time. Haste rarely leads to success, especially when caring for delicate roots.
Repotting is a simple yet effective way to give your succulents a long and healthy life. It is an investment in the future of your plants that pays off with vigorous growth and a beautiful appearance. Browse our Garden + Outdoor range and find everything you need for your green companions.
Frequently Asked Questions
- How often should I repot my succulent?
- Usually every two to four years. A good indicator is when the roots start growing out of the drainage holes or the plant completely fills the pot. Young, fast-growing plants may need repotting more often than older, established specimens.
- What is the best soil for succulents?
- Use special cactus and succulent soil. It drains well and prevents waterlogging, which can lead to root rot. Regular potting soil holds too much water. You can also make your own mix from potting soil, sand and perlite.
- Should I water my succulent immediately after repotting?
- No, it is better to wait a week. Fine roots can be damaged during repotting. These wounds need time to dry and heal. If you water too soon, you risk allowing bacteria that cause rot to enter and damage the plant. Patience is key here.
- My pot has no drainage hole. Can I still use it?
- This is strongly discouraged. Succulents are extremely susceptible to root rot caused by waterlogging. A drainage hole is essential. If you want to use a decorative pot without a hole, place a smaller plastic pot with drainage holes inside it and always empty any excess water immediately.
- What should I do if my succulent's roots have rotted?
- Cut away all mushy, dark and foul-smelling root sections with clean scissors. Then leave the plant to air-dry for a few days so the cut surfaces can heal. Next, repot it in fresh, dry succulent soil and wait before watering.
You may also be interested in
- Succulents in Glass: How to Create a Stylish Terrarium
- Repotting Houseplants: How to Do It Properly
- How to Repot Orchids Properly: Your Guide to Healthy Plants
- Repotting Container Plants: Timing, Instructions and Care Tips
- Crassulaceae Care: How Do Stonecrop Plants Thrive?
- Transplanting Roses: How to Successfully Move Them