
In brief: Replace your sweeper brushes when they show visible signs of wear, such as shortened or bent bristles, or when the machine leaves streaks behind. Replace the sealing lip if it is cracked, brittle or deformed to ensure optimal dirt collection and dust control. Regular checks help maintain performance.
Contents
- How can I tell if my sweeper brushes are worn?
- Why replacing the complete set makes sense
- How often should I replace my sweeper brushes?
- Why is the sealing lip just as important as the brushes?
- How do I check and replace my sweeper’s sealing lip?
- Comprehensive sweeper maintenance: more than just replacing the brushes
Your sweeper is an tireless helper that keeps your yard, paths and workshop clean. But even the most robust machine loses performance when its key wear parts reach the end of their service life: the brushes and the sealing lip. Regular maintenance not only ensures perfect sweeping results, but also significantly extends your machine’s service life. You avoid costly consequential damage and work more efficiently.
The good news is that replacing these components is straightforward. With the right knowledge, you can identify wear in good time and replace the parts yourself. All you need is the correct spare part and a few minutes.
How can I tell if my sweeper brushes are worn?
The brushes are the main working parts of your sweeper. They pick up dirt and carry it into the collection container. Wear is a gradual process, but you can identify it by several clear signs. Do not ignore these signals, as reduced sweeping performance is the first and clearest symptom.
Visual inspection: the first look reveals a lot
Carefully tilt your sweeper and inspect the disc brushes closely. Look for the following signs of sweeper brush wear:
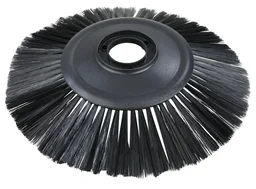
- Shortened bristles: Compare the length of the bristles at the outer edge with those in the centre. Heavily worn brushes are noticeably shorter in the centre. The bristles no longer reach the ground with the optimum pressure.
- Deformed or bent bristles: Permanent deformation is a clear sign of wear, particularly with plastic bristles. The bristles have lost their resilience and can no longer pick up dirt effectively.
- Thinned-out bristle bundles: Missing bristles or entire gaps in the brush rows inevitably result in a streaky sweeping pattern.
The sweeping result: streaks do not lie
The most obvious sign of worn brushes is an unsatisfactory sweeping pattern. If fine streaks of dirt remain on the ground after sweeping and run parallel to the direction of travel, this is a warning sign. The brushes can no longer collect the dirt completely and transport it to the container. Coarse dirt may still be picked up, but fine dust and sand remain behind.
A common mistake is to increase the brush contact pressure when performance declines. This only compensates for wear in the short term and puts excessive strain on the drive system and the remaining bristles. Replacing the brushes in good time is the better and more sustainable solution.
Why replacing the complete set makes sense
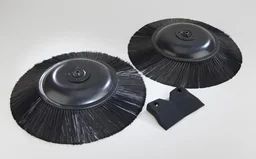
When the brushes are worn, the sealing lip has usually also reached the end of its service life. Both parts wear out in parallel due to constant contact with the ground. Replacing them together is therefore the most efficient solution. You restore your machine’s full performance in just one step. The : Sweeper spare parts set, 2 brushes + 1 sealing lip provides exactly this combination. You receive two high-quality disc brushes and the matching sealing lip in one package, allowing you to complete maintenance quickly and easily.
How often should I replace my sweeper brushes?
There is no one-size-fits-all answer to this question. Replacement intervals depend on several factors. The key considerations are how often the machine is used, the type of surface and the kind of dirt you sweep.
Usage, surface and type of dirt
A sweeper that cleans a smooth concrete floor in a hobby workshop once a week experiences far less brush wear than a machine used daily on a rough asphalt car park. Rough surfaces such as exposed aggregate paving slabs or block paving act like sandpaper on the bristles. Frequently sweeping coarse, sharp-edged dirt such as chippings or rubble accelerates wear even further. Soft sweeping material such as dry leaves, on the other hand, is gentle on the brushes.
Pro tip
Extend the service life of your brushes by occasionally swapping the left and right disc brushes, provided your machine’s design allows this. As the brushes often have a main direction of rotation, they wear more heavily on one side. Swapping them promotes more even wear.
Guidelines for replacement
- Private use (approx. 1-2 hours/month): An annual check is sufficient. Replacement is often only necessary every 2-4 years.
- Regular use (e.g. caretakers, small businesses): Check the brushes quarterly. Replacement may be required annually.
- Intensive commercial use (daily): A monthly inspection is essential. Replacement may be necessary after just 3-6 months.
Why is the sealing lip just as important as the brushes?
The sealing lip, often an inconspicuous rubber part at the rear of the machine, plays a crucial role in sweeping performance. It is often overlooked during sweeper maintenance, but its function is essential for a clean result.
Function: directing dirt and controlling dust
The sealing lip skims over the ground and forms a barrier. It prevents dirt stirred up by the brushes from escaping underneath the machine. It ensures that even the finest dust and sand are reliably carried into the collection container. At the same time, it minimises dust during sweeping, making the work much more pleasant.
Additional advice
Make it a habit to check the sealing lip whenever you inspect the brushes. Since both components are exposed to similar loads, their wear is often comparable. This allows you to identify damage early and replace the complete set immediately if necessary.
How do I check and replace my sweeper's sealing lip?
Checking the sealing lip is easy and takes just a few seconds. Look for clear signs of wear that prevent it from functioning properly. On most models, replacement is straightforward.
Visual inspection for cracks and brittleness
An intact sealing lip is flexible and rests evenly on the ground. When you check the sealing lip, look for the following defects:
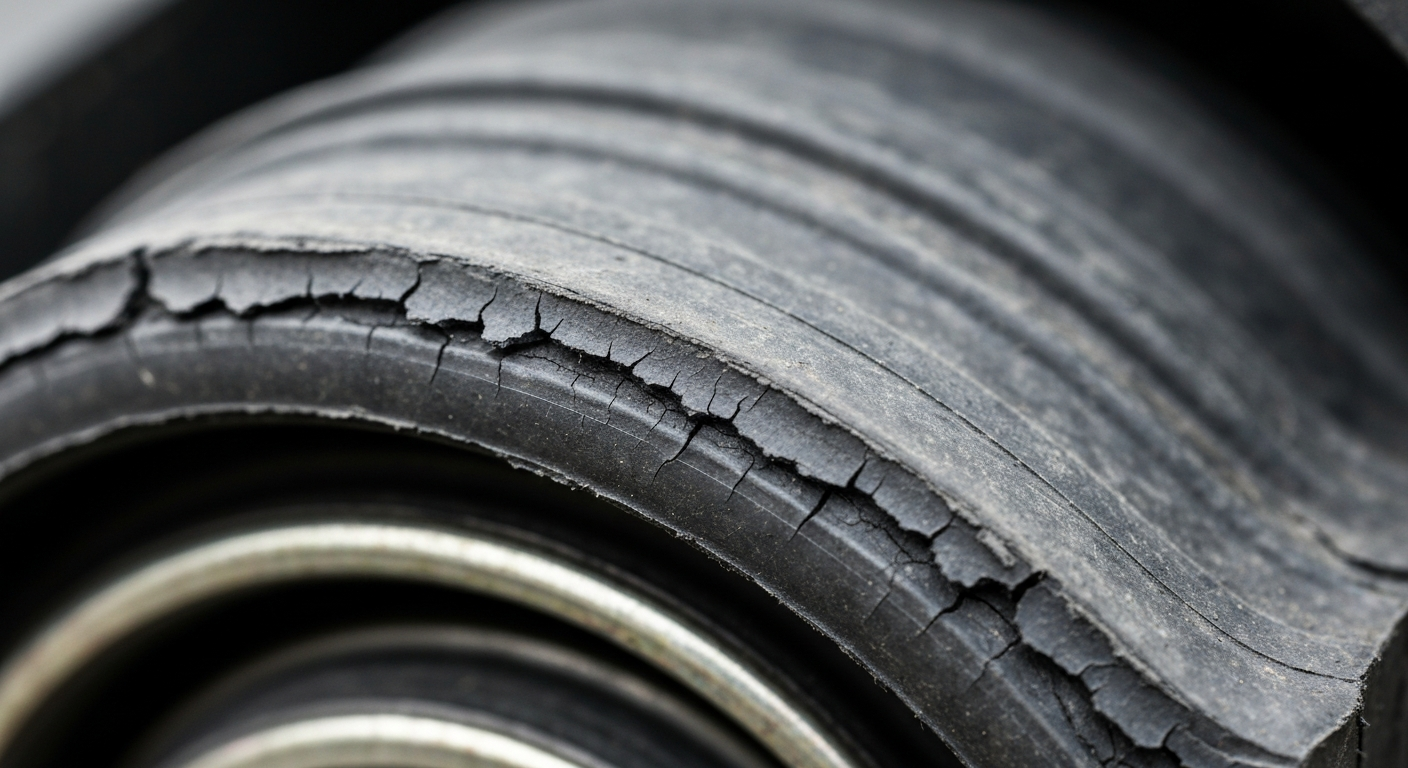
- Cracks and tears: Even the smallest cracks, particularly around the mount or the scraping edge, impair the seal.
- Brittleness: Material that has become hard and brittle due to UV radiation and ageing can break and no longer seals properly.
- Deformation: A wavy or bent sealing lip no longer closes flush with the ground. Dirt and dust can escape.
- Severe wear: If the lip is so worn that it no longer maintains continuous contact with the ground, it has lost its function.
The sealing lip is the foundation of low-dust cleaning. An intact lip creates the necessary negative pressure to keep fine dust inside the system instead of dispersing it into the surrounding air. This is not just a matter of cleanliness, but also of protecting your health.
Important note
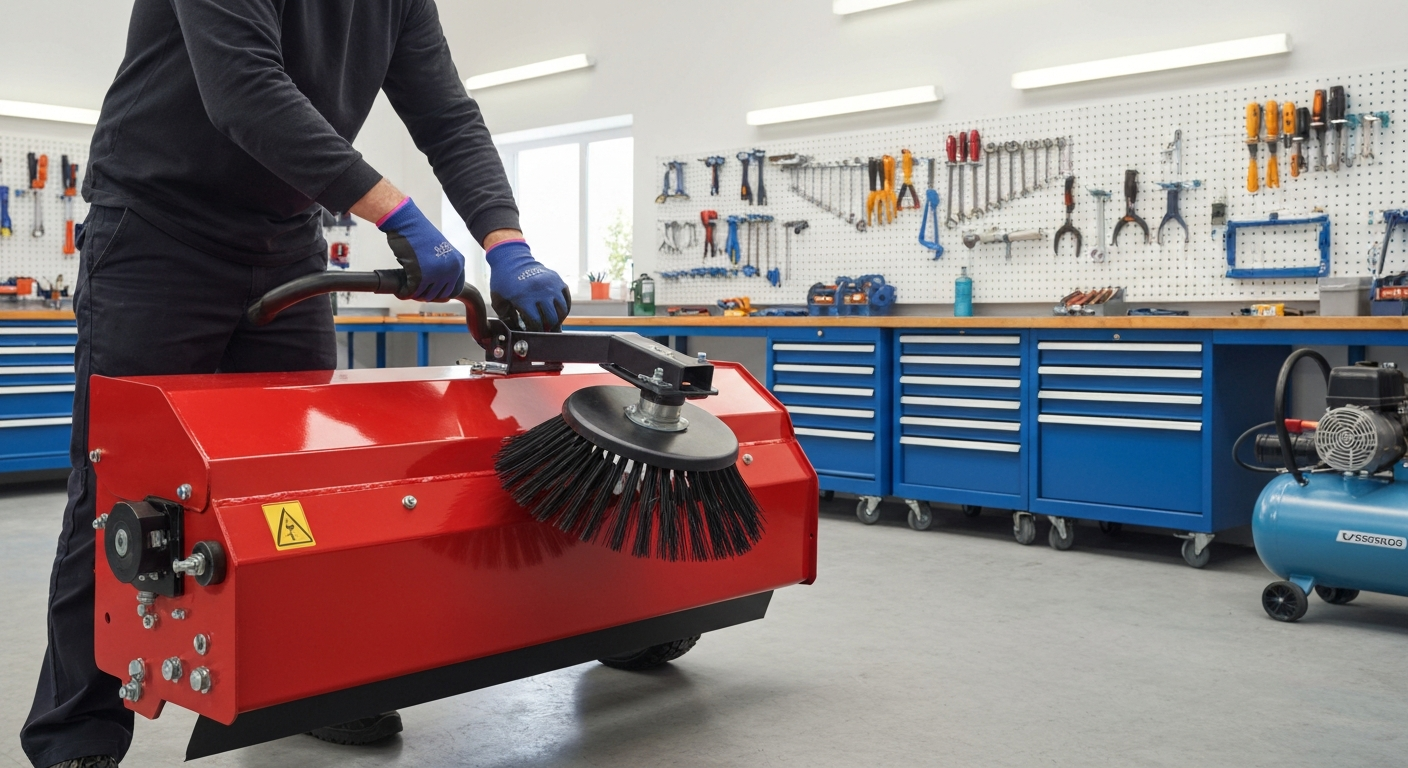
Before carrying out any maintenance work, make sure the sweeper is switched off and secured against accidental start-up. For petrol or battery-powered models, disconnect the spark plug connector or remove the battery. Always wear sturdy work gloves to protect yourself from injury.
Comprehensive sweeper maintenance: more than just replacing brushes
Good care goes beyond replacing the brushes and sealing lip. With just a few additional steps, you can keep your entire machine in top condition. These measures are standard practice for anyone who relies on dependable helpers in Garden + Outdoor or Business Supplies.
Regular maintenance checklist:
- After every use: Empty and clean the debris container. Remove coarse dirt, hair or cords wrapped around the brush axles. A simple : brush cleaner can be very useful here.
- Monthly: Check the wheels and castors for smooth operation and wear. Clean any stubborn dirt from the machine housing.
- Annually: Lubricate moving parts such as wheel bearings and joints according to the manufacturer's instructions. Check that all screws and connections are tight.
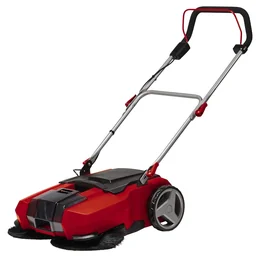
Also consider how you store the machine. Keep your sweeper in a dry, sheltered place to protect the material from the weather. If you are considering an upgrade: modern machines such as the : cordless sweeper TE-SW 18/610 often offer tool-free adjustment options that make maintenance even easier. For very large areas, there is also the powerful : replacement disc brush for item 978190 WKM 650 sweeper, showing how specialised accessories can be. Many powerful power tools can also help with maintaining and caring for equipment and properties.
Frequently Asked Questions
- How long do sweeper brushes last on average?
- Their lifespan depends heavily on how often they are used, the surface and the type of debris being swept. With occasional private use, they can last for several years. In commercial use on rough surfaces, they may need to be replaced after just a few months. Check their condition regularly.
- Can I replace just one worn brush?
- It is recommended that you always replace both disc brushes at the same time. A new brush and an old brush create uneven pressure and poor sweeping results. This is the only way to ensure that your machine works optimally and remains properly balanced.
- What happens if I sweep with a damaged sealing lip?
- A defective sealing lip significantly reduces sweeping performance. Dirt is no longer collected properly in the container and may instead be pushed underneath the machine. The machine also raises considerably more dust, making the work unpleasant and less effective.
- What tools do I need to replace the brushes and sealing lip?
- In most cases, you only need basic hand tools such as a screwdriver or wrench. Check the operating instructions for your sweeper. For safety, always wear work gloves to protect yourself from sharp edges.
- Does the surface affect brush wear?
- Yes, the surface has a major impact. Smooth concrete floors in a workshop put less strain on the bristles than rough asphalt or interlocking pavers with joints. Adjust your inspection intervals to the prevailing conditions so you do not miss the right time for replacement.