
In brief: Water damage occurs when moisture enters through leaks, flooding or condensation. You can recognize it by stains, musty odors, swollen wood or salt efflorescence on walls. Immediate drying with dehumidifiers and fans prevents secondary damage such as mold. For major damage, call a professional immediately.
Water Damage in Your Home: Causes, Signs and Drying
Water always finds a way. In your home, it can become a destructive guest. Water damage threatens not only the building structure but also your health through mold growth. Detecting it early and drying the affected area professionally are crucial.
We show you where moisture comes from, which warning signs you need to take seriously and which methods you can use to dry out your home. Act quickly to prevent long-term consequences.
What Are the Most Common Causes of Water Damage?
Moisture can enter in various ways. The cause largely determines what to do next and which parts of your insurance cover the damage. You can distinguish between damage from inside and outside.
Damage from Inside: Faulty Plumbing
The most common causes are inside your own walls. A burst hose on a washing machine or dishwasher can release large amounts of water in a very short time. Rusty or burst water pipes caused by frost are a hidden danger that is often discovered too late.
Leaking connections at faucets, traps or radiators continuously release moisture. These small leaks can cause significant damage over a period of months. Clogged drains, such as in the home drainage system, cause water to back up and overflow.
Important note
If water is leaking, switch off the power supply to the affected area immediately. Water and electricity are a life-threatening combination. Then turn off the main water valve to stop the water supply.
Damage from Outside: Nature and the Building
Heavy rain or flooding can force water through leaky basement windows, window wells or cracks in the foundation. Damaged roof tiles, clogged gutters or damaged waterproofing membranes on flat roofs allow rainwater to enter. The water often travels unnoticed inside the roof structure.
Rising damp from the soil travels upward through capillary masonry. This is a typical problem in older buildings without a modern damp-proof course. Gaps and cracks in the facade give rainwater direct access to the insulation and interior walls.
More than 80 percent of plumbing damage occurs at the flexible supply lines of household appliances. Regularly checking for cracks and breaks can prevent disasters.
Condensation and Improper Ventilation
This cause is often underestimated. Warm, humid indoor air condenses on cold wall surfaces, window reveals or behind cabinets. Persistently high humidity of over 60 percent in the bathroom, kitchen or bedroom encourages this.
Insufficient or improper ventilation, especially in modern, tightly built homes, prevents moisture from escaping. It condenses and penetrates plaster and wallpaper. The result is diffuse moisture damage that often affects a large area.
How Can I Detect Water Damage Early?
The faster you act, the less secondary damage will occur. Some signs are obvious, while others reveal themselves only through indirect clues. Stay alert.
Visible Warning Signs on Walls and Ceilings
Watermarks, dark spots or yellowish-brown discoloration on ceilings and walls are clear warning signs. The spots often spread in a circular pattern. Wallpaper begins to ripple, come away from the wall or form bubbles.
Salt efflorescence, white, powdery deposits on masonry or plaster, indicates rising or penetrating moisture. The plaster may swell and crumble. Wood paneling, baseboards or door frames can warp, swell or develop dark discoloration.
Expert tip
Check hidden corners. Move large pieces of furniture away from the wall regularly and inspect the backs. Moisture particularly likes to collect in poorly ventilated areas behind cabinets, sofas or curtains.
Odors and Changes in Indoor Air
A musty, moldy or earthy odor that does not disappear even after ventilation is a classic sign of hidden moisture and emerging mold growth. The indoor air feels permanently damp and cool, even when the heating is on.
An unexplained increase in heating costs can indicate damp walls. Damp masonry conducts heat more effectively and cools the house down faster. Your heating system has to work harder to maintain the desired temperature.
Practical Checks for Hidden Leaks
Check your water meter. Record the reading, avoid using any water for two hours and then take another reading. A change indicates a leak in the plumbing. Listen to water pipes with a screwdriver or stethoscope. A constant hissing or rushing sound may reveal a small leak.
Run your hand over floor coverings, especially along exterior walls and in corners. Unusually cold or slightly damp areas are suspicious. Look out for increased numbers of silverfish or woodlice. These animals love damp environments.
The critical phase begins after 48 hours. Standing water and humidity above 70% provide ideal conditions for mold growth. Drying must be started effectively before this point.
Which immediate steps are crucial after discovering water damage?
Every minute counts. A structured approach minimises damage and protects your insurance claim. Stay calm and proceed systematically.
First steps: Secure, stop, protect
As mentioned: switch off the electricity. Then identify and stop the source of the water. Turn off the main water supply, switch off faulty appliances or catch leaking water in buckets. Remove all portable items such as carpets, furniture, electronics and personal belongings from the danger zone.
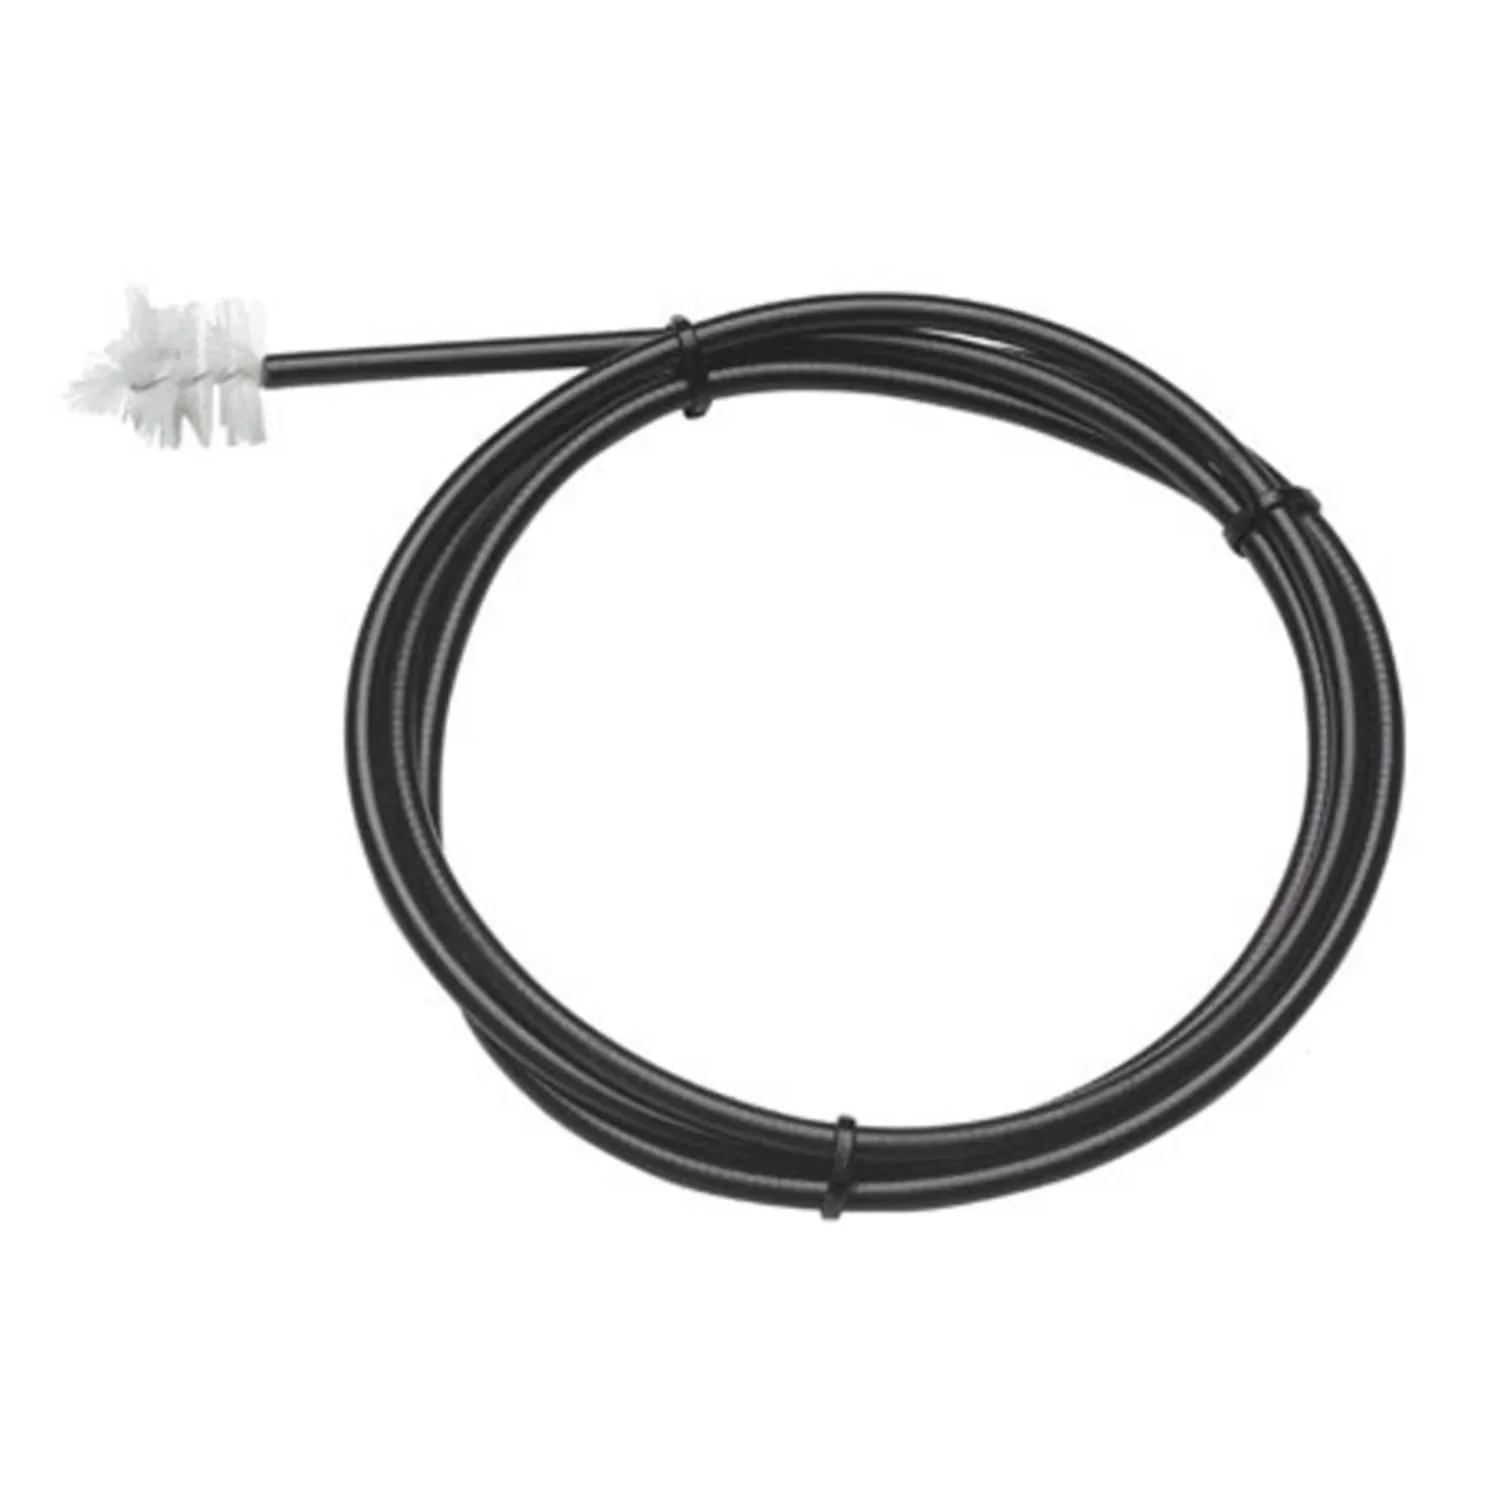
Store them in a dry place. Start removing the water manually straight away. Scoop up standing water with buckets. Use a wet and dry vacuum or a specialist liquid vacuum to remove residual water. For initial cleaning in hard-to-reach areas, a can be helpful.
Additional advice
Document the entire course of the damage meticulously for your insurance company. Take photos and videos from different angles before starting the recovery work. Also capture the cause on camera, such as the burst pipe or overflowing washing machine.
Preparing properly for drying
Remove all water-damaged materials that can no longer be salvaged, such as soaked plasterboard, swollen laminate flooring or loose plaster. This significantly speeds up the drying of the building components underneath.
Ensure clear access to all affected surfaces. Empty the room as much as possible. Maximise ventilation by opening all windows and doors, provided the outdoor air is drier than the indoor air. In rainy weather or when outdoor humidity is high, close the windows and use technical drying equipment.
Which methods will dry my house properly?
Drying involves more than airing out a room. It is about removing moisture from building materials in a targeted way. The right method depends on the extent of the damage and the materials affected.
Convection drying: Air movement and dehumidification
This standard method uses warm, dry air. Powerful fans, such as axial or radial blowers, circulate the room air and remove moisture from damp surfaces. They prevent moisture from accumulating and speed up evaporation.
Condensation or desiccant dehumidifiers actively remove moisture from the circulated air. The dehumidifier cools the air, causing the water to condense and drain away. The now dry, warmed air can absorb moisture again. This cycle reduces indoor humidity to below 40 percent.
Contact drying and specialist methods
With contact drying, heating plates or mats are placed directly on damp walls, screeds or ceilings. The heat penetrates the material and drives moisture towards the opposite, cooler surface, where it evaporates. This is ideal for solid building components such as concrete or screed.
The infrared method dries materials using radiant heat. Infrared heaters do not warm the air, but the damp building materials directly. Moisture evaporates from the inside out. This method is highly targeted and energy-efficient for localised damage. A robust tool such as the can be useful for cutting up waterlogged materials before disposal.

When do I need a professional building drying service?
Professional help is necessary for any damage that goes beyond localised, superficial moisture. This includes walls soaked from floor to ceiling, damp screeds and insulation materials in cavities. If mould is already visible, experts with the appropriate protective equipment must carry out the remediation.
Professionals have moisture meters, such as hygrometers and CM meters, which determine the exact moisture level at different depths within the material. They use combined drying methods, such as negative-pressure drying for cavities in roofs or floors. At the end, they issue a drying report documenting the success of the work, which is important for your insurance claim.
How can I prevent water damage in the long term?
Prevention is the best protection. Regular maintenance and careful handling of water sources in the home significantly reduce the risk.
Regular maintenance and inspection
Check all flexible hoses on your washing machine, dishwasher, toilet and heating system at least once a year. Replace them every 5 years, even if they still look intact. Have your roof and gutters inspected regularly, ideally in autumn, by a professional for damage and blockages.
Test that your sewer backwater valve is working properly. Check your basement for damp patches after heavy rainfall or snowmelt. Look out for cracks in plaster or masonry and have them professionally sealed promptly.
Smart technology and sensible behaviour
Install water detectors beneath washing machines, dishwashers and heating systems, as well as in high-risk areas such as the basement. These alert you to moisture on the floor acoustically or via smartphone notification. A smart system with a shut-off valve can even automatically stop the water supply when an alert is triggered.
Ventilate correctly: opening the windows wide for 5-10 minutes several times a day is more effective than leaving them tilted open continuously. This replaces the air without allowing walls and furniture to cool down. Heat all rooms evenly, including those that are rarely used, to prevent condensation on cold walls. Ensure good ventilation in damp rooms such as the bathroom and kitchen.
Water damage is a serious intrusion into your home. But with a clear understanding of the causes, a watchful eye for the warning signs and the consistent use of the right drying methods, you can protect your home's structure and your health. Always act quickly and systematically, and seek professional help if in doubt.
Frequently Asked Questions
- How can I identify hidden water damage?
- Look out for subtle signs: a persistent musty, earthy smell in a room, unusually high heating bills, faint dripping sounds in walls, or doors and windows that suddenly stick because the wood has swollen. Damp patches behind furniture or on hard-to-see sections of wall are a clear warning sign.
- What should I do immediately if I have water damage?
- First, make the electrics safe by switching off the fuses for the affected area. Stop the source of the water if possible by turning off the mains water supply or switching off the leaking appliance. Move items that could be damaged by water and start ventilating the area. Document the damage thoroughly for your insurer.
- Can I dry out water damage myself?
- You can treat small, surface-level areas of damage yourself using powerful fans and a high-performance dehumidifier. Professional structural drying is essential for soaked walls, screeds and ceilings, or if you suspect mould. Pressure and suction methods can also reach hidden cavities.
- Which insurance covers water damage?
- Buildings insurance covers damage to the house itself, such as burst pipes or rainwater entering the property. Contents insurance covers damaged furniture and household belongings. It is important to report the damage immediately with photos and have the insurer establish the exact cause.
- How long does drying take after water damage?
- The time required depends on the material, the amount of water and the drying method. Slightly damp plasterboard may be dry within 3-5 days. A soaked screed often takes 2-4 weeks to dry with professional structural drying. A moisture meter is the only way to confirm that it is completely dry.
You may also be interested in
- Damp Interior Walls: Identify the Causes and Repair the Damage
- How to Remove Mould from Your Home: Causes and Long-Term Removal
- Mould in Your Home? How to Identify, Treat and Prevent It
- Mould in the Bedroom: Causes, Treatment and Prevention
- Dehumidifiers: How to Reduce Humidity in Your Home
- Water in the Fridge? Find the Cause and Fix the Problem Yourself