
In a nutshell: An efficient workshop starts with clearly defined work zones, ergonomic work surfaces and well-planned tool storage. Set aside dedicated areas for woodworking, metalworking and assembly. Invest in sturdy workbenches, good lighting and a storage system that makes every tool easy to find. Staying organised saves time and helps keep your workspace safe.
Workshop Setup: Layout, Organisation & Tool Storage
A well-planned DIY workspace helps you tackle every project efficiently. Start with a layout that suits your tools, materials and workflow. Take stock of your equipment and the jobs you do most often.
The right layout saves time and cuts down on unnecessary trips across the room. Divide your workshop into work zones and keep walkways clear. Clutter slows you down and increases the risk of accidents.
How do I plan my workshop layout?
Sketch the room and mark fixed features such as doors, windows and power outlets. Set aside separate zones for noisy, dusty work and clean assembly tasks. Position the workbench centrally, with clear access from at least three sides.
Place fixed equipment such as a table saw or drill press where you can feed long workpieces through easily. Leave plenty of clear space in front. A tool cart keeps you mobile and your tools close at hand.
Pro tip
Make use of your walls from the start. Install sturdy shelving or pegboards before setting up the workbench. This helps you avoid working in cramped corners later.
What type of tool storage makes every item easy to find?
The best tool storage makes it easy to see what you have and spot anything that is missing. Perforated steel panels with hooks and storage trays work well for hand tools, giving each item its own place.
For jobs around the workshop, rolling tool carts with drawers are a practical choice. Group tools by purpose: keep screwdrivers together, pliers together and measuring tools together. Label drawers with words or pictograms.
Store heavy machines and specialist tools you rarely use in lockable cabinets or on sturdy shelves at eye level. Keep heavy boxes and equipment low down, with lighter items on higher shelves.
Keeping a workshop organised is a matter of having a system, not having more space. A good system helps you stay one step ahead and spend less time looking for things.
Practical storage for screws, wall plugs and other small parts
Small parts can quickly get lost in the clutter. Transparent storage boxes with adjustable compartments make them easy to sort and find. Organise them by diameter and type, rather than by leftover materials.
Label every box clearly. A simple label printer can make all the difference. Keep a small supply of frequently used items, such as 4x40 mm screws, right by the workbench.
Products such as the
13mm socket or the 1 inch socket are best kept in their original storage case or in organised workshop storage. This helps keep each set complete.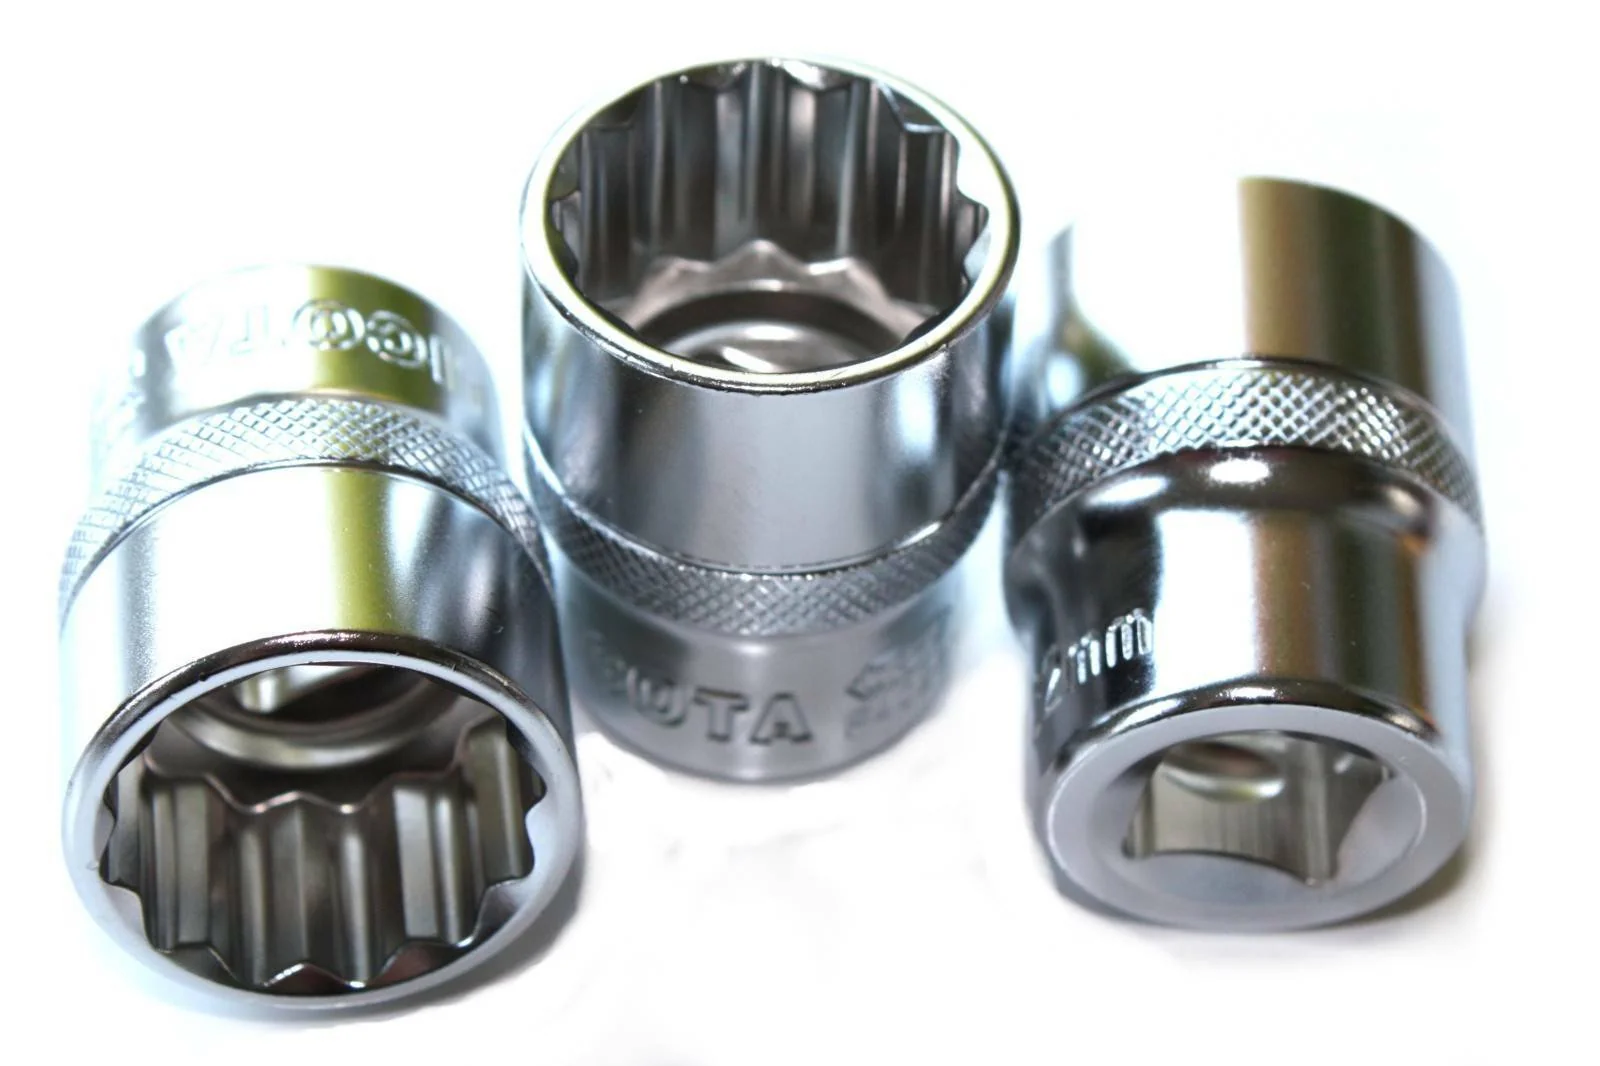

Why is the right workbench the heart of the workshop?
The workbench is the main work surface in your workshop, so it needs to be sturdy, stable and at the right height. A solid wood top at least 60 mm thick absorbs impacts and can be resurfaced after years of use.
Fit clamping equipment such as bar clamps or a vice directly to the bench. Add a back panel with power strips for your machines and a flexible work light. A shelf or cabinet beneath the worktop gives you space to store projects in progress.
Choose a workbench height that suits you: stand upright and bend your arms at right angles. The top of your fist indicates a comfortable working height. For precision work, you may prefer a higher bench.
Important
Stability is essential. A wobbly workbench can put your work and your safety at risk. Secure freestanding benches to the wall or add weight to the legs. Check the maximum load capacity of shelves and hooks.
Extra work surfaces and mobile workshop helpers
Alongside your main workbench, you need surfaces for materials and machines. Rolling side tables made from sturdy steel tubing give you flexible extra workspace and can be moved out of the way when needed.
A tool cart like our models with drawers and a sturdy top can double as a mobile workbench. Take all the tools for a project straight to the job, whether you are working on your car or in the garden.
Products such as the
1/2 inch sliding T-handle with ball detent will fit neatly in one of these carts' drawers, keeping everything organised and close at hand.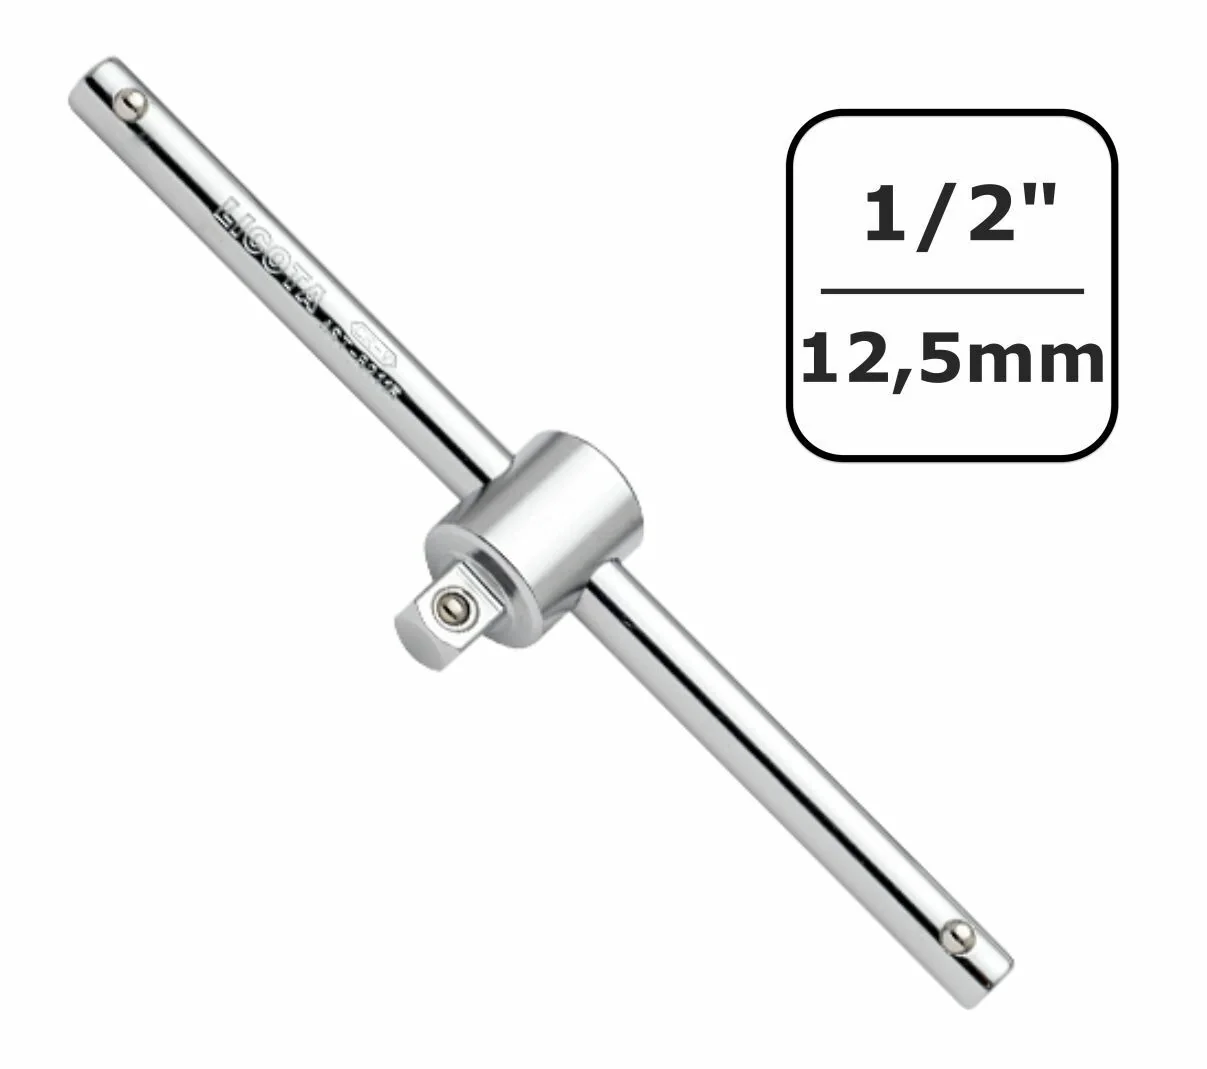
How do I create a safe working environment?
Safety starts with good organization and lighting. Clear walkways without trip hazards are essential. It is best to route machine cables along the wall or ceiling in cable management systems.
Install a main power switch within easy reach of the entrance. Fire extinguishers and first-aid kits must be easily accessible and serviced regularly. Always wear protective equipment when carrying out the relevant tasks.
Most accidents are not caused by the tool itself, but by distraction or improvisation. A designated place for every item eliminates the rush of searching and creates mental clarity.
Keep personal protective equipment (PPE) within easy reach
Store your PPE in a central, clean location. This could be a wall-mounted board with hooks for hearing protection, safety glasses and a respirator mask. Store gloves such as the
assembly gloves in their original packaging to protect them from dust.
Replace worn safety glasses and crushed earplugs immediately. Good PPE is only useful if it is comfortable and does not get in the way. Invest in quality.
Additional advice
Set up a “maintenance corner”. This is where you look after your tools: an oil cloth for metal surfaces, sandpaper for cutting edges and a calendar for recurring tasks such as retightening saw blades. Regular maintenance significantly extends the service life of your investments.
Power, lighting and dust collection: the hidden infrastructure
Plan for more outlets than you need today. Extension cords are only a temporary solution. Ideally, install fixed power rails under the ceiling or along the wall, with cables running from them to the machines.
Lighting should combine bright general lighting with focused task lighting. LED panels on the ceiling provide overall brightness. Magnetic LED strips or swiveling spotlights at the workbench illuminate the exact working area without shadows.
Dust and shavings do not belong in your lungs. A central dust collection system is ideal, but a powerful portable vacuum with a fine dust filter also helps. Connect it directly to the machine. Ventilate thoroughly after dusty work.
Power for cordless tools
Set up a charging station for your batteries. A shelf with permanently wired chargers prevents cable clutter. Label batteries with the purchase date so you can keep track of their service life. Always store spare batteries charged.
Also think about traditional power sources: A well-equipped workshop always has a set of high-quality socket wrenches such as the close at hand. They are indispensable for the Garden + Outdoor area or bicycle repairs.
Adapt the workshop to your projects
Your workshop is a living space. Your setup should be able to grow with you. Use modular shelving systems that you can extend or reconfigure. Pegboard panels can be moved or expanded later.
Keep an area free for future machines. Perhaps you will plan to add a band saw or bench sander at some point. Document your system: A photo of the organized wall or a simple floor plan will help you restore order quickly after a major project.
Find well-designed workshop supplies in our range. From practical tool carts to professional tool storage, we support you in creating the perfect DIY workspace.
Start with the essentials: a sturdy workbench, good lighting and a first organization system for your most-used tools. The rest will develop through practical experience. The perfect workshop is never finished; it is always improving.
Frequently asked questions
- What is the minimum size for a home workshop?
- A room of 10-15 square metres provides a good foundation. The area alone is not the only factor; efficient zoning is crucial. Plan for at least 1 metre of clear space around the workbench and take the swing radii of machines into account. Even a small workshop in a garage or basement can be efficient if you use vertical storage and multifunctional tools.
- What is the most important element of tool storage?
- A well-planned system that combines visibility with easy access. Use tool carts for mobile sets, wall panels with hooks for frequently used hand tools, and labeled drawers or boxes for specialty tools. The principle is simple: the more often you need a tool, the more visible and accessible it should be. SYSTEMS such as PRODUCT_53981 for socket sets belong in secure compartments.
- What is the best lighting for a workshop?
- Combine bright, low-shadow general lighting with flexible task lights. LED ceiling spotlights providing at least 500 Lux on the work surface are ideal. Additional magnetic or clamp-on LED lights at the workbench illuminate precise working areas. Choose a color temperature of 4000-5000 Kelvin (neutral white), as it renders colors naturally and causes less eye strain.
- How do I keep dust under control in the workshop?
- Control dust at the source. A dust collection system connected directly to a sander, saw or drill is more effective than sweeping up afterward. A portable air filter reduces fine dust in the air. Carry out material-intensive work such as sanding wood in a separate area. Always wear a particulate mask such as an FFP2 during dusty tasks. Regular cleaning prevents dust build-up.
- How do I organize screws, wall plugs and small parts?
- Use transparent, stackable storage boxes with dividers. Clearly label each box by size and type (e.g. 'wood screws 4x40 mm'). Sorting trays or towers with many small drawers are suitable for frequently used parts. Keep leftover packaging or note the product number on the box to make reordering easier. A SYSTEM such as a tool cart with accessories offers integrated solutions.
You might also be interested in
- Workshop test & comparison 2026: the best tools put to the practical test
- Smart tool storage: practical tips for a tidier workshop
- Build your own workbench: the complete guide for your DIY workshop
- Removing grease stains: effective home remedies for clothing & workshops
- Empty tool cart test & comparison 2026
- Tools & machines: the ultimate guide for your project