
In brief: Avoid the five most common mistakes when repairing UPVC windows: inadequate preparation, the wrong resin mixing ratio, applying the resin too hastily, insufficient curing time and neglecting the finishing work. A clean, roughened surface and strict adherence to the application instructions are essential for a long-lasting result.
A deep scratch in a white UPVC window frame, a hole left by an old curtain rod or a chipped corner. These kinds of damage are frustrating, but they are no reason to call an expensive professional. With the right materials and a little know-how, you can repair UPVC windows yourself. However, working with 2-part repair resin involves a few potential pitfalls. We show you the five most common mistakes and how to avoid them safely for a professional-quality result.
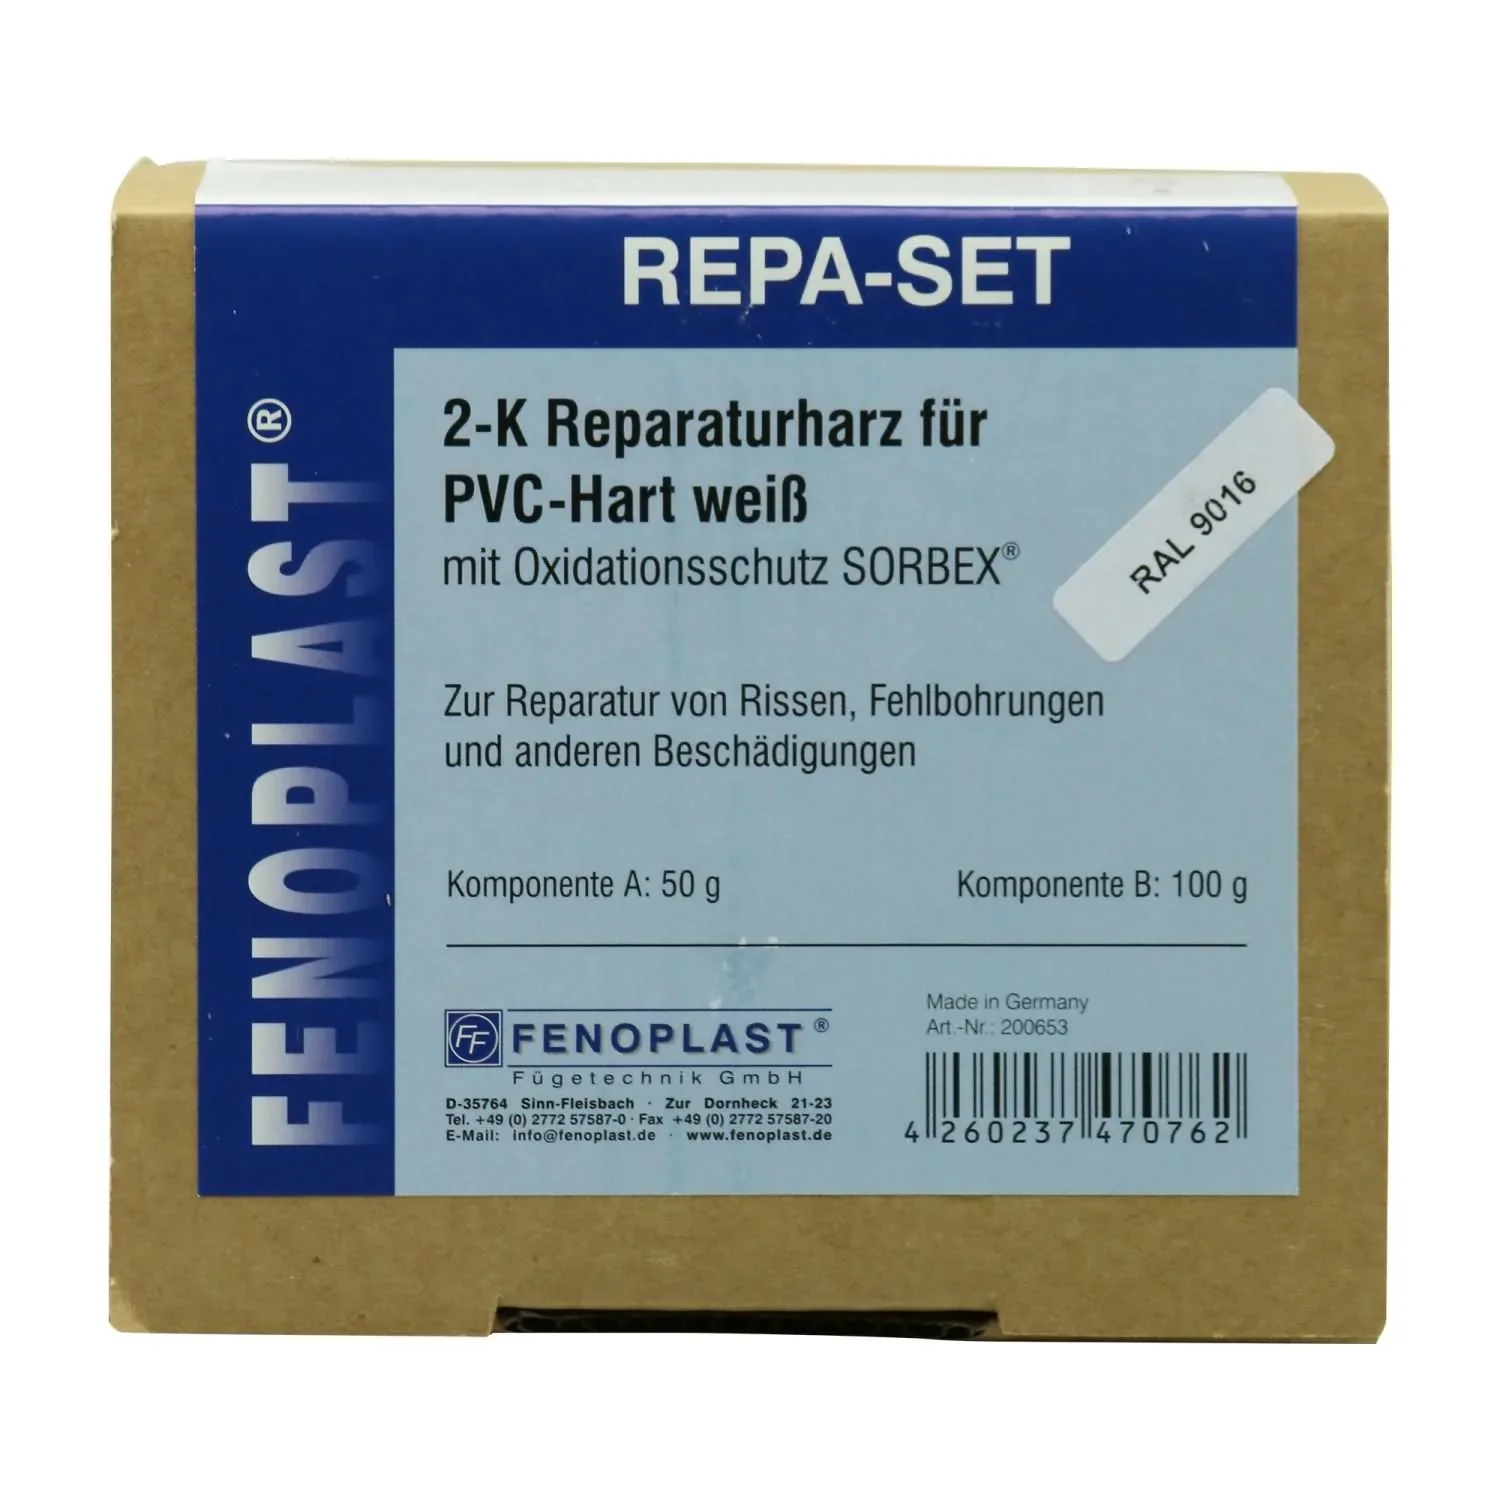
The basis for a successful repair is a high-quality product developed specifically for white rigid PVC profiles. The : FENOPLAST repair kit RAL 9016 contains everything you need for a durable, seamless repair: 2-part repair compound, hardener, spatula and even a special film for creating a smooth surface. The traffic white colour (RAL 9016) is a perfect match for most common UPVC windows.
Mistake 1: Why is proper preparation of the repair area so important?
The most common mistake happens before you even mix the repair resin. An inadequately prepared surface is a recipe for a failed repair. The resin cannot form a stable bond with the substrate, adheres poorly and may come away again later. Take enough time over this step.
Step 1: Clean and degrease thoroughly
Dust, dirt, grease or old care products act like a release agent. Repair compound will not adhere to a surface covered in this film. Clean the area around the damaged section generously. Use a suitable plastic cleaner or isopropanol. A standard household cleaner may itself leave residues.
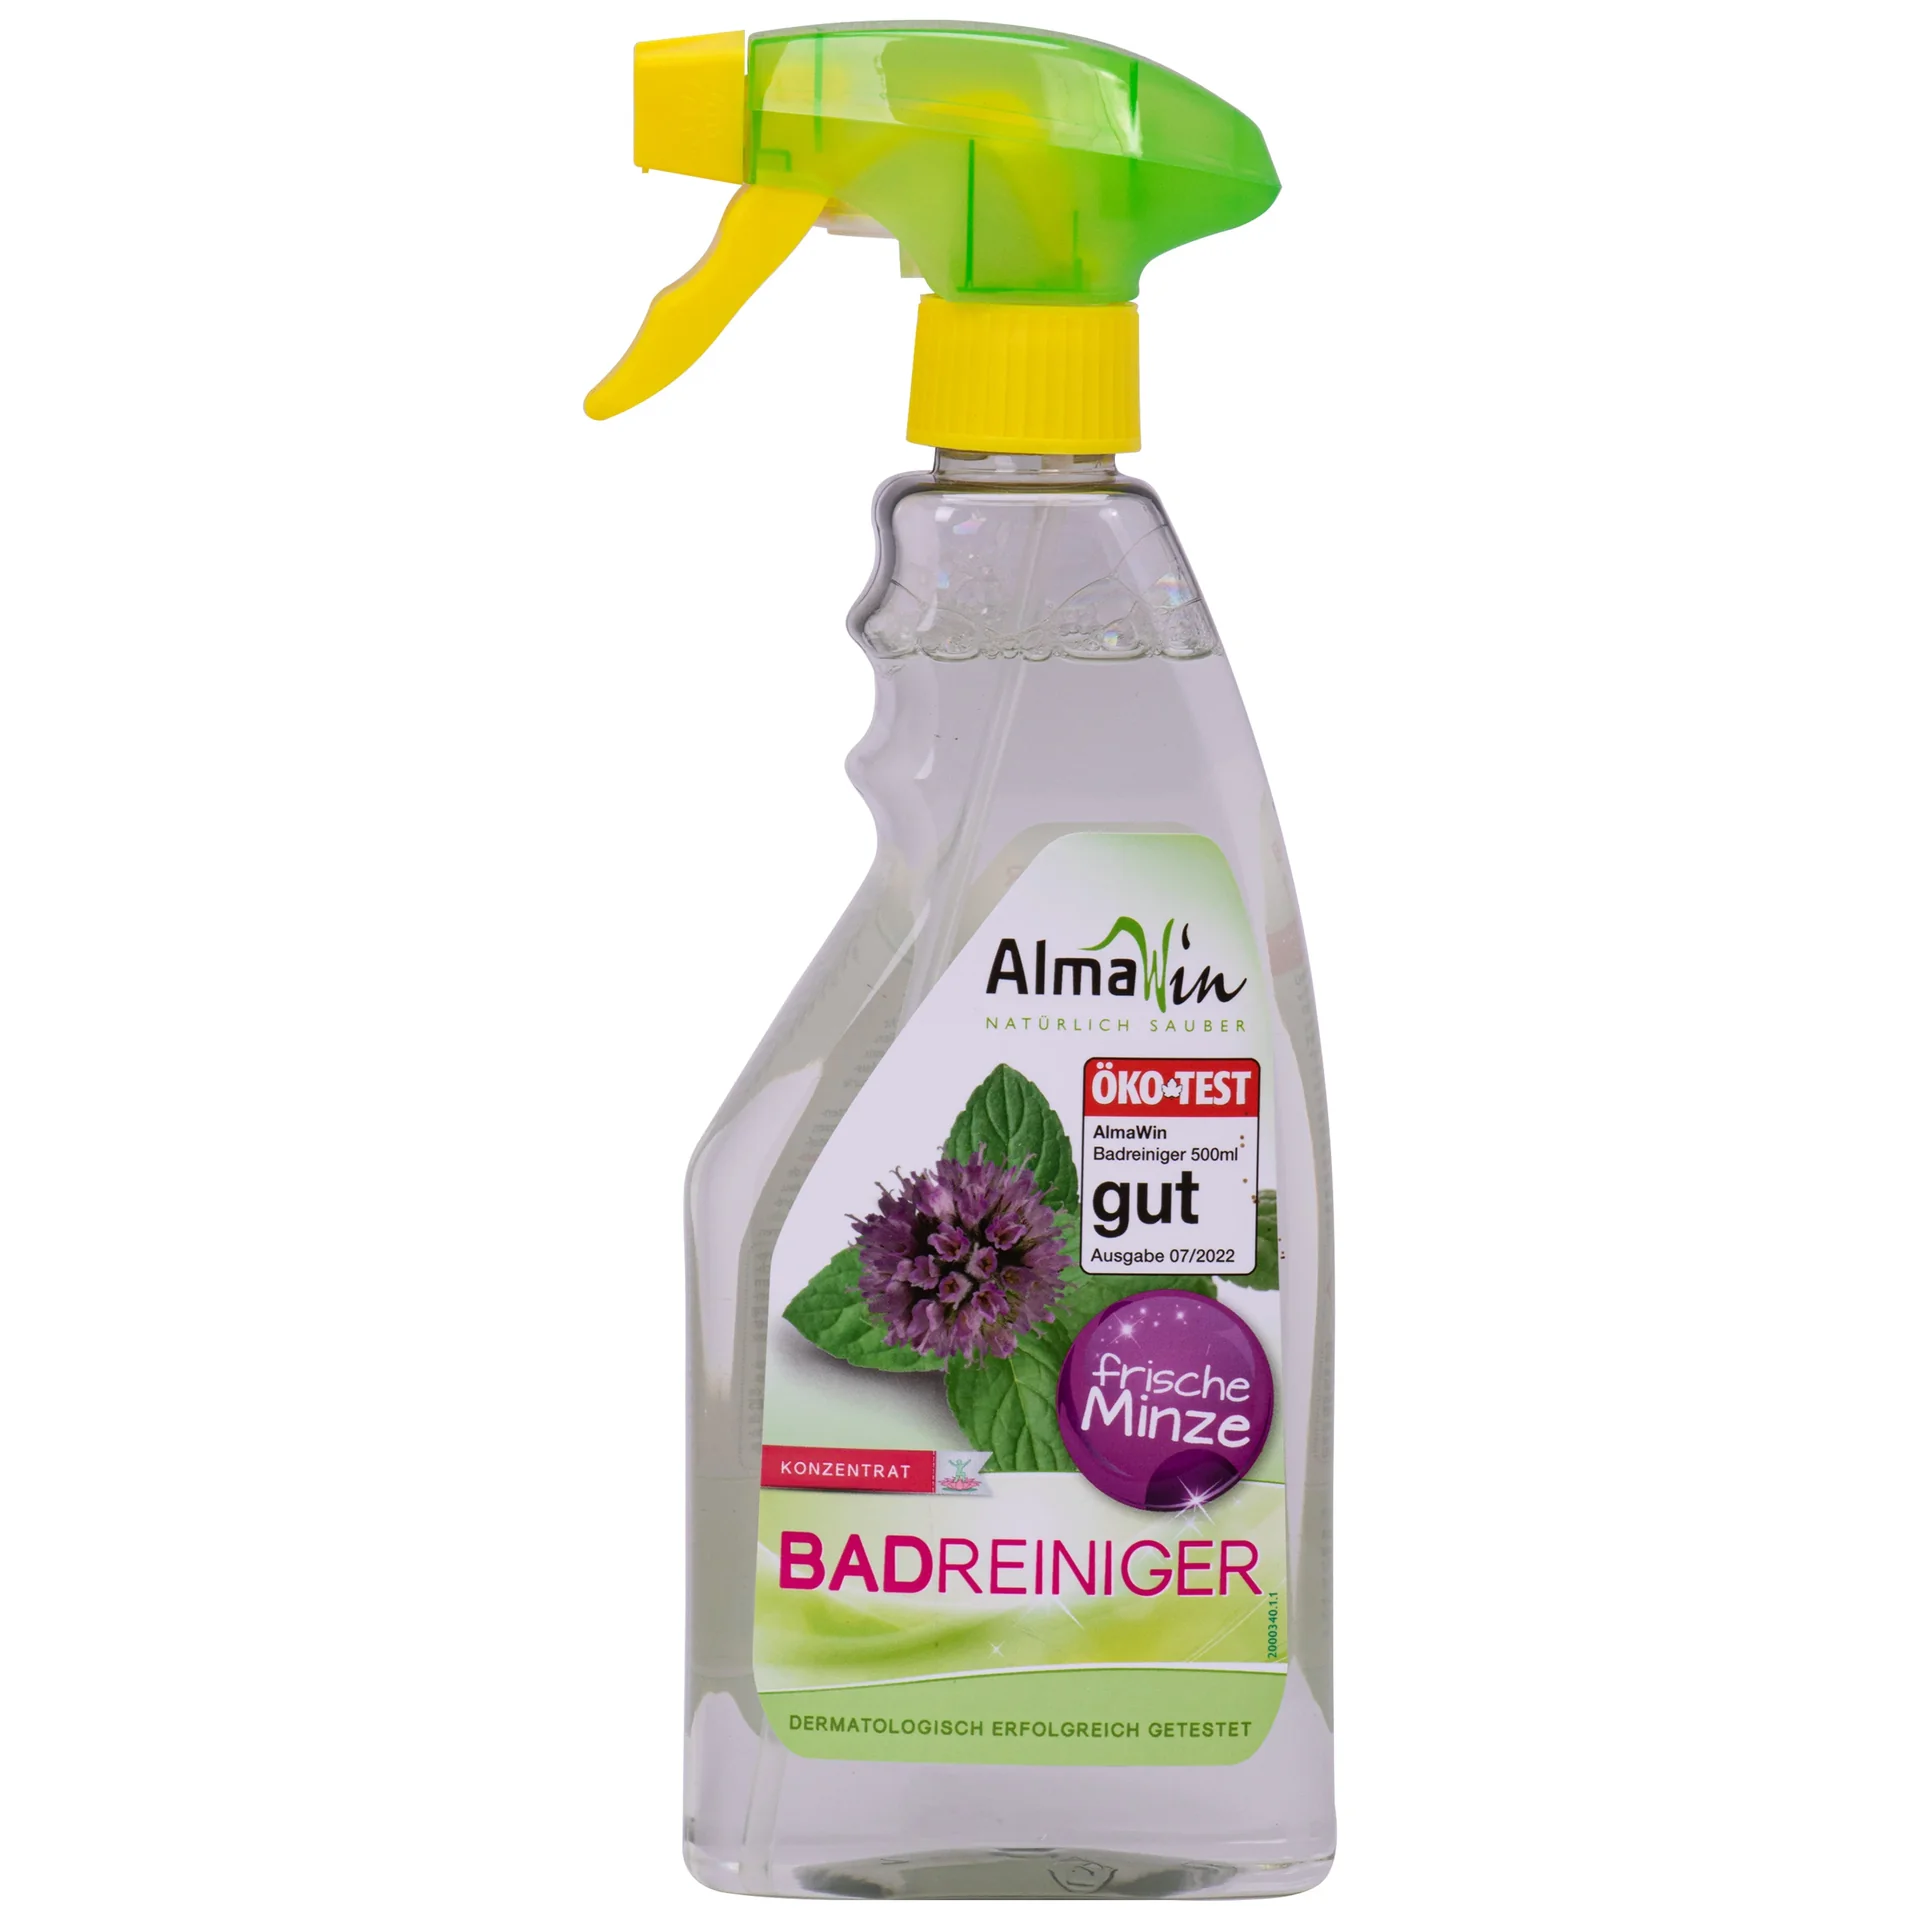
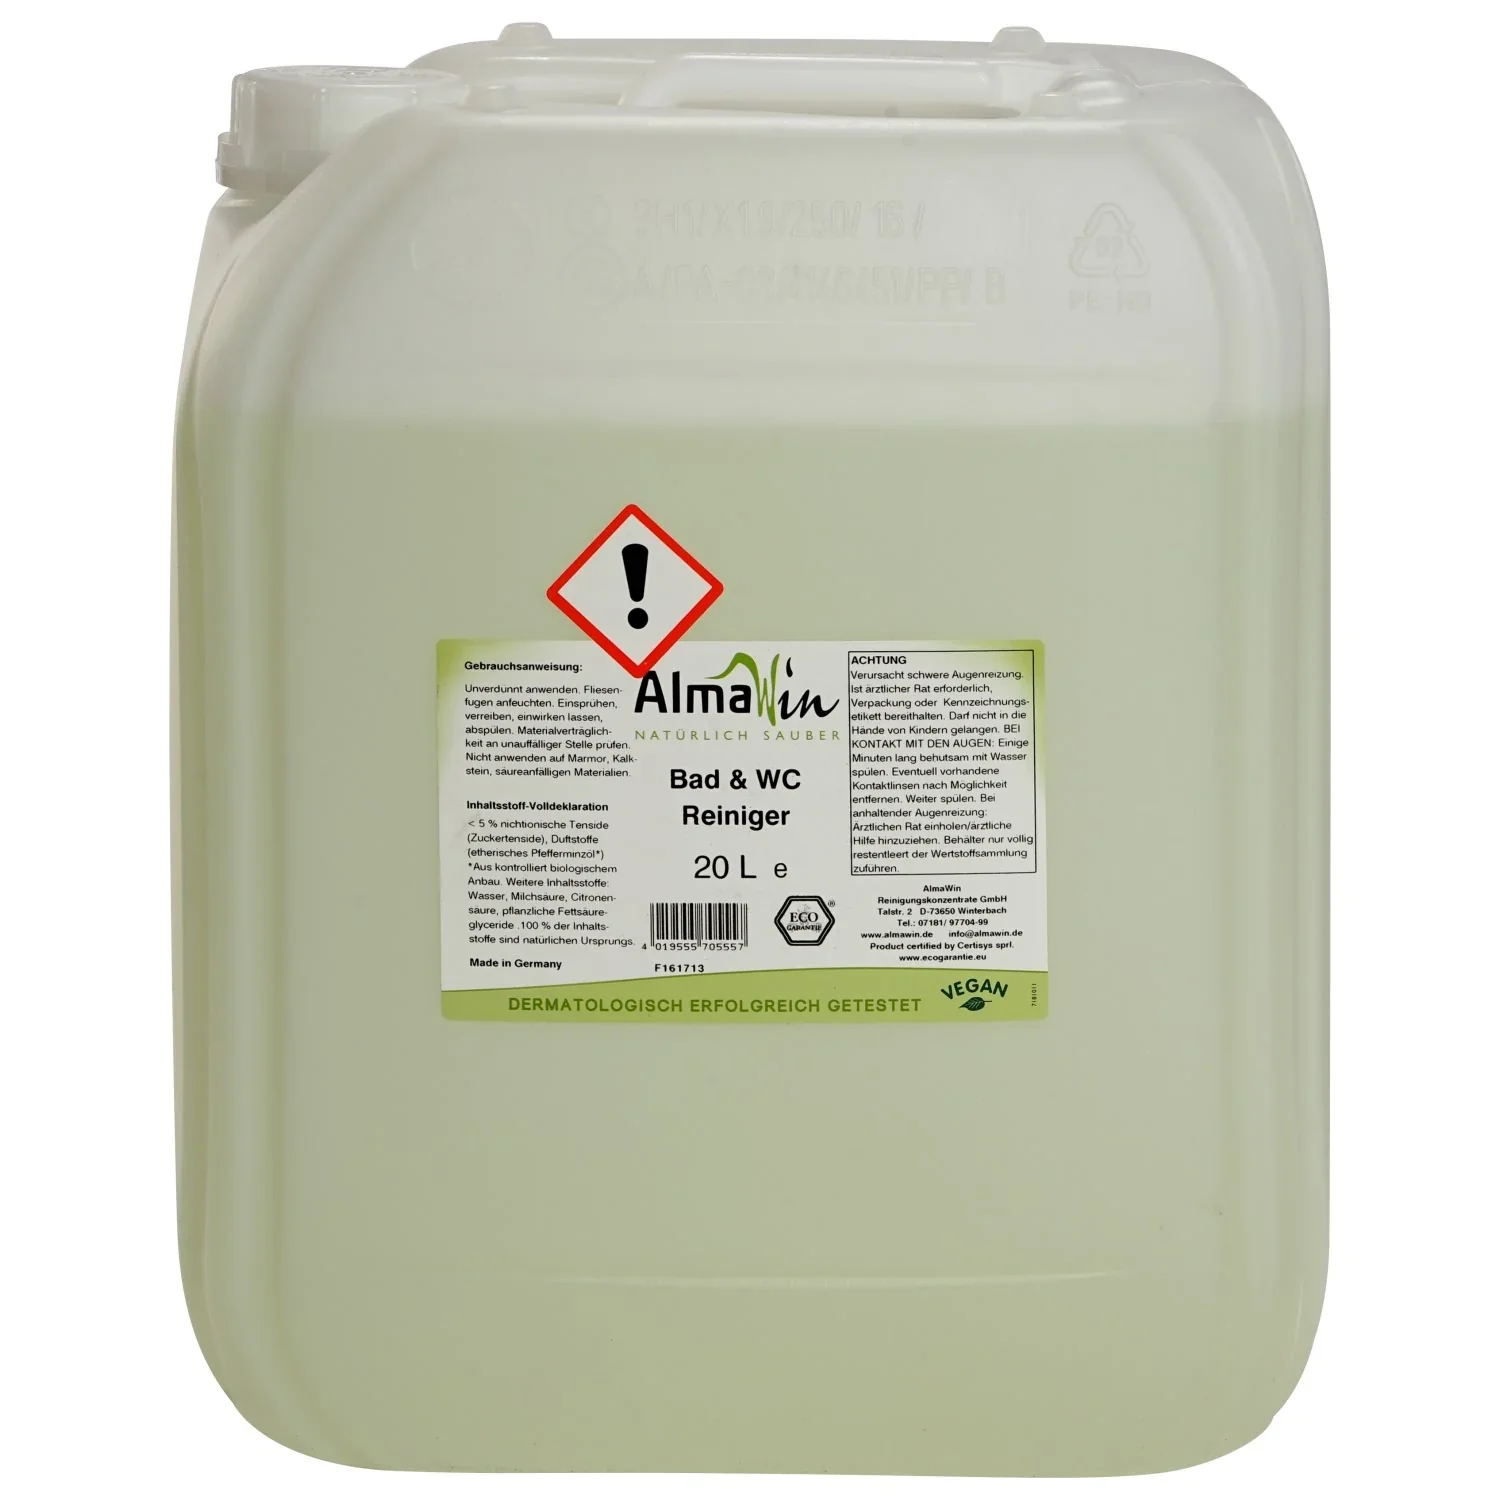
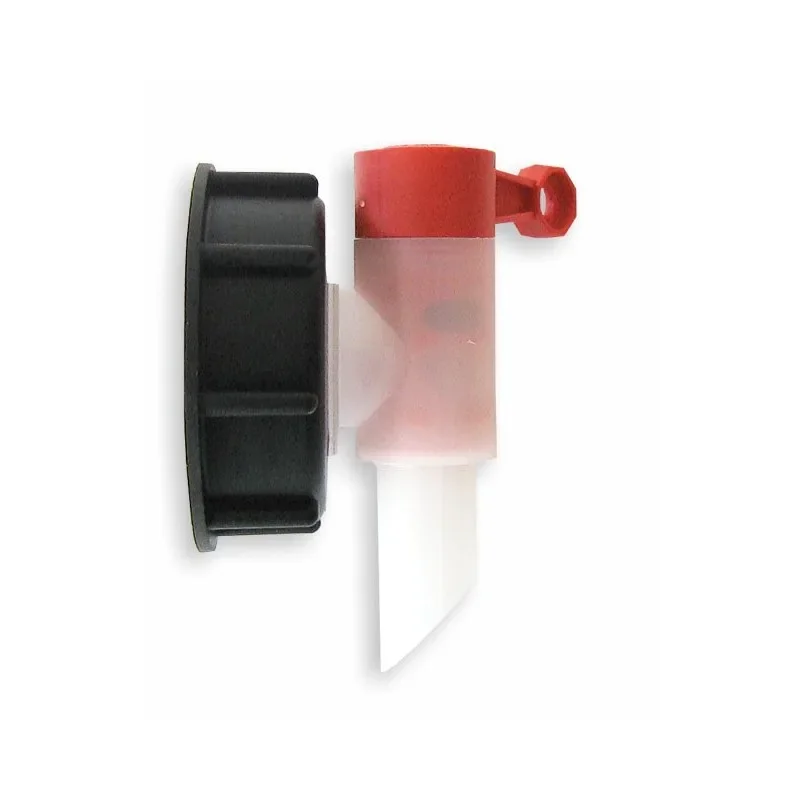
For basic cleaning of the frame before detailed work, the : ALMAWIN bathroom cleaner 500 ml is suitable, for example. Make sure to wipe the surface with clean water afterwards and allow it to dry completely before starting the next step. For workshops or larger projects, it is worth buying cleaning products in bulk, such as the ALMAWIN bathroom cleaner 20 litres (). Dispensing from the canister is easy with an ALMAWIN tap for dispensing ().
Step 2: Remove loose parts and bevel the edges
Examine the damaged area carefully. Use a sharp knife or chisel to remove all loose or splintered plastic parts. With cracks or deep scratches, it is a good idea to bevel the edges slightly into a V shape. This increases the bonding surface for the repair resin and creates a stable connection.
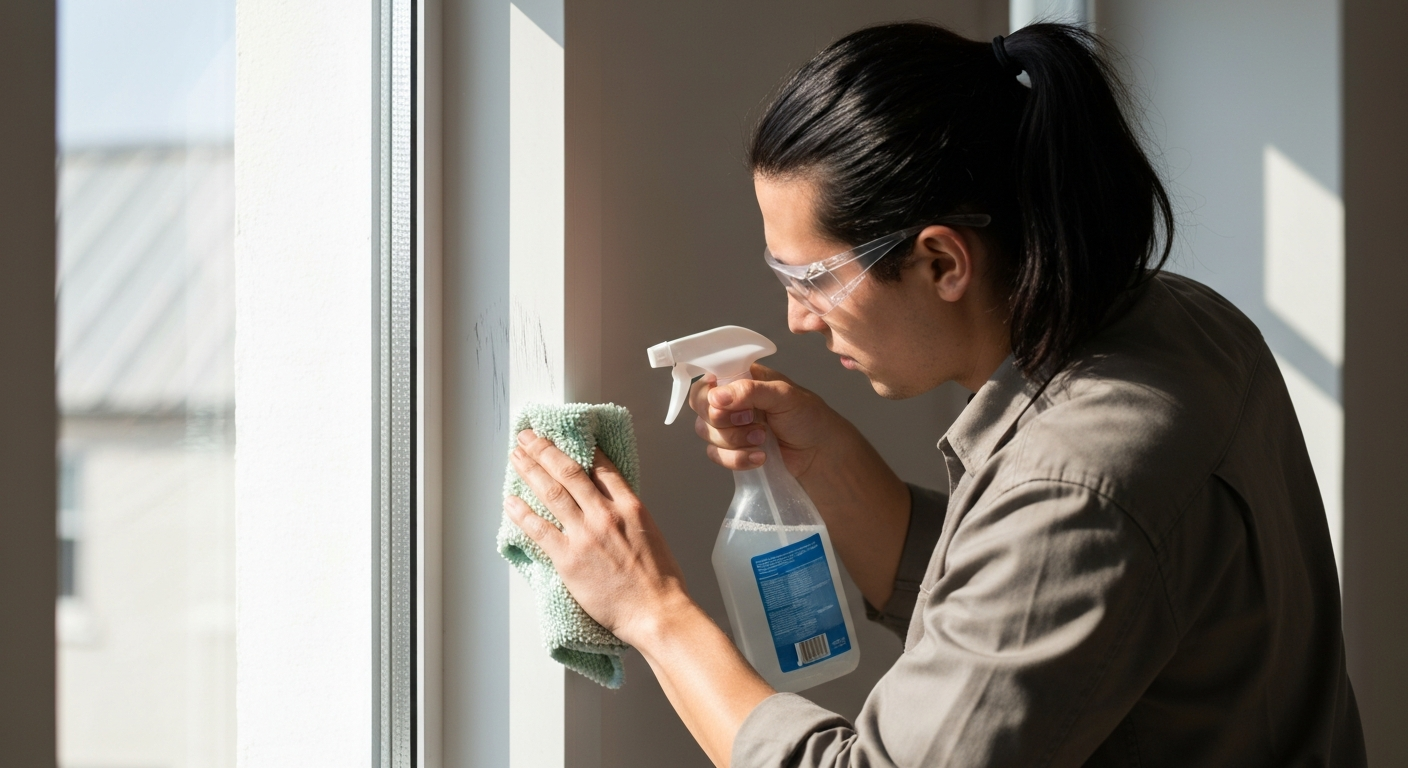
Step 3: Roughen the surface and remove dust
A mirror-smooth surface gives the resin little to grip. Roughen the damaged area and the immediate surrounding area with sandpaper (approx. 150 grit). The surface should be matt and free from any shine afterwards. Then remove the sanding dust carefully. A vacuum cleaner or a slightly damp, lint-free cloth works well here. Do not simply blow the dust away, as it will only spread around the surrounding area.
Important note
Always work in a well-ventilated area and wear safety goggles and gloves when handling 2-part materials and when sanding. The chemicals contained in resins and hardeners can cause skin irritation.
Mistake 2: How do you mix 2-part repair resin correctly?
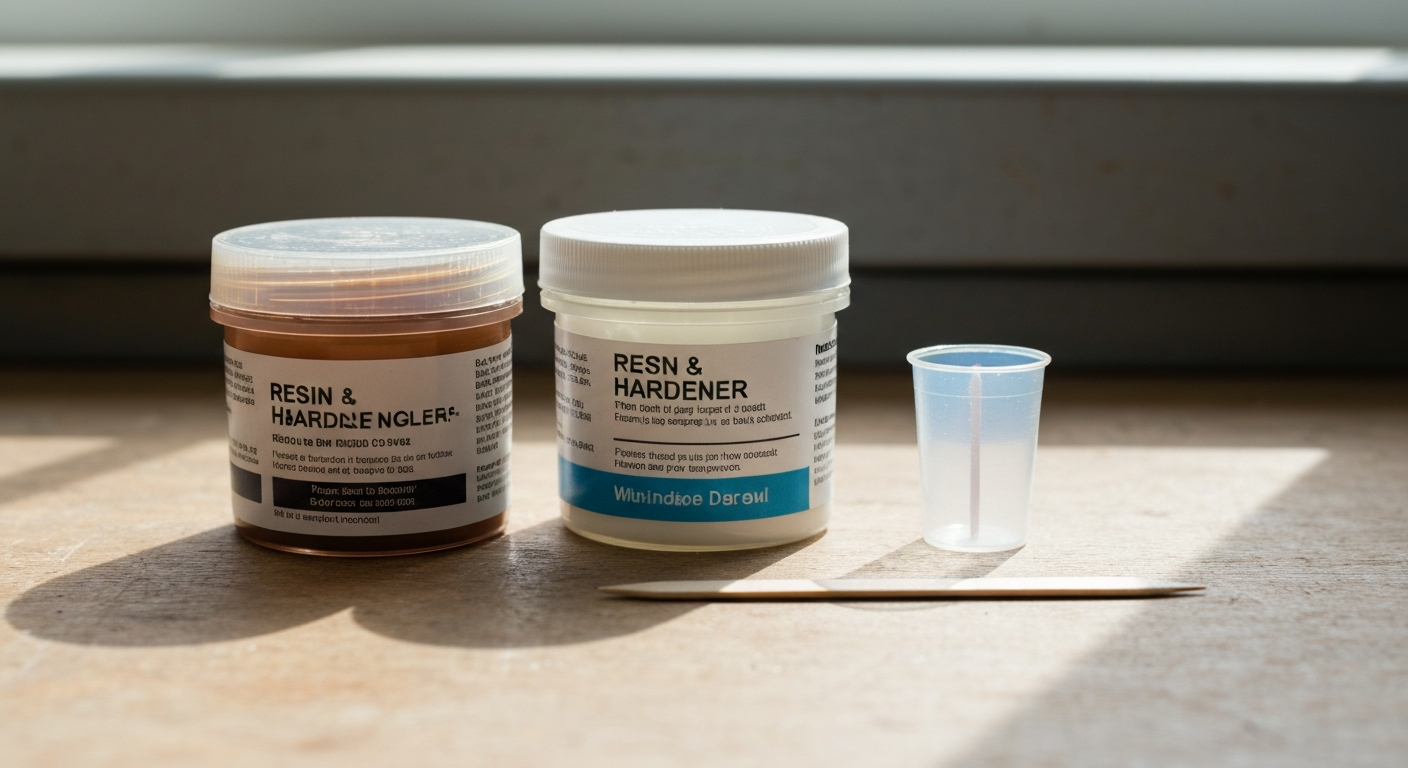
As the name suggests, two-part resin consists of two components: the actual resin and the hardener. Only when both are mixed in exactly the right ratio does the chemical reaction take place that cures the material and gives it its final strength. An incorrect mixing ratio is the second most common reason for a repair failing.
The consequences of mixing incorrectly
Too much hardener: The mixture cures extremely quickly, becoming brittle and prone to cracking. You often won't have enough time to work the material properly before it sets in the mixing container. The repaired area could easily crack open again under stress or temperature changes.
Too little hardener: The mixture either does not cure at all or only cures partially. Even after several days, it remains soft and sticky and cannot be sanded. Such a repair is unusable and must be laboriously removed.
Accurate measuring and thorough mixing
Read the instructions for your repair kit, such as the FENOPLAST kit, carefully. They specify the exact mixing ratio. Use the supplied measuring aids or a precision scale. Thoroughly mix the components on a clean, non-absorbent surface (e.g. a piece of cardboard or the lid of a tin). Scrape the sides and bottom of the mixing container several times to ensure that the resin and hardener are fully combined. The aim is a homogeneous mixture without streaks.
The precision of the mixing determines the quality of the entire repair. It is better to take an extra minute over this step than to spend hours correcting a mistake later.
Mistake 3: What do you need to bear in mind when applying the repair resin?
The resin is mixed and the clock is ticking. This is when the so-called pot life begins – the period during which the material remains workable. Hurrying is a poor strategy here. Anyone trying to fill deep damage in a single, thick application risks air pockets and incomplete curing.
Work in layers
Fill deep holes or cracks layer by layer. Apply a first thin layer and press the material firmly into the damaged area with the spatula to ensure good adhesion. Allow this layer to set briefly (for a few minutes) before applying the next one. This prevents air pockets and ensures even curing throughout.
Pro tip
Apply the final layer with a slight excess. The repair material shrinks slightly as it cures. The small excess ensures that, once cured, you have enough material to sand the area perfectly flush with the surrounding surface.
Keep an eye on the pot life
The pot life varies depending on the product and ambient temperature, but is often only a few minutes. Therefore, only mix as much material as you can safely use within this time. If you notice that the mixture is becoming thick and rubbery, the working time has elapsed. Do not try to force the material to continue working. It is better to mix a new, fresh batch.
Mistake 4: How long does the repair material really need to cure?
The repair compound has been applied and looks good. It is tempting to reach for the sandpaper quickly and finish the job. But impatience can have serious consequences here. The material may already feel firm on the surface, while the chemical reaction inside may not yet be complete.
Factors affecting curing time
The exact duration depends on several factors:
- Product type: Each resin has its own curing time specified by the manufacturer.
- Layer thickness: Thicker layers take longer to cure completely.
- Temperature: Higher temperatures speed up the reaction, while lower temperatures slow it down considerably. Do not use 2-part resin below 10°C.
- Humidity: High humidity can also affect the process.
If you sand too soon, you will smear the still-soft material, pull it out of the filler or ruin your sandpaper. Mechanical stress or even painting an area that has not yet cured can lead to dents, cracks and adhesion problems. Always follow the manufacturer's instructions; if in doubt, it is better to give the repair an extra 24 hours.
Patience is the most important ingredient for an invisible repair. The curing time is not a suggestion but a physical necessity.
Mistake 5: How do you achieve a perfect finish after the repair?
The compound is rock hard and the repair is secure. But visually, the result is still unsatisfactory. An uneven transition, a rough surface or a visible edge immediately reveals the repaired area. Finishing is the step that turns a good repair into a perfect one.
Achieving a smooth transition step by step
Do not begin sanding with paper that is too coarse, as this would only create new, deep scratches in the surrounding plastic. A hand sanding block helps keep the surface level.
- Initial sanding: Start with a medium grit (e.g. 240 grit) to carefully remove the excess material until the repaired area is flush with the surface.
- Fine sanding: Gradually work your way up to finer grits. Move from 400-grit through 800-grit to 1200-grit sandpaper. Clean the surface and check the result after each sanding stage.
- Polishing: To restore the original level of shine to the window frame, use a fine polishing compound for plastics. Polish the area and the surrounding transition until there is no visible difference.
For this detailed work, you need a selection of sanding and polishing products, which you can find in our workshop supplies category. If you need to work on larger areas, you will also find suitable sanding and polishing machines among our power tools.
Additional advice
The FENOPLAST repair kit is matched to the popular RAL 9016 colour (Traffic White). This gives an almost invisible result on most white uPVC windows. Check the colour of your window beforehand to avoid any discrepancies.
By avoiding these five common mistakes, nothing stands in the way of a successful and long-lasting uPVC window repair. With careful preparation, precision when mixing and patience during curing, you can achieve a result to be proud of. This keeps your windows not only functional but also looking their best for many more years in the Garden + Outdoor area of your home.
Frequently asked questions
- Can I really repair deep scratches in uPVC windows myself?
- Yes, with the right 2K repair resin, such as the Fenoplast set, even deeper scratches and small holes can be filled permanently. Properly preparing the damaged area and following the curing time precisely are essential before sanding and polishing the surface.
- Why isn't my repair resin curing properly?
- The most common causes are an incorrect mixing ratio of resin to hardener or an ambient temperature that is too low. Check the manufacturer's instructions carefully. Insufficient mixing of the two components can also result in soft, sticky areas that do not cure completely.
- What grit sandpaper do I need to sand the repaired area?
- Once the resin has cured, start with a medium grit (e.g. 240 grit) to remove the excess. Then gradually move to finer grits (400 grit, 800 grit, up to 1200 grit or finer) to achieve a smooth surface that blends seamlessly into the window frame.
- Do I need to repaint the entire window after the repair?
- No, when you use a colour-matched repair set such as FENOPLAST in RAL 9016 for traffic-white windows, painting is generally not necessary. After polishing, the repaired area is barely visible. Coloured windows may require a touch-up paint pen.
- How long is the pot life of 2K repair resin?
- The pot life, meaning the working time after mixing, is usually short and often ranges from 3 to 7 minutes. Therefore, only mix as much material as you can safely use within this time to prevent it from curing prematurely in the mixing cup.
You might also be interested in
- uPVC window damage: repair or replace?
- Repairing uPVC windows: instructions for the FENOPLAST set
- Caring for uPVC windows: extend their service life
- Buying uPVC windows: tips for making the right choice
- How to seal properly: 7 mistakes with clear sealant to avoid
- 3 mistakes when lubricating hardware: keep doors & windows operating smoothly