
In brief: Building a garden pond while preventing waterlogging requires a well-drained location, a clearly separated pond basin and effective garden drainage. Check the soil and groundwater, plan an overflow, direct rainwater away in a controlled manner and protect the edges against backflow. This keeps the pond watertight, the property dry and the water levels stable.
Building a garden pond while preventing waterlogging requires a well-drained location, a clearly separated pond basin and effective garden drainage. Check the soil and groundwater, plan an overflow, direct rainwater away in a controlled manner and protect the edges against backflow. This keeps the pond watertight, the property dry and the water levels stable.
A garden pond brings water, wildlife and structure to your garden. At the same time, it changes how water moves around your property. When building a garden pond, success depends on more than just the shape of the pond basin. Soil, slope, groundwater and a well-planned overflow are just as important.
The most common cause of soggy lawns is not the pond itself. Rainwater runs down from higher areas towards the pond, collects around the edge or pushes up from beneath the liner. This pond-building guide explains how to identify these water routes, build a stable pond basin and plan garden drainage from the outset.
How do you choose a location to prevent waterlogging from becoming a problem?
Do not choose the location based solely on the best view. First, observe the area during and after rainfall. Where do puddles form? Does water flow from the lawn, slope or patio towards the planned pond area? These observations show whether the location is already prone to waterlogging.
A good pond location is slightly elevated, or can be shaped using the excavated soil so that surface water flows around the outside of the pond. The edge should not sit in a natural hollow unless you deliberately design that hollow as a soakaway or marsh zone.
Check rainwater routes and slopes
Mark out the planned pond area with string or a garden hose. Then, during rainfall, stand at different points around the property. Look for water flowing in from paths, garage driveways, roofs or higher planting beds.
A simple levelling tool or a long straightedge with a spirit level is enough for an initial assessment. In particular, measure the height difference between the pond edge, house wall and neighbouring property. Even a few centimetres of slope can direct water in a particular direction during heavy rain.
- Keep at least several metres of distance from house foundations and basement window wells.
- Do not direct roof water straight into the pond if dirt, fertiliser or roofing metals could be washed in.
- Plan a raised edge on the side where water flows in.
- Make paths and patios slope away from the pond.
- On sloping ground, check whether water moving down the slope could push beneath the pond liner.
Build the pond edge above ground level
The pond edge should not be lower than the surrounding lawn. Depending on the terrain, set the outer edge zone around 10 to 15 centimetres above the adjacent ground level. This prevents rainwater from flowing uncontrollably into the pond basin.
Do not shape the edge as a sealed earth bank without an outlet. A bank can cause water to collect and force it elsewhere against the liner or a building. Instead, define a specific drainage side. This is where the overflow will be installed later.
For planning and practical implementation, you can find suitable helpers for marking out, edging and maintenance in the garden and outdoor range. The key is to plan the terrain before breaking ground.
Pro tip
Before starting the main excavation, dig a 30 to 40 centimetre-deep test hole in two locations. Fill it with water and check whether the water level drops noticeably within a few hours. If the water remains, plan a drainage system or choose another location.
“Shallow shore zones, varying water depths and a natural-looking edge make a garden pond accessible and ecologically valuable for many animals.”
What does a safe pond-building guide for wet soil look like?
On dry, sandy ground, you can usually build a lined pond basin without extensive drainage. Cohesive soils such as loam or clay, however, retain water for a long time. If the groundwater level is high, the basin can even float upwards from below if the pond is partly empty in spring.
Therefore, work in this order: check the soil, mark out the pond shape, secure water routes, excavate the area, stabilise the base and only then install the liner. An attractive shape is of little use if the foundation gives way after the first winter.
Test the soil and groundwater
A soil profile reveals more than the surface. Dig a test hole below the planned deepest pond zone. Grey, smeary layers, rust-coloured stains or permanently damp soil indicate waterlogging or a high water table.
Fill the test hole with water and mark the water level. If it drops only slowly, leave the hole open overnight and check it the next morning. If the water level rises again, groundwater is pushing up from below. On a slope, additional seepage water may flow in from the side.
- Sandy soil: Water usually drains away quickly, but the base still needs protection from sharp stones.
- Loamy soil: Water remains for longer, so a sand bed, protective fleece and, if necessary, drainage are particularly important.
- Clay soil: The excavation may appear stable, but clay expands and contracts as moisture levels change.
- High groundwater level: A permanently filled pond basin and reliable protection against buoyancy are required.
- Sloping ground: Water moving down the slope must be intercepted at the side and drained away in a controlled manner.
Build up the pond basin in layers
- Remove roots, stones and organic material from the entire pond hollow.
- Compact the load-bearing soil in thin layers. Loose soil beneath the liner will settle unevenly later.
- Fill uneven areas with fine sand. Do not place rubble or coarse gravel directly beneath the liner.
- Lay protective fleece with an overlap at the edges. A second layer of fleece may be useful where water is pressing up from below.
- Fit the liner with as few folds as possible and press it into every level. Sharp creases put strain on the material.
- Fill the pond gradually and check that the edge and liner settle evenly.
The same principle applies to a rigid pond shell. The pit must fit precisely, the base must provide adequate support and water must not collect between the shell and the soil at the sides. A shell standing on soft or wet ground can deform or be pushed upwards.
Important note
Never install drainage in a way that removes water from the pond. The drainage system must sit outside the watertight layer or beneath a specially planned protective layer, and should only remove groundwater pressing against the structure. The pond itself remains watertight thanks to the liner, shell or mineral seal.
For excavation, compaction and shaping the edge zone, you need robust garden tools. Before digging, also check whether there are any pipes or cables in the ground. This is especially important near the house, patio and garden lighting.
How do you plan garden drainage and pond overflow?
Effective garden drainage keeps three types of water separate: rainwater, groundwater under pressure and pond water. Each needs its own route. If you direct all incoming water into a single swale or straight into the pond, heavy rain can quickly cause water to back up.
Plan the drainage on a site plan of your garden. Mark the pond, house, slopes, downspouts, paths and planned overflow. Also show where water will go if the overflow reaches capacity. Keep this route clear, even as plants grow and leaves fall.
Drainage under and beside the pond
Where groundwater creates pressure, a perimeter drain outside the pond can help. Lay a perforated drain pipe in a gravel bed and protect it with filter fabric to keep soil from washing in. The water must then flow to a sump, a suitable dry well or an approved drain.
A drain without a slope or outlet simply collects water. Before installation, make sure you can safely direct the water away. In low-lying areas, you may need a pump chamber with backflow protection.
- Lay drain pipes with a consistent slope.
- Use filter fabric to keep soil from silting up the pipe and gravel.
- Install inspection or cleanout chambers along long pipe runs.
- Keep the drainage system separate from the pond liner.
- Plan for more water from hillside runoff than from normal rainfall.
How to position an infiltration basin
A planted infiltration basin temporarily collects rainwater and lets it soak slowly into the ground. Place it below the area where water flows from, but not right next to the house, pond liner or property line. The soil must be permeable enough to absorb the water.
Size the basin according to the area that drains into it. A small downspout needs less storage capacity than a paved courtyard. After a downpour, the water should soak away within a reasonable time. If the basin stays full for days, you may need a larger area, more permeable soil or another drainage route.
Build an overflow to prevent water from backing up
Position the overflow just below the desired maximum water level. Run it through a sturdy wall or connect it to a suitable overflow box. Protect the pipe from roots, leaves and animals without restricting its flow too much.
Direct the water to an infiltration basin, a planted wetland area or an approved rainwater connection. Protect the outlet from erosion. Gravel, larger stones or a reinforced outlet slab can help spread the flow.
“Rainwater infiltration requires suitable ground conditions, adequate separation from the groundwater table and sizing appropriate to the volume of water generated.”
When planning downspouts, rain barrels and inlets, browse the Garden Irrigation category for ideas. Use only materials suitable for permanent contact with water in the pond. Don’t direct heavily contaminated roof runoff or water containing roof-coating residue into the pond without checking it first.
Which planting zones and equipment keep the pond stable?
A stable pond needs different water depths. Shallow areas warm up quickly and give animals easy access. Deeper areas buffer temperature swings and help keep the entire pond stable in winter and during hot weather. Planting zones should also leave the overflow clear.
Set water depths and zones
- Shore zone: The transition from the garden to the water, ideally with a non-slip surface and no steep, slippery edge.
- Marsh zone: Around 0 to 20 centimetres of water for moisture-loving plants.
- Shallow-water zone: Around 20 to 40 centimetres deep for many aquatic plants and small animals.
- Deep-water zone: Around 80 to 100 centimetres, depending on pond size, so the water freezes less quickly.
- Filter or regeneration zone: A separate area with gravel and plants through which water flows slowly.
Avoid vertical walls if children or pets have access to the garden. A wide shallow-water zone makes it easier to get out and reduces the risk of animals slipping on a smooth pond liner.
Choose aquatic plants for the moisture level
Choose plants for their location, not just their appearance. Marsh marigolds, sedges and purple loosestrife are suited to damp marginal areas. Water lilies need enough depth and room for their leaves. Divide fast-growing species regularly so they do not block the water flow or overflow.
Use planting baskets for vigorous spreaders. A layer of gravel keeps soil in the basket and prevents nutrients from entering the pond unchecked. Excess fertilizer encourages algae growth and can reduce oxygen levels.
Use CO2 systems only in enclosed planting systems
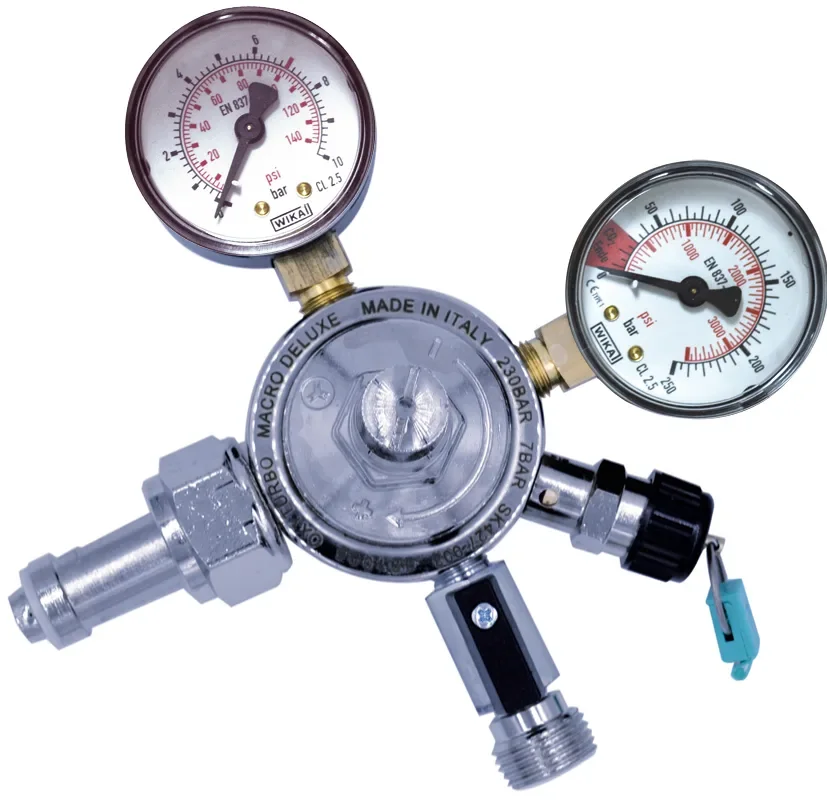
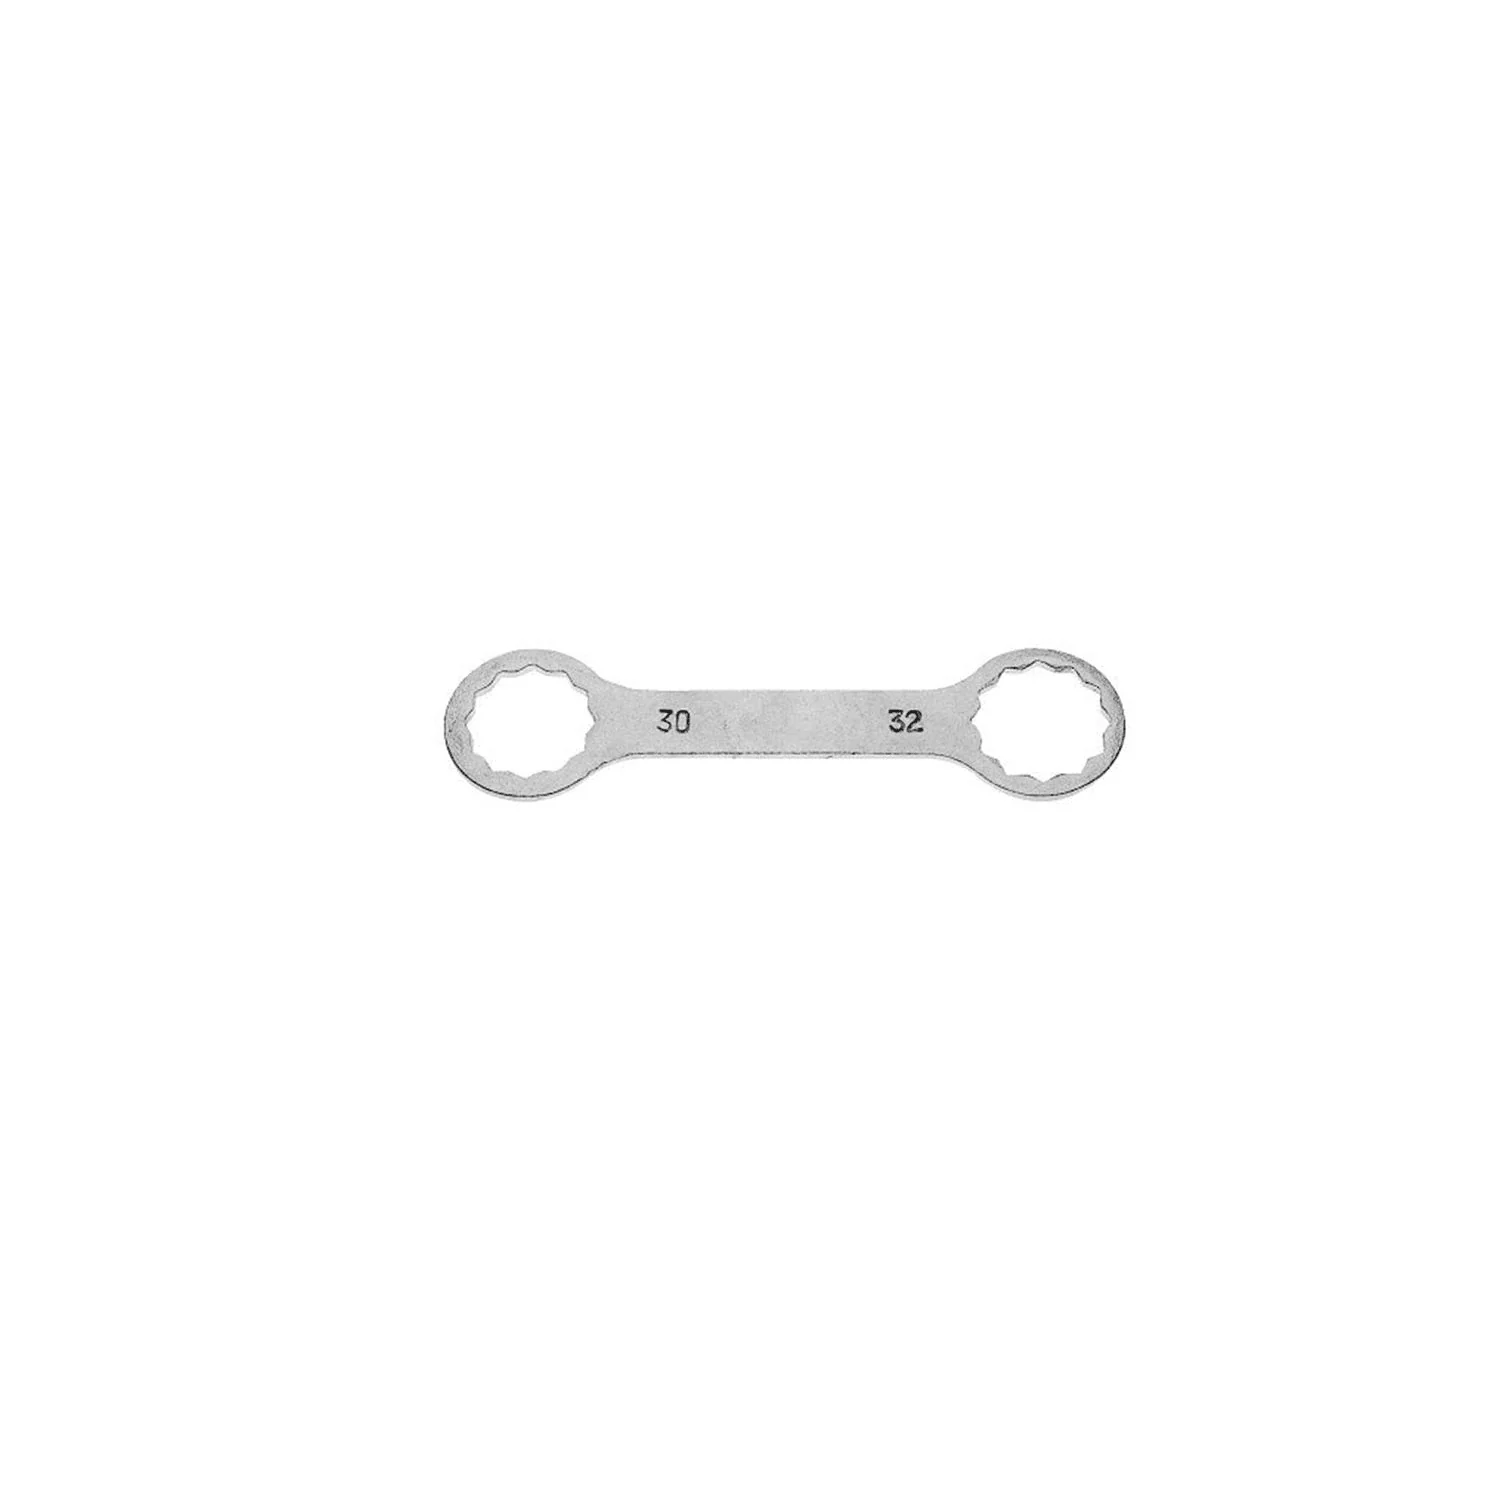
CO2 is rarely needed in a typical open garden pond. It may be useful in a separate plant aquarium or closed filter basin if you are growing demanding aquatic plants there. Do not install the system in the drainage system or leave it unprotected at the pond's edge.
For this specialized setup, you can plan for a
as a CO2 cylinder, a pressure regulator and a suitable CO2 wrench. Check the connections, pressure rating and dosage against the manufacturer's specifications. Never let CO2 flow unchecked into a pond with fish or amphibians.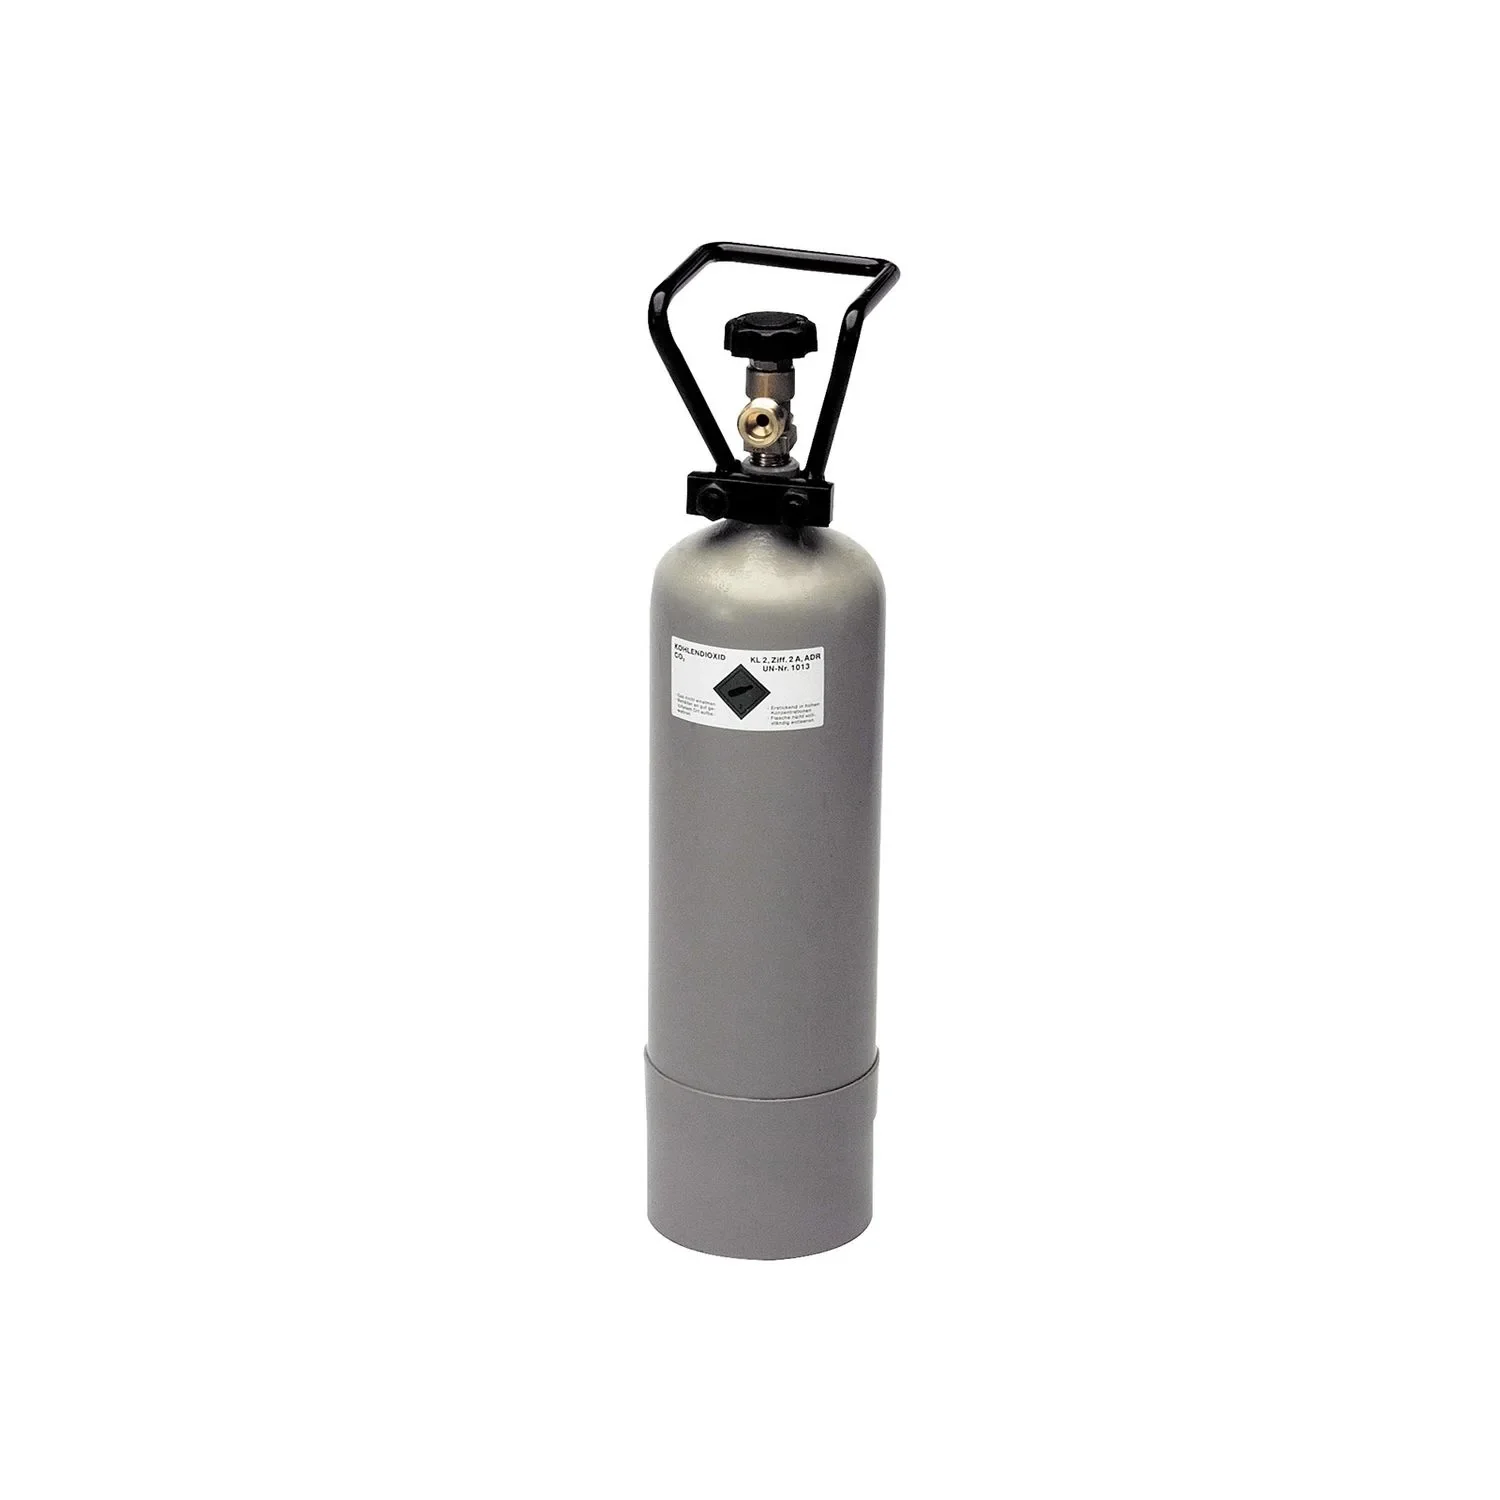
Secure the shore without trapping water
A stable shore needs a load-bearing edge and a controlled transition to the garden. Large stones can secure the pond liner, but they must not form a solid barrier that traps rainwater behind them. Leave a visible inspection strip between the edge reinforcement and the lawn.
For planting baskets, edging materials and other garden and plant accessories, it is worth choosing items that work well together. If needed, add products from the garden equipment category. This keeps the pond edge, paths and maintenance areas accessible.
More tips
Do not place the overflow behind densely growing perennials. Check the outlet at least twice a year and cut back plants as soon as they narrow the water path. A visible overflow is quicker to inspect and easier to clear in an emergency.
How do you maintain the pond to prevent waterlogging from returning?
Drainage only works over the long term if you keep the pond edge, overflow and surrounding areas clear. The ground is especially likely to settle during the first year. After heavy rain, check whether edging stones have sunk, the pond liner is exposed or water is escaping somewhere unexpected.
Check regularly during the first year
- Check the water level and overflow after every spell of heavy rain.
- Remove leaves, branches and sludge from the overflow box.
- Check for puddles around the outer edge of the pond.
- Fill sunken areas around the edge with suitable material.
- Check drainage shafts and pump sumps for sludge.
- Remove dead plant material before it puts too much strain on the pond.
If the water level drops slowly, first check for evaporation and inspect the overflow. A damp strip outside the pond, however, may indicate a leak, an overflowing edge or groundwater pressure. Mark the spot and keep an eye on it during dry weather.
Take action after heavy rain
Do not wait until water enters the house. Clear a blocked overflow, remove sludge from the outlet area and secure any soil that has washed away. If it will not put neighboring areas or paths at risk, temporarily divert extra water with a hose into a safe, planted hollow.
If waterlogging keeps coming back, a single repair usually will not solve the problem. Check whether the catchment area has grown, a drain is clogged with sludge or the soil has become compacted. The garden drainage system may need to be rerouted.
Avoid common mistakes when building a garden pond
- Pond in a low spot: Surface water runs into the basin unchecked.
- Pond liner without protective fleece: Stones and roots can damage the seal.
- Drainage without an outlet: Water remains under or beside the pond.
- Overflow without an outlet: Heavy rain washes away soil and can put foundations at risk.
- Overgrown plants: Roots and leaves block inspection points and water paths.
- Directing roof runoff into the pond without checking it: Dirt and nutrients reduce water quality.
A well-planned garden pond does not need complicated equipment, but it does need clear water paths. Check the soil, build a stable pond basin, direct excess water safely and keep the overflow visible. This helps prevent waterlogging and creates a pond that remains a natural part of the garden for years to come.
Frequently asked questions
- How deep should a garden pond be to prevent it from overflowing?
- Plan for a deepest area around 80 to 100 centimetres deep and set the pond edge at least 10 to 15 centimetres above the surrounding ground. However, the overflow—not depth alone—determines whether a pond overflows. Direct heavy rainwater in a controlled way to a dry well or safe drainage outlet.
- How can I tell if the soil is waterlogged?
- If puddles remain for more than 24 to 48 hours after normal rainfall, the soil is probably compacted or poorly drained. Try this simple test to see how well the soil drains: Dig a hole 30 centimetres deep, fill it with water and see how quickly it drains. If the water drains slowly, the soil is waterlogged.
- Does every garden pond need drainage?
- No. Drainage beneath the pond liner is mainly needed if the soil is heavy and wet, the groundwater level is high or water collects on a slope. On dry, well-drained ground, a compacted sand bed with protective fleece is often sufficient. Check the soil before digging, and plan a controlled overflow for heavy rain.
- Where should pond overflow water go?
- The overflow should lead to a planted dry well, a suitably sized infiltration crate system or an approved storm drain. Water must never flow onto neighboring properties, house foundations or public walkways. Check local requirements, especially for large ponds, sloped sites and connections to the sewer system.
- Which plants are suitable for wet pond edges?
- Suitable plants for damp areas along the pond edge include species suited to your location, such as marsh marigold, sedges, purple loosestrife and rushes. Don’t plant them in the overflow channel if they could restrict water flow. Proper drainage is still essential: Plants absorb water, but they can’t replace drainage, waterproofing or safe water discharge.
You may also be interested in
- Prevent waterlogged soil: Keep garden plants and potted plants healthy
- Create a garden pond: How to add a water feature to your landscape
- Build your own garden pond: A step-by-step guide
- Create a natural pond: Build your own wildlife pond step by step
- Pond construction comparison 2026: The best solutions for your garden pond
- Fix garden pond problems: Control algae and cloudy water