
In brief: You can build an interior wall yourself. Choose between a lightweight drywall system with metal framing and gypsum boards or solid masonry made from sand-lime brick or aerated concrete. To build a stable room divider, you need precise planning, the right materials and suitable tools. Drywall walls are faster to build, lighter and easy to remove. Solid walls offer better sound insulation and load-bearing capacity for shelves or wall cabinets.
Build a wall yourself: How to plan your project
Before you begin building an interior wall, start with careful planning. This stage determines whether the project succeeds. Mark out the exact position of the wall. Measure the ceiling height and length precisely, and note any irregularities such as uneven floors.
Choose the right construction method. A lightweight drywall wall is ideal for flexible room dividers. Solid masonry made from sand-lime brick offers better sound insulation and stability. Check the substrate. The floor must be able to support the load.
Buy all the materials at once. Nothing delays the work more than missing screws or an empty bag of mortar. Allow for about 10 percent extra material to account for waste.
Pro tip
Use a long straightedge and a pencil to mark the wall position on the floor and ceiling. Use a level or laser level to transfer the plumb line. This helps you work accurately from the very beginning.
Which material is suitable for a wall you build yourself?
The choice of material depends on your construction method. For drywall, you need a metal stud frame. This consists of U-tracks for the floor and ceiling and C-studs as vertical supports.
Gypsum boards are used for the sheathing. Standard boards are 12.5 mm thick. For wet rooms such as bathrooms, use moisture-resistant boards. Remember to get suitable drywall screws and joint compound for the seams.
For solid masonry, choose masonry blocks. Aerated concrete blocks are lightweight and easy to cut. Sand-lime bricks are heavier and have a higher density. You will also need masonry sand, cement for mortar and bricklaying trowels.
The following applies to both construction methods: transport the materials carefully. A three-sided platform trolley makes it easier to move heavy packages around the house.
Tool list for building a wall
Equip yourself with the right tools. For drywall, you need a metal saw or drywall snips for the profiles. A drill with a screwdriver bit is essential.
A utility knife cuts gypsum boards. A smoothing trowel and joint filler are used to apply the joint compound. A masonry trowel is essential for brickwork. A mason's line and a level ensure that everything is straight.
A hammer drill with a masonry bit secures the first track or first course of blocks to the concrete floor. A gypsum board lifter is very helpful when working alone.
The quality of the result depends on the precision of the stud frame. Take the time to align the floor and ceiling tracks exactly. Every millimeter of deviation compounds as you build upward.
How do you build a drywall wall step by step?
Building a drywall wall follows a clear system. Start with the U-tracks. Secure the floor track along your markings with anchors and screws. Repeat this process on the ceiling.
Now insert the C-studs as vertical supports. The standard center spacing is 62.5 cm. Cut the studs to the ceiling height minus about 1 cm. This clearance makes installation easier. Snap the studs into the floor and ceiling tracks.
Reinforce the frame with short cross profiles if the wall is higher than 2.50 meters. Next, install the sheathing. Start in a corner. Screw the first gypsum board to the stud frame. Set the screws slightly below the surface.
Important note
Never drive drywall screws too deep. The screw head must not tear the paper surface. It should sit just below the plane of the board. Screws set too deep will not hold.
Where boards meet, the joints must be staggered. Start the next row with half a board. After installing the first layer of boards, fill the joints and screw holes. Apply joint compound, embed reinforcing tape and smooth everything.
Electrical installation in a drywall wall
Plan for electrical outlets or light switches. Install conduits for the electrical cables before attaching the second layer of boards. Fit electrical boxes for hollow walls into the gypsum boards.
Run the cables safely through the cavity. Make sure you do not damage any cables. For later installation of shelves or brackets, you can find suitable fastening solutions in the range of distribution boxes and wall brackets.
After the second layer of boards has been installed and the joints filled, the wall is ready to be primed and wallpapered or painted. The advantage: drywall walls can bear loads immediately.
How do you build solid masonry?
Building masonry starts with preparing the foundation. The floor must be clean, solid and load-bearing. Check the structural integrity of timber-beam ceilings. Mix the masonry mortar according to the package instructions.
Start in a corner. Apply a mortar bed about 1 cm thick. Set the first block in place and tap it firmly with the back of the trowel. Check the horizontal and vertical alignment with a level.
Stretch a mason's line between two corner blocks. This line guides the entire first bed joint. Lay the blocks one by one. Remove excess mortar with the trowel and return it to the mortar pan.
When laying lightweight concrete blocks, briefly dampen them first. This prevents the dry block from drawing water out of the mortar too quickly. The bond remains optimal.
Make sure the blocks are laid in a regular bond. Stagger the vertical joints from one course to the next by at least one quarter of the block length. For stable corners, always build up a few blocks first before filling in the wall between them.
For openings such as doors, install a lintel. It supports the load of the blocks above it. Build to the desired height. The final course is often adjusted using cut blocks.
Additional advice
For the final centimeter beneath the ceiling, do not use mortar. Instead, use an elastic sealant or expanding foam. This prevents sound from later traveling through the solid masonry when the building moves slightly.
What should you consider for connections and wall finishing?
Connecting to existing walls is critical. For drywall construction, use an elastic joint sealing tape between the new stud frame and the old wall. This prevents cracks from forming.
For masonry, anchor a reinforcing mesh or wall ties into the existing wall and build them into the new masonry. This creates a stable connection. Don’t forget sound insulation. Fill the cavities of the drywall wall with mineral wool.
Once the wall is built, it needs finishing. Prime the plasterboard wall with deep-penetrating primer. Masonry often requires a layer of render. Use ready-mixed render that only needs to be mixed with water.
For design inspiration, visit our wall design section. Once the render or filler has dried, paint or wallpaper the new wall. It is now finished.
Practical helpers for DIYers
Building a wall requires a lot of materials. Organise transport with a sturdy trolley. A trolley with an end wall makes it easier to move long profiles and panels.
For garden or outdoor projects, where water pipes may also be involved, the right connectors are important. A
(16mm hose connector) or a (3/4 inch coupling) are essential here.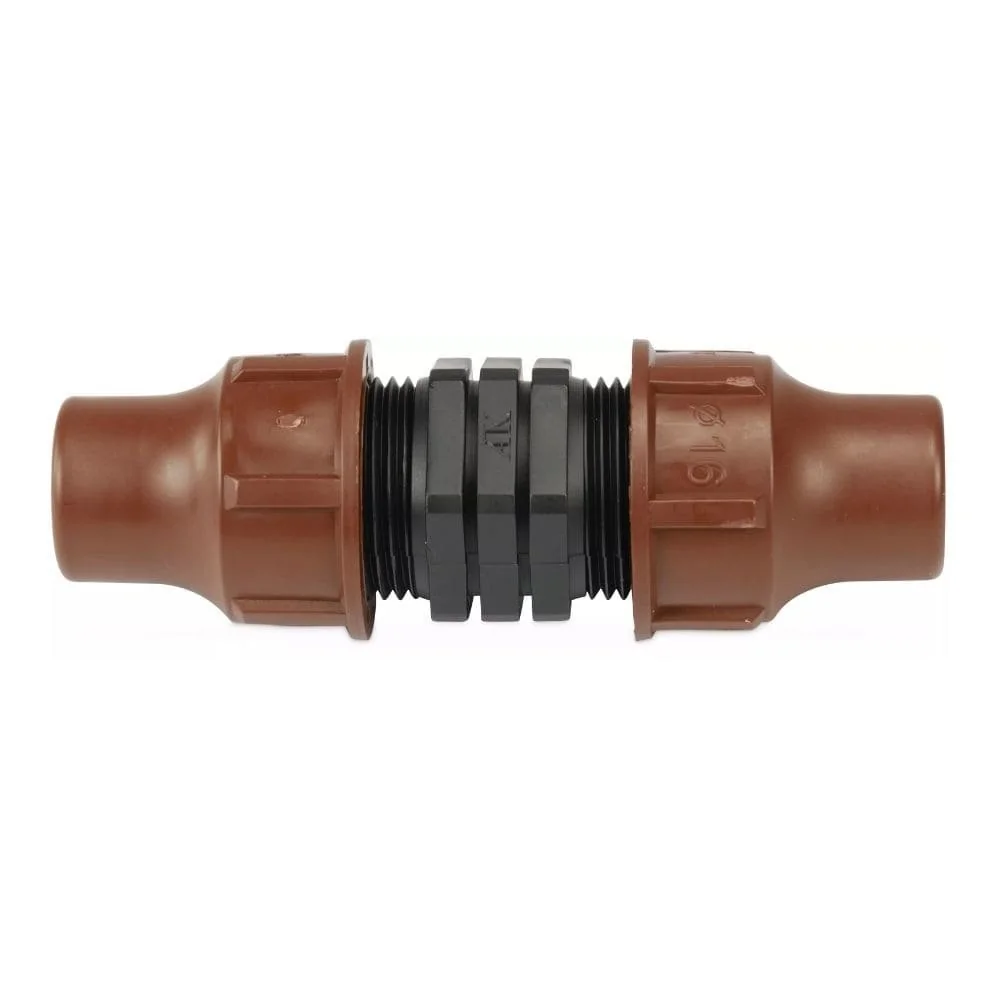
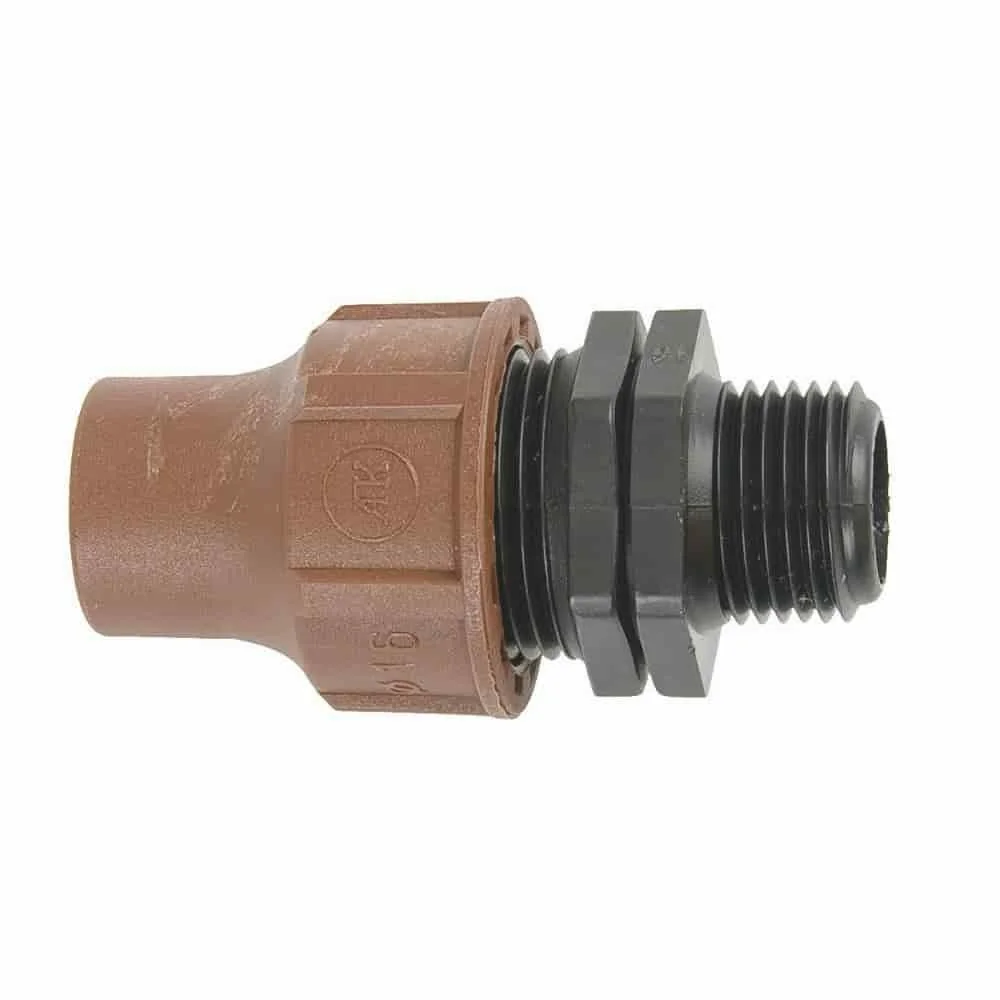
For installing water pipes in or near the wall, a
(1-inch tapping saddle) may be required. Find everything for your project in our garden irrigation category and its subcategories.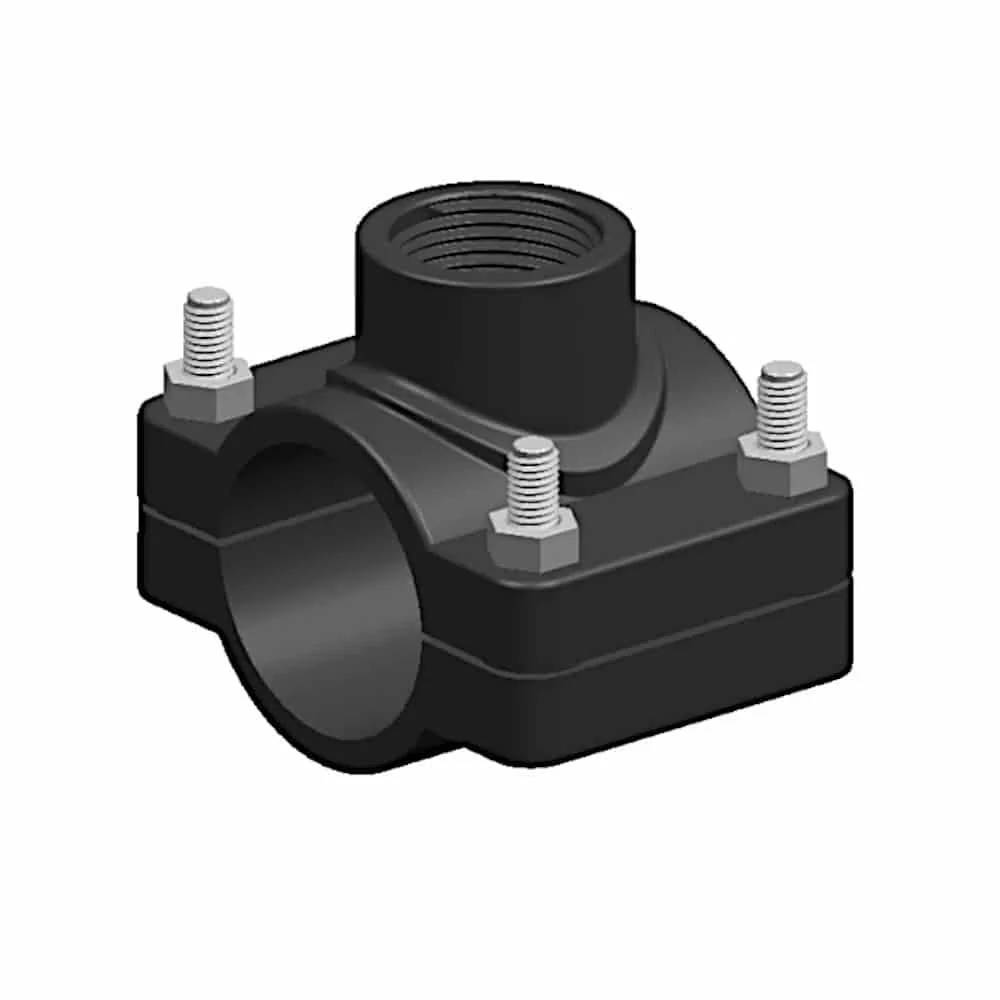
Avoid mistakes: The most common problems when building a wall
A common mistake is poor alignment. A crooked first row of bricks or a twisted stud frame cannot be corrected later. Check every level with a spirit level.
Avoid making mortar joints too thick when building the wall. A joint of 1-1,5 cm is ideal. Thinner joints crack easily, while thicker joints reduce stability. Do not use building sand with a high clay content.
In drywall construction, studs placed too far apart cause the panels to sag. Maintain a centre-to-centre spacing of 62,5 cm. Do not forget to stagger the joints between the plasterboard panels.
The biggest mistake is rushing. Allow enough time for each stage of the work. Let filler and mortar dry thoroughly before applying the next layer. Patience leads to a professional result.
Frequently asked questions
- How much does it cost to build a drywall wall yourself?
- Material costs for a simple drywall wall without special requirements start at around 15-25 Euro per square metre. This includes the stud frame, plasterboard panels, screws and filler. Extras such as sound insulation, fire-resistant boards or complex electrical installations increase the price. Also allow for waste and any specialist tools you may need.
- Do I need a building permit to build a wall myself?
- Non-load-bearing interior walls and room dividers in your own home generally do not require a building permit. This applies to both drywall construction and lightweight masonry walls. Load-bearing walls are an exception. If in doubt, check with your local building authority. You should also ask your property management company or residents’ association about any applicable requirements.
- How thick does a DIY drywall wall need to be?
- A standard drywall wall with a single layer of plasterboard is approximately 7.5 to 10 centimetres thick. This thickness consists of the 75 mm-deep metal stud frame and the 12.5 mm-thick plasterboard panels fitted on both sides. For improved sound insulation, you can choose a wider stud frame, such as 100 mm, and fill the cavities with insulation material. The final wall thickness will then be around 12.5 cm.
- Can I build a drywall wall on my own?
- Yes, you can build a drywall wall on your own, especially at lower heights. Marking out and installing the floor and ceiling profiles, as well as fitting the studs, can be done alone. However, a second person is very helpful when lifting and holding the often large and heavy plasterboard panels against the ceiling. Plan to get help when installing the panels or use a drywall panel lift.
- How do I attach heavy objects to a drywall wall?
- Special plasterboard cavity wall anchors are suitable for light to medium loads such as pictures or small shelves. For heavy loads such as TVs, wall cabinets or kitchen cupboards, you must attach the fixing directly to the metal stud frame. Locate the studs with a metal detector and screw the bracket directly into the profile. For maximum safety, you can install additional timber bracing between the profiles in advance.
You may also be interested in
- Build a drywall wall yourself: Step-by-step guide
- Build a brick wall: Step-by-step guide for your DIY project
- Build your own media wall: How to redesign your living room
- How to plaster walls: Step-by-step guide for DIYers
- Build your own wall bars: DIY guide for your home
- Renovate walls: The complete guide for your home