
In brief: Growing your own mushrooms is easiest with a ready-to-use mushroom growing kit for oyster mushrooms, king oyster mushrooms or shiitake. Place the inoculated block in a bright spot away from direct sunlight, keep it moist and provide fresh air. The first edible mushrooms will grow within a few days to a few weeks.
Quick answer: With a ready-to-use mushroom growing kit, you can grow oyster mushrooms, king oyster mushrooms or shiitake on prepared substrate. A bright location without direct sunlight, consistent moisture and regular fresh air are all you need to get started. After a few days to a few weeks, you can harvest the first fruiting bodies.
Why is growing edible mushrooms at home worthwhile?
Growing mushrooms works differently from growing vegetables. You do not sow seeds; instead, you encourage an already colonised substrate to produce mushrooms. Under the right conditions, the mycelium growing inside it forms the visible fruiting bodies that you can later harvest as edible mushrooms.
A mushroom growing kit needs very little space. A kitchen shelf, a shady balcony, a cellar with fresh air or a covered patio is enough. You do not need a bed or have to dig up the soil. This makes growing mushrooms suitable for flats and small gardens too.
The appeal lies in the quick results and the good level of control. You know the mushroom species, the substrate and when fruiting is expected. With a ready-to-use kit, you can also watch every day as small growths develop into vigorous clusters.
Which mushroom species are suitable for beginners?
The mushroom species determines the location, harvest time and level of care required. For your first attempt, it is best to choose a robust variety that can cope with normal indoor conditions.
- Oyster mushrooms: They grow quickly on straw or wood substrate and tolerate slight fluctuations in temperature and humidity. The large clusters make it easy to see when harvesting should begin.
- King oyster mushrooms: They form firm, thick stems and small caps. To develop a good shape, they usually need more fresh air and a more consistent temperature than oyster mushrooms.
- Shiitake: They are suitable for substrate blocks and inoculated hardwood logs. The culture grows more slowly, but rewards you with several harvests.
- Button mushrooms: They require special compost substrate, a casing layer and careful moisture control. They are more demanding for beginners than oyster mushrooms.
Start with a single block. This allows you to learn how the substrate responds to your room and adjust your care accordingly. Only then is it worth trying a second species or a larger project in the Garden + Outdoor section.
Pro tip
For your first attempt, choose oyster mushrooms and place the kit somewhere with indirect daylight. The culture visibly reacts to dry air and poor air circulation. This helps you quickly identify the care your location requires.
Which mushroom growing kit is right for your project?
A ready-to-use mushroom growing kit takes care of the most difficult part: producing and colonising the substrate. The mycelium has already grown through it and is waiting for the right stimulus to start fruiting. You open the designated area, keep the culture moist and create suitable air conditions.
The most important types of kits
- Ready-to-fruit substrate block: The mycelium has completely colonised the substrate. After opening and a short activation period, the first growths usually appear. This type is best suited to beginners.
- Inoculated substrate bag: The bag contains straw, wood or another nutrient base with mushroom spawn. You still need to allow the culture to colonise the substrate fully. This takes longer and requires a location with conditions that are as consistent as possible.
- Mushroom spawn for logs: You insert wooden dowels or grain spawn into fresh hardwood logs. This method is ideal for a garden project, but the first harvest often takes several months.
What to look for when buying
First, check the exact mushroom species. A kit for oyster mushrooms has different requirements from a shiitake block. The information on temperature, light, humidity and harvest time applies to that specific culture and should not simply be transferred to another species.
- Substrate: Wood substrate is particularly suitable for shiitake and many oyster mushrooms. Straw substrate often fruits quickly with oyster mushrooms.
- Fruiting status: A fully colonised block saves waiting time. The surface may look white and dense, but it should not have any green, black or slimy patches.
- Instructions: You need clear information on opening, misting, ventilating and getting a second flush.
- Location: Pay attention to the recommended temperature. A warm living space is not automatically suitable for every mushroom species.
- Expected yield: Good product information specifies an expected first harvest and explains whether the substrate can be rehydrated after the first flush.
A kit for indoor use should be easy to set up cleanly. A shallow tray catches drips and substrate crumbs. For larger garden projects, combine mushroom growing with a sheltered, shady area and suitable garden supplies.
“Mushrooms are the visible fruiting bodies of a much larger organism: the mycelium.”
How do you prepare the location and mushroom substrate?
The location has a greater impact on your yield than choosing a particularly large kit. Do not place the culture on a windowsill in the full midday sun or directly above a radiator. Heat dries out the substrate, while direct sunlight heats up the surface.
The right place in your home
A bright spot with indirect daylight is ideal. Many oyster mushrooms fruit at around 15 to 24 degrees Celsius, but the instructions supplied with the kit take priority. Depending on the culture, shiitake often prefer cooler conditions and require more patience.
A cellar is suitable if the air is not stale. Although bathrooms are often very humid, steam, cleaning products and significant temperature fluctuations make it harder to maintain a clean culture. Choose a place where you can check the kit every day.
Place the block on a washable surface. Keep it away from fruit bowls, houseplants and uncovered food. Fruit flies and fungus gnats quickly find moist substrates.
Four conditions for strong fruiting bodies
- Moisture: Lightly mist the designated opening with clean water. The surface should look moist and glistening, but not be dripping wet. Standing water encourages bacteria and makes the fruiting bodies soft.
- Fresh air: Mushrooms need oxygen. Air the room briefly or open the cover as instructed. Constant draughts dry out the culture, while an airtight container leads to long stems and small caps.
- Light: Indirect daylight helps the fruiting body orient itself and develop. Complete darkness is not necessary for many edible mushrooms.
- Temperature: Keep the temperature as constant as possible. Do not place the kit next to a radiator, cooker, dishwasher or sunny south-facing window.
Work cleanly without over-caring for the kit
Wash your hands before opening the film or touching the culture. Use a clean spray bottle and a clean knife. Tap water is generally sufficient, provided it is fresh and is not left in the bottle for days.
Do not mist blindly according to a fixed schedule. Check the surface and the room air. The kit needs water more often in dry heated air and considerably less in a damp cellar. A small tray under the block protects the shelf and floor, but does not replace fresh air.
For an outdoor culture, products from the garden and plant care range can help. For logs, also use gentle watering equipment from the garden irrigation category, without keeping the log permanently wet.
Important note
Only eat mushrooms from a clearly labelled culture. Green, black, orange or pink discolouration of the mycelium, slimy areas and a foul smell indicate contamination. Isolate the kit, do not open it any further and dispose of it well packaged. Do not use plant protection products on edible mushrooms.
How do you grow mushrooms step by step?
Follow the supplied instructions when using a ready-made kit. The following steps provide a safe guide, but do not replace the instructions for the specific mushroom species. The cultures differ particularly when it comes to soaking.
The instructions in seven steps
- Check the kit: Check the packaging, mushroom species and shelf life. Dense white mycelium is normal. If the block smells strongly sour or has coloured spots, do not start fruiting.
- Prepare your workspace: Clean the work surface, wash your hands and put out a tray. Have a clean knife or pair of scissors ready if the instructions call for a cut in the film.
- Activate the block: Some kits fruit immediately after opening, while others need a resting phase or a brief soak. Only submerge the block if the manufacturer requires it.
- Make an opening: Only cut the film at the marked points. A small opening keeps moisture in the substrate. Removing a large section of film allows the surface to dry out quickly.
- Choose a location: Place the block somewhere bright, shaded and well ventilated. Avoid direct sunlight, radiators and a completely enclosed cupboard.
- Keep moist and ventilate: Lightly moisten the fruiting area and check it daily. Remove excess water from the tray and allow a brief exchange of air.
- Wait for the harvest: Small bumps grow into clusters within a few days. Move the block as little as possible during this phase. Harvest the mushrooms before the caps open out fully and release many spores.
After the first harvest, the block rests. Carefully remove old stem remnants and follow the instructions for a second flush. Some cultures need a short dry period, while others need soaking again. Watering too frequently exhausts the substrate and increases the risk of mould.
Why is nothing growing, or why does the culture look unusual?
Delays do not automatically mean that the kit has failed. First check the temperature, moisture and air exchange. Only change one factor at a time so that you can identify the cause.
- No pins: The location may be too dry, too warm or too dark. Monitor the culture for several days and adjust it according to the kit instructions.
- Long stems and small caps: Fresh air is often lacking. Ventilate briefly and avoid a tightly sealed bag.
- Dry, cracked caps: Carefully increase the humidity. Spray the surroundings and the designated opening, rather than spraying the mushrooms directly all the time.
- Soft or slimy fruiting bodies: The substrate may be too wet or the air may be stagnant. Remove affected mushrooms and check the kit for discolouration.
- Green spots: Green discolouration often indicates mould. Do not eat affected mushrooms and do not try to cut the spot out.
- Small flies: Isolate the kit from other cultures. Sprays and insecticides should not be used on a substrate for edible mushrooms.
“Mushrooms can heal us, nourish us and kill us.”
The statement describes the enormous diversity of the fungal kingdom. For your culture, this means relying on a clearly identified cultivated species and never eating mushrooms found by chance in the garden, woods or a plant pot. A labelled kit provides the necessary certainty when identifying the species.
How do you harvest, store, and use your mushrooms?
The right time to harvest
Harvest the entire cluster of oyster mushrooms as soon as the caps are large enough and their edges still point slightly downward. Do not wait until the caps lie completely flat. At that point, the amount of spores increases and the texture often becomes firmer.
Cut the cluster off directly at the substrate with a clean knife, or gently twist it out if the instructions allow this. Do not leave behind large pieces of stem. You can harvest any small individual fruiting bodies along with the cluster.
How to store and cook your harvest
Process fresh mushrooms on the day of harvest whenever possible. For short-term storage, place them in a paper bag or breathable container in the refrigerator. A tightly sealed plastic box traps condensation and speeds up spoilage.
Clean the mushrooms with a brush or a slightly damp cloth. Cut off any dry pieces of substrate. Cook homegrown edible mushrooms thoroughly unless the species description recommends another preparation method. Eating mushrooms raw can upset your stomach.
Can you also grow edible mushrooms in the garden?
Shiitake and some oyster mushroom varieties are particularly suitable for outdoor cultivation on untreated hardwood. Beech and oak are typical types of wood. Do not use logs that are painted, impregnated, or treated with wood preservatives.
Drill the holes for mushroom spawn plugs according to the instructions, seal them with wax, and store the logs in a shady spot. The ground must not remain permanently wet. During extended dry periods, moisten the wood without placing it in a puddle. The first fruiting can take several months.
Check the logs regularly for cracks, drying, and signs of pest damage. Simple garden tools are sufficient for preparing and maintaining them. A sheltered spot under trees or on a north-facing side is better than a sunny, windy bed.
How can mushroom growing become a family project?
A mushroom growing kit works well as a small observation project. Place the block on a wipe-clean surface, keep a harvest journal, and show how new fruiting bodies develop from the mycelium. Children and pets should not touch or eat the culture without supervision.
For a decorative nature corner, the Lilipinso Poster Fox and Mushrooms dark green and the Lilipinso A3 Wall Stickers Woodland Animals with Mushrooms brown green. The Little Dutch Stacking Toy Forest Friends with Fly Agarics adds a playful touch to a children's room or play corner.
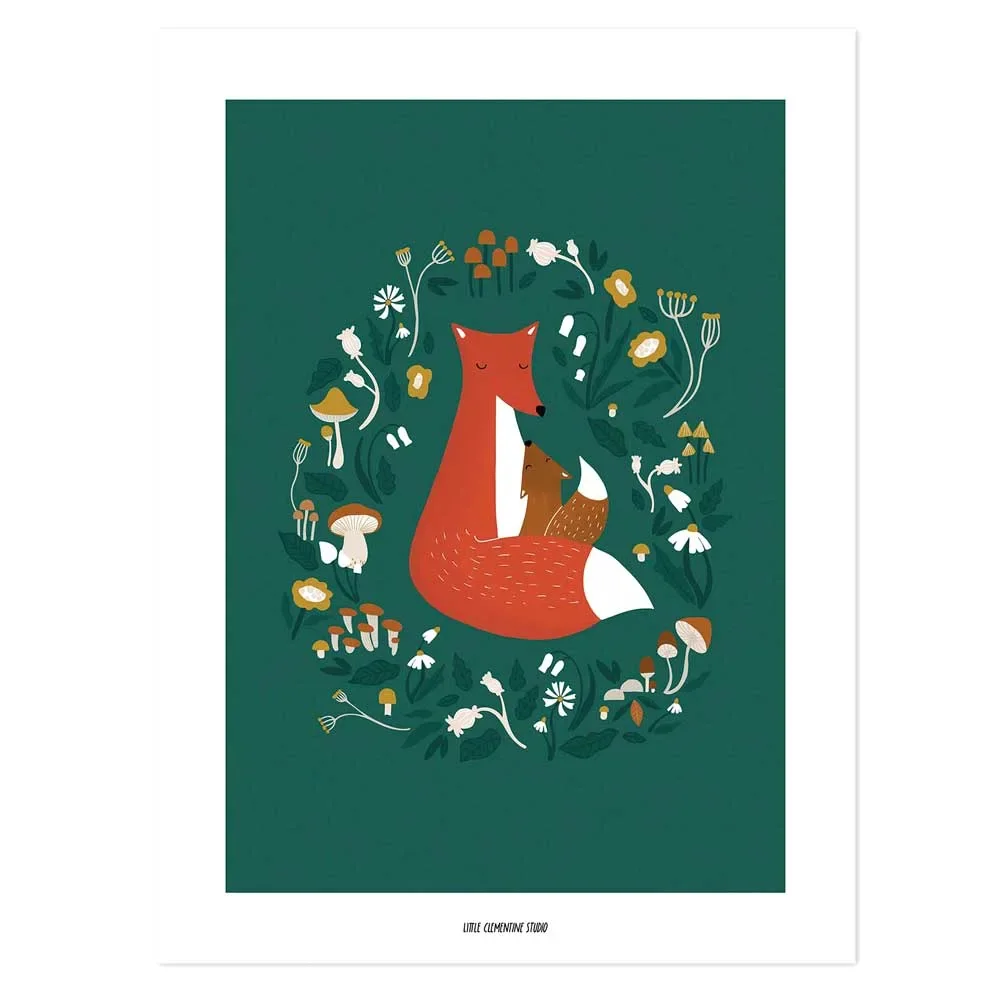
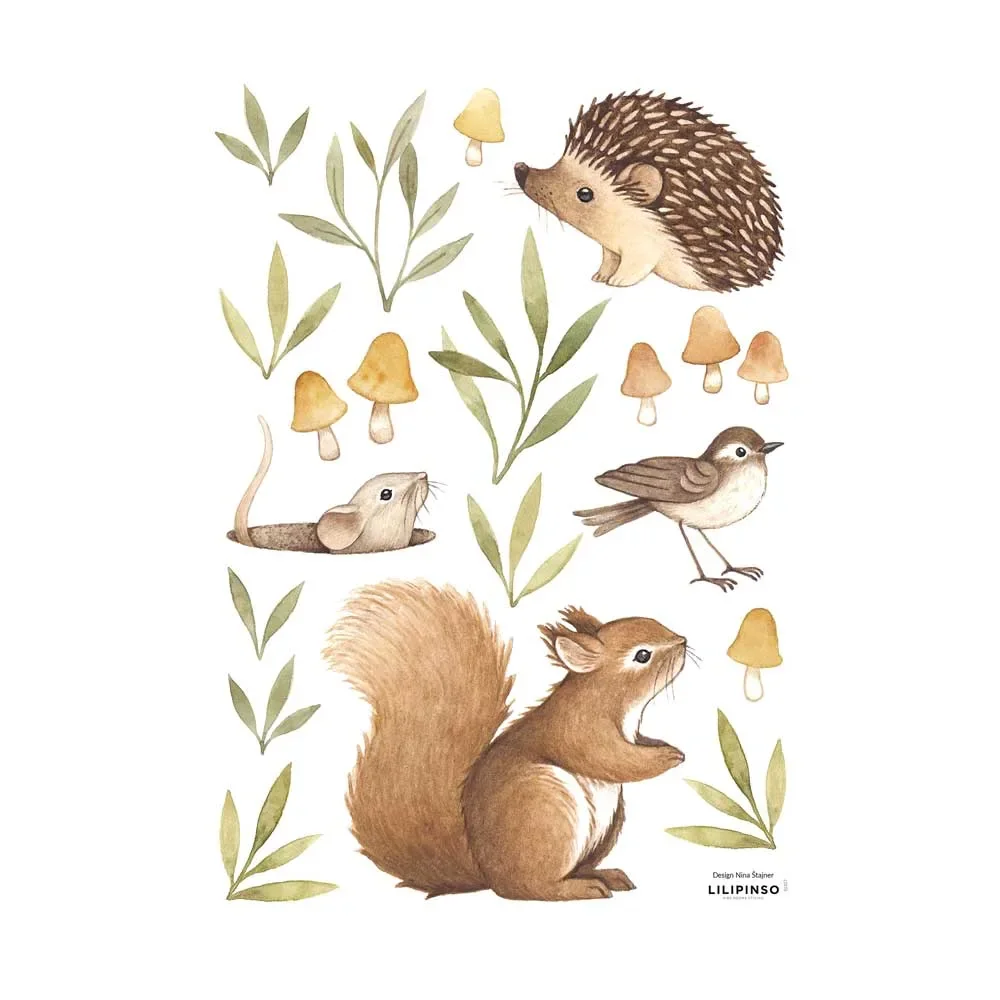
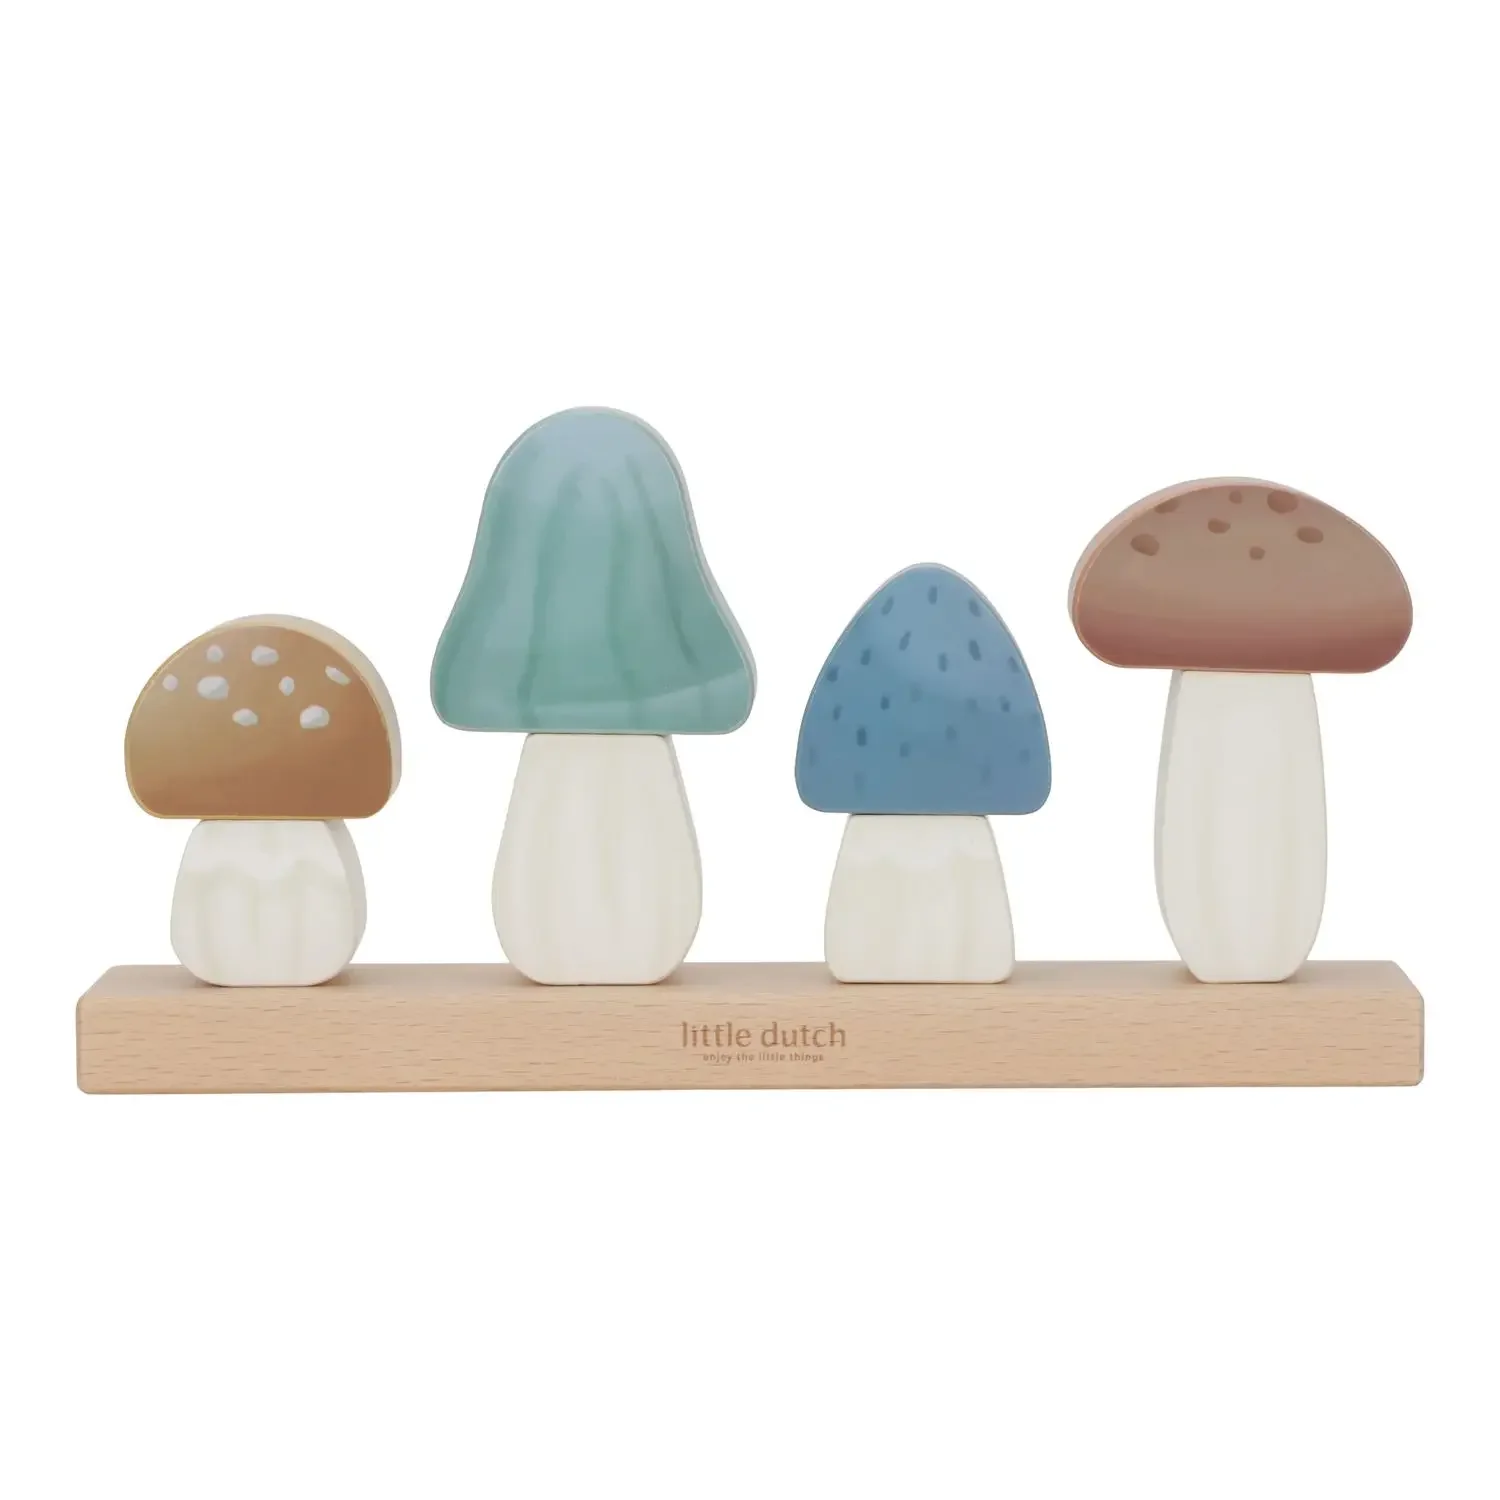
These products are decorations and toys, not cultivation accessories. The inoculated block is responsible for the actual growth. Nevertheless, keep posters, stickers, and toys away from spray water and damp substrate residue.
Additional advice
Label each kit with the mushroom species, start date, and harvest flushes. Record the temperature, spraying frequency, and anything unusual. After two or three cycles, you will reliably recognize which location and watering interval produce the strongest fruiting bodies in your conditions.
Your next growing cycle
Start with a fruiting-ready oyster mushroom kit and a location you can easily monitor. Keep the surface moist, provide the culture with fresh air, and harvest the clusters at the right time. Once you have the process down, expand your edible mushroom growing project with shiitake on hardwood or a second culture for multiple harvest flushes.
Frequently Asked Questions
- Which mushrooms are best for beginners?
- Oyster mushrooms are the best choice for beginners. They fruit quickly on a ready-made substrate block, tolerate moderate temperature fluctuations and clearly show when harvesting is about to begin. King oyster mushrooms and shiitake can also be grown successfully, but they usually require more precise temperature control or greater patience during the first few growing cycles.
- How often should I spray a mushroom grow kit?
- Depending on the room climate, lightly mist the opening of your mushroom grow kit once or twice a day. The substrate should look moist, but it must not be standing in water. The need for moisture increases in dry air from heating and decreases in a cool, damp cellar. Always follow the instructions for the specific kit.
- Can I grow mushrooms on coffee grounds?
- Coffee grounds can work as part of a mushroom substrate, but they are of limited use on their own. They must be fresh, loose and clean, and then colonised with mushroom spawn. For your first attempt at growing edible mushrooms, a ready-inoculated block is safer because the moisture, nutrients and culture are already balanced.
- How can I tell if there is mould in my mushroom grow kit?
- White, dense mycelium is a sign of a healthy mushroom grow kit. Green, black, orange or pink discolouration, slimy patches and a sour or rotten smell indicate contamination. Isolate the kit, do not open it any further and dispose of it well packaged if the contamination increases.
- How long does it take before I can harvest mushrooms?
- With a ready-to-fruit kit, the first visible fruiting bodies often appear within seven to fourteen days. The full harvest follows once the caps have reached their typical size. Shiitake grown on wood take considerably longer and may need several months before fruiting for the first time. Temperature and humidity affect the schedule.
You may also be interested in
- Mushroom season: The best tips for safe foraging and identification
- Mushrooms in the garden: How to identify species safely
- Grow your own tomatoes: Your path to self-sufficiency
- Edible boletes: Identification and foraging tips
- Home brewing beer: A simple guide for beginners
- Foraging for mushrooms: What is allowed and what to look out for