
In brief: Interior basement waterproofing stops penetrating damp directly at the wall surface. You use special waterproofing slurries and renovation plasters that act like a water-repellent skin on the masonry. This method is suitable when external drainage is not possible or water only occasionally presses in from the side. For heavy water pressure, external waterproofing is often the more durable solution.
Basement Waterproofing from Inside: Keep Your Basement Dry
A damp basement limits how you can use the space and puts the building structure at risk. If external waterproofing is not possible, interior renovation offers an effective solution. You create a water-repellent barrier directly on the wall surface.
This method requires careful preparation and the right materials. We show you how to proceed step by step.
How do you diagnose the damp problem?
Before you begin the renovation, you need to identify the cause. Damp in a basement can come from various sources, including rising damp from the ground, laterally penetrating water or condensation.
Check the walls for damp patches, salt deposits or flaking plaster. A simple test can help: firmly tape a sheet of plastic to the wiped-dry wall. If condensation forms on the side of the plastic facing the wall after one day, the problem is rising or penetrating damp. If the water is on the room-facing side, the humidity indoors is too high.
Important note
Interior waterproofing is not a permanent solution for constant hydrostatic water pressure. It may simply displace the problem or cause damage to adjoining building components. Always clarify the cause with a professional before starting any DIY work.
The three most common types of damp
Capillary rising damp: Groundwater rises through the masonry and the base of the wall. You can often identify it by uniform dampness in the lower section of the wall.
Lateral penetrating damp: Water pressing in from the surrounding soil enters through cracks, joints or porous masonry. It is often visible after heavy rainfall.
Condensation damp: This occurs when warm, humid indoor air meets cold basement walls. Typical signs are evenly distributed water droplets, often without salt deposits.
What materials do you need for interior basement waterproofing?
The right materials are crucial for success. Simply painting the wall with bitumen paint is not enough. You need a multi-layer system that provides waterproofing while remaining vapour-permeable.
The key component is a mineral waterproofing slurry. It is applied by spraying or coating and forms the first rigid barrier layer. This is followed by renovation plaster. Its coarse capillary pore structure binds any salts carried in with the moisture.
Finally, apply a breathable finishing plaster. Lime plaster is particularly suitable for this purpose. It helps regulate the indoor climate.
“When choosing renovation plaster, make sure all components are compatible. Only systems from the same manufacturer guarantee that the layers are properly matched and that no stresses develop.”
For preparation, tools from the power tools section can be useful. A rotary hammer with a chisel removes loose plaster. A powerful wet and dry vacuum cleaner such as the
reliably removes dirt and any water that accumulates.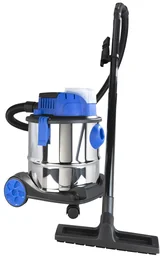
How do you prepare the basement wall?
Preparation is the most important step. A poorly prepared wall can cause the entire waterproofing system to fail. Start by completely removing the old plaster and all loose material.
Work at least 50 centimetres beyond the visible damp area. Rake out deep joints and cracks, then fill them with waterproofing slurry. The wall surface must be solid, clean and free from dust, oils and old coatings.
Pro tip
Thoroughly spray the exposed wall with water before applying the slurry. A saturated wall absorbs less moisture from the fresh waterproofing compound. This prevents it from drying too quickly and helps prevent cracks in the important barrier layer.
After removing the plaster, treat any salt deposits. Brush off the salt crystals mechanically. Special salt-blocking primers can slow down further crystallisation, but they are not a waterproofing solution.
Checklist for the ideal substrate
- Solid, load-bearing plaster substrate (masonry)
- Free from dust, alkalis, acids and release agents
- Joints and cracks raked out to a depth of at least 2 cm
- Surface dampened (not dripping wet)
- Room temperature above 5° Celsius
How do you waterproof the wall step by step?
Once preparation is complete, apply the waterproofing system. Work systematically from the bottom upwards. First, use a brush to apply the mineral waterproofing slurry to all recessed joints and cracks. Fill them completely.
Then apply the slurry across the entire surface. The recommended layer thickness is usually around 2 millimetres. Make sure the coating is continuous. Take particular care around the connections to the floor and ceiling and around penetrations. These areas often require sealing tape or collars.
Allow the first barrier layer to dry completely according to the manufacturer's instructions. This usually takes 24 hours. Only then should you apply the renovation plaster. Apply it at a thickness of at least 20 millimetres. It acts as a buffer and storage layer.
“The renovation plaster must not be chipped off. Its function is to act like a sponge and absorb peaks of moisture. Only the combination of the barrier layer and renovation plaster makes the system effective in the long term.”
Once the renovation plaster has dried, finish the wall with a vapour-permeable top coat. Lime plaster or lime-cement plaster are the first choice here. They create a pleasant indoor climate and provide the usable surface.
Which mistakes should you absolutely avoid?
Common mistakes can significantly reduce the service life of waterproofing. The biggest mistake is rushing the work. Every layer needs its full drying time. Applying the next layer too soon can cause adhesion problems between the layers.
Also avoid waterproofing only part of the wall. Seal the entire affected wall surface without leaving any gaps. Even a small leak can allow water to break through. Pay particular attention to the plinth areas and corners.
Additional advice
Also check the outside areas before starting the renovation. You can often tackle the problem at its source. Make sure you have a working garden irrigation system that directs water away from the house. A damaged corner section of the gutter, such as the
, can already cause significant dampness.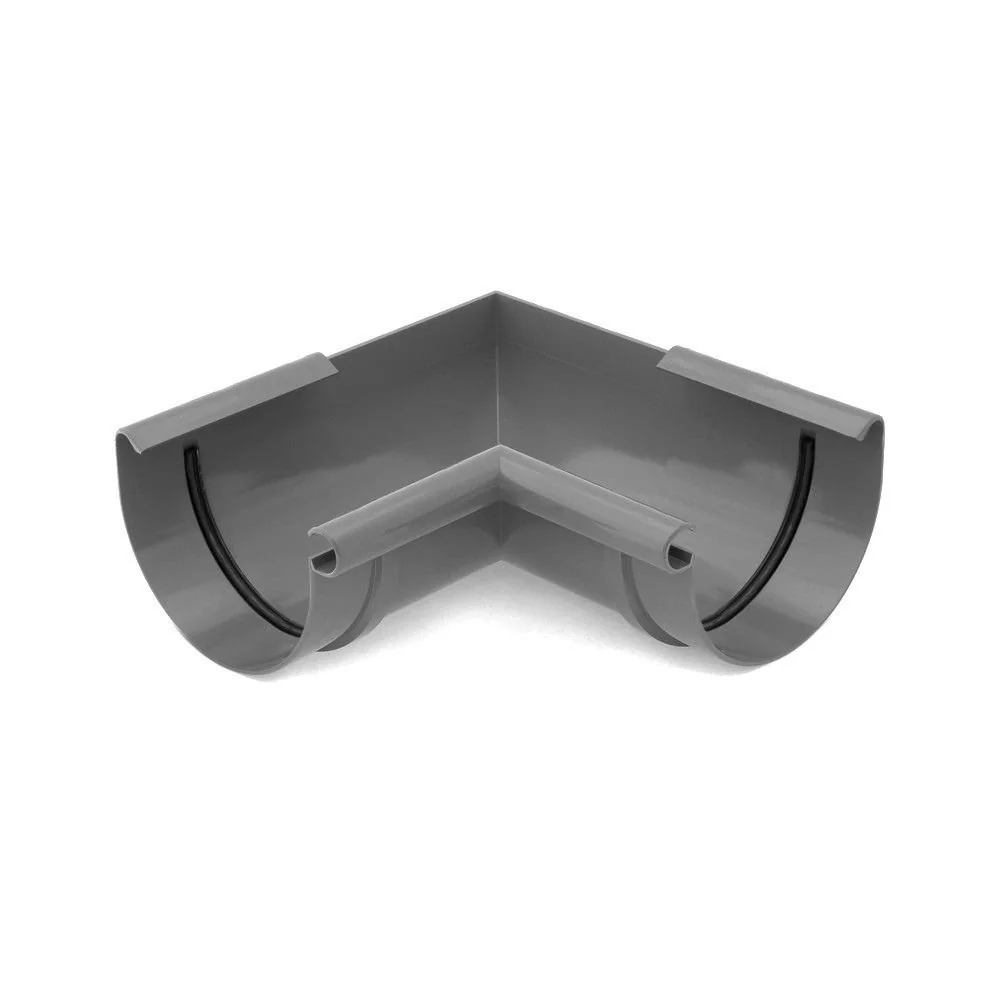
Another mistake is using incorrect or incompatible materials. Do not mix products from different manufacturers. Do not use silicone during preparation. Silicone creates a complete vapour barrier and can lead to further damage.
When is a professional necessary?
Not every damp problem is suitable for DIY interior basement waterproofing. Consult a professional if you are unsure of the cause. The same applies in cases of significant water ingress, visible cracks in the masonry or when the water is under pressure.
A professional has the measuring equipment needed to accurately determine moisture levels. They can assess whether waterproofing from inside is sufficient or whether more extensive external waterproofing with drainage is required. Investing in professional advice often saves money and hassle in the long term.
A painter and decorator or plasterer with experience in renovating older buildings is the right point of contact. Ask to see references and obtain several quotes. Check the warranty terms for the work carried out.
Signs that you need a professional
- Constant puddles of water on the floor
- The masonry feels consistently cold and wet
- Existing drainage systems (e.g. tarpaulins for collection tanks) are overloaded
- The damp continues to rise despite dry weather
- You discover major structural cracks in the foundation
How can you protect your basement from damp in the long term?
Successful interior waterproofing is only part of the solution. To keep your basement dry in the long term, you also need to optimise the surrounding area. Ensure good ventilation. Regularly airing the room briefly in autumn and winter replaces humid air.
Check the outdoor areas regularly. Gutters and downpipes must be clear and direct water far enough away from the foundations. Intact garden equipment such as lawn edging or border edging can help regulate ground moisture.
Avoid significant sources of moisture in the basement. Do not dry laundry in unheated basement rooms. Do not place large open containers of water there. A hygrometer helps you monitor the humidity. Ideal values are between 50 and 65 percent.
With the right diagnosis, careful preparation and professional application, you can reclaim your basement as a dry, usable space. Proceed step by step and do not hesitate to seek expert advice.
Frequently asked questions
- When is waterproofing a basement from the inside a good idea?
- Interior waterproofing is a good option when the masonry cannot be accessed from the outside, external work would be too costly or extensive, or the water is only present temporarily and under low pressure. It seals the rooms from the inside against moisture rising through capillary action or penetrating from the side. If there is strong, constant water pressure from outside, external renovation is usually the better choice.
- Which material is best for waterproofing from the inside?
- For waterproofing a basement from the inside, it is best to use multi-layer systems. These include a mineral waterproofing slurry as the first barrier layer, a special renovation plaster with a high pore content to bind salts, and a vapour-permeable finishing plaster or lime plaster. These materials combine barrier properties with the ability to allow any residual moisture to escape from the masonry.
- Can I waterproof my basement myself?
- Yes, waterproofing a basement from the inside is possible as a DIY project if the cause of the damp is clear and the water pressure is low. You must prepare the wall thoroughly, rake out deep joints and fill them with waterproofing slurry. Applying the barrier and renovation plasters requires practical skill. If the cause is unclear or there is significant damage, it is better to consult a professional.
- How long does interior basement waterproofing last?
- A professionally applied interior waterproofing system lasts 20 to 30 years. Correct substrate preparation and the use of compatible system components are crucial. The waterproofing acts as a physical barrier. If ground moisture conditions worsen or cracks develop in the masonry, the layer may lose its effectiveness.
- How much does professional interior basement waterproofing cost?
- The cost of professional interior basement waterproofing starts at around 80 to 120 Euro per square metre, depending on the amount of work and the materials used. Simple barrier coatings are cheaper, while multi-layer renovation plaster systems cost more. Prices usually include preparation, application of the barrier layer and the final plaster coat. An estimate is essential.
You may also be interested in
- Dry out a damp basement: How to waterproof the outside wall correctly
- Renovating a basement: Tips for keeping it dry and preserving its value
- Damp interior walls: Identify the causes and repair the damage
- Mould in the basement: Causes, removal and prevention
- Interior insulation: Insulate correctly and reduce heating costs
- Flood protection for basements and garages: Effective measures